Do you have a box of old polaroids collecting dust in the attic? Maybe your parents or grandparents have some that they’ve been hanging on to for years. Well, it’s time to dig them out and scan them like a pro! This article will outline some easy steps that will help you get the best results from your scans. So grab your polaroids and let’s get started!
Why were Polaroids so popular?
Polaroids were popular because they were instant. You could take a picture and have it developed in front of you in minutes. This was a huge advantage over traditional film cameras, which could take days or even weeks to develop photos.
Another reason Polaroids were popular was that they were relatively inexpensive. Film cameras could be quite expensive, and even disposable cameras were more expensive than most people wanted to spend on a casual snapshot. Polaroids were a great way to get high-quality photos without spending a lot of money.
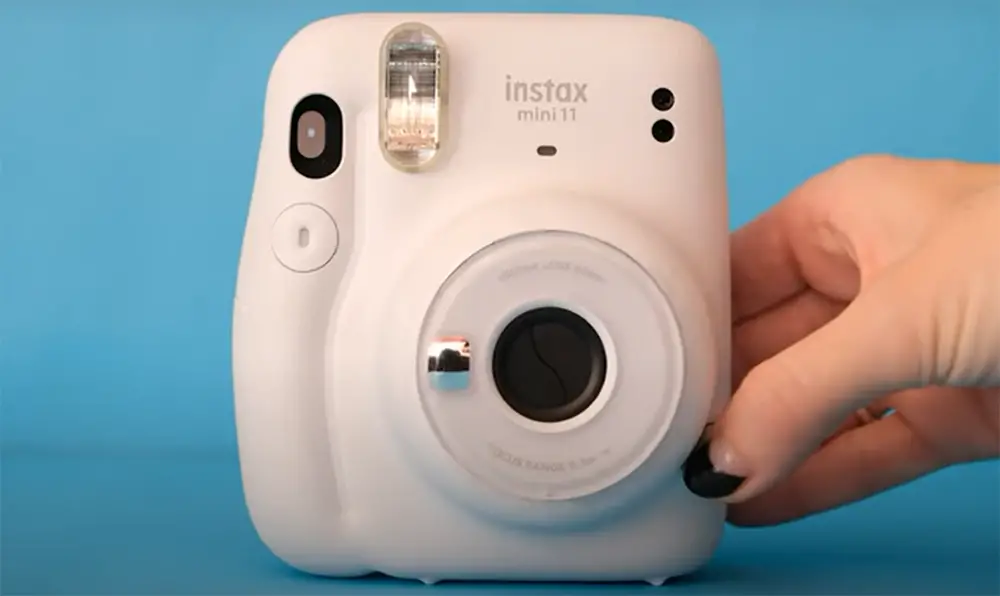
Finally, Polaroids were popular because they were fun! They had a unique look that made them stand out from other types of photos. And, of course, everyone loved the instant gratification of being able to see their photos right away [1].
So why did Polaroids eventually go out of style?
There are a few reasons. First, traditional film cameras became much faster and easier to use. Developing times decreased dramatically, and advances in technology made it possible to take high-quality photos without the need for expensive equipment.
Second, digital cameras became more popular. These days, almost everyone has a digital camera on their phone, and many people have standalone digital cameras as well. Digital photos are easy to share and store, so they’ve become the preferred choice for most people.
Finally, Polaroids were simply no longer trendy. They had been around for decades, and newer generations were more interested in taking pictures with their phones or digital cameras. Polaroids just didn’t have the same appeal as they once did.
Use 4 methods to scan Polaroids
1. Smartphone & app-based scanning
Once you’ve downloaded the app, simply launch it and follow the on-screen instructions. When prompted, select the number of photos you’d like to scan (up to four) and then tap “Continue.” From there, position your Polaroids within the app’s scanning frame and make any final adjustments until everything looks perfect. Once you’re satisfied, tap the “Scan” button and wait for the app to do its thing.
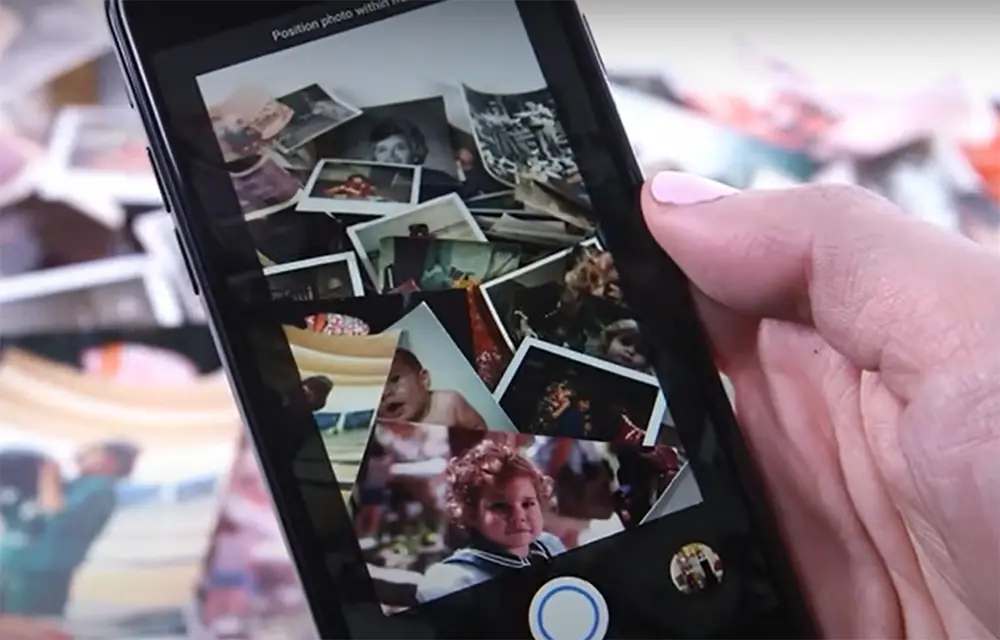
After a few seconds, your scanned photos will appear in the app’s main interface. From there, you can save them to your device or share them with others via email, social media, or another supported service. If you want to save your scans as JPEG files, tap the “Export” button in the top-right corner of the interface and select an export location.
2. Flatbed scanning
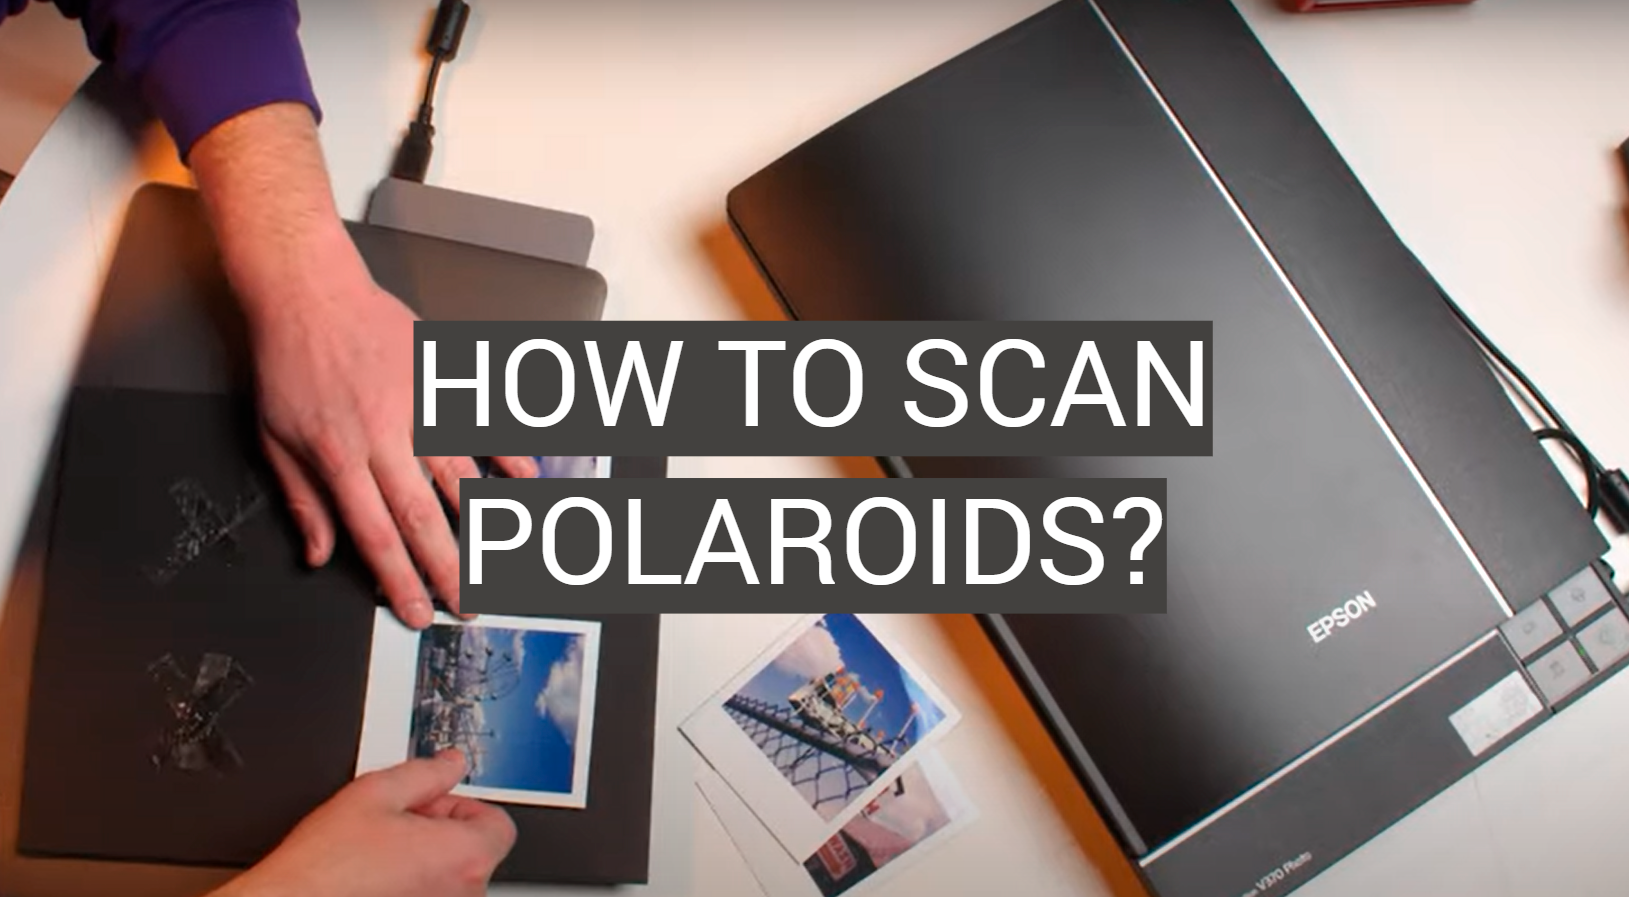
If you have a scanner at home, you can use it to scan your Polaroids as well. Just open the scanner’s lid and place the Polaroid on the glass surface. If your scanner has a built-in document feeder, you can also insert multiple Polaroids and scan them all at once.
Once the Polaroid is in place, close the scanner lid and launch your scanning software. This will likely be either HP Scan or Windows Fax and Scan on Windows computers, or Image Capture on Macs. Select your scanner from the list of devices and click “Scan.”
After a few seconds, your scanned photo will appear in the software’s interface. From there, you can save it to your computer or share it with others.
If you want to scan multiple Polaroids at once, select the “Document Feeder” option in your scanning software and insert all of the photos you want to scan. Then, click “Scan” and wait for the process to finish. Once the scan is complete, you can save each photo individually or export them all as a single PDF file.
3. Take a Picture on Your Phone
This is probably the quickest and easiest way to get a digital copy of your Polaroid. Simply take a picture of the Polaroid with your smartphone and save it to your device.
If you want the best possible results, make sure the area is well-lit and free of any glare. You might also want to use a tripod or another type of phone mount to keep your hands steady while taking the photo.
Once you’ve taken the picture, open it in your favorite photo editing app and crop it so that only the Polaroid is visible. Then, save the edited photo to your device or share it with others.

Keep in mind that this method won’t give you as high-quality of a scan as the other methods on this list, but it’s still a quick and easy way to get a digital copy of your Polaroid.
4. Digital camera ‘scanning’
If you have a digital camera, you can use it to “scan” your Polaroids as well. Simply place the Polaroid on a flat surface and position your camera so that the Polaroid fills the frame. Then, take a picture of the Polaroid and save it to your device.
As with the previous method, make sure the area is well-lit and free of any glare before taking the picture. You might also want to use a tripod or another type of camera mount to keep your hands steady while taking the photo.
How Long Do Polaroids Last?
Polaroids are a unique type of photo. Unlike digital photos, they rely on physical film to create the image. This makes them a bit more delicate than your average photograph. So, how long do Polaroids last?
Generally speaking, Polaroids will start to show signs of age after about 20 years. The colors will start to fade and the image will become less clear. However, if you take care of your Polaroids, they can last much longer. Here are some tips for storing your Polaroids:
- Keep them out of direct sunlight. Sunlight can damage the physical film and cause the colors to fade prematurely.
- Store them in a cool, dry place. High humidity can also damage the physical film.
- Don’t store them in an airtight container. This can cause the physical film to become brittle and break [3].
If you follow these tips, your Polaroids should last for many years to come!
Turning a Digital Photo into a Polaroid
If you want to turn a digital photo into a Polaroid, there are a few easy steps you can follow. First, open the photo in an editing program like Photoshop. Next, use the “Polaroidize” filter under the “Filter” menu. Finally, save your changes and print out the photo!
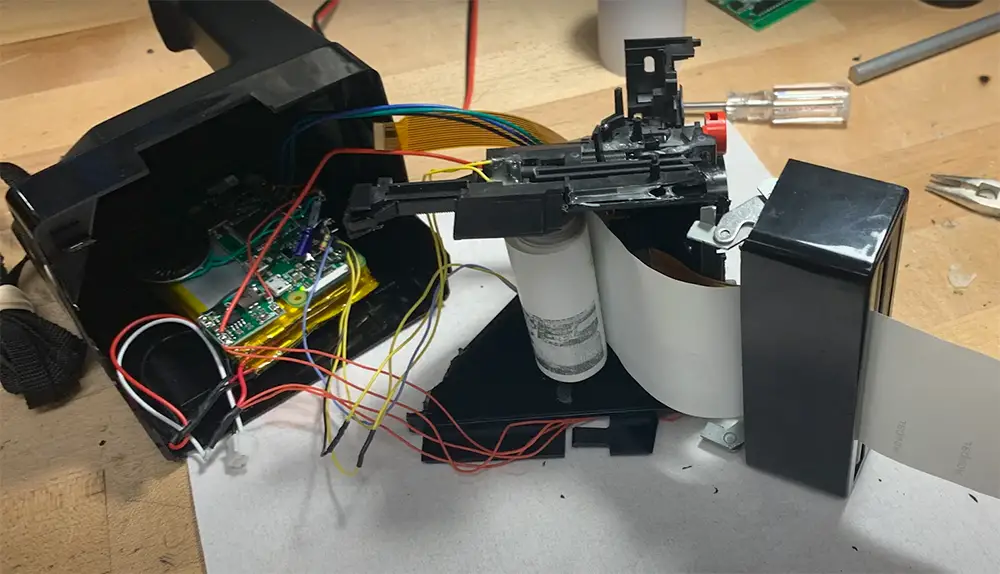
Some people want to turn digital photos into Polaroid because it gives the image a classic, nostalgic look. Such Polaroid photos can be used to create a unique scrapbook or as a thoughtful gift.
How to Convert Polaroids into Digital Photos
Google PhotoScan App
Google has a free app called PhotoScan that makes it easy to scan and save your old Polaroids as digital photos. Just download the app, point your phone’s camera at the Polaroid, and tap the shutter button. The app will automatically crop and enhance the image, and you can save it to your camera roll or share it with friends.
If you’re scanning a lot of Polaroids, you can buy an optional $15 book scanner attachment that fits over your phone’s camera lens. This will help you get consistent results, and it’s especially useful if you’re scanning damaged or faded photographs.
Once you’ve scanned your Polaroids, you can use any photo editing software to further improve the images or turn them into black-and-white or sepia-toned masterpieces.
Notes App on Your iPhone
You can also use the Notes app on your iPhone to scan Polaroids. Just open the app, create a new note, and tap the camera icon. Select “Scan Documents,” and position the Polaroid in the frame. The scanner will automatically crop and enhance the image, and you can save it to your camera roll or share it with friends.
Polaroid iOS App
If you want to get really fancy, there’s an app called Polaroid that turns your iPhone into a Polaroid instant camera. Just download the app, point your phone’s camera at the scene, and tap the shutter button. The app will print out a Polaroid-style photo that you can peel off and stick on your fridge.
Polaroid app costs $0.99, and you’ll need to buy some special paper from the company to print out your photos. But if you’re a fan of Polaroids, it’s definitely worth checking out.
Benefits and disadvantages of digitizing the Polaroids
There are some benefits to digitizing your old Polaroids. Firstly, it gives you the ability to share your photos with family and friends more easily – you can simply send them a digital file rather than having to post or hand-deliver a physical copy.
Secondly, it means you can create backups of your images, so even if something happens to your originals (e.g. they get damaged or lost), you’ll still have a copy. Finally, scanning your Polaroids also allows you to edit and enhance them using photo editing software, which can be great fun!
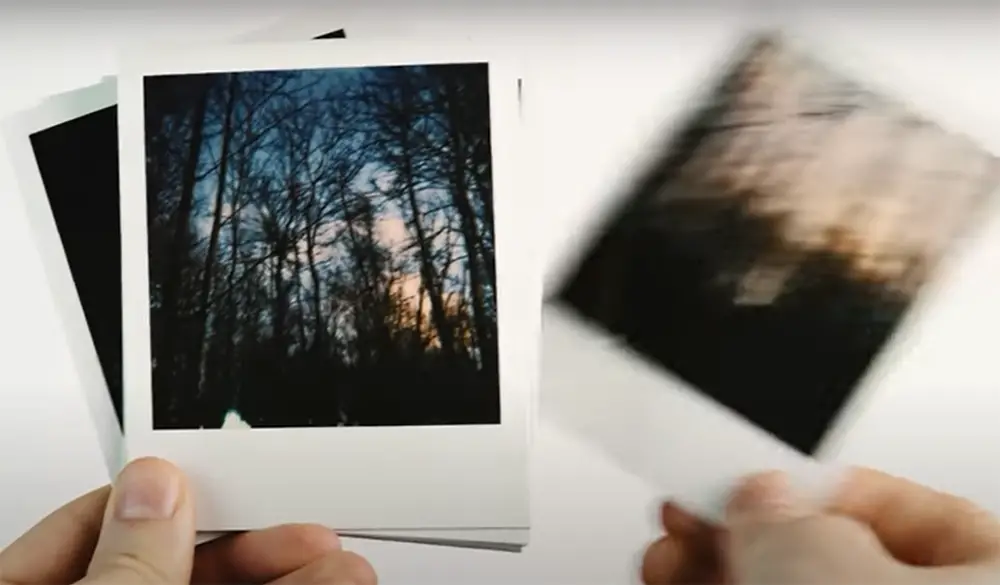
Of course, there are also some potential disadvantages to consider. One is that the process of scanning each Polaroid can be quite a time-consuming task, particularly if you have a lot of them. Another is that, depending on the quality of your scanner and the settings you use, the scanned images might not look exactly like the originals (though this is usually not a huge problem).
Assuming you’ve decided to go ahead and scan your Polaroids, here are some tips on how to do it:
Use a good quality scanner. This will help ensure that your scanned images are as close to the originals as possible in terms of quality. If you don’t have access to a high-quality scanner, try using a service like Poladroid – they specialize in scanning and digitizing old Polaroids.
Scan at a high resolution. Again, this will help to ensure that your scanned images are of good quality. A resolution of 300 dpi is usually sufficient.
Edit and enhance your scanned images. Once you’ve scanned your Polaroids, you might want to edit and enhance them using photo editing software. This can be a great way to bring new life to old photos!
What Polaroids cannot be digitized?
Some Polaroids cannot be digitalized and should know the reasons:
- Polaroids with a white border can not be digitized because the scanner will cut off the white border.
- Polaroids that are stuck together can not be digitized because they will be scanned as one picture.
- Polaroids that are bent or wrinkled can not be digitized because the scanner will not be able to scan them correctly.
If you have any of these types of Polaroids, it is best to take them to a professional scanning service. The professionals will know how to scan them correctly so you will not lose any important details.
Editing Polaroid and Instax Photos in Photoshop
Isolating the Polaroid Image for Editing
The first step is to open your image in Photoshop. You will then need to create a “work path” around the edge of the Polaroid frame. This can be done by using the pen tool or any other selection tool that you are comfortable with. Once you have created the work path, you will need to “stroke” it to create a new layer which is called the “Polaroid Layer”.
You should now have two layers in your Photoshop document – the background layer and the newly created Polaroid layer. The next step is to add a mask to the Polaroid layer. This can be done by going to Layer > Layer Mask > Reveal All.
Editing Color, Brightness, and Contrast
Now that you have isolated the Polaroid image, you can begin editing it. A good place to start is by adjusting the levels or curves. This will help to bring out any lost details in the shadows or highlights. You can also experiment with different color filters to change the overall tone of the image.
Once you are happy with your edits, you can flatten the image and save it as a JPEG file. You can also choose another file format, such as TIFF or PNG, if you plan on making further edits to the image.
Finishing Touches
If you want to add a bit of nostalgia to your edited Polaroid, you can use Photoshop’s “vintage photo” effect. This will give your image a yellowed, faded look. You can also add a border around the edge of the image.
If you want the border to look like it was printed on the Polaroid, you can use Photoshop’s “print effect.” This will add a bit of graininess and make the border appear to be part of the image. Plus, it’s a fun effect to play around with!
Comparison of Scanning Polaroids Techniques
Scanning Polaroids is a popular method of preserving old photographs. There are different techniques for scanning Polaroids, each with its advantages and disadvantages. This table compares some of the important indicators of these techniques to help you choose the best method for your needs.
| Technique | Resolution (dpi) | Color Depth | Speed (sec/sheet) | Cost |
|---|---|---|---|---|
| Flatbed Scanner | 2400 | 48-bit | 30-60 | $$ |
| Dedicated Film Scanner | 4000 | 48-bit | 10-15 | $$$ |
| DSLR Camera | 300 | 24-bit | 2-5 | $ |
| Smartphone Camera | 150 | 24-bit | 2-5 | $ |
The table shows four techniques for scanning Polaroids, including Flatbed Scanner, Dedicated Film Scanner, DSLR Camera, and Smartphone Camera. The indicators compared in this table are resolution, color depth, speed, and cost.
Flatbed Scanners are the most common type of scanner used for scanning Polaroids. They are affordable, and their high resolution and color depth make them ideal for preserving image quality. However, they are slow and may not be the best option if you have a large number of Polaroids to scan.
Dedicated Film Scanners are more expensive than flatbed scanners, but they offer much higher resolution and faster scanning speeds. They are specially designed to scan film, so they produce excellent results. However, they are not suitable for scanning other types of documents, which limits their versatility.
DSLR Cameras and Smartphone Cameras are both good options for scanning Polaroids if you don’t have a scanner. They are cheap, fast, and easy to use. However, their resolution and color depth are lower than those of scanners, which means that the resulting images may not be as sharp and detailed. Nevertheless, they are good enough for most purposes, especially if you only need to scan a few Polaroids.
Check more guides about instant photography:
- Why You Shouldn’t Shake Your Polaroids?
- How to Reset Instax Mini 9 Camera?
- How to Use a Disposable Camera?
FAQ
How do you scan a Polaroid picture?
To scan a Polaroid picture, you will need:
- A scanner
- A computer
- An editing program (like Photoshop)
Here are the steps:
First, open your scanner and place the Polaroid face down on the glass. Make sure that the photo is positioned in the center of the scanner.
Next, open your scanning software on your computer. On a Mac, this will be Image Capture and on a PC it will be Windows Fax and Scan.
Click “Scan” and then “OK” when prompted.
Your scanned image will now appear in the software window. From here, you can edit it or save it to your computer. And that’s it! You’ve now scanned a Polaroid picture.
If you don’t have a scanner, you can also use your phone to take a photo of the Polaroid. Just make sure that the photo is well-lit and in focus. Then, open it in an editing app like Photoshop to crop and edit as needed. And there you have it – another way to scan Polaroids without a scanner!
How do I scan Polaroids with my iPhone?
If you want to scan a Polaroid with your iPhone, you can use the built-in Camera app or a third-party app like Photomyne.
To use the Camera app, open it and position the Polaroid so that it’s filling up the screen. Tap the shutter button to take a photo. Then, tap “Edit” in the top right corner to crop and edit as needed. When you’re finished, tap “Done” and then “Save Image.”
To use an app like Photomyne, first, download it from the App Store. Then, open it and follow the prompts to grant it access to your photos. Once you’ve done that, hold your iPhone up to the Polaroid and line up the edges of the photo with the on-screen border. The app will then automatically scan the Polaroid and save it to your camera roll.
Can Polaroids be copied?
Yes, Polaroids can be copied! Factually, there are a few different ways that you can copy a Polaroid.
If you have a scanner, you can scan the Polaroid and then print out the scanned image. Or, if you have a printer that supports printing on Polaroid film, you can insert the film into the printer and print out a copy of the photo.
You can also use your phone to take a photo of the Polaroid. Just make sure that the photo is well-lit and in focus. Then, open it in an editing app like Photoshop to crop and edit as needed. Print out the edited image or save it to your computer. And there you have it – another way to copy a Polaroid!
What are some tips for scanning Polaroids?
Here are some tips for scanning Polaroids:
- Make sure that the photo is well-lit and in focus.
- Use a scanner if you have one available. If not, use your phone to take a photo of the Polaroid. Just make sure that the photo is well-lit and in focus. Then, open it in an editing app like Photoshop to crop and edit as needed.
- Print out the scanned image or save it to your computer.
- Edit the image as needed.
- And there you have it! You’ve now scanned Polaroids like a pro!
How do you scan photos on Instax?
Instax photos are easy to scan! Just follow these steps:
- Place the Instax photo on the scanner bed.
- Open your scanning software and select “Scan.”
- Click “OK” when prompted.
- Your scanned image will now appear in the software window. From here, you can edit it or save it to your computer.
Can you scan Instax film?
Yes! You can scan Instax film using a scanner or your phone. To use a scanner, just place the Instax film on the scanner bed and follow the prompts in your scanning software. To use your phone, take a well-lit and in-focus photo of the Instax film. Then, open it in an editing app like Photoshop to crop and edit as needed. And there you have it – another way to scan Instax film without a scanner!
Useful Video: How to Scan Polaroids
Conclusion Paragraph
Scanning of the Polaroids can be done easily by following some simple steps. You can use any type of scanner to scan your Polaroids but make sure that the settings are according to the requirement. The scanning process would be much easier if you have a digital copy of the Polaroids. After scanning, you can keep the digitized copies in a safe place so that they can be used for future reference.
References:
- https://thephotographyprofessor.com/15-reasons-polaroids-are-making-a-comeback/
- https://thephotographyprofessor.com/5-ways-to-digitize-polaroids/
- https://imagerestorationcenter.com/how-long-do-polaroids-last/




It was 2002 and I had just bought my first digital camera. It was a tiny little thing with a 1.3 megapixel sensor and it cost an arm and a leg. But it could take photos that were instantly uploadable to the internet, and that was all that mattered to me at the time.
I remember thinking about how cool it would be to be able to take a photo with my digital camera and then instantly have it printed out on a piece of paper. And then I remembered that I could do the same thing with my Polaroid camera. So I went out and bought myself a Polaroid printer.
The printer was this huge, clunky thing that took up half of my desk. But it worked great and I loved being able to print out photos from my digital camera on the spot. It was like having my own little photo booth in my room.
I used that Polaroid printer for years, until eventually it stopped working. But those memories of printing out photos on Polaroid paper will always be some of my favorite memories from that time period.