Standing in awe of the incredible beauty of Antelope Canyon, eager photographers will find themselves captivated by its mesmerizing colors and unique formations. It is a sight that must be captured in all its splendor, but taking stunning photos of this natural wonder requires the knowledge and insight of an experienced photographer. This blog post will uncover the secrets for capturing the best photos of Antelope Canyon, offering helpful tips and suggestions on how to make your scenic shots shine.
History of Antelope Canyon
Antelope Canyon was formed when rainwater, especially during monsoon season, ran into the wide areas of the canyon walls and eroded the Navajo sandstone, creating the winding passageways visitors see today. Other sub-aerial processes such as wind and thermal erosion also played a role in forming the canyon.
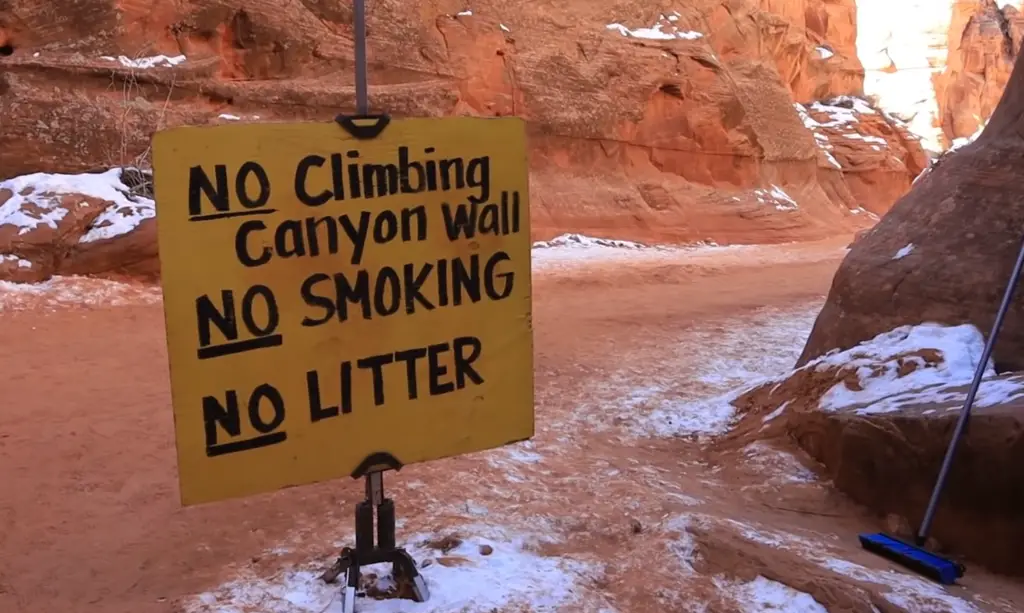
The history of Antelope Canyon dates back centuries, to when the first inhabitants of the area began to explore its depths. The Navajo people have been living in this area since the 1600s and many believe that they were the first to discover these natural wonders. In the 1800s, settlers and prospectors found their way into the canyon walls. As word spread of its hidden beauty, more and more people began to visit for recreation or spiritual purposes, and today it is a popular tourist destination.
In 1997, Antelope Canyon was designated as part of Navajo Tribal Park. It is managed by the Navajo Parks and Recreation Department which also operate guided tours for visitors. As the canyon is prone to flooding, there are restrictions in place to ensure safety and preserve the environment.
As a testament to its beauty, Antelope Canyon has been featured in several films, television shows, music videos and other media. It is one of the most photographed spots in all of Arizona. Its unique landscape offers an incredible backdrop for photography, capturing the sandstone walls in their ever-changing beauty.
Today, Antelope Canyon is a popular destination for travelers from all over the world who come to marvel at its majestic beauty and experience its unique slot canyons. It is also home to some of the Southwest’s most spectacular rock formations. The canyon’s captivating landscape is sure to leave a lasting impression on all who visit [1].
What To Know Before Visiting the Lower Antelope Canyon
Visiting the Lower Antelope Canyon can be an amazing experience for any traveler, but it’s important to understand what to expect and prepare for when visiting. Here are some tips to ensure that you have the best possible experience while exploring this incredible natural wonder:
- Be sure to wear sensible shoes when visiting because the terrain can be slippery in places. Lightweight sneakers with non-slip soles are recommended, and if you plan on going into the canyon itself, make sure your shoes can handle sand and rock.
- It’s important to bring plenty of water with you as temperatures in the canyon can reach extreme highs. Stay hydrated throughout the day to avoid heat exhaustion or other health issues caused by dehydration.
- Be sure to wear a hat and sunscreen when visiting the canyon, as the sun reflects off of the walls and can be intense. A wide-brimmed hat is recommended, and sunglasses are also advised.
- Make sure to bring a camera with you if you plan on taking photos of the spectacular scenery in Lower Antelope Canyon. Tripods are not allowed, so if you’re taking photos with a DSLR camera you’ll need to stand in awkward positions to get the shots.
- It is important to follow all of the rules and regulations when visiting Lower Antelope Canyon. This includes not touching or climbing on any of the rocks, as doing so can damage the natural environment. Additionally, it’s important to respect the sacredness of the canyon and its inhabitants – refrain from making loud noises or touching any artifacts found in the area.
- Lastly, a visit to Lower Antelope Canyon isn’t complete without a guided tour. A guide can provide you with invaluable information about the history of the area, as well as unique insights that can be gained by exploring this incredible natural wonder. They can also provide invaluable safety tips for navigating through the canyon.
If you follow these simple tips, you’ll be sure to have a safe and enjoyable visit to Lower Antelope Canyon – an experience you won’t soon forget! So what are you waiting for? Start planning your trip today [2]!
Tips to Getting the Perfect Photo
ISO Settings
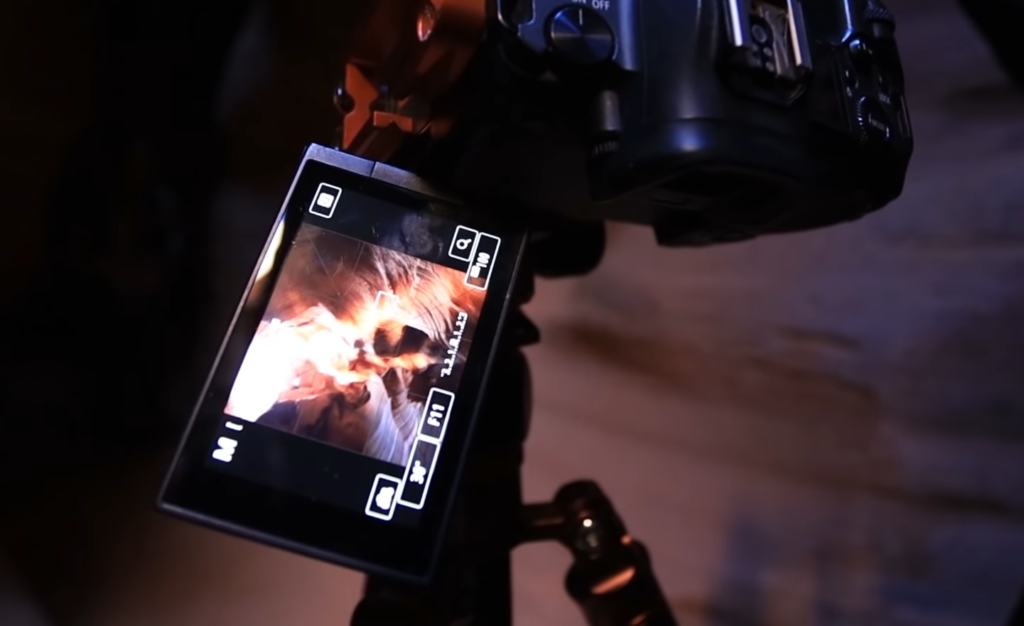
One of the most important factors to consider when taking a photo is the ISO settings. The lower the ISO, the less amount of noise will be present in your photograph. Generally speaking, you’ll want to keep your ISO as low as possible while still allowing for enough light to enter the camera. When shooting outdoors in daylight, aim for an ISO setting of 100 or 200. When shooting indoors, you’ll want to bump up the ISO settings a bit, usually around 400 or so. This will help make sure that your indoor photos don’t come out too dark and grainy.
Aperture Settings
The aperture setting plays a crucial role in photography by controlling the amount of light entering the camera and determining the depth of field. When capturing landscapes, using a larger aperture (lower f-stop number) ensures that everything in the scene appears sharp and in focus. On the other hand, for close-up shots, employing a smaller aperture (higher f-stop number) creates a shallow depth of field, allowing the subject to stand out while the background blurs into a pleasing bokeh effect. Understanding the impact of the aperture on your photos empowers you to capture the perfect balance of light, focus, and artistic expression.
Framing
Framing is an often overlooked aspect of good photography but it can make a huge difference in the overall quality of your photos. When taking any type of photo, think about how you want to frame the shot. Do you want the subject centered or off-center? What kind of background should you use? All of these questions are important when determining the best way to frame your photo. Experimentation is key here, so don’t be afraid to try different angles and perspectives until you find the one that looks right for the shot.
Lighting
Lighting is another important factor in getting a great photograph. Natural light can add an air of beauty and mystery to any photo, while artificial light sources such as studio lights can create a more dramatic and controlled effect. When shooting outdoors, be mindful of the direction of the light relative to your subject as this can dramatically change the mood and atmosphere of the image. Whether you’re using natural or artificial lighting, it’s important to understand how each type affects your photos to get the perfect shot every time.
Lens Choice
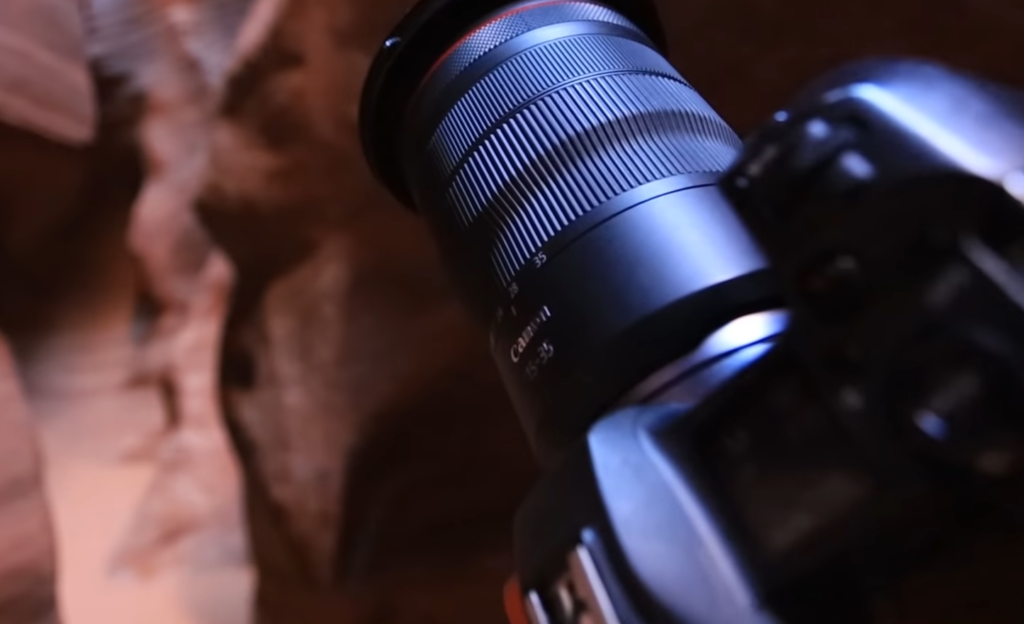
The choice of lens plays a major role in determining the look and feel of your photographs. Different lenses produce different perspectives which can drastically affect the overall quality of the image. Wide-angle lenses are great for capturing vast landscapes, while telephoto lenses allow you to zoom in on faraway subjects. Prime lenses are ideal for capturing sharp images with shallow depth of field, while zoom lenses provide a great deal of versatility. Understanding the strengths and weaknesses of each type of lens will help you make the most of your photography equipment.
Shutter Speed
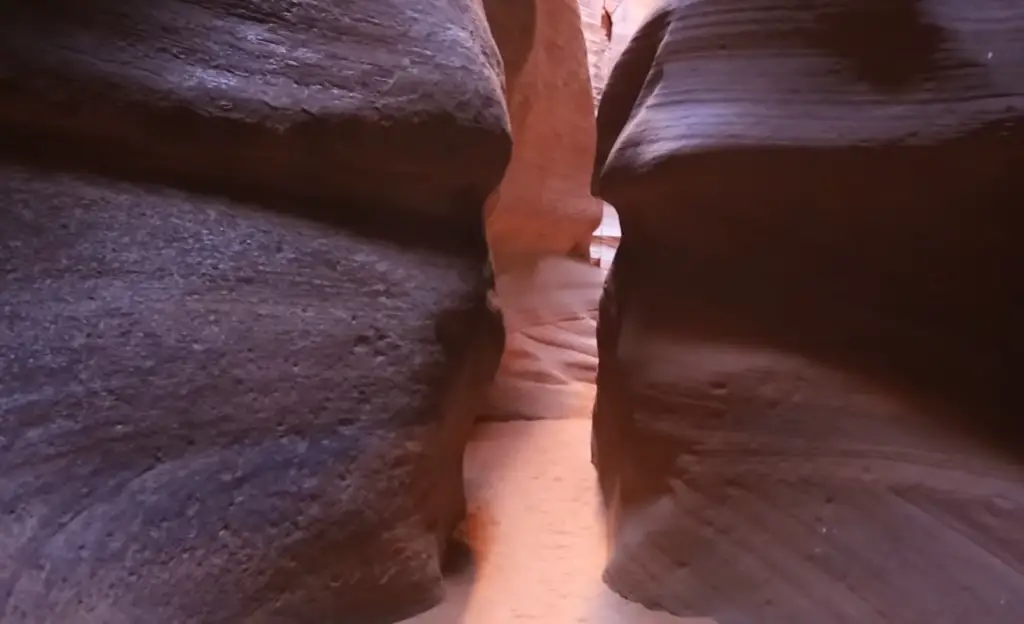
The shutter speed of your camera plays a crucial role in determining the quality of your photos. It not only controls the duration of time that the camera shutter is open but also influences the amount of light that enters the camera and how motion is captured in your frame.
When you use a slower shutter speed, more light is allowed to enter the camera, making it particularly useful in low-light situations. This can help you capture more details and create a sense of ambiance in your photographs. On the other hand, a faster shutter speed freezes motion and ensures sharper details, making it ideal for capturing fast-moving subjects or action shots.
Understanding the impact of shutter speed is essential in photography. By adjusting the shutter speed according to the specific situation, you can achieve the best possible results and capture stunning images that truly showcase your creativity and vision.
Exposure
The term “exposure” refers to the overall brightness of a photograph. It’s important to get the exposure right so that your photos look balanced and natural. One way to control exposure is by adjusting the ISO settings, as discussed before. However, you can also achieve better results by changing the aperture or shutter speed as needed. With practice, you’ll become more familiar with how these settings affect your photos and be able to confidently adjust the exposure to get that perfect shot.
Capturing Colors
Colors can make or break a photograph, so it’s important to pay attention to them when shooting. Natural light tends to bring out the best colors in any scene, so try to take advantage of this as much as possible. If you’re using artificial lighting, be sure to adjust its intensity and temperature until you get the right hues that you want. Additionally, you can also play around with the white balance settings to get the most accurate colors in your photos. With some experimentation and practice, you’ll be able to capture stunning photographs full of vibrant color [3]!
Best Time to Visit Lower Antelope Canyon
Lower Antelope Canyon is a breathtaking natural wonder that is best experienced during the summertime. With mild and comfortable temperatures, reaching highs in the 80s (Fahrenheit), visitors can explore the canyon comfortably. However, it’s important to note that this is also a popular time for tourists, so planning is crucial to avoid crowds.
During the winter months, Lower Antelope Canyon transforms into a serene destination. While temperatures can drop into the 30s at night, the canyon’s beauty remains unparalleled. Visitors who wish to embark on this winter adventure should start their day early and dress in layers to stay warm and comfortable.
Spring brings a fresh and vibrant atmosphere to Lower Antelope Canyon. With mild temperatures and the possibility of rain in May, the canyon is adorned with blooming flowers and lush greenery. However, it’s important to be aware of potential flash floods during this season. Visitors should plan their trips accordingly and stay informed about weather conditions to ensure a safe and enjoyable visit.
No matter the season, Lower Antelope Canyon offers a unique and awe-inspiring experience. From the summertime buzz to the tranquil winter ambiance and the vibrant spring scenery, each visit to the canyon promises to be an unforgettable adventure [4].
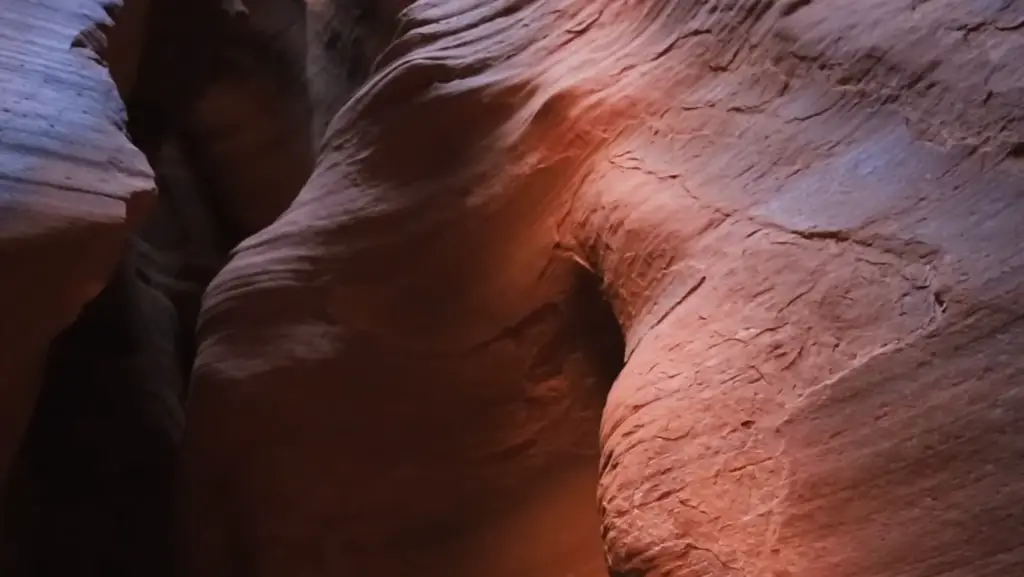
Post Processing Tips For Antelope Canyon
Use Lightroom Presets
Lightroom presets can be a great way to quickly edit photos taken of Antelope Canyon. There are plenty of Lightroom presets available online that are specifically designed for landscapes and the unique look of Antelope Canyon. Look for one with presets that can bring out the color, contrast, and clarity in your photos for amazing results.
Play With Color Temperature
Adjusting the color temperature of your shots can give them a whole new look and feel. If you’re looking for a more vibrant, warmer image, try bumping up the temperature or adding some magenta tint. On the other hand, if you want to create a cooler, moodier atmosphere in your photos, reduce the temperature or add a blue tint.
Know When to Add Vignettes
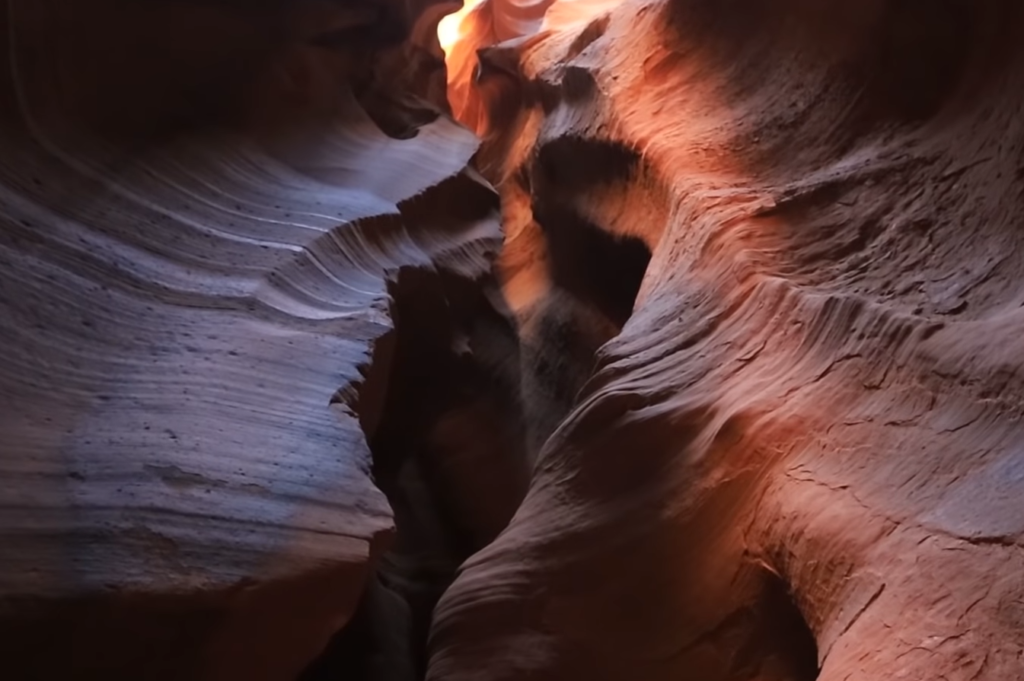
Vignetting is a great way to draw attention to the center of your photos. However, it’s important to make sure you don’t overdo it when editing Antelope Canyon shots. A subtle vignette can really help bring out the details in the canyon walls and highlights without overpowering them.
Experiment with HDR
HDR (High Dynamic Range) photography is a great way to capture the wide range of tones and shadows that Antelope Canyon has to offer. Try combining multiple exposures into one image or play around with exposure values to bring out all the details in your shots. With a little practice, you’ll be able to create stunning photos of the canyon.
Try Virtual Copies
Virtual copies are a great way to experiment with different editing techniques without changing the original photo. When editing Antelope Canyon shots, try out different color temperatures or adjustments on virtual copies to see what works best with your image. This can save you time and energy when trying to get that perfect look for your photos.
Try Stacking Images
Stacking images is a great way to create stunning, high-contrast photos of Antelope Canyon. By layering multiple exposures on top of each other, you can bring out the details in your shots and make them really stand out. Try experimenting with different stack sizes until you find the perfect look for your photo.
Make Use Of Plugins
FAQ
Is photography allowed in Antelope Canyon?
Yes, photography is allowed in Antelope Canyon as long as it is done safely and respectfully. There are some restrictions when using tripods or other camera equipment inside the slot canyon. Photography permits must be purchased for any commercial use of cameras within the canyon. Be aware that flash photography can cause damage to the canyon walls, so this should be avoided at all times. Additionally, visitors should take care not to disturb any wildlife or plants in the area while taking photographs.
When is the best time to visit Antelope Canyon?
The optimal time for visiting Antelope Canyon is from March through October when the canyon floor is dry and more easily accessible. During these months, the light beams passing through the slot canyon walls are most vibrant, making it a great time for photography. June through August is the busiest season in Antelope Canyon, so visitors should plan accordingly. To avoid crowds, spring and fall are often considered to be the best times to visit.
Can you bring a DSLR to Antelope Canyon?
Yes, visitors may bring a DSLR to Antelope Canyon. However, it is important to note that tripods and other camera equipment may not be used within the slot canyon without a photography permit. Flash photography is also prohibited inside the canyon, as it can cause damage to the walls over time. Therefore, visitors should opt for natural light when shooting photos in the canyon.
Is Antelope Canyon accessible for visitors with disabilities?
Yes, Antelope Canyon is accessible for visitors with disabilities. Wheelchair users can access the upper section of the canyon via a paved walking path while those with more severe mobility issues can hire an off-road vehicle to reach the entrance. In addition, other amenities such as accessible bathrooms, bathrooms equipped with grab bars, and a designated parking area are available for those with special needs. As always, visitors should check ahead of time to ensure their specific needs can be met before planning a trip to Antelope Canyon.
Where is the best place to take pictures in Antelope Canyon?
The upper section of Antelope Canyon is the most popular spot for taking pictures. This area has a higher concentration of light beams that are ideal for photography, as well as plenty of open space to shoot from different angles. The lower section also offers unique views and is accessible via a walking path or off-road vehicle, depending on your mobility needs. However, keep in mind that the lower section is generally darker and narrower, so it might not be suitable for all types of photography. Additionally, some of the most stunning views can be seen from the surrounding overlooks, providing a unique perspective on Antelope Canyon.
What type of clothing should I wear while visiting Antelope Canyon?
When visiting Antelope Canyon, visitors should dress for the weather and wear comfortable clothing that is easy to move in. Long sleeves and pants are recommended due to the high temperatures and blazing sun rays inside the canyon. It is also important to wear closed-toe shoes with good grip as much of the ground can be rough or wet. A hat, sunglasses, sunscreen, and plenty of water should also be brought along to ensure a safe and enjoyable experience.
How do I take pictures of Antelope Canyon with my iPhone?
Taking pictures of Antelope Canyon with an iPhone can be done easily and safely. Be sure to bring your phone charger with you in case it runs out of battery power during the visit. Additionally, turn off your flash to avoid damaging the canyon walls and opt for natural light when possible when taking photos. To capture the vibrant colors of the canyon, make sure to use the HDR setting on your phone camera. Lastly, make sure to use a tripod or other stabilization device when taking pictures with slow shutter speeds or long exposures.
Are there any special tours of Antelope Canyon?
Yes, several tour companies offer guided tours of Antelope Canyon. These professional guides can show you the best spots for photography and provide information on the history and culture of the area. For those who are experienced in landscape photography, some companies offer workshops that can help visitors get the most out of their visit to Antelope Canyon. Additionally, there are also helicopter tours available for those looking to get a bird’s-eye view of the canyon from up above.
Useful Video: How to Photograph Antelope Canyon – Lewis Carlyle
Conclusion Paragraph
To photograph Antelope Canyon is a unique and beautiful experience. By following the tips within this guide, photographers can ensure they get the best possible shots in terms of composition, lighting conditions, and safety. Photographers should make sure to plan ahead to maximize their time in the canyon and account for any potential issues with equipment or environment. With proper planning and preparation, Antelope Canyon can be a great location for photographers to capture some stunning shots.
References
- https://navajotours.com/tourist-resources/antelope-canyon-history/
- https://www.visitarizona.com/like-a-local/a-guide-to-visiting-antelope-canyon-the-right-way/#
- https://time.com/5660278/smartphone-camera-picture-tips/
- https://csginger.com/how-to-see-lower-antelope-canyon-arizona/






Leave a Reply