Is your Nikon D750 not sharp? This can be a frustrating problem to deal with, but luckily it can often be fixed quite easily. In this article, we will discuss some of the most common causes of this issue and how to fix them. We will also provide a few tips on how to get the best results from your Nikon D750 camera.
Nikon D750 Not Sharp Troubleshooting
If your Nikon D750 is not producing sharp images, there are several potential causes and solutions to consider.
- Check Image Quality Settings: Make sure you have the correct image quality settings for your desired output. The Nikon D750 has numerous options for shooting which can affect the sharpness of your photos. If you’re shooting at a low resolution or high compression level, this will affect the overall sharpness of your images.
- Clean Lens: To get the most out of your lens, it’s important to keep it clean and free from dust and dirt. A simple cleaning with a microfiber cloth should do the trick. It might also be worth getting a professional cleaning if needed.
- Check Focus Settings: Make sure your focus settings are correct for the type of photo you’re taking. If you’re shooting a close-up portrait, then use the single-point autofocus mode to ensure accuracy and sharpness.
- Use Tripod: When possible, use a tripod or other stabilizing device to help keep your camera steady while taking photos. This will reduce camera shake which can cause blurry photos and lack of sharpness in the image.
- Shoot in RAW: Try shooting in RAW format if you want more control over editing and getting the most out of your images after they have been taken. The Nikon D750 has an excellent RAW format that will allow you to edit and enhance your images with more precision.
- Use Manual Mode: If you want greater control over your photos and settings, switch to manual mode and adjust settings such as ISO, shutter speed, and aperture accordingly. This will help ensure that all settings are just right for the shot which can improve image sharpness.

By following these tips, you should be able to get better results from your Nikon D750 camera and produce sharper images. Remember to always keep your lens clean, use a tripod when possible, check focus settings frequently, shoot in RAW format if needed, and adjust manual settings accordingly.
Getting focus right
When shooting with your Nikon D750, you should pay close attention to focus settings.
You can also adjust the size of the focus area depending on how much depth of field you want in your photo. When photographing landscapes or other scenes with lots of detail, switch to manual focus and use Live View mode to check that everything is in focus before taking the shot.
a) Use manual focus
When shooting with your Nikon D750, switch to manual focus. This will give you greater control when composing and ensuring that your image is sharply focused. You can also use Live View mode to check that everything is in sharp focus before taking the shot.
b) Change your focus point
If you’re shooting with a single-point autofocus mode, make sure you adjust the focus area to the part of the scene that is most important. If you’re taking a portrait, it may be best to select the person’s eyes as your focus point. When shooting landscapes or other scenic photos with lots of detail, however, it might be better to adjust the focus area to include more of the scene.
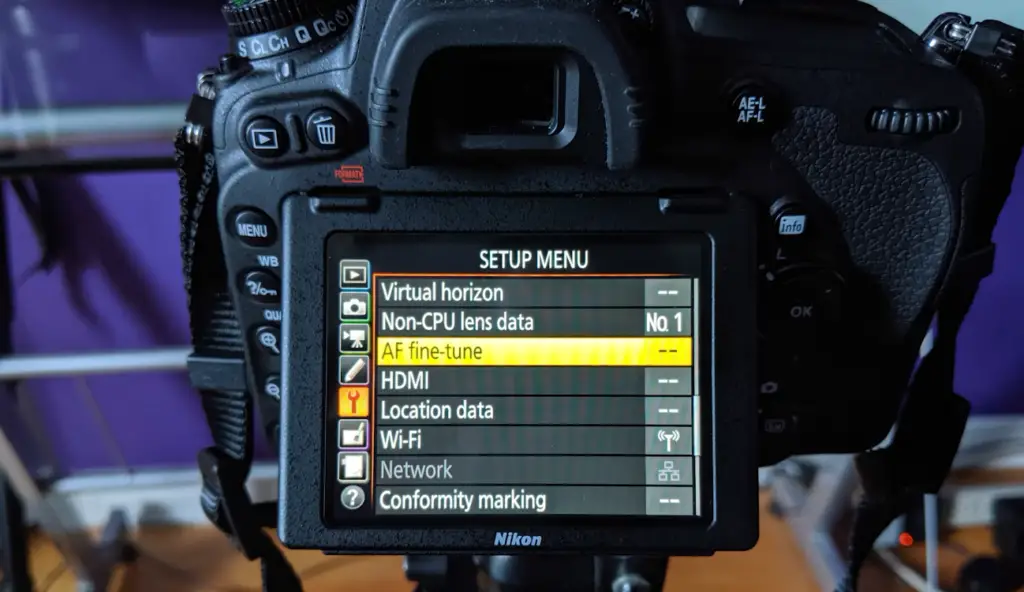
c) Use focus-recompose
If you need to get more of the scene in focus without having to change your focus point, try using the focus-recompose technique. This involves selecting your desired focus point and then composing the shot while continuing to hold your shutter button half-pressed. This will ensure that any changes you make to the composition won’t affect the focus of the image.
Understanding depth of field
Another important concept to understand when shooting with the Nikon D750 is depth of field. This refers to how much of an image will appear in focus and can have a big impact on the look and feel of your photos. When shooting portraits, for example, it’s often best to use a shallow depth of field so that only the subject is in sharp focus while the background appears blurred.
For instance, using a wide aperture (low f-stop number) with a low ISO setting will result in a shallow depth of field. On the other hand, using a smaller aperture (higher f-stop number) with a higher ISO setting will result in a deeper depth of field.
The problem of camera shake
Camera shake can be a major problem when shooting with the Nikon D750, especially if you’re using long exposures. Even small movements of your hands can cause the image to appear blurred or distorted. To avoid this, it’s important to take measures to keep your camera steady when taking photos.
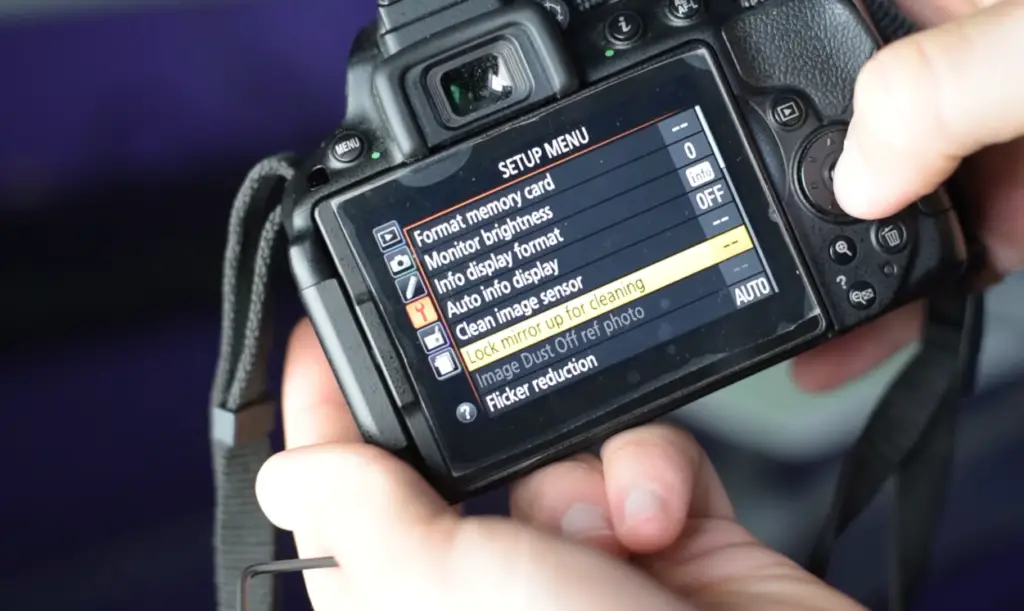
One option is to use a tripod whenever possible. This will help ensure that your camera remains completely still during long exposures and can also give you more control over composition and framing. If you don’t have access to a tripod, try leaning against something stable such as a wall or tree trunk for extra support and stability.
Lens Issues
Another potential issue with the Nikon D750 is lens compatibility. The camera uses an F mount, which means it’s compatible with a wide range of lenses from various manufacturers. However, certain lenses may not be fully compatible with the camera and could cause issues like soft focus, vignetting, or other undesirable effects.
To avoid these issues, make sure you check the compatibility of any lenses you plan to use with your Nikon D750. You can find this information in the user manual that came with your camera or by checking online for specific product information. It’s also a good idea to test out any new lenses before taking them on important shoots to ensure they perform as expected. [1]
Common Problems
The Nikon D750 can be a powerful and reliable camera, but it’s not without its issues.
By understanding these potential problems and taking steps to address them, you can ensure that your photos turn out looking their best.
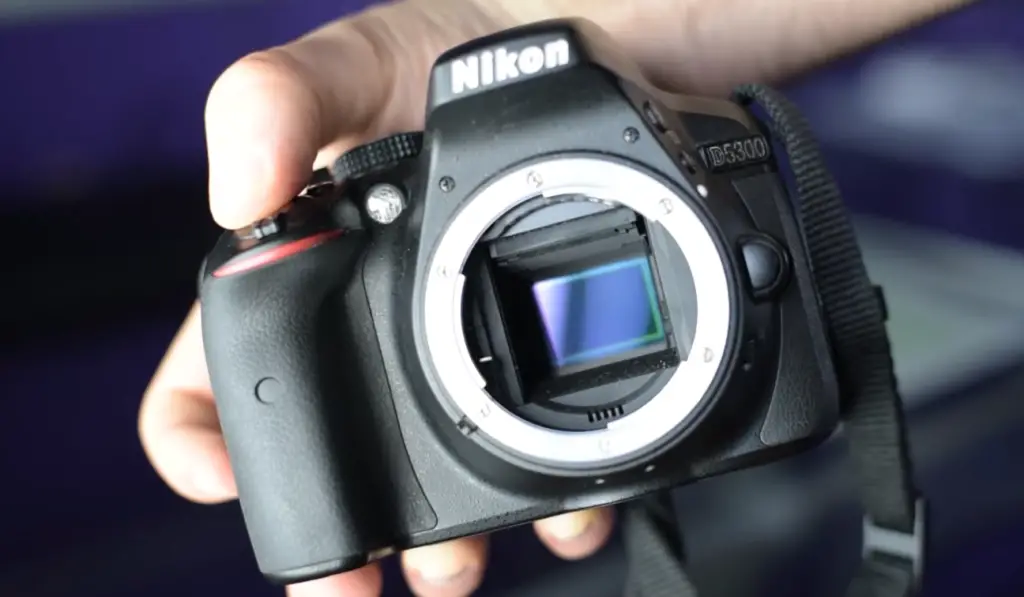
To avoid autofocus issues, make sure that the focus area is correctly adjusted to the part of the scene that is most important. When shooting with long exposures or in low-light situations, use a tripod to keep your camera steady and reduce camera shake. Finally, check the compatibility of any lenses you plan to use with the Nikon D750 before taking them out in the field.
Problem #1: Camera Shake
One of the most common issues when shooting with the Nikon D750 is camera shake. Even small movements caused by your hands can cause images to appear blurred or distorted. To avoid this, make sure you use a tripod whenever possible and lean against something stable for extra support if needed.
Problem #2: Moving Subject/Motion Blur
The Nikon D750 is capable of capturing sharp, detailed images even in low-light conditions, but it can be a challenge to freeze fast-moving subjects. This can result in motion blur or ghosting, where the subject appears blurry due to their movement while the background remains sharp. To reduce this issue, use a higher shutter speed and make sure your focus is locked on the subject before taking the shot.
Problem #3: Focus Was Missed
Another problem that can occur is missing the focus. Even if the autofocus settings are properly adjusted, it’s still possible to miss the focus, resulting in an out-of-focus image. To reduce this issue, you should check your camera’s focus settings before taking a shot and make sure they match up with what you want to capture. Additionally, try using manual focus if you find yourself struggling with autofocus issues.
Problem #4: Low-Quality Glass
Many lenses may not be fully compatible with the camera, resulting in soft focus and other undesirable effects. To ensure that you’re getting the best image quality possible, make sure to check compatibility before using any new lenses with your camera. Additionally, test out any new lenses before taking them on important shoots to make sure they perform as expected.
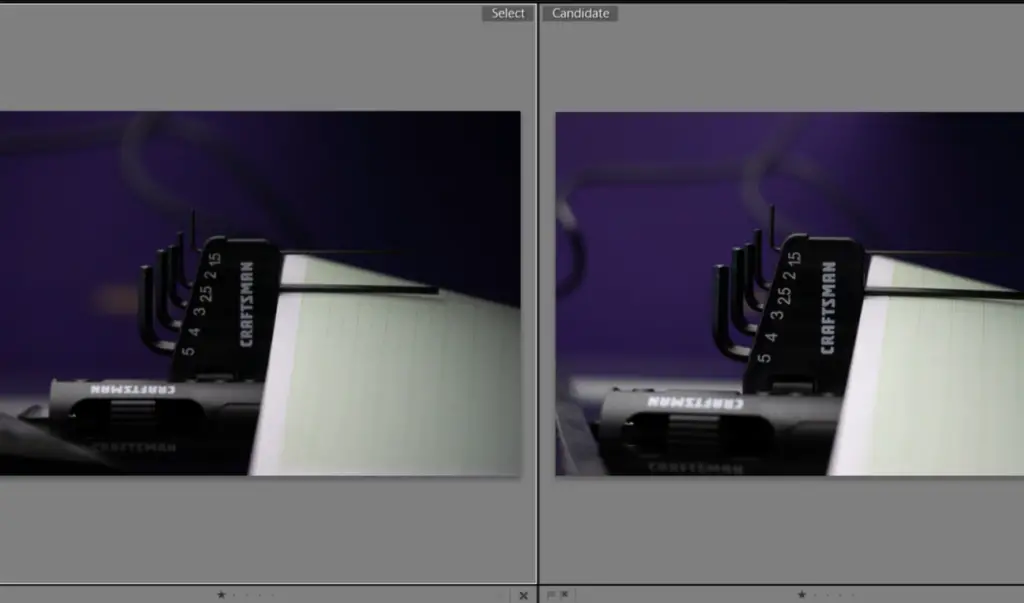
Problem #5: Multiple Subjects
When shooting a scene with multiple subjects, it can be tricky to get all of them in focus. To help avoid this issue, increase the number of focus points so that you have more control over where your camera focuses. Additionally, use manual focus or switch to continuous autofocus mode so that your camera will remain focused on the subject even if they move.
Problem #6: Atmospheric Conditions
If you’re shooting outdoors, atmospheric conditions can drastically affect the quality of your images. Haze and fog can cause flat, washed-out colors while strong winds can blur details or make it difficult to keep your camera still. In these situations, try adjusting your white balance and ISO settings as necessary to help reduce the impact of the environment on your photos.
Problem #7: Cropping to Small Dimensions
Cropping a photo to a small size can lead to noticeable pixelation and loss of detail. To avoid this issue, use the highest resolution setting on your camera when shooting and try to compose your shots in-camera instead of relying on cropping later on. Additionally, make sure that you’re saving your images as high quality TIFF or JPEG files so that you don’t lose any data when editing them later.
Problem #8: Dirty Front Lens Element
Make sure you clean the front lens element of your camera regularly. Dirt and dust particles can cause flare and reduce overall image sharpness, so it’s important to keep the lens free from any debris. Use a lens cloth or soft brush to wipe away any dirt and smudges before taking photos to ensure that you get the best quality images possible.
Problem #9: Using Lens Attachments
Using lens attachments such as teleconverters and extension tubes can reduce image quality by introducing optical aberrations or other distortions. To avoid this issue, make sure that your lenses and attachments are compatible with each other before using them together. Additionally, double-check the settings on both your camera and the attachment to ensure they’re set up correctly before taking a shot.
Problem #10: Flare, Glare, and Backlighting
Flare, glare, and backlighting can all cause problems with your photos. To reduce the impact of these issues, try using a lens hood or an ND filter to block out any unwanted light from entering the lens. Additionally, make sure that your camera is set up correctly for backlit scenes so that you don’t overexpose any areas of the image.

Problem #11: Anti-Aliasing (AA) Filter
Most cameras have an AA filter that helps reduce any jagged edges or moire patterns in your photos. However, this filter can also soften images and reduce overall sharpness. To get the best possible image quality, try turning off the AA filter when shooting with a tripod or other stable surface to ensure that your photos are as crisp and detailed as possible.
FAQ
How do I get sharp focus on my Nikon D750?
To get sharp focus on your Nikon D750, you need to use the camera’s autofocus system. Make sure it is enabled and set the correct focus mode for your subject and shooting situation. You should also make sure that your lens has a good working autofocus motor if you are using older lenses. When taking photos, be sure to manually check the focus points in each frame by zooming in and fine-tuning as necessary. Additionally, always use a tripod when possible as this will allow for more precise focusing without any shaking from holding the camera in your hands. Finally, practice makes perfect – with time and practice you’ll develop an eye for what looks sharp or not! [2]
Why are my photos not sharp enough?
There are several factors that can contribute to blurry or soft images. These include camera shake, poor focus, incorrect lighting, and technical errors in the camera itself.
- Camera Shake: This occurs when your camera moves while taking a photo, causing the image to be out of focus. To reduce camera shake, use a tripod or other form of stabilization when possible. Additionally, make sure you press down on the shutter button with gentle pressure and hold your breath as you take the shot for added stability.
- Poor Focus: When taking a photo, it’s important that your lens is finely focused on what you want to capture. If there are multiple objects in the frame and not all of them are in focus, it can cause the overall image to be blurry. To avoid this, use proper focusing techniques and adjust the focus point so that it’s on your subject.
- Incorrect Lighting: Poor lighting can also lead to soft images. If you don’t have enough light, your shutter speed will slow down and cause camera shake or motion blur. Additionally, bright spots in a photo can create flare which produces an overall unsharpened look. Make sure you are using the correct type of lighting for the situation and that you are correctly exposing your photos by adjusting your aperture or ISO settings if necessary.
- Technical Errors: Your camera lens may not be functioning properly or could require calibration to ensure sharp images. Check your manual to see if there is a procedure for calibrating your lens. Additionally, make sure the settings on your camera are correct and that you’re using the most updated version of firmware. [3]
Why are my shots not sharp?
If your photos appear blurry or out of focus, it could be caused by a few different factors.
First, make sure that the lens you are using is in good condition and free from any dirt or dust. Use a blower to gently remove any particles that may be on the glass, then check if the issue persists.
It could also mean that you need to adjust your camera’s autofocus settings for better accuracy. If you’re shooting with an interchangeable lens camera, try switching lenses as well.
Finally, ensure that your shutter speed isn’t too slow for the type of shot you’re taking – if it’s too low, the image will be blurred due to camera shake. Increase the shutter speed, or use a tripod to stabilize your camera if necessary.
By making sure that each of these factors is properly set up and adjusted, you should be able to achieve sharp, clear photos with ease!
Is D750 sharp?
The Nikon D750 is a great camera for all types of photography. It has an impressive 24.3MP full frame sensor, giving it excellent image quality and sharpness. The camera has 51-point autofocus system with 15 cross-type sensors, enabling you to capture fast action shots with greater accuracy. Additionally, the D750 has built-in 5-axis VR image stabilization technology that helps reduce camera shake when shooting video or handheld photos. When paired with a good quality lens, such as the NIKKOR Z series lenses, the Nikon D750 can produce some very sharp images that will satisfy even the most discerning photographer. [4]
Useful Video: NIKON D750 Focus for sharp photos
Conclusion
The Nikon D750 is a great camera that offers a lot of features and capabilities. While it can produce some stunning images, it’s not without its issues. If your photos are coming out soft or not sharp enough, try out the tips outlined in this article to help improve the sharpness of your images.
First of all, check your lens and make sure that everything is working properly. If there are any problems with the lens or other components, they need to be addressed before you can expect good results from your camera.
Next, make sure you’re using proper shutter speed and aperture settings for whatever type of photography you’re doing. Generally speaking, using larger apertures will result in sharper photos while slower shutter speeds will help to improve the overall quality of your photos.
To create stunning low-light photography, ensure you are using a reliable tripod and remote shutter release. This will help to reduce camera shake and blurriness, resulting in much sharper images.
References
- https://ayearwithmycamera.com/blog/why-arent-my-images-sharp
- https://www.quora.com/How-do-I-get-a-sharp-image-in-a-Nikon-D750
- https://ayearwithmycamera.com/blog/why-arent-my-images-sharp
- https://www.dpreview.com/forums/thread/4162720







Leave a Reply