In a world where you take and store an ever-increasing number of photos on your iPhones, it’s more important than ever to make sure that those images are secure. With so many people now using their phones for work, family, and personal storage – photos included – how do you protect your pictures from getting into the wrong hands? The answer is simple. By following a few steps you can easily lock your images on your iPhone, giving you total peace of mind that your irreplaceable memories are safe from prying eyes.
Why Lock Photos on an iPhone?
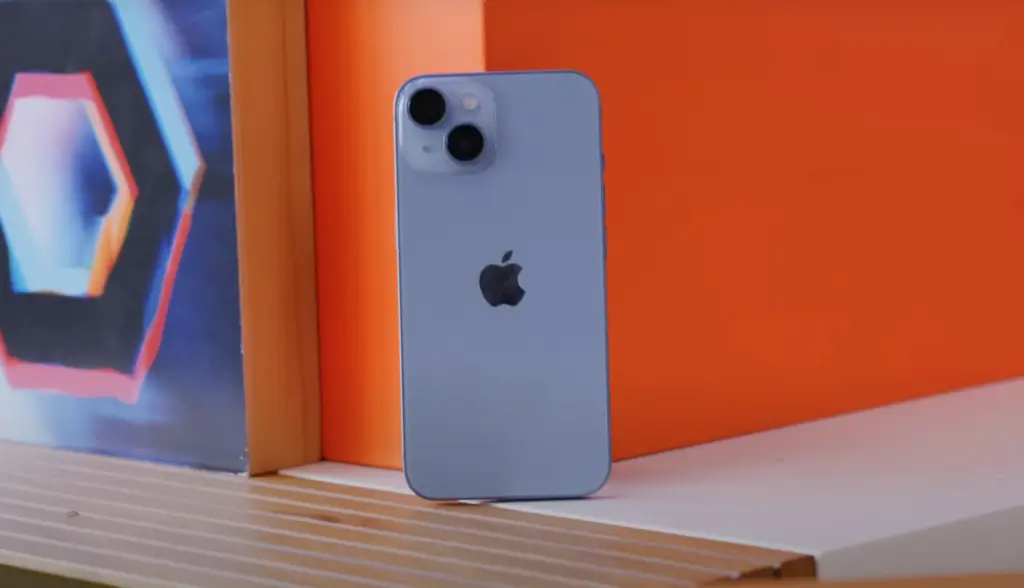
It also allows you to keep your personal data safe and secure, ensuring that only those with the correct credentials can access it. Locking photos on an iPhone is especially important if you have sensitive information stored in them, such as financial information or medical records.
By locking these images, you ensure that only those who should be allowed to view them will be able to do so. Additionally, photo lockers can help prevent unauthorized access by malicious software or viruses. This helps protect all of the data stored on your phone from being corrupted or stolen.
Finally, locking photos on an iPhone helps keep digital memories safe for years to come. With the right security measures in place, your photos will remain locked even if you switch devices or lose access to them. This ensures that your memories and personal data stay safe and secure, no matter what happens.
What You Need to Know About Secure Storage Photos on Your iPhone?
Secure storage of photos on your iPhone is essential to protect your privacy and ensure that your images remain safe. Fortunately, Apple has thought ahead and provided several methods for securing the photos stored on iPhones.
One of the simplest ways to secure photos on an iPhone is by setting a passcode or Touch ID protection. This will help prevent unauthorized access to the photos stored in the Photos app. Additionally, users can set up their devices so that data is automatically wiped after ten failed attempts at entering a passcode.
Another way to secure photos on an iPhone is through iCloud Photo Library. This feature allows users to store their images securely in the cloud, providing extra protection in case anything should happen to their device or they need to access their photos from another device. It also allows for easy sharing of photos with friends and family, as well as editing features such as filters, red-eye reduction, and more.
Finally, iPhone users can choose to store sensitive images in secure folders on the device itself. This feature requires an additional level of security beyond a passcode or Touch ID protection, but it is worth considering if you want to protect those extra personal or confidential images.
By taking the time to set up secure storage methods for the photos stored on your iPhone, you can protect your privacy and ensure that your pictures remain safe and sound.
4 Methods on How to Lock Photos on iPhone
Part 1. Lock Photos on iPhone without any app
The way to lock photos on your iPhone is by using the built-in feature offered by Apple. This is a great option for those who don’t want to install any third-party applications on their phones. Here’s how you can do it:
- Open up the Photos app and then select the album that contains the photos you want to lock.
- Tap “Select” in the upper right corner and then select all of the photos you want to lock.
- Tap “Share” at the bottom left, and then choose “Lock Notes” from the sharing options menu.
- You will be asked to create a passcode or use your existing Touch ID or Face ID.
- Once you’ve done this, the selected photos will be locked and can only be accessed using the passcode you just created.
Part 2. Lock Photos with Third-Party Apps on iPhone
If you don’t want to use the built-in feature offered by Apple, then there are third-party apps that can help you lock photos on your iPhone. Here are some great options:
- Private Photo Vault: This app allows users to securely store their private photos behind a password-protected folder inside the app itself. It also features support for FaceID and TouchID for added security as well as military grade encryption to keep your data safe.
- Secret Photo Vault: This app offers the same features as Private Photo Vault, but it also has an additional feature called “Secret Mode” which adds an extra layer of security by hiding the app icon when you enter your passcode.
- Folder Lock: This is another great option for those who want to lock photos on their iPhones. It allows users to create secure folders and store important photos inside them with a few simple taps. The data stored in these folders are encrypted and can only be accessed using a password that you set yourself.
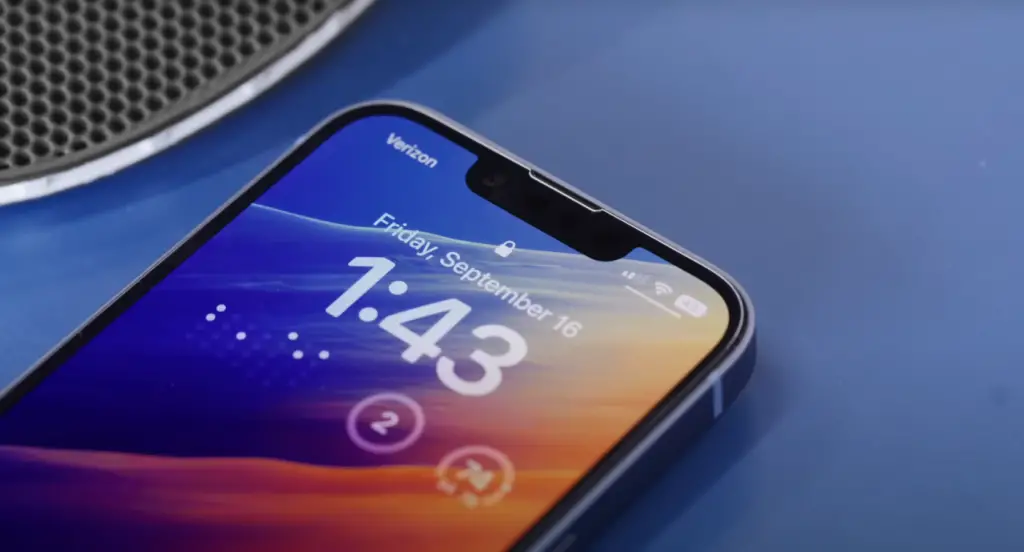
Part 3. Lock iPhone Photos Using Notes
You can also use the Notes app to lock photos on your iPhone. Here’s how you can do it:
- Open up the Notes app and then tap “New Note” in the left corner.
- Tap the plus icon at the bottom of the screen and select “Photos & Videos” from the options menu.
- Select all of the photos you want to lock and then tap “Done” at the top right corner of your screen.
- Tap on “Lock Note” at the upper right corner and create a passcode or use Touch ID or Face ID for added security.
- Once you have done this, the selected photos will be securely locked in a password-protected folder.
Part 4. Lock iPhone Photos Using Downloaded Apps
Finally, you can also lock photos on your iPhone by downloading third-party apps from the App Store. Here are some great options:
- Photo Locker Pro: This is a popular app that allows users to securely store their private photos behind a passcode-protected folder inside the app itself. It also offers Touch ID and Face ID support for added security and military-grade encryption to keep your data safe.
- Gallery Lock Lite: This is another great option for those who want to lock photos on their iPhones. The app allows users to create secure folders and store important photos inside them with a few simple taps. The data stored in these folders are encrypted and can only be accessed using a password that you set yourself.
- Secure Photo Album: This app is perfect for those who want to keep their photos private and secure. It offers military-grade AES encryption as well as Touch ID and Face ID support for added security. The app also has the option to hide the folder itself so it can’t be seen by anyone else.
These are just some of the ways you can lock photos on your iPhone without having to install any third-party apps or use complicated methods. With the right tools, you can make sure that your photos remain safe and secure at all times [1]!
How to lock photos on iPhone with Face ID
Step 1. Put photos into Hidden album
The first thing you will need to do is put the photos you want to keep private in a Hidden album. To do this, open the Photos app on your iPhone and tap “Albums” at the bottom of the screen. Next, select “Hidden” from the list of albums and then tap “+”. You can then select which photos to add to the Hidden album by tapping them individually or selecting multiple photos by tapping and holding one photo until all are selected.
Step 2. Enable Face ID for Photos
Once you have added your photos to the Hidden album, it’s time to enable Face ID for that album. Open Settings on your iPhone and scroll down until you see “Photos.” Tap this option, then select “Face ID” from the list of options. Toggle the switch next to “Hidden Album” to enable Face ID protection for that album.
Step 3. Confirm with Face ID
Now that you have enabled Face ID for your Hidden album, it is time to confirm with Face ID so that only you can access these photos. To do this, open the Photos app and tap on the Hidden Album again. Select any photo in the album and tap “Unlock” in the top right corner. You will then be prompted to scan your face using Face ID before you are able to view or make changes to these photos.
How to Recover Deleted Photos from iPhone without Backup?
If you have not backed up your photos, it may seem like recovering them is impossible. Fortunately, there are a few ways you can try to recover deleted photos from your iPhone without backup.
- Check Recently Deleted Folder: iPhones keep the recently deleted items in a special folder for 30 days before they are permanently removed. To access this folder, open the Photos app and tap on “Albums” at the bottom of the screen. Then scroll down until you see “Recently Deleted” and tap on it to see if any of your deleted photos are still available here.
- Use iCloud Photo Library: If you use iCloud Photo Library, then your photos will be stored in Apple’s cloud. You can use the Photos app to view and recover your deleted pictures. Just open the app, tap on “Albums” at the bottom of the screen, then scroll down until you see “iCloud Photos”. Tap on this to access all photos stored in iCloud and try to find your deleted photos here.
- Use Third-Party Software: If none of the above methods work, then you may have to resort to using third-party software to recover your deleted photos from your iPhone without backup. There are several reliable recovery software packages available online that can help you retrieve lost or deleted data from any iOS device including iPhones, iPads, and iPods Touch. You just need to choose a reliable recovery tool, install it on your computer, and follow the instructions to recover your photos.
Recovering deleted photos from your iPhone without backup is possible if you take the right steps. You should always try to back up your photos regularly in case of any data loss or accidental deletion. However, if that fails, then use one of the methods mentioned above to try and retrieve lost photos from your iPhone without backup [2].
What if you don’t lock Photos on your iPhone?
If you don’t lock Photos on your iPhone, there are a few potential risks. First off, anyone who has access to your device can view all of the photos stored in it. This means that if you have any personal or sensitive photos that you do not want others to see, they may be exposed and vulnerable. Additionally, any photos that are automatically backed up by iCloud will also be accessible to anyone with access to your device, which could lead to privacy issues.
Finally, if someone were to gain access to your device without permission and delete or tamper with your photos, there would be no way for you to recover them unless you had a recent backup saved elsewhere. In short, it is always best practice to lock Photos on your iPhone to ensure the security of your data.
Furthermore, it is important to remember that many apps have access to Photos, which could also be a potential risk if you do not lock Photos. Therefore, it is essential to always review the app permissions before downloading an app to ensure that only trusted apps have access to your photos. By taking these precautions and locking Photos on your iPhone, you can rest assured knowing that your photos are secure from unauthorized access.
FAQ
Can I lock a photo album on my iPhone?
Yes, you can lock a photo album on your iPhone by using the built-in Notes app. Open the Notes app and tap the “+” icon to create a new note. Tap the camera icon in the upper right corner and select “Photo Album” from the menu. Select photos you’d like to add to your album and tap “Done” in the top right corner. Now, tap on “Share” at the bottom of your screen, then select “Lock Note” from the sharing options. Enter a password or Face ID/Touch ID when prompted and confirm it to secure your photos in that album. You will now be able to access them with authentication only!
How do I make my Photos private on my iPhone?
You can make your Photos private on your iPhone by using the built-in Restrictions. Go to Settings > General and tap “Restrictions”. Enter a passcode (you will need this for future access) and turn off “Photos” in the list of apps. This will keep all photos on your device accessible only with authentication from that point forward. If you want even more security, you can also enable Data Protection by going to Settings > Touch ID & Passcode > Use Data Protection to encrypt all data stored on your device.
Are there any other ways to protect my photos?
Yes, you can add an extra layer of protection by using a third-party app such as Private Photo Vault. Private Photo Vault is an app that allows you to store your photos and videos securely, with a passcode or ID/Face ID authentication. You can also manage the visibility of your photos within the app, so only those who know your password can view them. Additionally, it has features such as break-in reports and decoy passwords for extra security. To sum up, there are several ways to protect your photos on your iPhone including using Restrictions and Data Protection in settings, locking albums in the Notes app, and using a third-party app like Private Photo Vault. Choose the method that best suits your needs and keep your data safe!
How do I back up my photos on my iPhone?
You can backup your photos on your iPhone by using iCloud or iTunes. For iCloud, go to Settings > Photos and turn on iCloud Photos. This will automatically upload all of your photos from the Camera Roll to iCloud. You can also select “Optimize Storage” to keep only a reduced-size version of the photo on your phone while keeping a full-size version in iCloud. For iTunes, plug in your device to a computer and open iTunes. Then click “Photos” at the top of the window and check sync photos to enable automatic backups when you connect your device to your computer again in the future. Select where you want these images stored (on your computer or in iCloud) and click “Apply” to begin the backup process. These are two great ways to make sure your photos are backed up and safe from any potential data loss. It’s always a good idea to keep multiple backups of your photos just in case!
How do I lock my photos on IOS 15?
To lock your photos on iOS 15, you can use the new “Secure Folder” feature. This allows you to store personal files and images in a secure folder with an added layer of security using Face ID or passcode authentication. To enable it, go to Settings > General and select “Secure Folder”. After setting up Face ID/passcode authentication, you can then move photos into this folder from the Photos app. You will need to authenticate each time you open the Secure Folder in order to view the contents. This provides an extra level of security for your sensitive photos and videos!
What is the best way to share my photos?
The best way to share your photos is through a secure file-sharing app, such as Dropbox. You can easily upload all of your photos to the Dropbox folder and then share them with friends by sending them a link. This ensures that your files are safe from potential hacking or data loss due to device theft or damage. Additionally, there are several other apps available for photo sharing, such as Google Photos and OneDrive, so it’s worth exploring these options before choosing one. With any of these apps, you can be sure that your photos will remain safe and secure while still being accessible when you need them!
Why is it important to protect my photos?
It is important to protect your photos for two main reasons. Firstly, you don’t want anyone else to be able to view or access them without your permission. This includes both physical access (such as if someone were to steal your phone) as well as digital access (such as if someone were to hack into your account).
Secondly, it is also important to protect your photos in case of device failure or data loss. By keeping backup copies in various locations such as iCloud, Dropbox, and OneDrive, you can rest assured that even if something happens to one copy of the photo, you will still have another copy stored safely with which you can recover any lost data.
Useful Video: How to Set PASSWORD on iPhone Gallery | How to Lock Photos in iPhone | SET PIN on Photos App iPhone
Conclusion
Locking photos on an iPhone is an important safety measure that can help keep your information secure and private. With a few simple steps, you can easily lock individual photos to prevent unauthorized access while still being able to share the images with trusted friends and family. The process is quick and easy, allowing users to protect their data without sacrificing convenience or accessibility. By following these instructions, users can ensure their photos are secured and protected in a way that best suits their needs. It’s always important to consider the security of your digital data – especially when it comes to sensitive content like photos. Locking photos on an iPhone is an effective tool for protecting such content from prying eyes, ensuring only those with the correct credentials have access.
References
- https://www.fonedog.com/tricks/how-to-lock-photos-on-iphone.html
- https://www.imyfone.com/ios-data-recovery/recover-deleted-photos-from-iphone-without-backup/






Leave a Reply