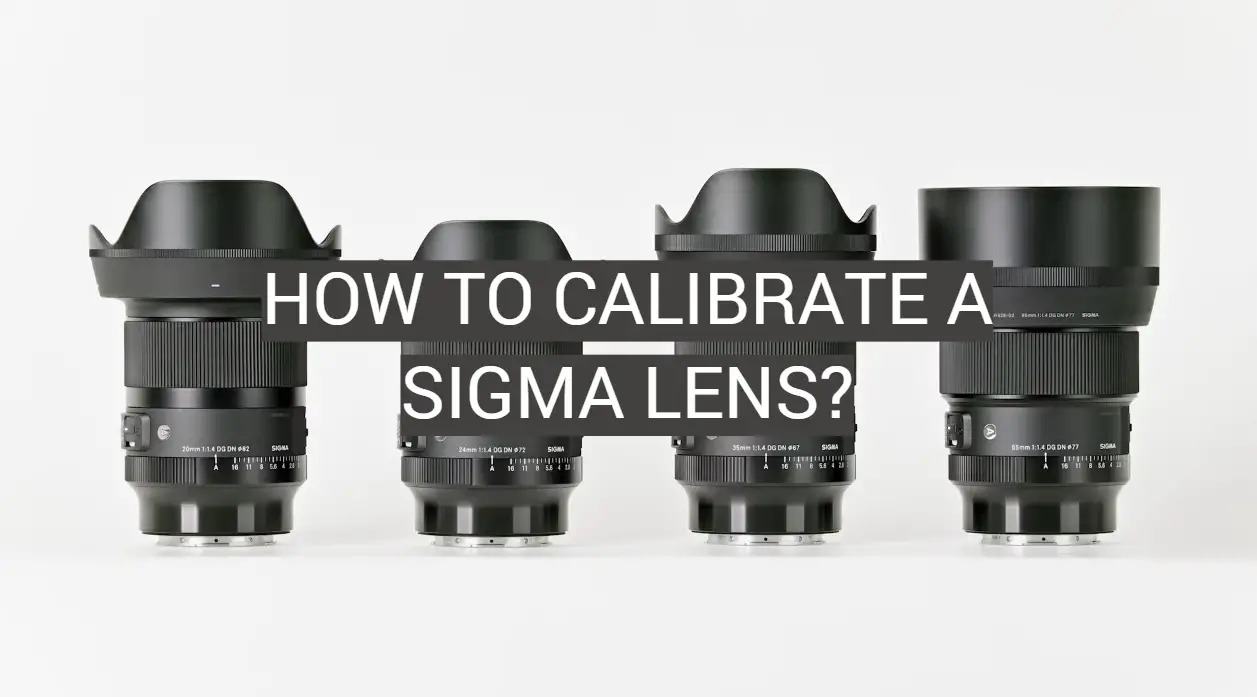
A Sigma lens is a powerful piece of equipment. But like all pieces of machinery, it needs to be calibrated occasionally to ensure that it’s performing at its best. In this article, we will answer some common questions about how to calibrate a Sigma lens. We’ll provide tips on how to do it yourself, as well as information on what to do if you need help from a professional. Let’s get started!
Sigma Lens Overview
Founded in 1961, Sigma prides itself on its innovative and high-quality products. Its lineup of lenses, which are available for most major camera brands, including Canon, Nikon, Sony, and Olympus, has earned Sigma a reputation as a leader in lens technology.
When Would You Need to Calibrate Your Sigma Lens
Calibrating a lens is the process of adjusting the focus of the lens to produce sharp images. This is usually done by using a calibration chart or software that measures the amount of blur in an image.
Most lenses do not require calibration unless they are significantly out of adjustment. However, some lenses, especially telephoto lenses, may benefit from occasional recalibration.
You might be wondering when you would need to calibrate your Sigma lens. There are actually a few different scenarios where it might be necessary.
If you notice that your images are consistently soft or out of focus
If you notice that your images are consistently soft or out of focus, it could be a sign that your lens needs to be calibrated. This is particularly true if you’ve recently changed lenses or camera bodies, as the new equipment could be throwing off the calibration of your existing lens.
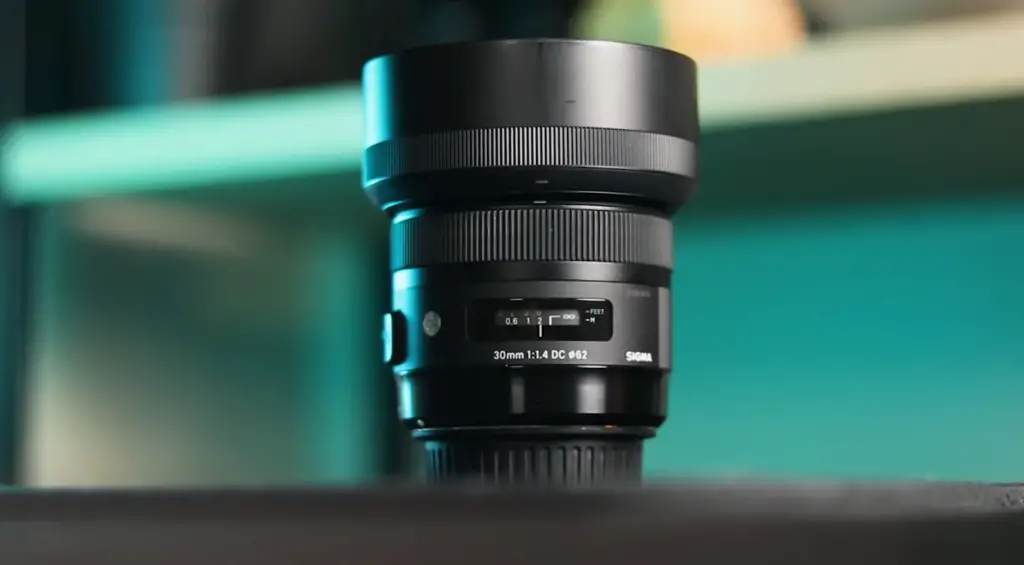
If you drop your lens or otherwise subject it to a significant impact
Another reason you might need to calibrate your Sigma lens is if you’ve dropped it or otherwise subject it to a hard jolt.
If you bought a new camera
If you’ve just purchased a new camera, it’s always a good idea to calibrate the lens to the body. This will ensure that the two are working together optimally and that you’re getting the most accurate focus possible. [1], [2]
How to Calibrate a Sigma Lens
Now that we’ve gone over when you might need to calibrate your Sigma lens, let’s talk about how to actually do it. The process is actually pretty straightforward and only requires a few simple steps.
Purchase the Sigma USB Dock
The first step is to purchase the Sigma USB Dock. This handy little device attaches to the base of your lens and allows you to connect it to your computer via USB. The dock also comes with its own software, which you’ll need to download and install on your computer. Usually, the dock will be included with your lens when you purchase it, but if not, it can be purchased separately.
This dock is what makes calibrating Sigma lenses so easy. There’s no need to eyeball the process or use any special tools. The software does all the work for you and provides you with an accurate calibration. The dock allows for a precise calibration, at different focal lengths and apertures which is essential for getting the most accurate results. [1], [2]
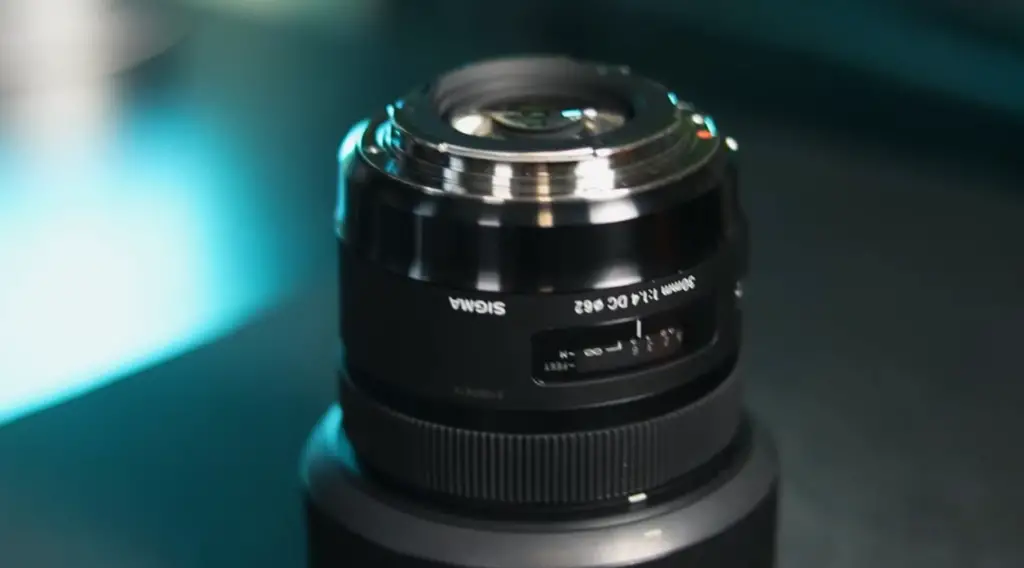
Create a test scene
The next step is to create a test scene. This can be anything from a simple piece of paper with a few lines drawn on it to a more complex arrangement of objects. Just make sure that the scene you choose has plenty of contrast and detail. We suggest using specialized calibration charts, which are specifically designed for this purpose and can be easily purchased online.
No matter what you will choose for your test scene, make sure it’s an object with an easy to spot focus point and place it in the middle of high-contrast light for the best focus results. It’s important that the surface be flat and featureless because you want the autofocus system to have nothing to focus on but the calibration target.
Locate your test scene away from your camera to ensure that your Sigma lens can focus on it properly. [1], [2]
Set your camera on the tripod
Once you have your test scene set up, it’s time to focus on it. To get started, you’ll need to set your camera on a tripod. This will ensure that your camera stays perfectly still during the calibration process. [1], [2]
Make a few test photos
Once you have your test scene set up, it’s time to take a few test photos. Start by setting your camera to the widest aperture possible and focus on the center of your test scene. Then, take a series of photos at different apertures, making sure to refocus each time.
Take your first photo at least 1 feet away from your subject, then move closer in small increments for each subsequent photo. Your next photo should be made at 2 feet, then 6 feet and beyond that. Be sure to keep your camera level and use a remote shutter release or self-timer to avoid shaking the camera. [1]
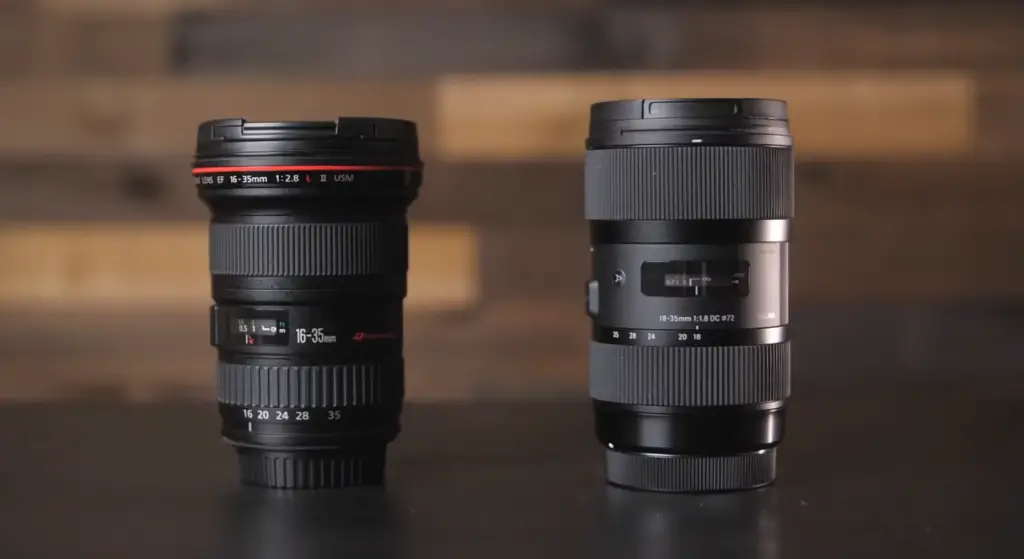
Upload photos to your PC
Once you have a few test photos, it’s time to upload them to your computer and take a look at the results. Ideally, all of your photos should be in sharp focus, but if they’re not, don’t worry. We’ll use the software that came with your Sigma lens to fix any focusing issues. If your camera supports wireless transfer, you can use that to quickly get your photos onto your computer. [1], [2]
Connect lens to the computer
Once you have a series of test photos, it’s time to connect your lens to the computer via the USB dock. Disconnect the lens from your camera body and connect it to the dock, making sure that the dock is properly secured to the lens. Use only the dedicated USB cable that came with the dock, as other cables may not work properly. [1], [2]
Check for the firmware updates
Open Sigma Optimization Pro and check for any firmware updates that may be available for your lens. If there are any, be sure to install them before proceeding. This can be done by clicking on the Firmware Update menu.
If no updates are required, click on the Customization menu and then select the Lens Calibration tab. [1], [2]
Review test photos and make adjustments
Now, it’s time to review your test photos and make any necessary adjustments. First, you will want to get a good look at them by yourself to see if there are any obvious problems. If you notice any, you can make the necessary adjustments in the software.
If you’re not sure how to proceed, don’t worry. The software will automatically detect the aperture used for each photo and display the focus point in real-time. If the focus point is not where you want it to be, simply adjust the calibration settings and take another series of photos.
Go to the “Focus setting” from the Customization menu and enter the adjustment screen. There, you are free to review your pictures and adjust the focus as you see fit. Keep in mind that these adjustments are specific to your camera and lens combination and should not be applied to any other cameras or lenses.
Don’t forget to take distance into account when making your adjustments. This will help ensure that your lens is properly calibrated for both close-up and distance shots. The focus point of your photo needs to be the sharpest one.
Enter your adjustments and click the “Rewriting” button to save your changes. You can change your focus forward or backward in small or large increments.
Retake test photos
To ensure that your adjustments are correct, it’s important to retake a series of test photos. Set up your test scene and make sure that your camera is still on a tripod. Then, take a series of photos with the focus point being farther or closer from your subject.
Review your photos and make sure that they’re all in sharp focus. If they’re not, simply adjust the focus until they are. Once you’re happy with the results, your lens is now calibrated and ready to use! [1], [2]
FAQ
How much does it cost to calibrate lenses?
There is no definitive answer to this question as it can vary depending on the type of lens, how old it is, where you take it to be calibrated, and a few other factors. However, a safe estimate would be somewhere between $50 and $200.
However, calibrating Sigma lenses is pretty straightforward and this is something one could do at home with some patience and practice.
Do I need to calibrate my Sigma lens?
This is a common question, and the answer really depends on your situation. If you’re a professional photographer or your livelihood depends on your photos being absolutely perfect, then the answer is probably yes. However, if you’re a casual shooter or someone who just enjoys photography as a hobby, then the answer is probably no.
If you’re having focus issues with your Sigma lens, then calibrating it may help. But before you go through the hassle and expense of calibrating your lens, make sure that the focus issue is actually with the lens and not with something else. For example, if you’re using a Sigma DSLR, check to see if the problem is with your camera’s autofocus system and not with the lens itself.
How do you calibrate a Sigma camera lens?
It’s actually quite simple. All you need is a tripod, a target, and Sigma’s handy dandy USB Dock. With the dock, you can fine-tune your focus with ease for those times when your autofocus just isn’t quite cutting it.
How can I calibrate my lens at home?
There are a few ways that you can calibrate your lens at home, but the most common way is to use a calibration chart. This will help you to get the best results possible.
Another way to calibrate your lens is by placing an object at a specific distance away from the camera and taking a picture. You can then use software to determine the calibration for your lens.
When calibrating your lens at home, it is important to make sure that the environment is as still as possible. Any movement can affect the accuracy of the calibration.
How do you calibrate a Sigma 18 35mm lens?
To calibrate a Sigma 18 35mm lens, you’ll need to use a dedicated USB dock, like the one available from Sigma. Once you have the dock, connect it to your computer and launch the Sigma Optimization Pro software. From there, follow the on-screen instructions to complete the calibration process. Set up the test scene and take a few photos, then analyze the results to ensure your lens is properly calibrated.
Useful Video: Sigma Lens Calibration Tutorial
Conclusion
If the focus of your lens is not accurate, don’t hesitate to calibrate it. In this article we have covered all the steps needed to properly calibrate your Sigma lens. Thanks to the USB dock that comes with the lens and the calibration software, the process is relatively simple. Just remember to be patient, take your time and follow the instructions carefully. You don’t need to buy any extra equipment, just use what is included in the package as the calibration can be easily done at home. Now that you know how to calibrate your Sigma lens, put your new skills to the test and see how they improve your photos! With a little practice, you’ll be taking sharper photos than ever before. Thanks for reading and happy shooting!
References
- https://jenbilodeauphotography.com/2016/05/using-the-sigma-calibration-doc/
- https://www.callihanphotography.com/blog/tag/how+to+calibrate+a+sigma+art+lens




Leave a Reply