
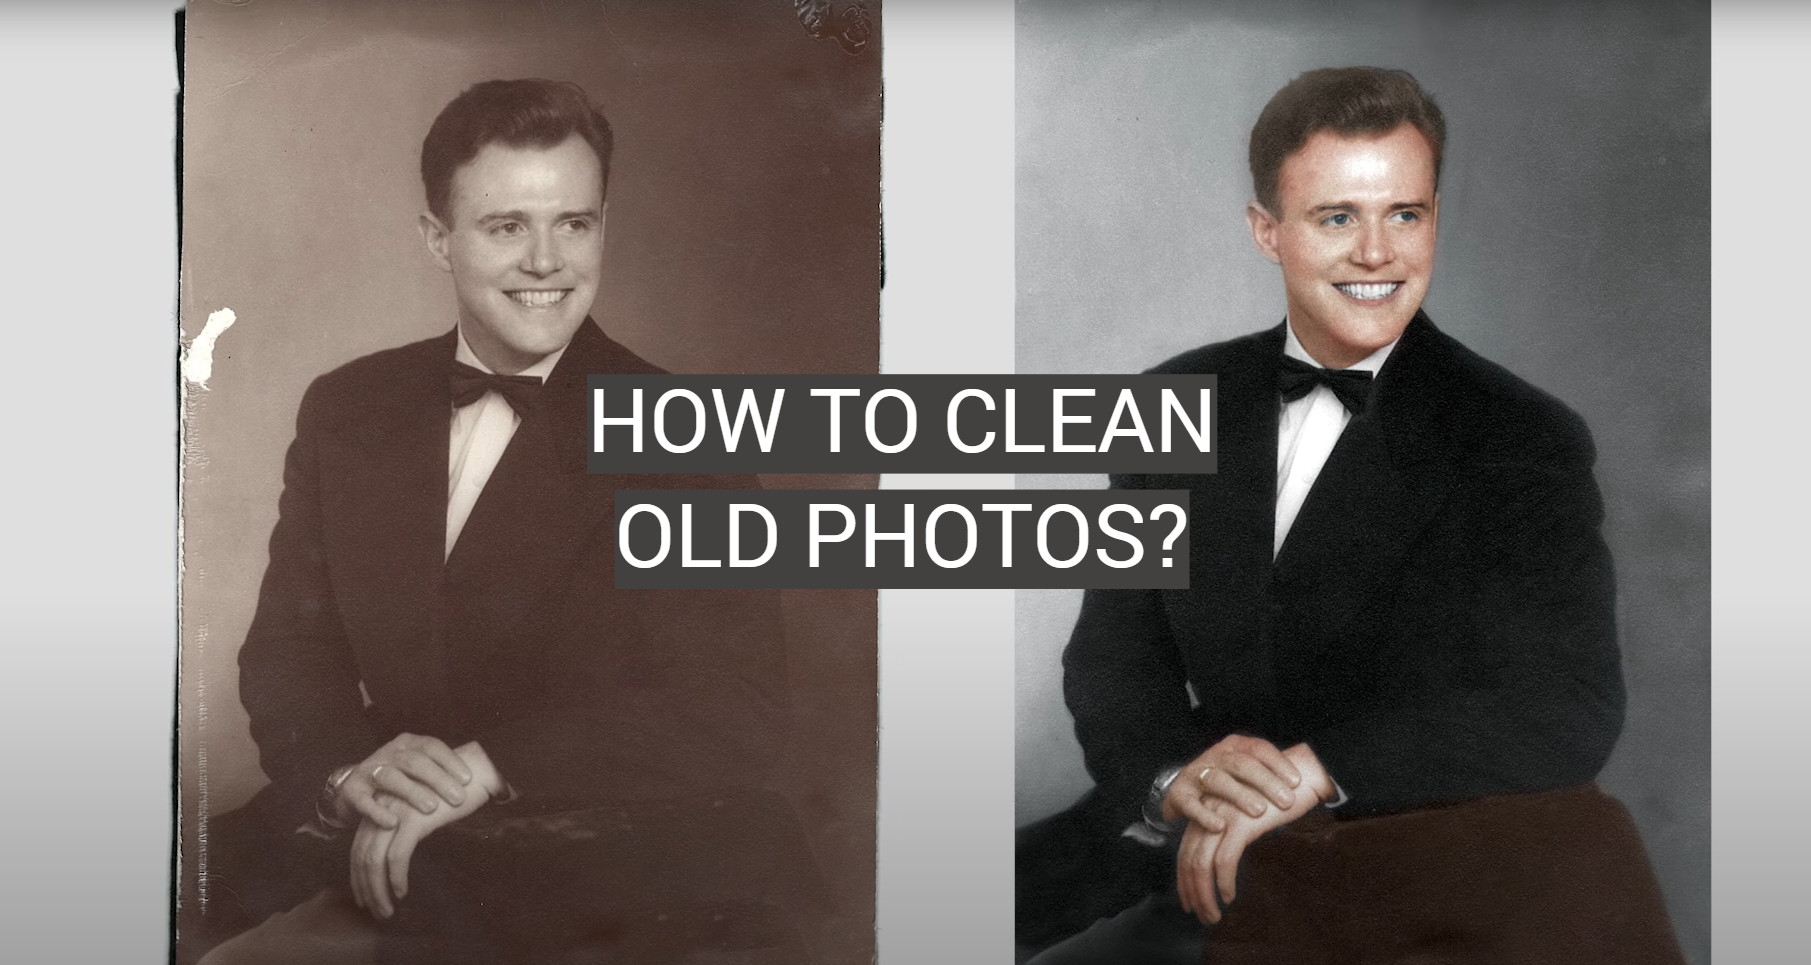
The memories of our loved ones are some of the most cherished items we possess. Unfortunately, over time these memories can become damaged and stained – making them difficult to look at and enjoy. But don’t worry, there is a way to clean old photos and restore them to their former glory! In this comprehensive guide, we will answer all of your questions about how to clean old photos, including common problems and solutions. We will also provide helpful tips on how to prevent future damage. So read on for all the information you need to start restoring your precious memories today!
One of The Few Tangible Items You Want to Keep
We all want to make sure they last as long as possible, but cleaning old photos can be tricky due to their delicate nature. Here are some helpful tips on how to clean old photos without harming them.
Prepare for the Photograph Cleaning Process
Before you attempt to clean your old photographs, there are some things you should do to prepare for the process.
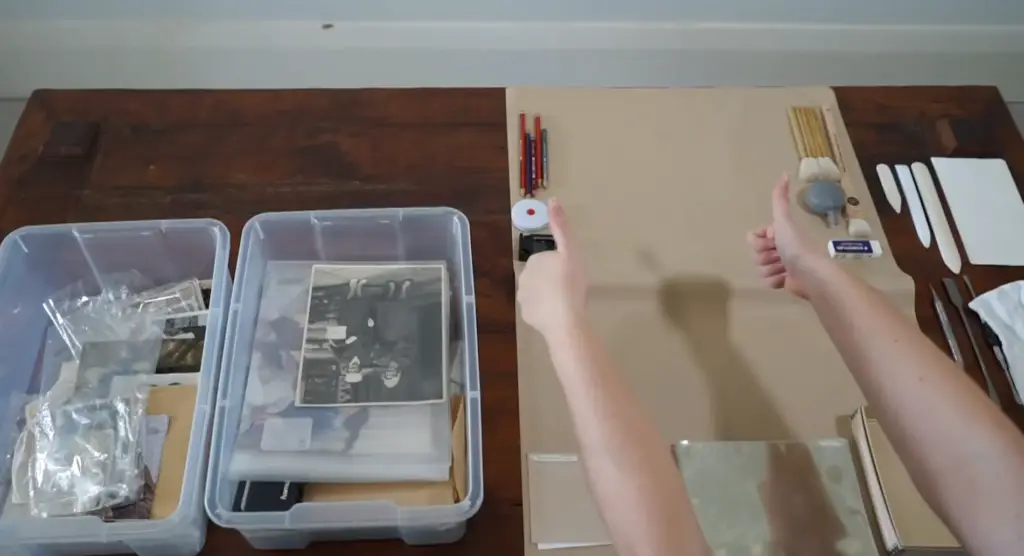
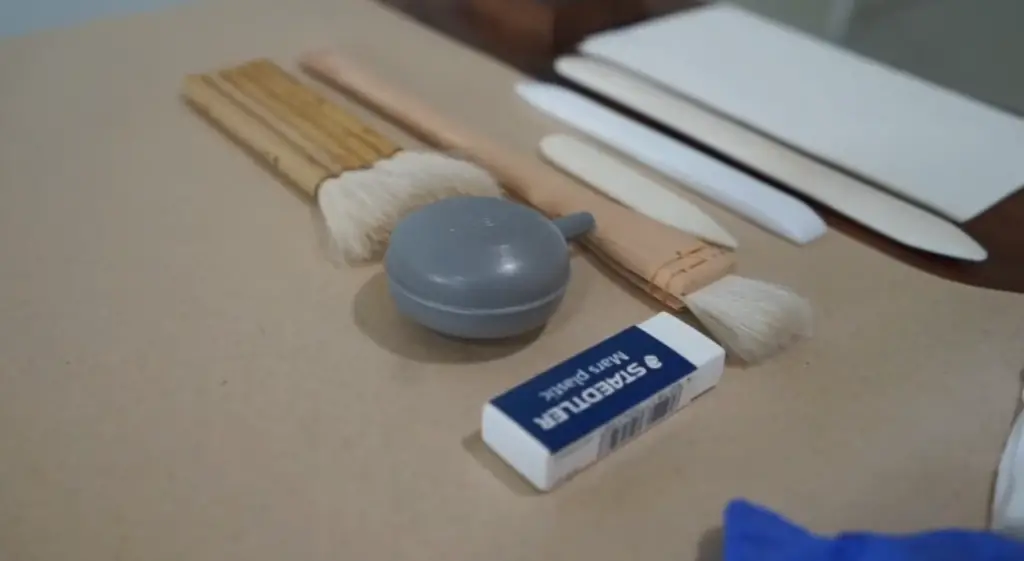
First of all, it is important to make sure that you have everything ready and available before starting the cleaning process. Gather all of the necessary supplies such as cotton swabs, soft cloths, distilled water, art gum eraser and a suitable photograph cleaner. It is also recommended to wear gloves when handling delicate items such as old photographs. This will protect them from any fingerprints or oils that can damage the photos over time.
Secondly, evaluate each photograph carefully in order to determine which cleaning methods would be suitable for it. Make sure not to use too much pressure or agitation while cleaning or else you might damage the photo further.
Once everything is ready, you can start cleaning your old photographs!
Cleaning Your Old Photos: A Step-By-Step Guide
Cleaning old photos can be both rewarding and daunting.
But by following the steps below, you’ll be well on your way to restoring your treasured memories!
Step 1: Make Digital Copies Of Your Old Photos
If you’re dealing with photos that have already begun to deteriorate, your first step should be making digital copies of them. This way, even if the original photo is damaged or destroyed during the cleaning process, you still have an untouched digital version.
To make digital copies, you can either use a scanner or take pictures of each photo using your phone. If using a scanner, it’s important to use one with a high-resolution setting so as not to compromise any details on the photo. Once scanned/ photographed, save each image in both JPEG and TIFF formats onto your computer for safe keeping.
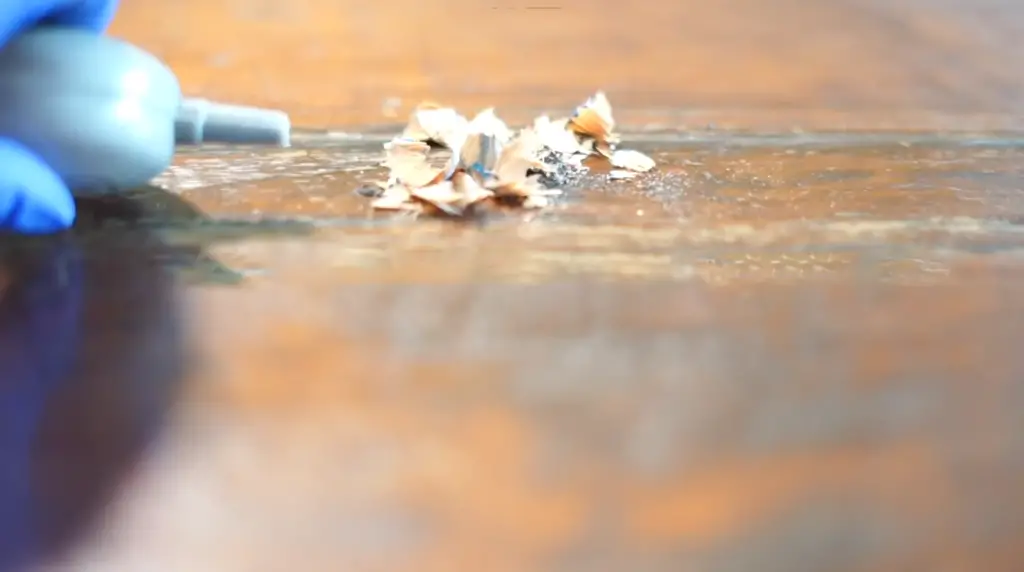
Step 2: Wear Lint-Free Gloves
Once you have all your materials ready, the next step is to put on a pair of lint-free gloves. Old photos are often delicate and even the slightest amount of dirt or oil from your hands can discolor them. Putting on gloves protects the photo’s surface and also prevents any static electricity buildup that could attract dust and dirt.
It’s best to choose white cotton gloves for this task as they won’t leave any color residue behind. You want to make sure there is no dye in them before using them, so test them with a damp cloth to see if any color comes off first.
If you don’t have access to lint-free gloves, clean rubber gloves will do, but make sure to check them for any powder or residue that could damage the photo.
Now you’re ready to start cleaning! Stay tuned for Step 3…
Step 3: Use Compressed Air Or A Soft Brush To Remove Dust
If you have a large collection of old photos that are in need of cleaning, you should use compressed air or a soft brush to remove dust and other debris. Compressed air is the most effective way to get rid of dust and dirt, as it can blow away particles without damaging the surface of the photo. This will help keep your photos looking their best. Be sure to hold the can at least 12 inches away from the photo so that moisture does not collect on its surface.
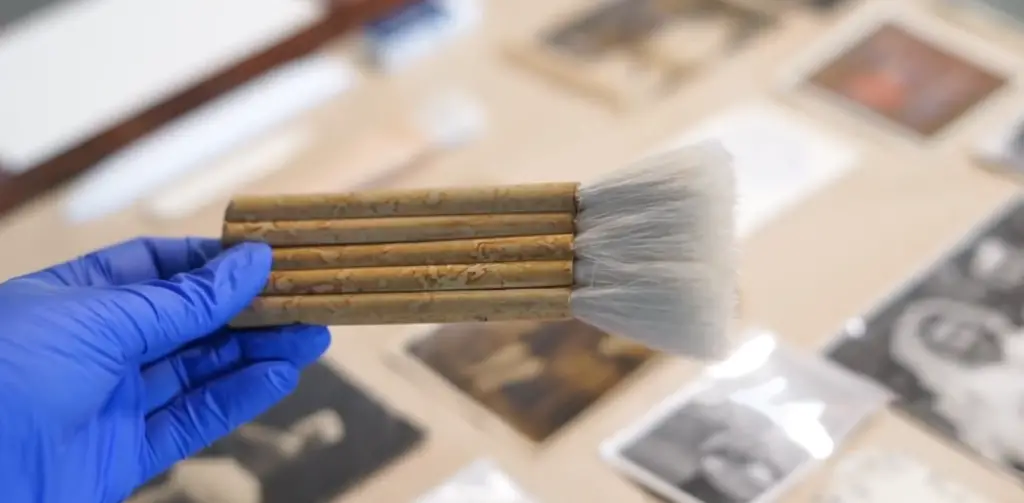
A soft brush is also an effective tool for removing dust from photos. Use delicate strokes with your brush and make sure to only touch one area at a time so you don’t smudge any part of the image. Soft brushes are especially useful for getting rid of dust and dirt that has settled into crevices or nooks and crannies.
If you think the photo is severely dust-covered, consider using a vacuum cleaner with a soft brush attachment. Make sure that the vacuum is set to its lowest power setting so that it won’t blow away any part of the image. Start from the outside of the photo, moving inwards as if you were cleaning a windowpane. Keep your movements gentle and even to avoid damaging the surface of your old photos.
Step 4: Gently Remove Dirt With Cleaning Liquids
If you’re trying to clean an old photo, you may want to consider using a gentle cleaning liquid. This can help remove the dirt that has built up on the surface of the photo.
It’s important not to scrub too hard; this could cause damage to the photograph. Once you’ve applied the cleaner, let it sit for a few minutes and then gently wipe away any dirt or debris. Afterward, give your photo another rinse with cold water and pat it dry with a paper towel. If there is still grime leftover, repeat this step until all residue is gone before moving on to Step 5.
Step 5: Allow Your Picture To Dry
Now that you have cleaned the photo, you will want to make sure it is completely dry before handling or storing it. The best practice is to take a piece of clean, lint-free cloth and lay your picture on top of it. Gently move the cloth around so that any residual water or cleaning solution is absorbed. There are also commercial photo driers on the market if desired. Once your picture has dried, it’s time to store it properly so that all your hard work doesn’t go to waste!
Step 6: Scan Your Photos Again – Now Damage-Free!
Once you have gone through the whole cleaning process on your old photos, make sure to scan them again and save a digital copy. This way, you will always have a safe backup in case something happens to the physical photo. It is much more convenient to store the digital version because it takes up less space and is easy to share with family members or friends without having to send the actual photo.
When scanning, make sure that you check all of the settings for resolution and brightness so that your digital copy looks as close as possible to the original print. You should also be careful not to scratch or damage your photos when handling them during this step! And most importantly, don’t forget to back up your digital file in multiple places in case of any malfunctions or system crashes.
Now you have the knowledge to make sure that your old photos will remain safe and damage-free for years to come! With just a few simple steps, you can be sure that your precious memories are preserved for generations to come. So grab some cleaning supplies and get to work on those old photos! Your future self will thank you for it.
Step 7: Receive Your Restored Photo In The Mail
When your old photos have been restored, you’ll receive them back in the mail. Before opening the box, take a moment to think about who is smiling at you from within and imagine the happy memories that are connected to this image.
Opening the box can be an emotional experience as all of these memories come flooding back! Depending on how many photos you sent out for restoration, you may get them all in one package or they may arrive separately over time. When ready to open each one, try to keep your expectations realistic — it’s unlikely that everyone will look exactly like they did when first taken. Instead, focus on the fact that their condition has been improved and that hopefully now it will remain preserved for years to come.
If you are happy with how your old photos were restored and wish to further protect them from damage, consider investing in archival sleeves and/or frames. If done properly, these can help protect the photos from dust, grime, and even fingers touching them. This is especially important for older photographs that have already been through a lot—you don’t want them exposed to more dirt or handling than necessary! [1]
Finally, enjoy the new life of your old photograph and pass it down to future generations if you can. You may also choose to share it on social media or create a digital copy so that as many people as possible can appreciate what was once an important part of your family’s history.
How to Clean Photos Submerged in Muddy Water?
If your photos have been submerged in muddy water, it is important to take the right steps to clean them. First, remove as much of the mud and debris as possible with a soft cloth or cotton swab. Once most of the mud has been removed, you should then place the photo in a bowl filled with warm distilled water mixed with a teaspoon of dishwashing liquid. Soak for about 5 minutes, gently agitating the solution occasionally. Once done soaking, rinse off any remaining soap residue and carefully pat dry using another piece of soft cloth or cotton swab.
Keep in mind that if you leave too much soap residue on the photograph it can cause discoloration over time so be sure to thoroughly rinse off any remaining soap.
For photos with dried mud or debris, you should try brushing away as much of the dirt as possible with a soft-bristled brush. Be careful not to rub too hard – it’s important not to cause any damage to the photo itself! For more stubborn grime, try using a mild solution of warm distilled water and dishwashing liquid. Let soak for about 5 minutes before rinsing off and carefully pat drying as mentioned above.
It is also important to note that if your photograph has been submerged in muddy water for long periods of time, there is a chance that it may have suffered physical damage and could be beyond repair. In this case, it would be best to allow a professional to take a look at the photograph and advise you on the best course of action.
No matter what, make sure to handle your photos with care! With the right steps and caution, you’ll be able to clean up most dirt and debris. We hope this guide helps you in restoring your precious old photographs. Good luck!
This article was written for informational purposes only. We do not recommend trying any cleaning methods without first consulting a professional or other expert in photo restoration services. Doing so could result in further damage to your photos that may be irreparable. So please proceed with caution!
Removing and Cleaning Printed Photo Stuck to Glass
One of the most common issues encountered when cleaning old photos is that they may be stuck to glass. This can be a tricky problem, as you need to make sure that you don’t damage the photo or its finish in the process of removing it from the frame.
The first thing to do is to assess how tightly stuck it is. If it’s been stuck for a long time, then gently work around the edges with a soft cloth and some warm water – this should help loosen up any dirt and grime which is binding them together. Once the photo has been loosened, use a soft sponge or cloth soaked in warm soapy water to clean off any remaining residue on both sides until they are free from dirt and dust.
Next, it’s important to move the photo carefully, as it might still be stuck in some places. Gently peel back one corner of the photo and use a credit card or other thin object to slide underneath until you can lift up the whole photo from its frame. It may also help to use a cotton swab dipped in warm water for this process as well.
Once you have removed the photograph from its glass frame, lay it face-down on a soft surface like a towel and use your sponge soaked in warm soapy water to clean off any remaining residue. Once that is done, rinse with lukewarm water and dry with a soft cloth. Be sure not to rub the photo too vigorously while drying – the photo may be delicate, so gentle wiping motions are the best. [2]
Now your old photograph has been successfully removed and cleaned from its glass frame! As with all photo-cleaning methods, make sure to handle the photos carefully and don’t forget to wear gloves at all times. With these simple steps, you can preserve your memories in their original condition!
Useful Tips
When cleaning old photos, it is important to take the proper precautions. Here are some tips to help you clean your photos safely:
- Start by gently dusting off the surface of the photo with a soft brush or microfiber cloth. If there is any dirt, debris or other residue on the photo, you can use a cotton swab dipped in rubbing alcohol to remove it. Do not scrub harshly as this could damage the photo’s finish and/or image.
- After dusting off any particles from the surface of the photo, you can try using a mild soap (like dishwashing liquid) and water mixture to remove deeper stains. Dip a soft cloth into this mixture and gently wipe the photo. Make sure to not use any harsh chemicals or abrasive cleaners as this could lead to further damage.
- If the stains are still present after using soap and water, mix a solution of half white vinegar and half water in a bowl. Dip a clean cloth into the mixture and use it to wipe the surface of the photo in a gentle circular motion. This should help remove stubborn spots without damaging the image or finish.
- To prevent future damage to your photos, avoid exposing them to direct sunlight as much as possible. Sunlight can fade colors and cause paper to become brittle over time. Additionally, you should keep old photos away from heat sources such as radiators, vents and fireplaces since this can also cause damage.
- If you plan on storing your photos long-term, make sure to invest in acid-free photo albums and archival sleeves as these will provide additional protection and help preserve the images.
FAQ
How do you clean old photos without ruining them?
Start by lightly dampening the cloth with distilled water and gently dabbing away dirt and grime on the surface of the photo. Do not rub or scrub, as this could cause damage to the image. If you need more cleaning power, try adding a small amount of mild soap to your water before wiping it across the photo. Make sure not to leave any soapy residue behind – if you do, wipe it off with another damp cloth afterwards.
It’s also important to store your photos in an archival-safe album or envelope after they have been cleaned to prevent further dust from settling on them. Make sure the album you choose is made from pH-neutral material to help preserve your photos. Additionally, if you have any photos that are extremely fragile or valuable, it’s best to bring them in to be professionally cleaned. [3]
What can I use to clean old pictures?
The best way to clean an old photo is to use a soft, lint-free cloth such as cheesecloth or a microfiber cloth dampened with water. Blot the picture gently and avoid rubbing it in circles. If you’re dealing with debris on the surface of the photo, you can use a cotton swab moistened with distilled water for extra precision. Always handle your photos by their edges only and be careful not to apply too much pressure when cleaning.
When cleaning an old photo, never use any cleaning supplies like detergents, rubbing alcohol, or abrasive cleaners that could damage the paper or ruin the finish on glossy photos. In addition, never expose photos to direct sunlight for extended periods of time, as this can also cause damage.
If you’re finding it hard to remove dirt or debris with a cloth and distilled water, a small amount of toothpaste on the tip of your finger can work in a pinch — but use caution when cleaning fragile photos this way. And if you’re still having difficulty, consider consulting an expert for further advice. Finally, always make sure to store photographs in photo-safe sleeves and albums to keep them from becoming damaged again. [4]
Can you use rubbing alcohol to clean photographs?
Yes, you can use rubbing alcohol to clean photographs, but it’s important to exercise caution when using it. Rubbing alcohol is a powerful substance that should be used with care. Before using rubbing alcohol on any photograph, it’s important to first test the solution in an inconspicuous area of the photo to make sure that it doesn’t cause any damage or discoloration. If all goes well and there are no adverse reactions, then you can proceed with cleaning the entire photograph. [5]
When cleaning your photograph with rubbing alcohol, start by dampening a cotton swab or soft cloth (not paper-based products) in the solution and wiping down the surface of the photo gently. Pay extra attention to any areas that are covered in dirt or grime. Do not scrub the photograph too hard, as this can damage the surface of the photo and cause it to fade.
This will ensure that all traces of the rubbing alcohol have been removed, leaving your precious photographs safe and sound!
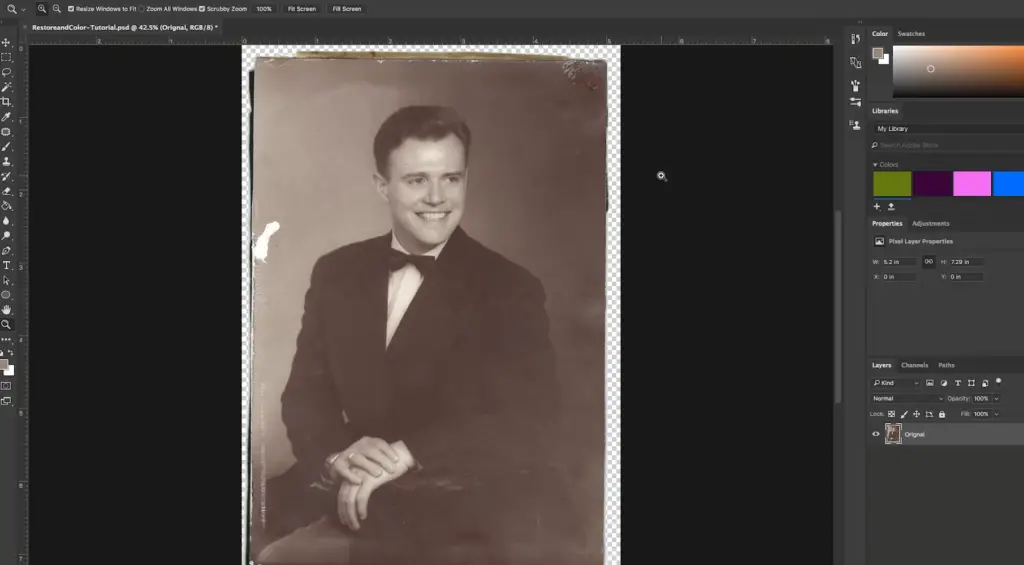
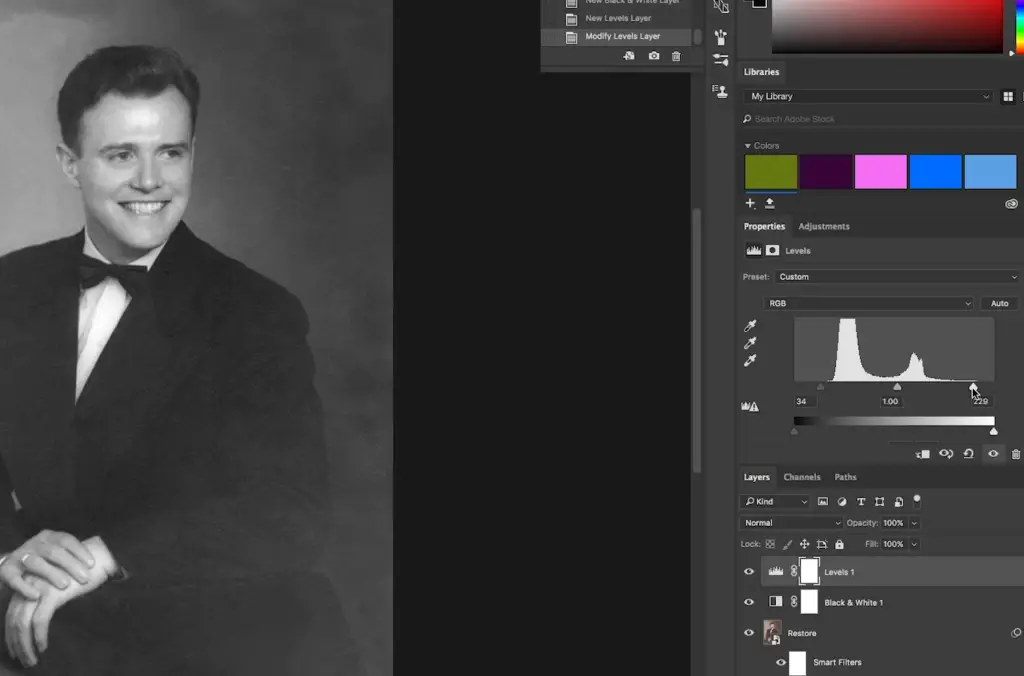
How can I restore the quality of old photos?
The key to restoring the quality of old photos is to approach them gently and carefully. Start by making a copy of the original photo, so that you can work with the duplicate without risking damaging the original. Then, use a soft brush or cotton swab dipped in a gentle solution (such as distilled water) to lightly remove any surface dirt from your photo. Do not rub too hard and try not to get any liquid on the paper of the photo itself, as it can cause discoloration. If necessary, you can use an eraser to erase minor damage such as writing or pencil marks; however, be sure to do this very gently and sparingly.
Once you have removed any surface dirt or minor damage, you can then work on restoring the overall hue and contrast of the photo. Using an image editing program such as Photoshop or GIMP, you can adjust the brightness, contrast, saturation, and other aspects of the photo to bring out its true colors and details. Be sure to save your original copy before making any adjustments – this way you’ll always have a backup to refer back to if needed.
Finally, once you’ve restored the quality of your photo digitally, consider printing it onto archival-quality paper for a long-lasting finish. This will help preserve your photo for years to come!
Useful Video: How to Clean Your Family Photographs || How to care for your Family Photographs Part 3 ||
Conclusion
Cleaning old photos is not a difficult task but it does require patience and attention to detail. You don’t want to damage the photo in the cleaning process, so take your time and be gentle. Use a soft brush and vacuum cleaner with low suction power to get rid of dirt, dust, and mildew. Cotton swabs dampened with distilled water are great for removing stubborn cobwebs or stains. If you decide to go with chemical solutions, make sure you test them on a small area of the photo first! Finally, avoid using any metal tools that may scratch or damage the image when manipulating old photos. We hope this guide has helped provide you with some helpful tips on how to clean old photos properly. Cleaning old photos can be a great way to preserve memories, so take the time and effort to do it right! Good luck!
References
- https://memorycherish.com/7-tips-to-clean-old-photos/
- https://imagerestorationcenter.com/photo-stuck-to-glass/
- https://www.wikihow.com/Clean-Old-Photos
- http://www.tmax100.com/photo/pdf/kodak/clean.pdf
- https://genealogy.stackexchange.com/questions/3144/what-is-the-best-way-to-clean-old-photographs