
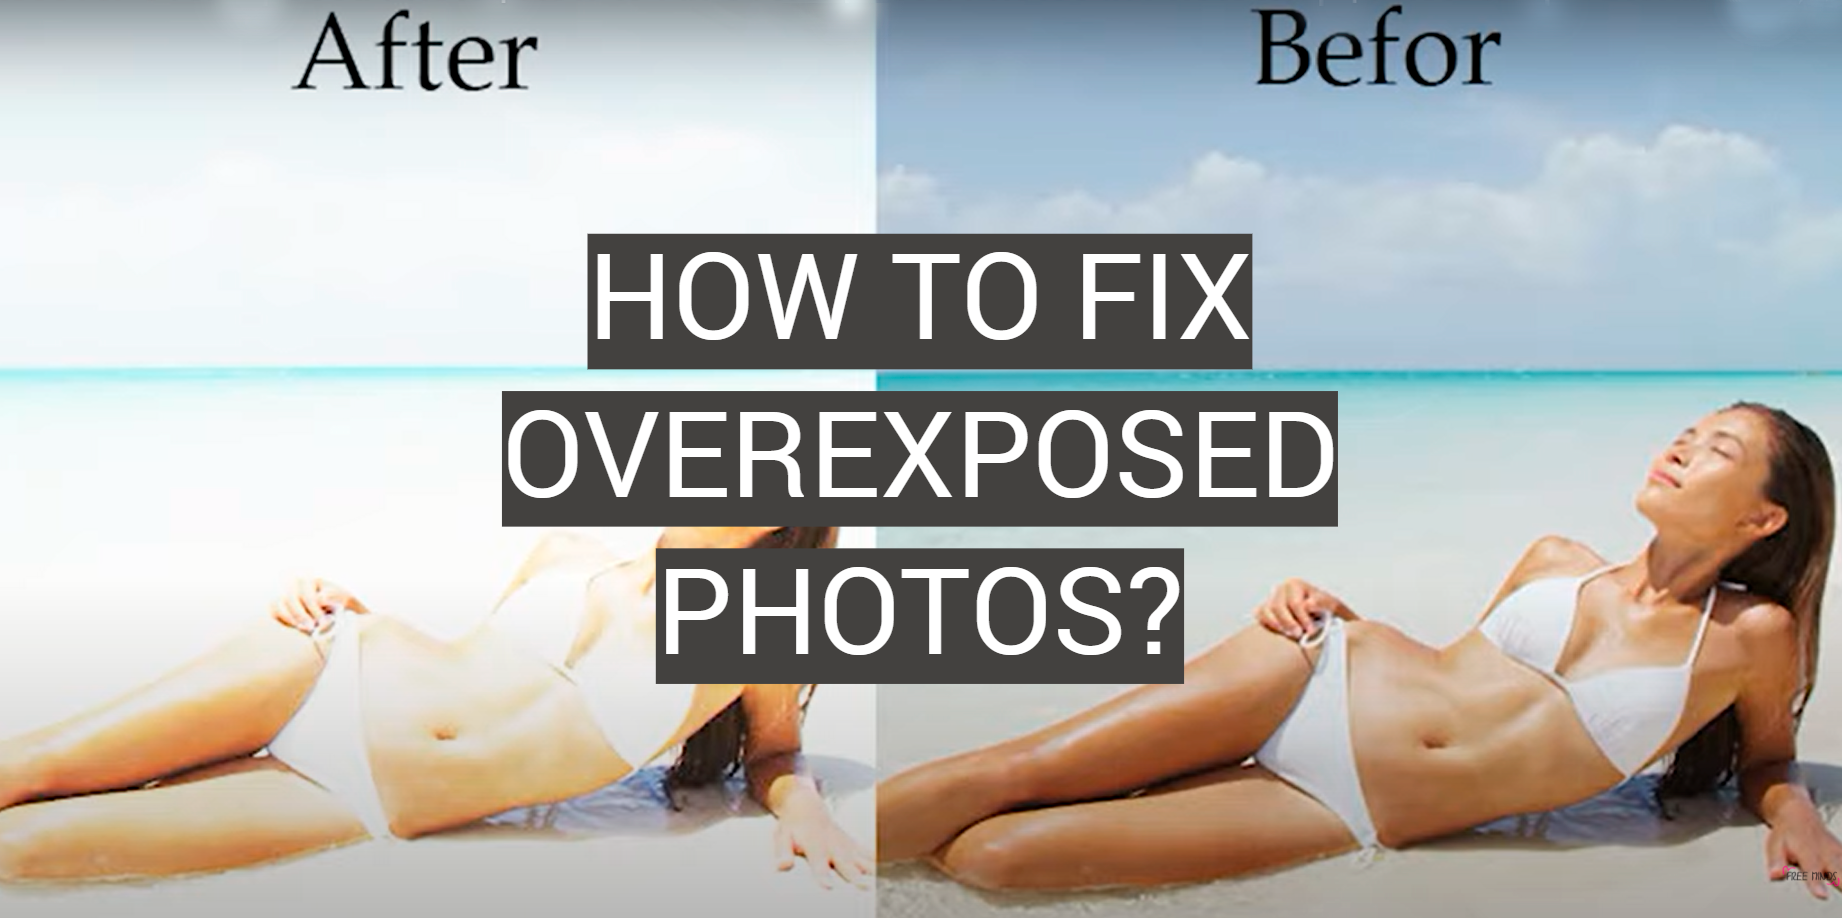
If you’ve ever taken a photo and found that it was overexposed, then you know how frustrating it can be. Overexposed photos are difficult to fix and often end up looking washed out or discolored. In this comprehensive guide, we will answer common questions about overexposed photos and provide tips on how to fix them. We’ll also discuss the different tools and methods that you can use to achieve the best results. So if you’re struggling with overexposed photos, don’t worry – we’ve got you covered!
Why Overexposure is a Major Issue in Photography
Overexposure in photography occurs when too much light is allowed into the camera sensor or film. This results in an image that appears “washed out” or too bright. Overexposed photos often lack detail and can be very difficult to fix, especially if the highlights (areas of the photo that are brightest) are overexposed.
Overexposure is a major issue in photography because it can completely ruin a photo. Because of this, it’s important to know how to avoid overexposing your photos and how to fix overexposed photos.
What Causes Overexposure in Photography?
Flash
Using a flash is one of the most common causes of overexposure, especially when taking photos indoors. This is because the flash is very intense and can easily “wash out” an image if it’s not used properly.
If you’re using a flash, be sure to lower the settings. You may also want to consider diffusing the light from the flash with a piece of tissue paper or another translucent material. This will help to soften the light and prevent overexposure. [1]
Using a using a large aperture
One of the most common causes of overexposure is using a large aperture. Aperture is measured in “f-stops” and is represented by a number such as f/16, f/11, or f/22. The lower the number, the larger the aperture (and vice versa).
Aperture controls two things: how much light enters the camera and how shallow or deep your field of view will be. A large aperture (low f-stop) allows more light into the camera and produces a shallow field of view. A small aperture (high f-stop) allows less light into the camera and produces a deep field of view.
So, why does using a large aperture cause overexposure?
It’s simple: the more light that enters the camera, the brighter the photo will be. And if too much light enters the camera, the photo will be overexposed. [2], [3]
Using a high ISO setting
ISO is a photography term that refers to the sensitivity of your camera sensor (or film). The higher the ISO, the more sensitive it is to light. This means that more light will be allowed into the sensor, which will result in an overexposed photo.
Using a slow shutter speed
Shutter speed is the amount of time that your camera’s shutter is open. A slow shutter speed means that the shutter is open for a longer period of time, while a fast shutter speed means that the shutter is only open for a brief moment.
When you use a slow shutter speed, your camera sensor or film is exposed to light for a longer period of time. As you may have guessed, this can result in an overexposed photo if there’s too much light in the scene.
All of these factors can contribute to overexposing your photos. In order to avoid this, you need to be aware of how each of these settings affects exposure and make sure you’re not overdoing it.
How to Prevent Overexposure in Your Photos
Use a light meter
A light meter is a small, handheld device that measures the amount of light present in a scene. This information can then be used to help you determine the proper exposure for your photo.
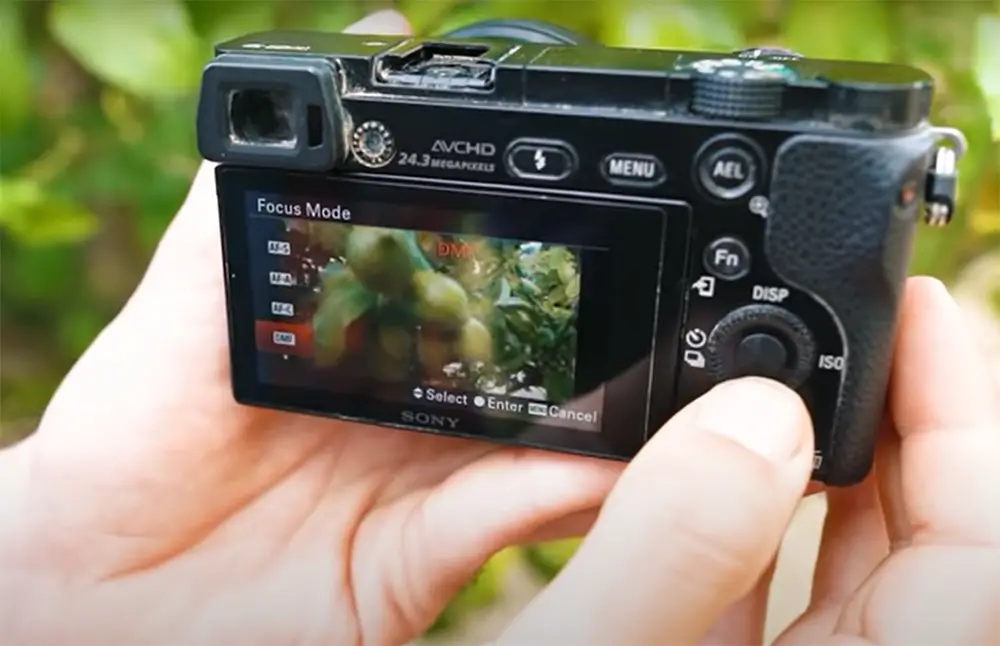
Most DSLR cameras have a built-in light meter, which can be found in the viewfinder. To use it, simply point your camera at the scene you want to photograph and half-press the shutter button. The camera will then take a light reading and display it in the viewfinder.
Choosing the metering mode
As we just mentioned, most DSLR cameras have a built-in light meter. But did you know that you can choose which metering mode to use?
Your camera’s metering mode determines how it measures the light in a scene. There are three metering modes: matrix metering, center-weighted metering, and spot-weighted metering.
Matrix metering is the default mode on most cameras, it is also called an Evaluative Mode. It takes an average light reading from the entire scene and then sets the exposure accordingly. This usually works well, but it can be fooled by high-contrast scenes. Evaluative metering is typically used in auto-exposure modes, such as Program mode, Aperture priority mode, and Shutter priority mode.
Center-weighted metering takes a light reading from the center of the frame and then sets the exposure accordingly. This is a good option to use when your subject is in the center of the frame.
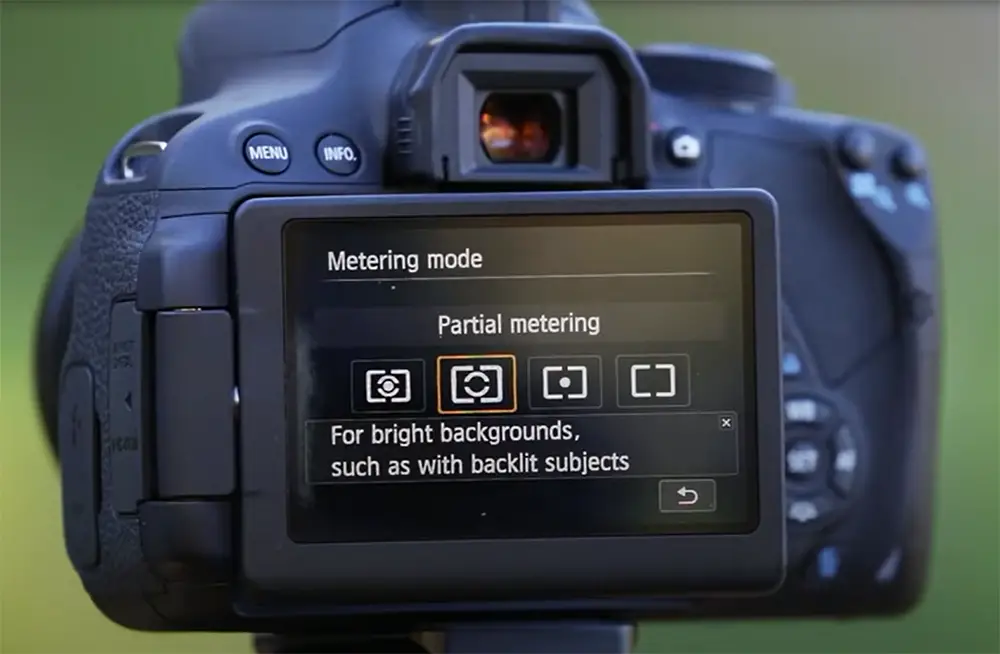
Spot-weighted metering is a type of exposure metering that takes into account the small bright area within the frame (usually around one percent) and sets the exposure accordingly. This can be useful for scenes with high contrast, backlit subjects, or when you want to intentionally overexpose or underexpose a photo.
Centre-weighted metering is one of the most popular and reliable metering modes because it takes an average of all the light in the scene but gives more weight to the light in the centre of the frame.
This is a good option for preventing overexposure because it prevents your photo from being too bright or too dark.If you’re not sure how to change your camera’s metering mode, consult your camera manual or do a quick Google search for your specific model. [2]
Use bracketing
Bracketing is when you take several shots of the same scene at different exposures. This way, you increase your chances of getting at least one photo that’s properly exposed.
To bracket, select a starting exposure and then take two more photos—one underexposed and one overexposed. How much underexposure or overexposure you use is up to you, but a good rule of thumb is to change the shutter speed by one stop for each additional photo. [2], [3], [4]
Shoot photos in RAW format
Another way to avoid overexposure is to shoot in RAW format. RAW files are unprocessed and contain all of the data captured by your camera’s sensor. This data includes things like exposure, white balance, and sharpness. When you shoot in RAW format, you have much more control over your photos in post-processing. This means that you can easily fix overexposed photos without losing any quality. Keep in mind that RAW photos will take up more space on your memory card and will require special software to view and edit. If you can’t shoot in RAW format or if you’re not sure how to post-process RAW files, there are other ways to prevent overexposure. [2]
Lower ISO settings
As we discussed earlier, ISO refers to the sensitivity of your camera sensor. And a high ISO setting means that your sensor is more sensitive to light, which unsurprisingly, can result in overexposure.
To avoid this, you have to lower your ISO settings. This will make your sensor less sensitive to light and help prevent overexposure.
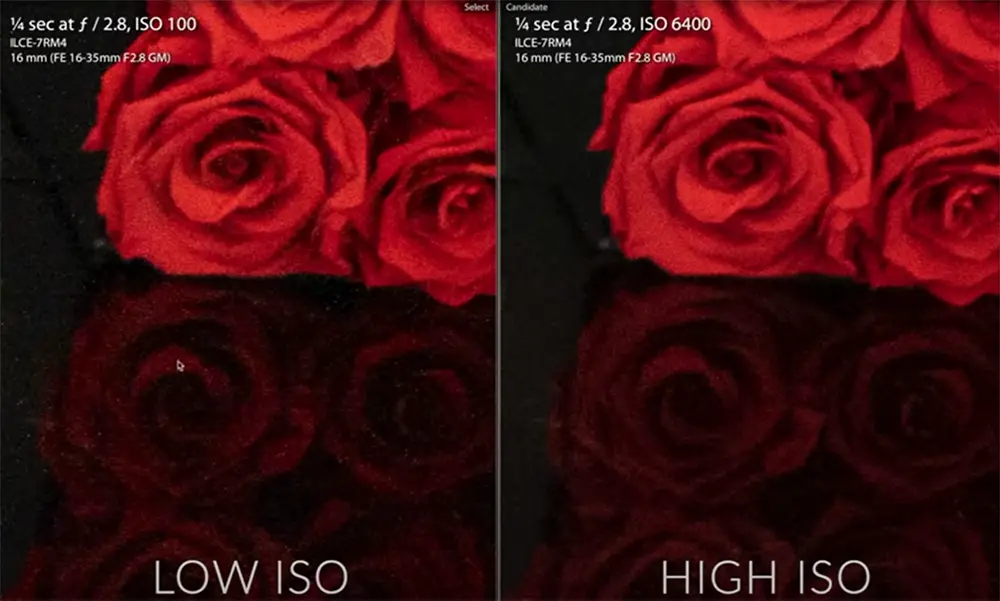
You should only use a high ISO setting if absolutely necessary because it also can cause image noise (graininess). However, modern cameras are very good at handling high ISO settings without introducing too much image noise.

Similarly, you should also adjust the other settings we discussed earlier (aperture and shutter speed) to avoid overexposing your photos. It’s all about analyzing the scene and finding the right balance between these three settings. [2], [3], [4]
Reference the histogram
The histogram is a graph that shows the distribution of tones in your photo. It won’t exactly prevent overexposure, but it can be a helpful tool nonetheless.
The left side of the histogram represents the dark tones, the middle represents the mid-tones, and the right side represents the light tones. If your photo is properly exposed, then the tones will be evenly distributed across the histogram.
If the majority of the tones are clustered to the right side of the graph, then your photo is probably overexposed. Conversely, if the majority of the tones are clustered to the left side, then your photo is probably underexposed.
You can usually find the histogram in your camera’s viewfinder or LCD screen. And some cameras even have a live histogram feature, which updates the histogram as you’re taking a photo.
And if you do happen to overexpose your photo, don’t worry! There are plenty of ways to fix it in post-processing. [4]
How to Fix Overexposed Images
Still, even if you take all of these precautions, there’s a chance that you might still end up with an overexposed image. Luckily, there are several ways to fix overexposed photos in post-processing. We’ll cover those next.
Use Graduated Filters
A graduated filter is a type of filter that’s lighter at the top and gradually becomes darker towards the bottom. This method is especially useful for fixing skies that are too bright. All you need to do is drag a gradient over the overexposed area and then lower the exposure until it looks natural.
The biggest advantage of graduated filters is that they look natural and are very versatile. You can use them to fix a variety of overexposed areas in your photo. [2], [4]
Using High Dynamic Range (HDR) Photography
High dynamic range (HDR) photography is a technique that allows you to capture a greater range of tones than what your camera is capable of capturing in a single photo. To do this, you take multiple photos at different exposures and then combine them into one photo using HDR software. This helps to even out the exposure and prevents overexposure.
That’s where the bracketing practice we mentioned before comes in handy. When you take bracketed photos, you’re essentially taking multiple photos at different exposures. So, if you accidentally overexpose one of the photos, you can use another photo from the series that isn’t overexposed.
HDR photography is a great way to fix overexposed photos, but it does have its drawbacks. First, it requires special HDR software to merge the multiple exposures into one photo. Second, HDR photos can sometimes look “fake” or “unnatural”.
Edit out exposure with an Highlights Slider
A great way to fix overexposure is by using an highlights slider. The highlights slider mainly adjusts the brightest areas of your photo. This is a fast way to recover details in your overexposed photos that may have been lost when the photo was taken.
To use the highlights slider, open your overexposed photo in an editing program like Adobe Lightroom or Photoshop. Then, find the Highlights Slider and drag it to the left until you’re happy with the results. [2], [4], [6]
Edit out exposure with an Exposure Slider
One of the simplest ways to fix overexposure is by using an exposure slider. An exposure slider is exactly what it sounds like – a tool that allows you to increase or decrease the overall exposure of a photo. This will darken the overall photo without affecting other areas, like contrast or white balance.
To use an exposure slider, simply open up your photo in your editing software and find the exposure slider. Once you’ve found it, all you need to do is drag the slider to the left or right until you’ve achieved the desired effect. [2], [4], [6]
Adjust the overexposure with Whites Slider
The whites slider is another great way to fix overexposure. This slider changes the overall brightness of the image but adjusts mid-tones. It also helps to pronounce the white points in the photo.
Just like the other methods, open up your overexposed photo in an editing software. Find the whites slider and drag it to the left to decrease brightness or to the right to increase it.
Just be careful not to overdo it or your photo will start to look unnatural. [2], [4], [6]
FAQ
Can you fix overexposure in Adobe Lightroom
Yes, Adobe Lightroom has a number of tools that can be used to fix overexposed photos, including the Highlights slider, the Shadows slider, and the Exposure compensation slider.
If your photo is severely overexposed, you may need to use multiple techniques to get the desired result. For example, you might use the Highlights slider to recover some detail in the highlights, and then use the Exposure compensation slider to fine-tune the overall exposure.
Should you always underexpose?
No, underexposing your photos is not always the best solution for fixing overexposure. In fact, underexposing can often lead to other problems, such as a loss of detail in shadows or an increase in noise.
The best way to avoid overexposure is to keep an eye on your histogram while you’re shooting. The histogram is a graph that shows you how the tones in your image are distributed. You can usually find it in your camera’s display settings.
How do you fix partially overexposed photos?
Partially overexposed photos are easier to fix than completely overexposed photos. In most cases, you can use the editing software’s Graduated Filters tool to lower the exposure of the selected area. But if it’s severely overexposed, you’ll likely need to do some serious work in post-processing.
Which post production tool would help fix a photograph that was slightly overexposed?
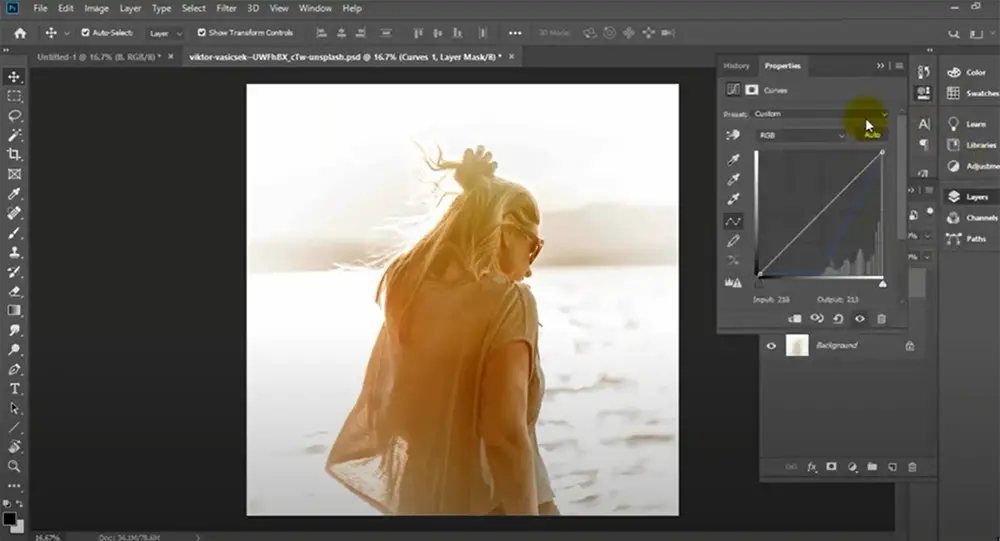
There are a few post production tools that can help fix slight overexposure. One is to use levels to adjust the midtones, shadows, and highlights in your photo. Another tool that can be used is curves, which allows you to control the brightness of specific areas in your photo. Finally, you can try using the clone stamp tool or the healing brush tool to manually fix any areas that look overexposed.
If you’re not sure how to use any of these tools, there are plenty of tutorials available online. Just do a quick search and you should be able to find what you’re looking for.
How do you fix an overexposed face?
The easiest way to fix an overexposed face is to use the “exposure” slider in your photo editing software. Simply lower the exposure until the face looks normal.
If the entire photo is overexposed, you can try using the “HDR” or “high dynamic range” feature in your photo editor. This will often bring back details that were lost in the overexposure.
Finally, if all else fails, you can always crop out the overexposed part of the photo and hope that there’s still a usable portion left!
Useful Video: How to Fix Overexposed Photos in Photoshop CC #2MinuteTutorial
Conclusion
Every photographer will have to deal with overexposure at some point. Of course, avoiding overexposure in the first place is always the best solution. So practice bracketing and be mindful of your camera’s settings. For example, if you are shooting a bright scene, you might want to increase your camera’s shutter speed or lower your ISO. But if you do find yourself with an overexposed photo, don’t worry, there are plenty of ways to fix it! For example, you can experiment with different techniques like HDR photography or you can experiment with various sliders during the post-processing stage. We hope this guide has been helpful and that you can put these tips to good use! Happy shooting!
References:
- https://digital-photography-school.com/7-strategies-for-avoiding-flash-blow-out/
- https://expertphotography.com/fix-overexposed-photo/
- https://www.studiobinder.com/blog/what-is-overexposure-in-photography/
- https://www.masterclass.com/articles/basic-photography-101-a-beginners-guide-to-understanding-overexposure-and-underexposure#8-tips-for-avoiding-an-overexposed-or-underexposed-photo
- https://expertphotography.com/hdr-photography-tips-improve-photography/
- https://www.studiobinder.com/blog/what-is-overexposure-in-photography/