Have you ever wanted to take your photography to the next level? With a personal darkroom, you can bring out the depth and richness of your photos in ways that regular digital editing can’t quite match. By creating your own darkroom, you will be able to explore the mysteries of photography and create stunning works of art with phenomenal results. This guide will provide you with all the information and tips needed for crafting a personalized darkroom for yourself. So, let’s step into the dark and begin!
What Equipment Do You Need for a DIY Darkroom?
Creating a darkroom may seem like an intimidating task but it doesn’t have to be. With the right tools and materials, you can make your own DIY darkroom in no time. Here is a list of the basics that you will need.
Developing tank
Film changing bag
Another essential item you’ll need is a film changing bag. This allows you to load and unload film in total darkness. It typically consists of two layers made of light-tight material.
Film developing chemicals
In addition you’ll need to get the right film developing chemicals. These are typically sold as a kit and includes developer, stop bath, fixer, and sometimes other additives depending on the type of films you use.
Developing trays
Developing trays are necessary for processing your film. They come in various sizes, so you can choose the one that best fits your needs.
Safelights
Safelights are also necessary for a darkroom. They provide just enough light for seeing what you’re doing but not enough to expose photographic paper or film.
Film enlarger
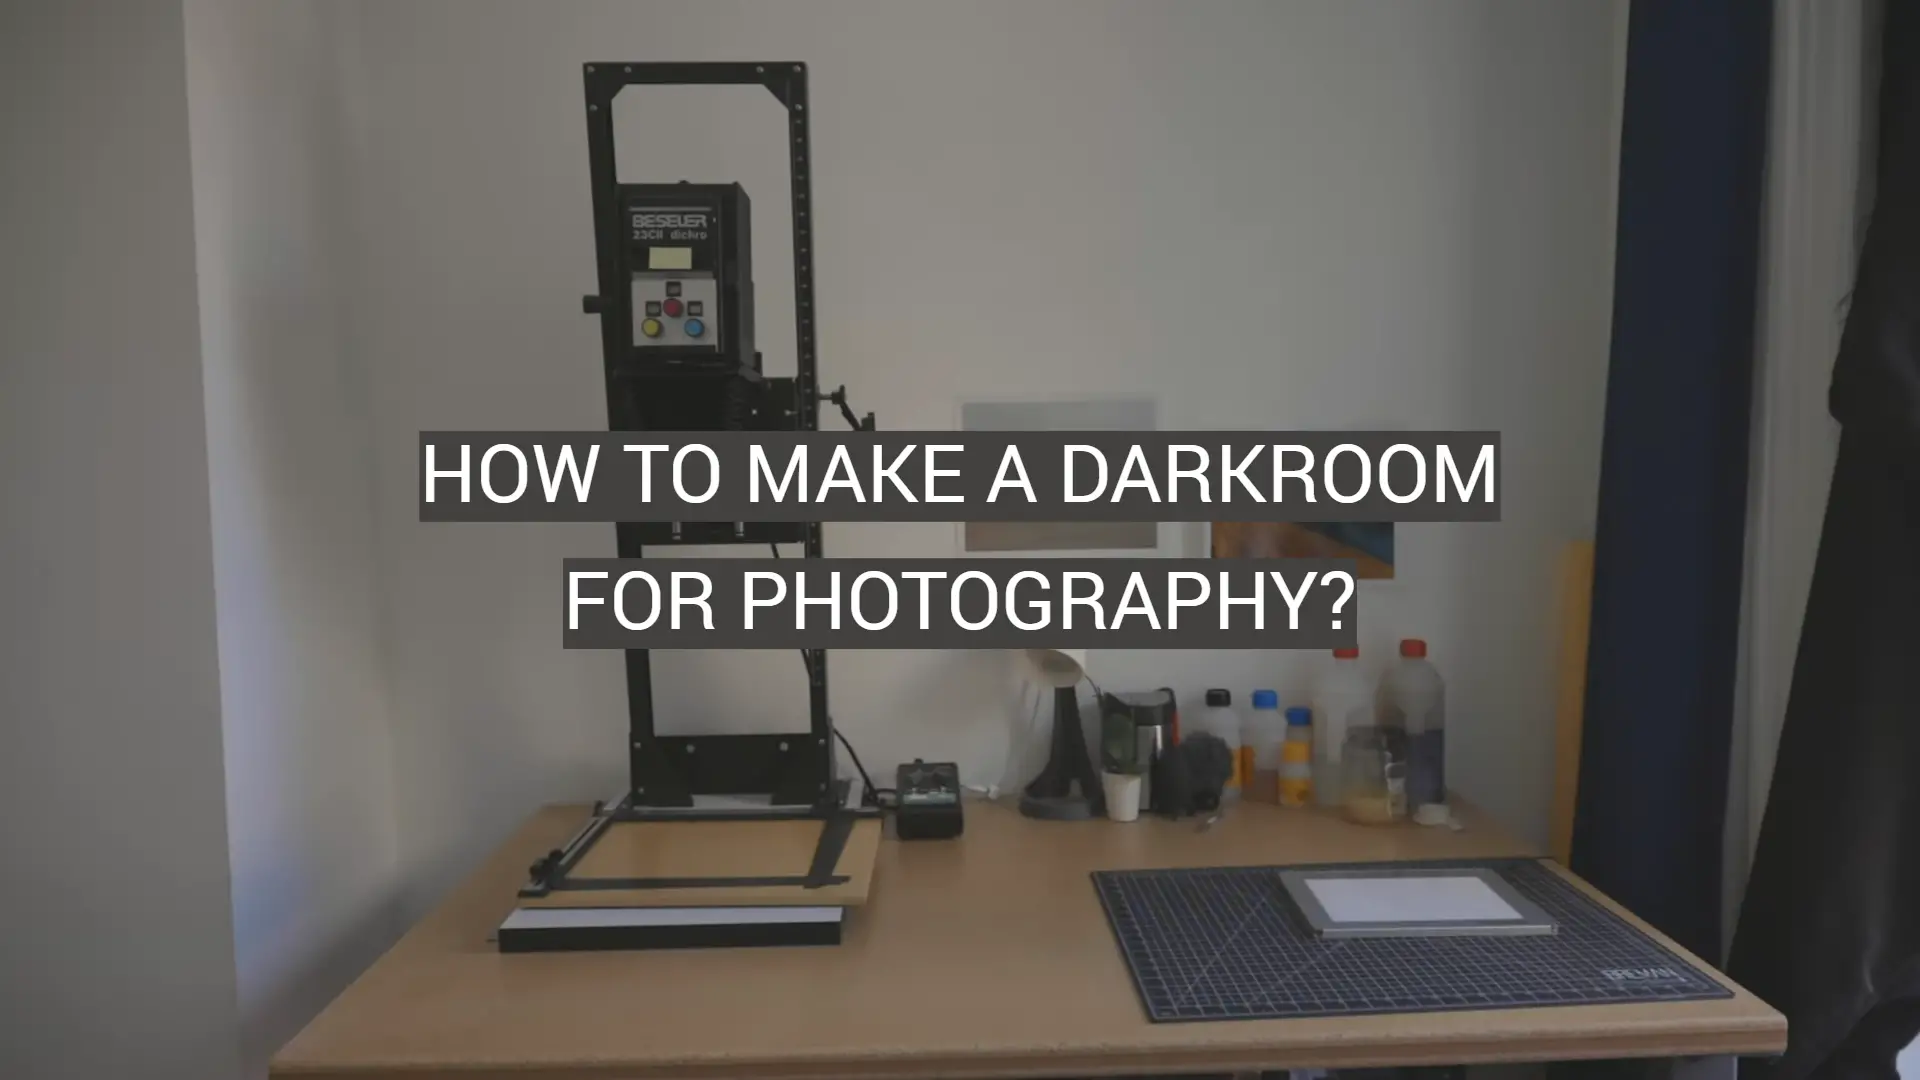
A film enlarger is used to enlarge the size of a photographic image. It is an essential tool for making prints in your darkroom.
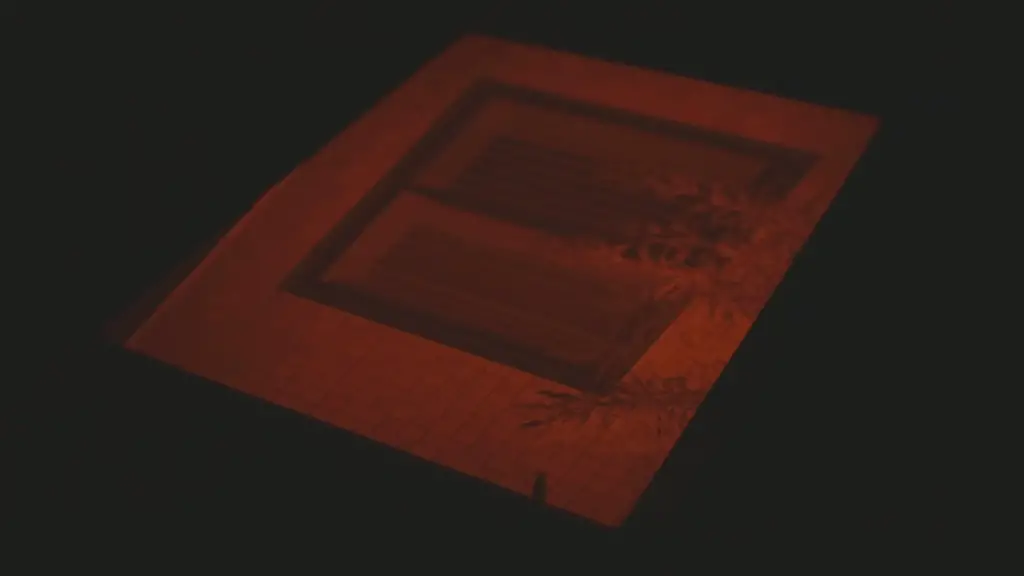
Darkroom timer
The last item you’ll need is a darkroom timer. This device keeps track of the time for each step in the developing process so that your film or prints come out perfect every time.
With the right equipment and materials, it’s easy to make your own DIY darkroom. Use this guide as a starting point and take the time to research and get the right tools for your needs. With a little effort, you can be producing stunning prints in no time!
Once you have set up the darkroom, it’s important to make sure that everything is sealed tightly and light proofed. This will ensure that your photos come out exactly as you had planned. You may also want to invest in a ventilation system so that the darkroom is well-ventilated and free from chemical fumes. With the right setup, you’ll be able to produce beautiful prints for years to come! Happy shooting!
Look for a Good Location
When looking for a good location, the most important factor is lightproof. It’s essential for any darkroom that it should be totally free of any stray light coming in through walls or windows. You may need to cover up any windows and reinforce your walls with some form of insulation. Additionally, you also need to make sure that the room is well ventilated so you don’t get any fumes from the developing chemicals. Depending on what type of darkroom you are setting up, it might also be important to have access to running water and other necessary plumbing for a wet darkroom. It’s best to check out all these factors before you commit to setting up your darkroom in a particular space.
Ensure the room is well-ventilated
It’s important to ensure the room is well-ventilated for your own safety. When working with developing chemicals, it’s essential to have proper air circulation in order to avoid any risk of chemical fumes. You should also make sure that the room does not get too hot or too cold as this can affect the development process. Installing fans or a ventilation system can be a great way to ensure proper air circulation in the room. Additionally, you should also make sure that any fumes from developing chemicals are directed out of the room safely and away from other areas of your home.
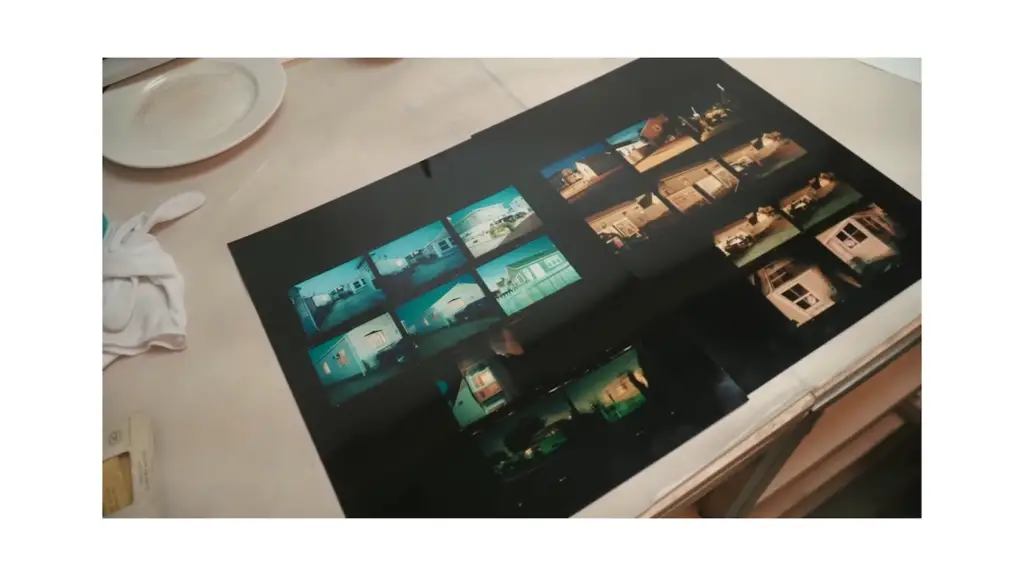
Have a table or countertop in your darkroom
Having a table or countertop is essential for any darkroom setup. This will provide you with enough space to set up your developing trays and other materials. If the room does not have any existing tables or counters, you can build one yourself or purchase one that meets your needs. Make sure that it is sturdy and large enough to handle all of your photographic equipment. Alternatively, you can also use a large piece of plywood on top of some sturdy sawhorses to create your own makeshift table or countertop.
Get your space completely dark
For successful film developing in your darkroom, it’s essential to block out any stray light that might be coming in. You can use curtains or black-out blinds to help keep the room completely dark and free from any outside light sources. Additionally, you should also cover up any windows with cardboard and tape if necessary. This will help ensure no light enters the room and interferes with your development process. Additionally, you can also use a red safelight to provide some low-level light that won’t affect your film. This will allow you to see what you are doing without compromising the results of your developing process.
Split your darkroom in two halves; a “wet” side and a “dry” side
Having a wet side and a dry side in your darkroom can be very helpful when setting up and organizing your space. The wet side will be used for any activities that involve water such as film development, printing, or washing prints. You should make sure to keep this area well-ventilated to avoid any fumes from the chemicals. The dry side should be used for activities such as inspecting negatives, making contact sheets or editing prints. This area should also have a comfortable chair or stool in order to make your work easier and more efficient.
Light Proof Your Room
To ensure that your darkroom is truly lightproof, you must take some precautions. Use the highest quality grommets, seals, and tape to cover any windows or openings to the outside world. Additionally, don’t forget to check for any other sources of light such as LED lights or illuminated switches. Cover these up with duct tape or use a blackout cloth if necessary. It’s also recommended to use a door sweep in order to block any light coming through the bottom of the door. Finally, for an extra layer of protection, you can paint your walls and ceiling black or dark gray. This will help absorb any stray light coming into the room and make it completely dark! [1]
Make Sure Your Sink is Easily Accessible
Having a sink easily accessible is essential for any darkroom. This will allow you to quickly and easily rinse off your prints and film after it has been developed. Ideally, the sink should be placed close to your developing area so that you don’t have to move far when switching between steps in the process. Additionally, having a faucet with an adjustable temperature will be very helpful for controlling the temperature of your developer solutions. If you are setting up a wet darkroom, make sure that there is also a drain nearby to easily dispose of any used chemicals or water.
Organize your Darkroom Equipment
Once you have everything set up in your darkroom, it’s important to make sure that all your equipment is easily accessible and organized. Have a designated space for each of your developing trays, film holders, mixing containers, and other supplies. This will help keep the room tidy and free from clutter which can distract or disrupt your workflow. Additionally, if you are using a wet darkroom, you should also organize all your chemicals and solutions in separate containers. This will help you easily identify which chemicals to use for each step of the developing process.
Choose your enlarger carefully
When it comes to enlarging your photographs in the darkroom, it’s important to select an enlarger that best suits your needs. Consider different factors such as size, portability, print sizes and ease of use before making your purchase. Some photographers also prefer to have a multi-format enlarger if they work with different formats or sizes of negatives. This will allow you to quickly and easily switch between formats for different prints. When choosing an enlarger, it’s important to select one that is durable and can handle the amount of printing you plan on doing. Ensure that any additional accessories such as lens boards or bellows are also compatible with your device.
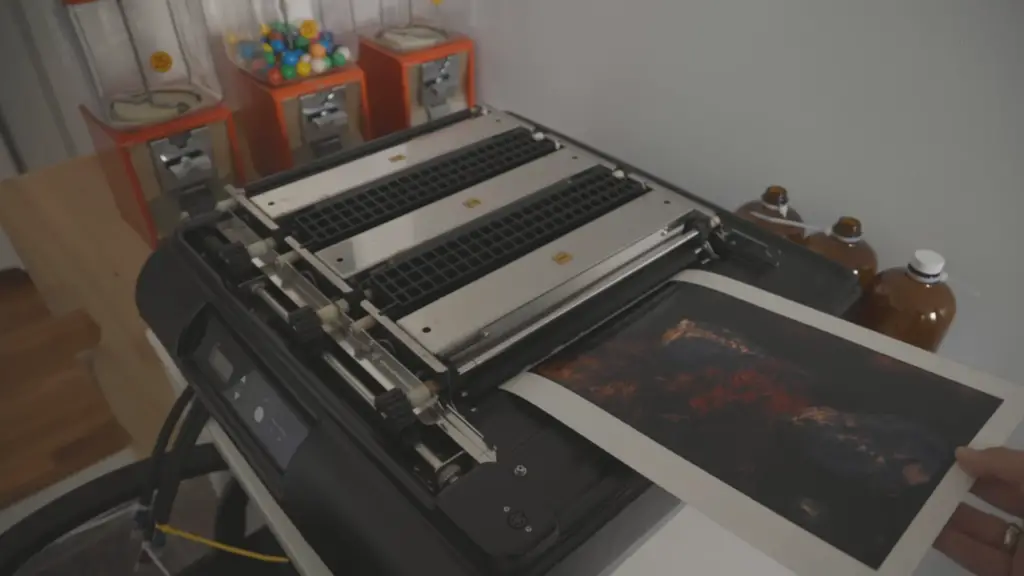
Acquire your printing kit
Once you have your darkroom setup and equipment ready, it’s time to acquire a printing kit. A printing kit typically consists of items such as photographic paper, developer solutions, stop bath, fixer solution and print washer. It is important to choose the right type of paper for your prints depending on what finish and tone you want. Additionally, make sure to purchase a high-quality fixer solution as this will help preserve the prints for a longer period of time. Finally, make sure that all your chemicals and solutions are stored properly in your darkroom in order to avoid contamination or spills.
Acquire and arrange your chemicals
When it comes to acquiring your chemicals for the darkroom, it’s important to research each one before making any purchases. It’s often best to shop around and compare different products in terms of quality, cost and performance. Once you have acquired all your needed chemicals, take extra care when arranging them in the darkroom. Make sure that they are stored away from any light sources or heat and in airtight containers to avoid contamination. Additionally, it’s important to label each container clearly so that you can easily identify which chemical is for what purpose. This will help ensure your darkroom is properly organized and efficient.
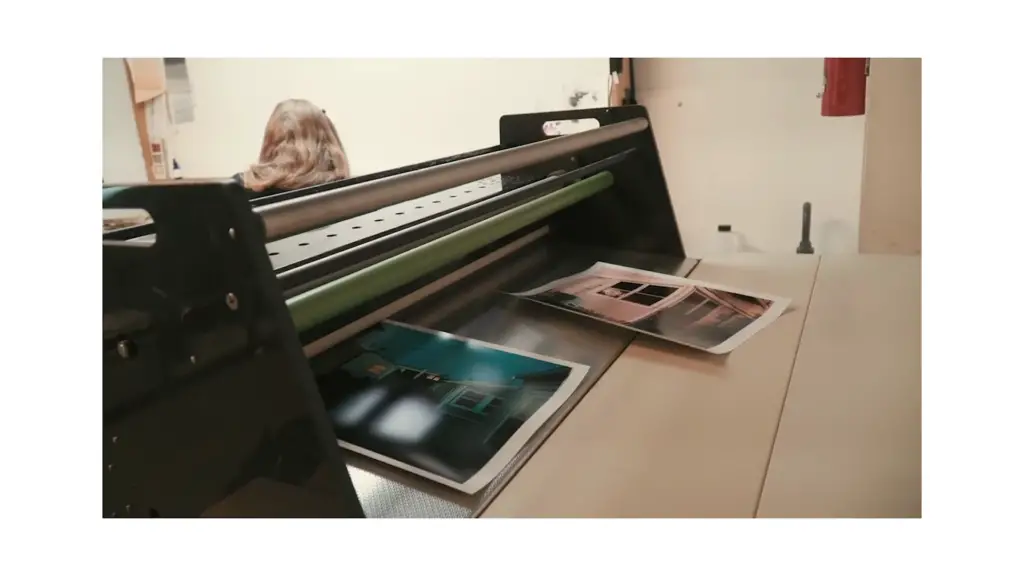
Set up your equipment in the wet side of the darkroom
Once your darkroom is properly set up, you can now begin to arrange and set up the equipment in the wet side. This includes film holders, trays, tongs and other tools that you will be using for developing film or printing. Ensure that each of these items are easily accessible so that you can quickly switch between them when needed. Additionally, it’s important to have a good ventilation system in place when working with any chemicals. Doing so will help minimize the risk of any fumes or odors that can be hazardous to your health. Finally, make sure all your tools and supplies are stored away properly when you’re finished using them to avoid having clutter in your darkroom.
Equip the dry side of your darkroom
It’s also important to properly equip the dry side of your darkroom. This typically involves setting up an enlarger, negative carriers and other tools needed for printing. Additionally, you will need to set up a paper safe in order to store your photographic paper in a light proof manner. You should also acquire a timer or other device that allows you to accurately measure exposure times. Finally, you may also need to purchase a print washer in order to clean and dry your prints correctly. This will help ensure that your prints are of the highest quality when they are finished.
Get the necessary safety equipment
Safety should always be the top priority when working in a darkroom. You will need to make sure you have the necessary safety equipment such as goggles and gloves. Additionally, it’s important to wear clothing that covers your skin completely while using any chemicals or solutions to minimize potential contact with them. Finally, make sure to thoroughly read the instructions and warnings on any chemicals or products that you are using. Doing so will help ensure that you are working in a safe and healthy environment. [2]
Install a Safelight to Protect the Film
One of the most important things to consider when setting up a darkroom is the installation of a safelight. This will help protect your film from any light sources that can damage it while you are printing or developing. There are many types of safelights on the market, so be sure to research them before making your purchase in order to find one that best suits your needs.
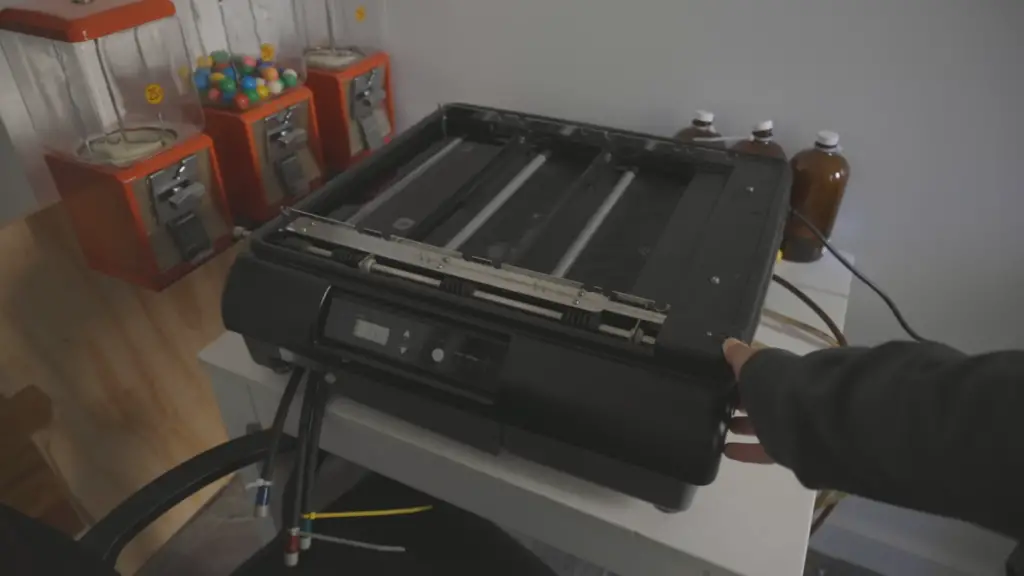
Check for Leaks and Keep the Darkroom Clean
When setting up a darkroom, it is important to check for any leaks that could be potentially damaging to your equipment or prints. Make sure to go around the room and carefully inspect for any small areas of light that may be entering in from outside sources. Additionally, it’s important to keep the darkroom clean and tidy. Make sure all your tools and equipment are stored away correctly when they’re not in use, and that any spills are quickly cleaned up. Doing so will help extend the life of your equipment as well as ensure a safe working environment.
Use a Film Changing Bag for Best Results
In order to get the best results when printing negatives, it is important to use a film changing bag. This is an airtight bag that allows you to load and unload films without exposing them to any light sources. When selecting a film changing bag, be sure to choose one that is appropriately sized for your needs as well as one that has all the necessary features such as an adjustable strap and double protective layers. Additionally, make sure to practice using your film changing bag in a well-lit area before attempting it in the darkroom. Doing so will help ensure that you can quickly and easily switch between films without exposing them to light.
Practice Makes Perfect
Using a darkroom for photography requires patience and practice in order to get the perfect prints. Be sure to take your time when setting up your darkroom, develop your skills and experiment with different techniques. Additionally, remember that mistakes are a part of learning so don’t be discouraged if you don’t get it right away! With enough practice and dedication, you will eventually become an expert at working in the darkroom and producing high-quality prints.
Final Tips for Setting up a Darkroom
When setting up a darkroom, it’s important to make sure all your equipment is properly functioning and organized. Take your time when doing this as rushing can lead to mistakes or even potential injury. Additionally, make sure you always wear safety gear such as gloves and goggles when working with any chemicals or solutions. Finally, be sure to thoroughly read the instructions on all products you are using in order to ensure that you use them correctly. By taking these extra precautions, you can help ensure a safe and efficient darkroom for producing high-quality prints.
FAQ
How do you develop a photo dark room?
Developing a photo darkroom is not as hard as it may seem. The essential components for setting up a darkroom are the enlarger, the paper, and the chemicals. You will also need to make sure that your space is completely darkened – this means no external light sources!
Once you have these items gathered, you can start to assemble your darkroom. It helps to have a table and shelves in the darkroom so that you can easily store all of your supplies. You then need to set up your enlarger, which will be used to project the image onto the paper. After this is done, you will need to create a workstation for developing the photographs.
This involves setting up trays for the chemicals and running water in a sink. Then, you’ll need to get your paper prepped with an emulsion so that it can properly hold the developed image. Finally, you will need to make sure that everything is completely dark before beginning the developing process.
If all of this sounds like too much work for you, there are also some pre-made darkroom kits out there that have all the items needed for creating a darkroom. These are convenient and can save you some time on setting up your space. [3]
Once you’ve got your darkroom set up, it’s time to start developing! Make sure to follow all of the safety tips when working with chemicals, as they can be hazardous if not used correctly. With some practice, you’ll be able to produce amazing photos from the comfort of your own darkroom!
Where can I build a darkroom?
A darkroom can be set up almost anywhere, but there are a few key considerations before you start.
The first consideration is light – the room must be totally dark when exposed film is processed. To achieve this, most people opt for a small windowless space without any natural sources of light like skylights or windows. Another important factor to consider is ventilation – as certain chemicals used in the developing process are toxic, having a well-ventilated space will help to keep you safe and healthy.
It’s also important to consider practical factors such as the size of the space and how it can be accessed. You’ll need enough room to store all your equipment comfortably, so make sure there’s enough storage space available and that you can reach it without having to move too much other stuff out of the way. You’ll also need to be able to access your equipment quickly and easily, so make sure the space is easy to get into and out of.
Finally, consider any necessary electrical outlets – you’ll likely need some for things like enlargers and safelights. If there aren’t already electrical outlets available, you may need to get an electrician to install them for you. [4]
What is needed in a darkroom?
There are some basic supplies and tools you need to have in order to create a darkroom for photography. These include:
- Darkroom safe lights – these allow you to safely work in the darkroom without exposing light sensitive film or paper.
- Developing trays, tanks and reels – these are used to develop exposed photographic film.
- Print washers – these are used to wash off the chemicals from photographic prints.
- A timer – this is used to measure the development time of film and paper.
- Chemical storage containers – these are used to store a variety of photographic developing solutions, such as developer, fixer and stop bath.
- Safety shower – this is essential for any darkroom, as it provides a place to safely dispose of hazardous chemicals.
In addition to these basic supplies and tools, there are other items that you may find helpful in your darkroom such as bottles and tongs for handling prints, a print dryer and enlarger accessories. Investing in quality materials will not only ensure longevity but also provide you with the best results.
How dark does a darkroom need to be?
When considering making a darkroom, it’s important to consider how dark your room needs to be. Your room will need to be completely light-tight in order for any kind of photographic processing or printing to take place. This means that the walls should be solid and there should be no cracks where light can enter. If you plan on printing photographs, then you will also need to make sure that there is no light coming in through any windows, and if you do have windows then they should be covered with a blackout material.
When it comes to controlling the amount of darkness in the room, most darkrooms will use a combination of curtains or blinds to manage the amount of light entering the room. You may also want to consider using a light meter to measure the amount of light that is entering the room. This will help you ensure that there is an appropriate level of darkness for your photographic work.
It should also be noted that having too much darkness in a darkroom can have its drawbacks. For instance, if the room is too dark then it may be difficult to see what you are doing when you are processing or printing photographs. You don’t want to be in the dark while working with photography, so it’s important to maintain a balance between having enough darkness for photographic work and enough light that you can see what you are doing. With this balance, you can ensure that your darkroom will be an effective space for photographic processing and printing. [5]
Finally, it’s important to be aware of the safety concerns that come with a darkroom. You should always make sure that you have adequate lighting available for when you need to move around the room. Additionally, it should also go without saying that any electrical equipment needs to be properly grounded and away from any water sources. By following these simple steps, you can ensure that your darkroom is a safe and effective space for your photographic work.
Useful Video: How I Turned my Kitchen into a Photography Darkroom
Conclusion
The journey of creating a darkroom for photography can be a rewarding one, as it allows you to take your passion and creativity in photography to the next level. With this guide, you should have all the information needed in order to create a great darkroom setup that will help you capture amazing images. While setting up a darkroom can seem daunting at first, don’t let that deter you from taking the plunge and getting started. With some preparation and a bit of elbow grease, your darkroom will be up and running in no time! Remember to take notes throughout the process, as it may help if you run into any issues down the line. Good luck with your darkroom journey!
Once you have finished setting up your darkroom, you should take some time to explore the various techniques available for taking photos in a darkroom. Researching different exposure and development techniques is one of the best ways to improve your photography skills. Additionally, you can experiment with alternative printing techniques, such as cyanotype or Van Dyke Brown printing. Taking the time to learn how to use your darkroom to its fullest potential can help you create beautiful and unique prints that will be admired for years to come. So, don’t forget to take the time to explore your new darkroom setup!
References
- https://expertphotography.com/diy-darkroom/
- https://www.wikihow.com/Build-a-Darkroom
- https://www.invaluable.com/blog/how-to-develop-film/
- https://www.35mmc.com/26/01/2022/building-a-darkroom-from-the-ground-up-by-katie-cooper/
- https://www.pentaxforums.com/forums/107-film-processing-scanning-darkroom/84474-how-dark-darkroom-has.html



Leave a Reply