
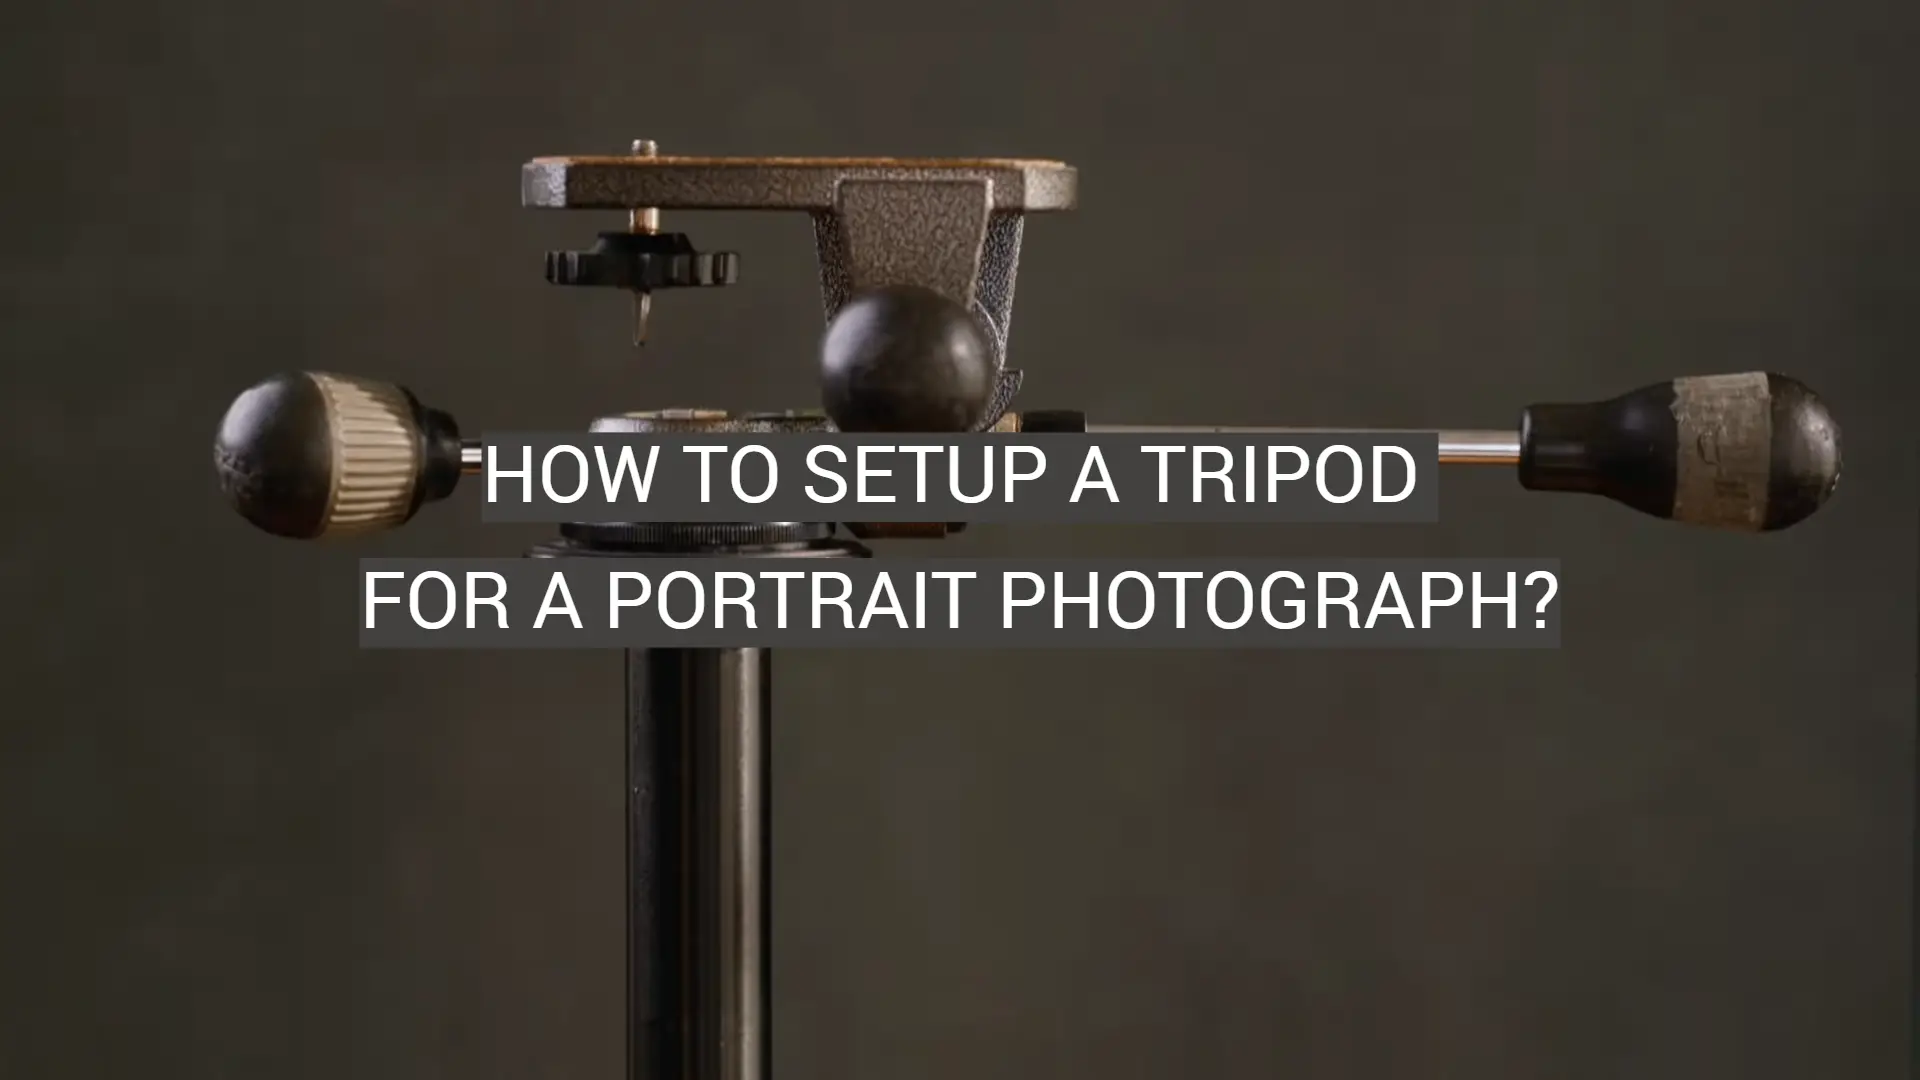
Mastering the art of setting up a tripod is a fundamental skill that every photographer should possess when capturing portrait photographs. It is an essential technique that enhances the quality, stability, and precision of the images, ensuring remarkable results. A well-positioned tripod can drastically improve the quality of your portraits by providing stability, reducing camera shake, and allowing for precise control over framing and composition. This guide aims to walk you through the steps involved in setting up a tripod properly for a portrait photograph, helping you capture stunning and professional-looking portraits.
Preparing Your Tripod
Once you have chosen your tripod, it’s time to prepare it for use. Here are a few tips for setting up the tripod correctly:
- Make sure that all of the parts are tightened and connected securely. This will prevent any unexpected slips or wobbling when you’re taking photos.
- Always extend the legs out fully and then lock them into place. This will help to ensure that the tripod is stable and won’t move when you’re taking your shots.
- Make sure that the center column is adjusted correctly before mounting any equipment onto it. It should be at an optimal height for taking photos, as well as being level with the ground.
- If your tripod has any additional features, such as a spirit level or bubble levels, make sure to use them to ensure that your camera is perfectly aligned for the best results.
- Once you are happy with the positioning of your tripod, double check that all of the locks and screws are tightened securely before mounting your equipment onto it.
Adjusting Your Tripod Head
Once you’ve got your tripod set up, the next step is to adjust the head. This is important as it will enable you to control how your camera moves when taking photos.
- Most tripods come with a standard pan/tilt head, which gives you basic control over the movement of your camera. Make sure that all of the knobs and levers are tight for optimal performance.
- If your tripod has a ball head, make sure to adjust the tension knob correctly so that it’s just tight enough to keep the camera secure but still allows you to easily move it into different positions for your shots.
- For more advanced control, consider investing in a fluid head or gimbal head, which will allow you to smoothly and accurately angle your camera for the best results.
- Finally, if you’ll be using a long lens, make sure to use a lens collar or tripod plate to mount it securely onto the tripod head. This will help to ensure that your lens doesn’t move or shift when taking photos.
Following these steps will help you get the most out of your tripod and ensure that you get the best results from your photos. With a bit of practice, you’ll soon be taking stunning portrait photographs with ease! [2]
Tripod Accessories
In addition to the tripod itself, there are also several accessories available that can make your photography sessions easier and more efficient. Here are some of the most useful ones:
- A remote shutter release will allow you to take photos without having to touch the camera, which is great for minimizing camera shake.
- If you’ll be shooting in low light conditions, a tripod torch can help illuminate your subject and make sure that it is correctly illuminated in your shots.
- Tripod carrying cases are ideal for protecting a tripod while traveling or transporting it from one location to another.
- If you’re shooting in a variety of locations, consider investing in a set of interchangeable quick release plates so that you can easily switch between different cameras and lenses.
- Finally, if you need more stability for the heavier equipment, a tripod weight hook can be used to attach weights to the tripod’s legs for extra stability.
These accessories can be a great way to get more out of your tripod and ensure that you can take the best possible photos with your camera.
Setting Up Your Tripod for a Portrait Photograph
Adjusting the Height
When taking portrait photographs, it’s important to make sure that the camera is at the right height. Too low and you won’t be able to get a good angle on your subject while too high and you’ll be shooting from an unflattering angle. To ensure that your camera is set up correctly, here are a few tips for adjusting the tripod’s height:
- Start by extending the tripod’s legs to their full length and locking them into place.
- If your tripod has an adjustable center column, make sure to adjust it so that the camera is at an optimal height for taking photos of people in a standing position.
- If you’re shooting seated subjects, make sure that the camera is slightly lower.
- Finally, if your tripod has an adjustable leg angle, make sure to adjust it so that the legs are spread out wider for additional stability.
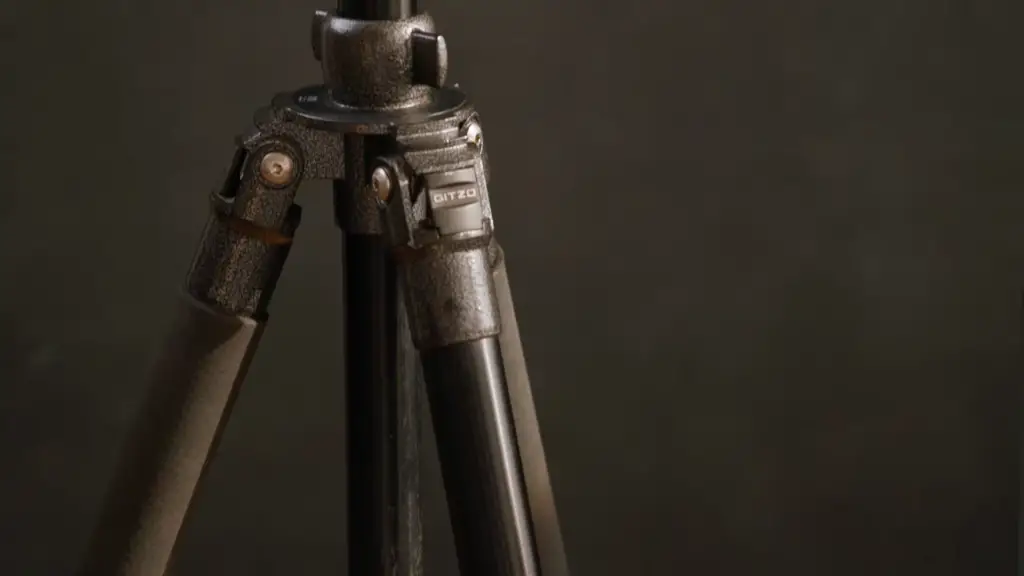
Leveling the Legs and Platforms
Once the height is set, it’s important to make sure that the tripod is perfectly level. This will help ensure that your photos are properly composed and look professional. To do this:
- Make sure that all of the locks and screws on the legs are tightened securely.
- If your tripod has spirit levels or bubble levels, use them to make sure that the platform and legs are level with the ground.
- If not, use a carpenter’s level or an app on your phone to double-check that everything is perfectly aligned before taking photos.
- Finally, if you’ll be using a long lens, make sure to spread out the legs wider than usual for added stability.
Doing this will help ensure that your photos turn out crisp and clear, no matter what type of portrait you are taking. [3]
Tips for Better Use of Your Tripod
For the best results, here are some tips for using your tripod correctly.
- Make sure your camera’s lens is centered on the center column of the tripod. This will help keep everything stable and prevent wobbling or shaking in photos.
- Use a low angle by extending the legs of your tripod as wide as possible to get the best angle. This will help to create a dynamic composition and give your photos depth.
- When you’re done shooting, make sure to secure all of the tripod’s locks and knobs before taking it down. This will ensure that nothing gets broken or damaged.
- If your camera is digital, remember to turn off image stabilization when using a tripod to get the highest quality photos.
- Use a remote shutter release or timer when taking photos to avoid any camera shake from pressing the shutter button.
- Try different angles and heights for your shots, as this can help you create interesting compositions that stand out.
- Experiment with panoramas and long exposure shots to add a unique element to your photos.
- If you’re shooting in low light conditions, use a shutter speed of at least 1/125th of a second or slower for sharp images. [4]
- Pay attention to the direction of the wind and make sure that your tripod is firmly set in place before taking shots. This will help prevent camera shake from any gusts of wind.
- When shooting landscapes or night photos, make sure to use a tripod with a bubble level to ensure your images are perfectly straight and level.
- If you’re using a long lens for telephoto shots, try adding some weight (like a bag of sand) to the center column of the tripod to provide extra stability. This will help reduce camera shake and blur in your images.
- Finally, don’t forget to bring a lens cloth with you when shooting to keep the glass clean and free from dust and dirt. This will help ensure that all your photos are as sharp and clear as possible.
By following these tips, you’ll be able to get the most out of your tripod and create stunning images.
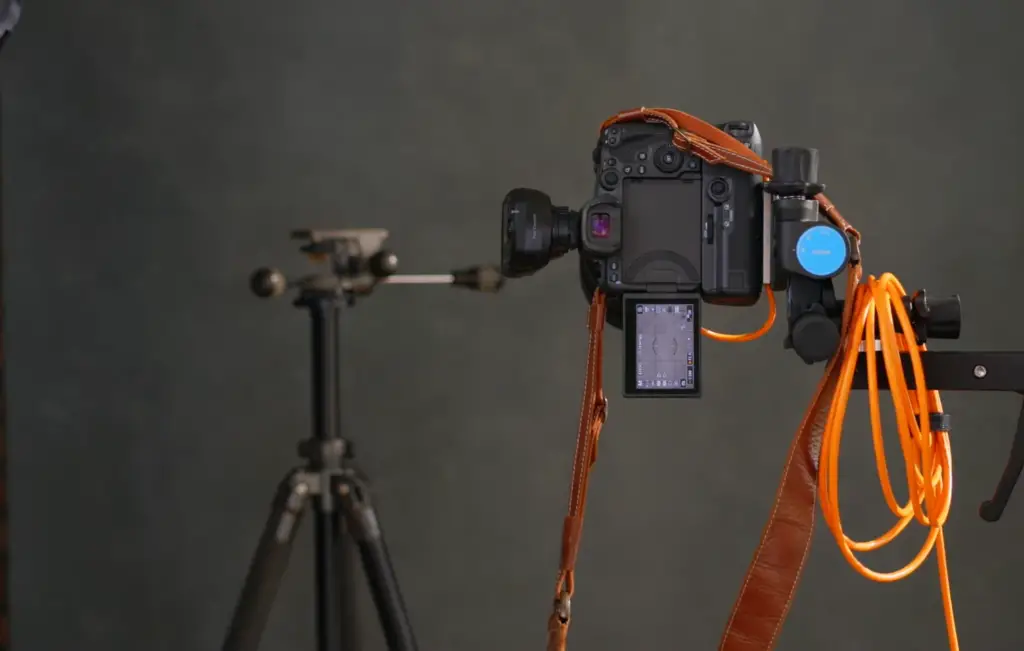
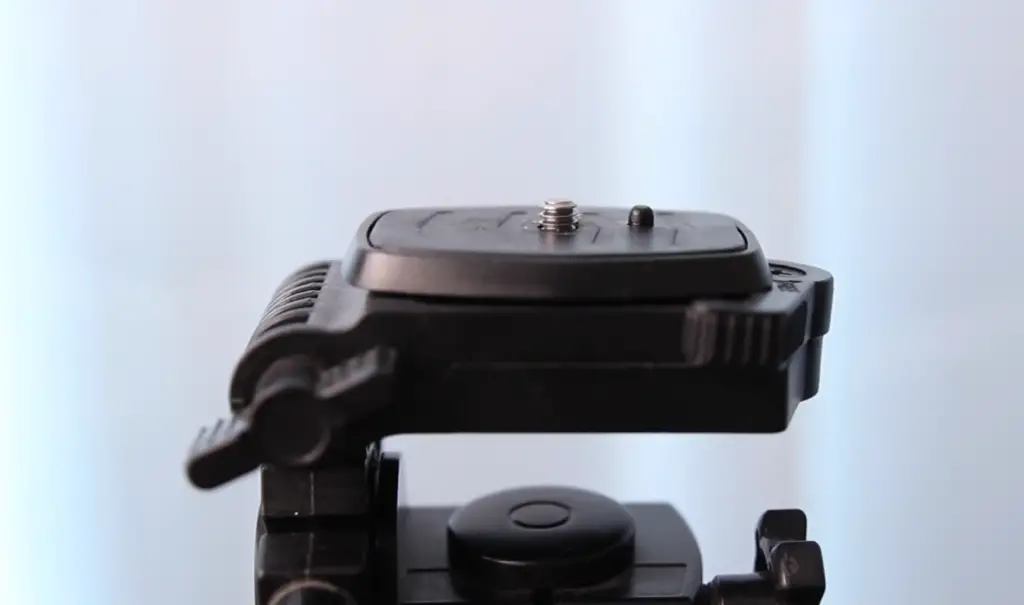
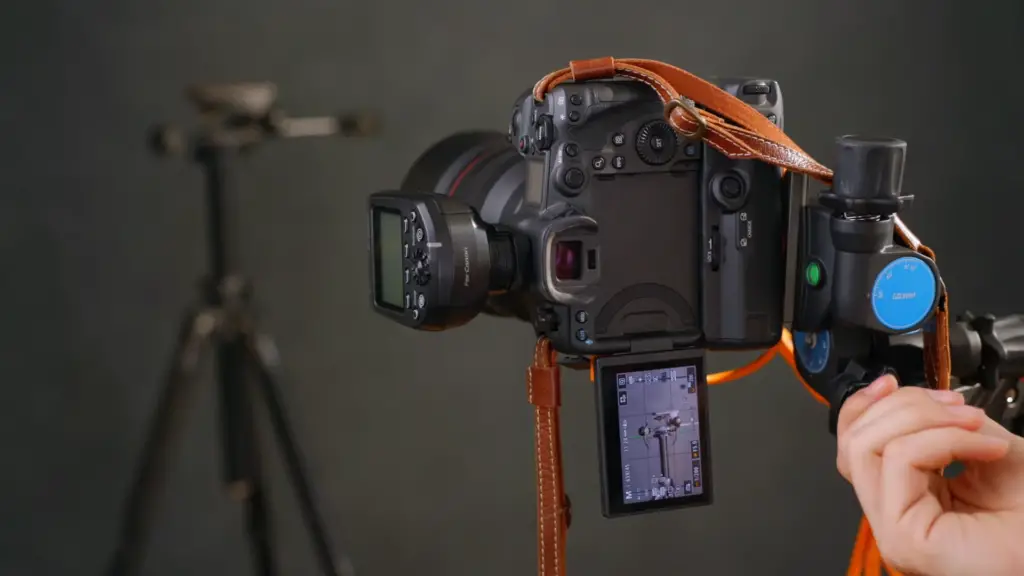
Connecting Your Camera to the Tripod
Once you have set up your tripod, the next step is to connect your camera. There are a few different ways that you can do this depending on what type of camera and tripod you have.
If you’re using a DSLR or mirrorless camera, you will need to attach the camera to the head of the tripod. This is done by unscrewing the quick release plate or mount from the head of your tripod and then attaching it to the bottom of your camera. Once you have done this, simply tighten the screw on the mount to ensure that it is securely attached.
If you’re using a point-and-shoot camera, you may be able to directly attach it onto the head of the tripod. Check your manual to see if this is possible for your camera model. If not, you can purchase an adapter that will allow you to attach the camera to the head of the tripod.
For both types of cameras, make sure that it is securely attached so there is no risk of it falling off or slipping while taking photos. Once everything is set up securely, you are now ready to take some amazing portrait photographs!
Adjusting the Lighting and Focus Controls
The important step when setting up a tripod is to adjust the lighting and focus controls. This allows you to position your camera in such a way that it captures the perfect image.
Start by adjusting the head of the tripod so that it is pointing towards the subject you wish to photograph. You can then adjust the tilt, pan, and roll of the head to get the exact positioning you need.
Next, focus your camera on the subject and adjust the aperture, shutter speed, ISO, and white balance settings to ensure that the lighting in your shot is perfect. You can also add a flash or other external light sources if needed.
Finally, use a remote control or timer to trigger your camera’s shutter so that it takes the shot at the exact moment you want.
By following all of these steps, you will be able to capture stunningly beautiful portrait photographs with your tripod setup. With a little practice and patience, you will have no problem getting amazing results! [5]
Final Touches for a Professional Result
Once the tripod is assembled and placed in the desired position, double check that all locks are securely tightened. You can also take advantage of any leveling mechanisms available on your tripod. By using these features, you can ensure that your portrait subject will be properly aligned with their surroundings.
You can also consider using a cable release or remote control to reduce any camera shake when locking down the exposure. By using these extra steps, you can ensure that your portrait photography captures the highest possible quality.
Finally, take a moment to review and double check the placement of your tripod. Make sure that it is in an optimal position for capturing flattering angles and taking beautiful images. Providing a bit of additional care during setup can make all the difference in the finished product.
FAQ
What is the ideal height for setting up a tripod for a portrait photograph?
Generally speaking, the ideal height for setting up a tripod will vary depending on your subject and the angle of view that you are trying to achieve. Most portrait photographers prefer to position their tripod at eye level with their subjects for more intimate shots. However, if you are shooting from above or below your subject you may need to adjust the height of your tripod accordingly.
How can I ensure the tripod is stable?
Ensuring your tripod is stable will help prevent unwanted camera shake and ensure sharper images. To achieve this, make sure you secure all legs of the tripod firmly to the ground and use a weight (such as a camera bag or sandbag) on the center column for extra stability if necessary. Additionally, consider using a remote shutter release so that you don’t have to physically touch the camera when taking a picture.
What type of tripod should I use?
The best choice of tripod will depend on your specific needs and budget. Generally, look for a model with adjustable legs, locking plates or twist locks and rubberized feet that can grip flat surfaces. A carbon fiber tripod is lightweight yet strong and ideal if you plan on doing a lot of traveling with your gear. If you don’t need to carry your tripod around, then a larger aluminum model will provide more stability and support heavier camera equipment.
What accessories should I have for my tripod?
When using a tripod it is important to have the right accessories to ensure safe and successful photography. Some essential accessories include a head for mounting your camera, quick release plates and an adjustable or remote shutter release. Additionally, carrying extra tripod legs and securing straps will always be useful in case of unexpected accidents or damage.
Is there anything else I should consider when choosing a tripod?
Yes! Don’t forget to check that the tripod is compatible with your specific camera model. Additionally, if you are a videographer or plan on using long lenses, look for tripods with center column hooks which will help stabilize the camera and reduce vibration/shaking. Finally, consider how much travel and portability you need from your tripod; lighter models are more suitable for outdoor photography while heavier options may be better suited to studio environments.
How does the type of surface affect the tripod setup?
The type of surface you are shooting on can have an impact on the tripod setup, especially if it is not perfectly flat. In these cases, you may need to adjust the legs of the tripod to ensure that your camera is level or use a leveling base to help keep your shots straight. Additionally, always make sure that the feet of the tripod are securely planted on the surface for extra stability.
Is there a difference between using a tripod indoors and outdoors?
Yes, when setting up a tripod outdoors you need to be aware of the elements that can affect your camera setup such as wind and rain. In these cases, consider using additional weights on the center column or securing straps to keep the tripod in place. Additionally, if you are shooting in low light conditions, make sure to find a solid surface that won’t get affected by the weather elements.
Useful Video: Using a Tripod for Self Portraits
Conclusion
Setting up a tripod for portrait photography is an essential part of achieving professional-looking shots. To ensure the best results, choose a tripod that meets your specific needs, use appropriate accessories and consider the type of surface you are shooting on. With these tips in mind, you’ll be able to take stunning portraits with ease!
Don’t forget to experiment with different angles and camera heights to discover the perfect setup for your shots. Who knows, you may even find yourself creating unique and memorable images that will last a lifetime!
Happy shooting! 🙂
References
- https://shootsense.com/how-to-set-up-a-tripod-for-a-portrait-photograph/
- https://camerajabber.com/how-to-up-tripod-photography/
- https://www.kentfaith.com/blog/article_how-to-setup-a-tripod-for-a-portrait-photograph_6431
- https://tripodninja.com/how-to-set-up-a-tripod-for-a-portrait-photograph/
- https://camera-creative.com/how-to-set-up-a-tripod-for-a-portrait-photograph/