
Are you in a situation where you have somehow synced your Google Photos to the wrong place? If so, it can be a confusing and frustrating experience – not to mention time-consuming to try and fix. This post will cover everything you need to know about how to unsync Google Photos, giving you back control of the photos that were previously syncing in the wrong spot. Keep reading to discover more!
What are Google Photos?
It was launched in 2015, and allows users to store an unlimited number of photos for free, as well as share them with friends and family. The service also includes a range of photo editing tools that allow you to enhance your pictures before sharing them.
Google Photos can be accessed on any device with an internet connection, including computers, smartphones, tablets and smart TVs. You can access the service through the Google Photos app or website at photos.google.com. In addition, Google Photos integrates with other Google services such as Drive and Gmail so that you can easily manage all your images in one place.
The main benefit of using Google Photos is its unlimited storage capacity. Unlike similar services such as iCloud and Dropbox, Google Photos does not limit the number of photos you can store or require a subscription for additional space. This makes it an ideal service for those who take a lot of pictures and need somewhere to store them without worrying about running out of space. Google Photos also offers convenient sharing features so that you can easily send your images to family and friends.
Additionally, Google Photos provides powerful editing tools that allow you to make quick tweaks to your photos before sharing them with others. You can adjust brightness, contrast, saturation and other settings in just a few clicks. The app also includes automated editing options such as ‘Auto Enhance’ which applies recommended edits based on what it thinks looks best.
Overall, Google Photos is an excellent service for storing and sharing photos. With its unlimited storage capacity and powerful editing features, it’s the perfect solution for anyone looking to organize their images in one place. Whether you’re a professional photographer or just someone who takes lots of pictures, Google Photos can help keep your photos safe and organized [1].
Why should you Unsync Google Photos?
Google Photos has become an invaluable tool for many users, but it’s not without its flaws. By unsyncing your photos from Google Photos you can avoid several issues such as:
- Reduced Privacy – Synced photos are visible to anyone with access to your Google Account.
- Increased Storage Costs – Google Photos counts against the storage space of your Google Account, which means you could end up paying more if your account runs out of space.
- Limited Editing Options – When syncing pictures to Google Photos, they are automatically resized and compressed, which reduces the overall quality of the photo. Additionally, there are limited editing options when using Google Photos compared to other photo editing tools that offer more advanced features.
Unsyncing your photos from Google Photos can help to protect your privacy, save you storage costs and give you more control over editing options. It also allows you to free up space in your Google Account for other services like Gmail, Calendar, etc. If you’re looking for a better way to manage and store your photos then unsyncing them from Google Photos could be the right solution for you.
How Do You Unsync Your iPhone from Google Photos?
How to Unsync Google Photos [Android]
If you have an Android phone, the steps to unsync Google Photos from your device are as follows:
- Open the ‘Google Photos’ app on your device.
- Tap on the ‘Settings’ icon in the top-right corner of the screen.
- Select ‘Backup & sync’ from the menu that appears.
- Switch off the toggle next to ‘Back up & sync’ option at the top of this page, so it turns grey and reads ‘Off’.
- You will be asked if you want to delete all existing backed-up photos from your device; select ‘Yes, delete all photos from device’.
- Tap on ‘Done’ to save your changes.
- To confirm that the sync has been disabled, go back to the main Google Photos page and check for a confirmation message at the top of the screen which reads: ‘Back up & sync is off’.
That’s it – you have now successfully unsynced Google Photos from your device!
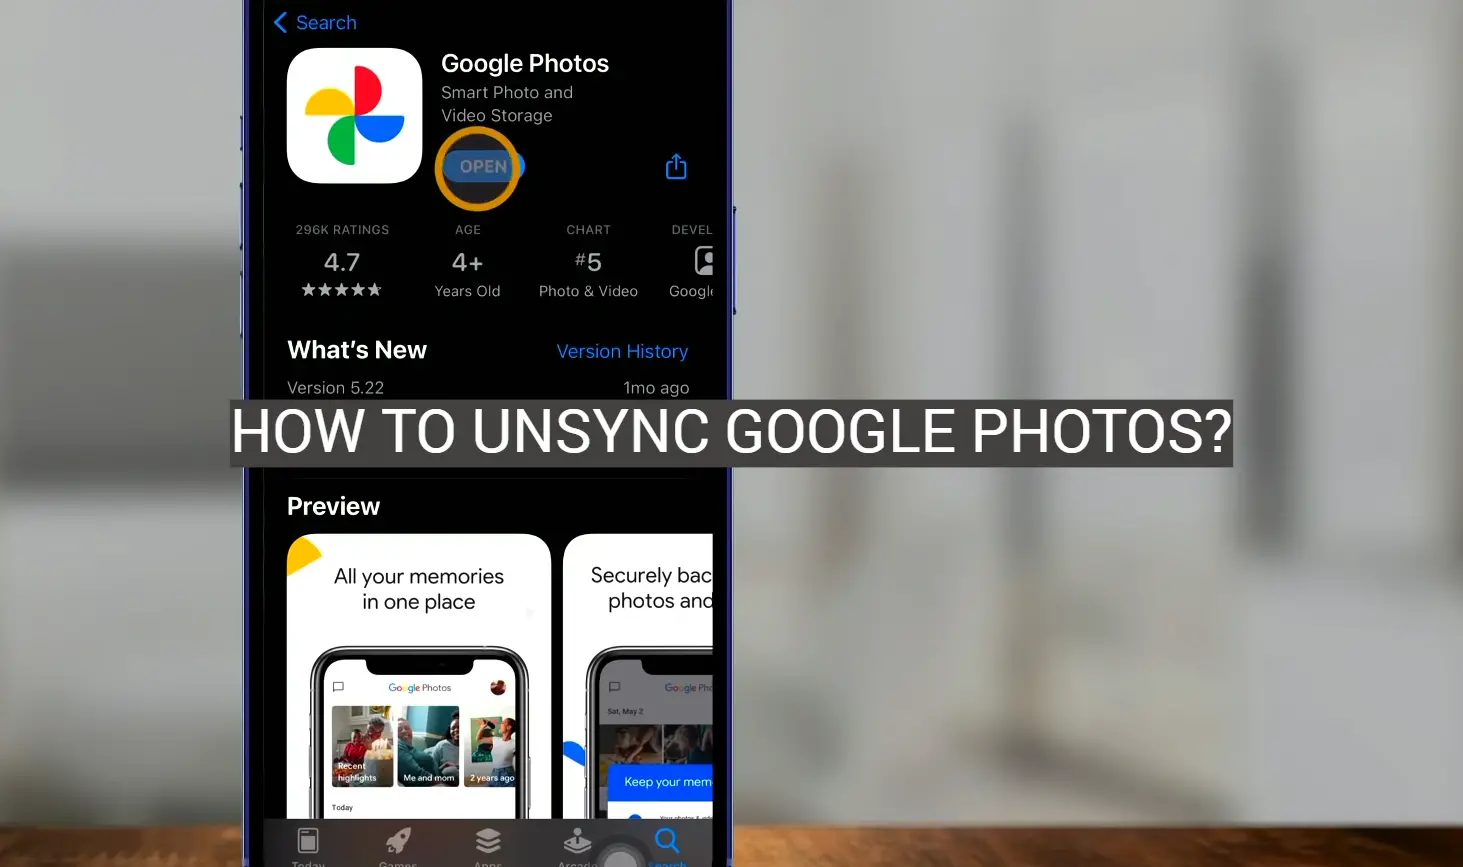
How to Unsync iPhone from Google Photos
If you have an iPhone, the steps to unsync Google Photos are as follows:
- Open ‘Settings’ on your device and scroll down until you find the ‘Google Photos’ option; tap on it to open its settings page.
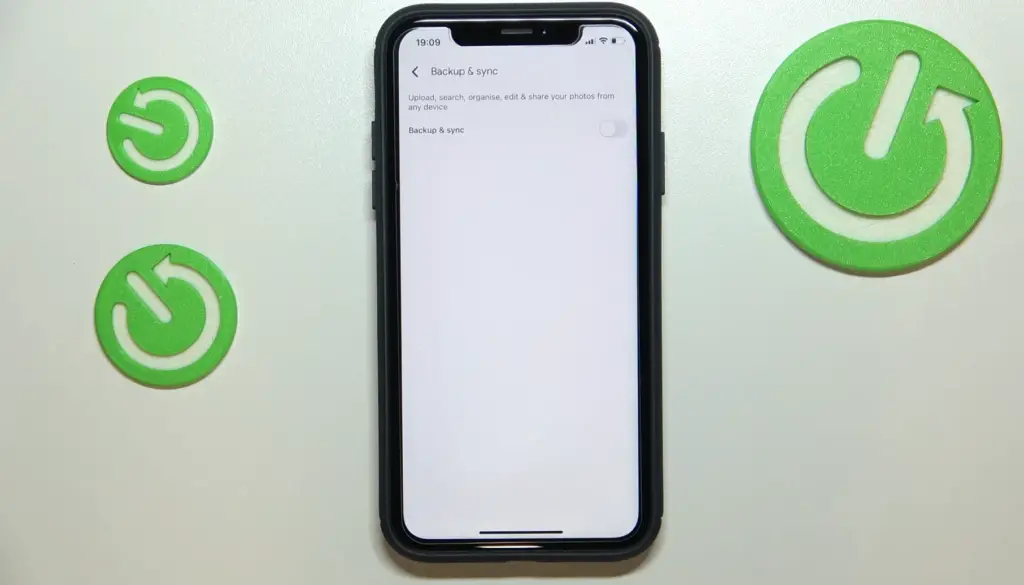
- On this page, find the ‘Backup & sync’ switch and turn it off; when you do so, it will turn grey and read ‘Off’.
- You will be asked if you want to delete all existing backed-up photos from your device; select ‘Yes, delete all photos from device’.
- Tap on ‘Done’ to save your changes.
- To confirm that the sync has been disabled, go back to the main Google Photos page and check for a confirmation message at the top of the screen which reads: ‘Back up & sync is off’.
How to Sync Google Photos to Another Cloud Storage Service
If you would prefer to sync your photos and videos to a different cloud storage service, such as Dropbox, iCloud, or Microsoft OneDrive, there are several apps available that will allow you to easily do this. These apps will usually require you to link the new cloud storage account with your Google Photos account so that your existing photos and videos can be transferred over. Once the transfer is complete, you can then unlink your Google Photos account from the app so that no further syncing takes place. Be sure to read any reviews for these third-party apps before downloading and using them, as some may contain malicious software that could potentially harm your device or steal private information [2].
How To Cancel Google Photos Upload On Desktop
Solution 1: Pause Google Drive Sync
If you’re using Google Photos and want to cancel an upload, the fastest way is to pause your Google Drive sync. This will stop all file transfers on your computer and prevent any further photos from being uploaded. To do this:
- Open the Google Drive app on your desktop
- Click the Settings icon in the top right corner of the window
- Select ‘Pause Syncing’ from the menu
- Confirm that you’d like to pause syncing by clicking ‘Yes’
You’ll now be able to free up some bandwidth and make sure no more files are sent until you turn to sync back on again.
Solution 2: Disable Auto Backup
Another way to cancel an upload is to disable the auto-backup feature of Google Photos. This will stop any photos from being uploaded automatically, but you’ll still be able to manually upload them later on when you’re ready. To do this:
- Head over to the Google Photos website
- Click on the Settings icon in the top right corner
- Select ‘Auto Backup’ from the menu
- Toggle ‘Auto Backup’ off and confirm that you’d like to turn it off
Once disabled, no more files will be sent until you turn Auto Backup back on again!
Solution 3: Signing Out
If you want to make sure that no more files are sent or received through Google Photos, you can simply sign out of your account. This will stop any further uploading and downloading from taking place until you’re ready to log back in. To do this:
- Head over to the Google Photos website
- Select ‘Sign Out’ from the menu
- Confirm that you’d like to sign out by clicking ‘Yes’
Once signed out, no more files will be sent or received until you log back in again with your account details!
Solution 4: Quit the Backup and Sync App To Stop Google Photos Upload
If you’re using the Google Backup and Sync app, quitting the application will also stop any further photos from being uploaded. To do this:
- Open the Google Drive app on your desktop
- Click on the File menu
- Select ‘Quit Backup and Sync’ from the menu
- Confirm that you’d like to quit by clicking ‘Yes’
This will stop all file transfers and prevent any further files from being sent until you launch the application again!
Solution 5: Uninstall Google Backup and Sync App To Cancel Google Photos Upload
If you want to make sure that no more photos are sent, one way to do this is by uninstalling the Google Backup and Sync app from your computer. This will stop any further transfers from taking place until you install the application again. To do this:
- Open your Applications folder on your Mac or your Start Menu on Windows
- Locate the Google Backup and Sync app
- Right-click on it and select ‘Uninstall’
- Follow the instructions to uninstall the application completely
Once uninstalled, no more files will be sent until you reinstall the application again!
Solution 6: Stop (Uncheck) Photos From Uploading And Syncing
If you want to make sure that no more files are sent from your computer, one way to do this is by unchecking the Photos option in Google Drive settings. This will stop any further photos from being uploaded, but you’ll still be able to manually upload them later on when you’re ready. To do this:
- Open the Google Drive app on your desktop
- Click on the Settings icon in the top right corner
- Uncheck the ‘Photos’ checkbox under ‘Sync Options’
- Confirm that you’d like to stop syncing photos by clicking ‘Yes’
Once unchecked, no more photos will be sent until you check it again!
FAQ
How to stop uploading photos in Google Photos?
To stop uploading photos in Google Photos, go to the Photos settings page. On this page, you can choose how to upload photos and videos. You can choose to manually upload only or turn off auto-uploads completely. Once you’ve chosen your desired setting, click on the “Save” button. This will ensure that no more photos or videos are uploaded to Google Photos from that device.
How to unsync Google Photos on Android?
To unsync Google Photos on Android, open the Google Photos app and then go to the Settings page. From there, choose “Backup & Sync” and select “Disable Backup & Sync” which will stop any future photos or videos from being backed up to your account. You can also delete existing albums and photos directly from the app by selecting them and tapping the trashcan icon in the upper right corner of the screen. For help deleting individual photos or videos, visit Google’ support page.
How do I turn off backup on my phone?
To turn off backup on your phone, open your device’s settings page and look for a menu option called “Backup & Restore” or “Backup and Synchronization”. Click on it to open the settings. On this page, you can choose how to back up your data and which services will be used in the process. Select the “Off” option or disable auto-uploads completely. Once you have done this, click on the “Save” button to confirm your changes.
Does deleting from Google Photos delete from the gallery?
No, deleting photos and videos from Google Photos will not delete them from your phone’s gallery. The two are separate systems – while they may overlap, they do not sync with each other. If you want to delete photos or videos from both the gallery and Google Photos, you’ll need to do so manually in both places.
How do you unsync Google Photos without deleting them from your phone?
If you want to unsync Google Photos without deleting the photos and videos from your phone, open the Google Photos app and then go to the Settings page. From there, choose “Backup & Sync” and select “Disable Backup & Sync” which will stop any future photos or videos from being backed up to your account. This will not delete anything from your device – it will simply disconnect the two systems so that no new data is synced between them.
How do I stop my phone from syncing photos to Google?
Stop your phone from automatically uploading photos to Google, open the Photos page. On this page, you can choose how to upload photos and videos. You can choose to manually upload only or turn off auto-uploads completely. Once you’ve chosen your desired setting, click on the “Save” button. This will ensure that no more photos or videos are uploaded to Google Photos from that device. You can also delete existing albums and photos directly from the app by selecting them and tapping the trashcan icon in the upper right corner of the screen. For help deleting individual photos or videos, visit Google’s support page.
How do I delete a photo album?
To delete an album in Google Photos, first select the album and then tap the three-dot icon in the upper right corner of your screen. From there, you will see an option to delete the album. Once you select this option, all photos from that album (and any sub-albums) will be deleted from Google Photos. Note that deleting an album does not delete any photos or videos from your device – it simply removes them from Google Photos. For help deleting individual photos or videos, visit Google’s support page.
How do I turn off location tracking on my phone?
To turn off location tracking on your phone, open your device’s settings page and look for a menu option called “Location Settings”. Click on it to open the settings On this page, you can to turn off location tracking completely just for certain apps. Once you have chosen your desired setting, click on the “Save” button to confirm your changes. You can also delete existing albums and photos directly from the app by selecting them and tapping the trashcan icon in the upper right corner of the screen. For help deleting individual photos or videos, visit Google’s support page.
How do I stop Google Photos from syncing to one account?
To stop Google Photos from syncing to one account, open your device’s settings page and look for a menu option called “Backup & Restore” or “Backup & Synchronization”. Click on it to open the settings. On this page, you can choose which accounts will be used in the process of backing up photos and videos. Select the account you want to unsync and then click on the “Save” button to your changes. This will ensure that no more photos or videos are uploaded from that account to Google Photos. You can also delete existing albums and photos directly from the app by selecting them and tapping the trashcan icon in the upper right corner of the screen. For help deleting individual photos or videos, visit Google’s support page.
Why do you need to unsync Google Photos?
You may need to unsync Google Photos for a number of reasons. For example, if you want to keep photos or videos stored on your device but not backed up online, you will need to turn off the automatic sync feature. You may also choose to unsync Google Photos if you want to remove all of your data from a previous account or switch accounts without having to manually transfer all of your photos and videos.
Unsyncing allows you to easily manage which accounts are used when backing up and sharing photos and videos with others. It is important however, that once the unsyncing process is complete, any data uploaded from that account will be permanently deleted from Google Photos as well as from any devices it was previously backed up on.
For help deleting individual photos or videos, visit Google’s support page. unsync process is complete, any data uploaded from that account will be permanently deleted from Google Photos as well as from any devices it was previously backed up on. Additionally, you can also delete existing albums and photos directly from the app by selecting them and tapping the trashcan icon in the upper right corner of the screen.
How to delete photos from Google Photos?
Deleting photos from Google Photos is relatively simple. First, select the photos that you want to delete and then tap on the trashcan icon located in the upper right corner of your screen. You will be prompted to confirm that you want to permanently delete these photos from both Google Photos and any devices they were previously backed up on.
Why is it important to delete photos from Google Photos?
It is important to delete photos from Google Photos for a number of reasons. First and foremost, it is important to keep your online accounts secure by regularly deleting any unnecessary data. Additionally, deleting unwanted or old photos will help free up storage space on your device and reduce the amount of time needed for backups. Lastly, deleting photos that contain personal information or sensitive content can help prevent them from being accessed by unauthorized users.
Useful Video: How to turn OFF Google Photos sync
Conclusion
Unsyncing Google Photos from your device is a relatively simple task that can be accomplished in just a few steps. It’s important to keep in mind, however, that once you have unsynced Google Photos from your device, all previously synced photos and videos will be removed. If you need to back up your photos or videos before unsyncing them, make sure to do so beforehand. Keeping the data safe on multiple sources ensures that if something happens to one of them, there’s always another copy available. Unsyncing Google Photos ensures that no new photos or videos are added to your device without your permission and provides more control over personal data.
References
- https://www.androidpolice.com/google-photos-explainer/
- https://www.multcloud.com/tutorials/how-to-unsync-google-pohtos-1207.html