
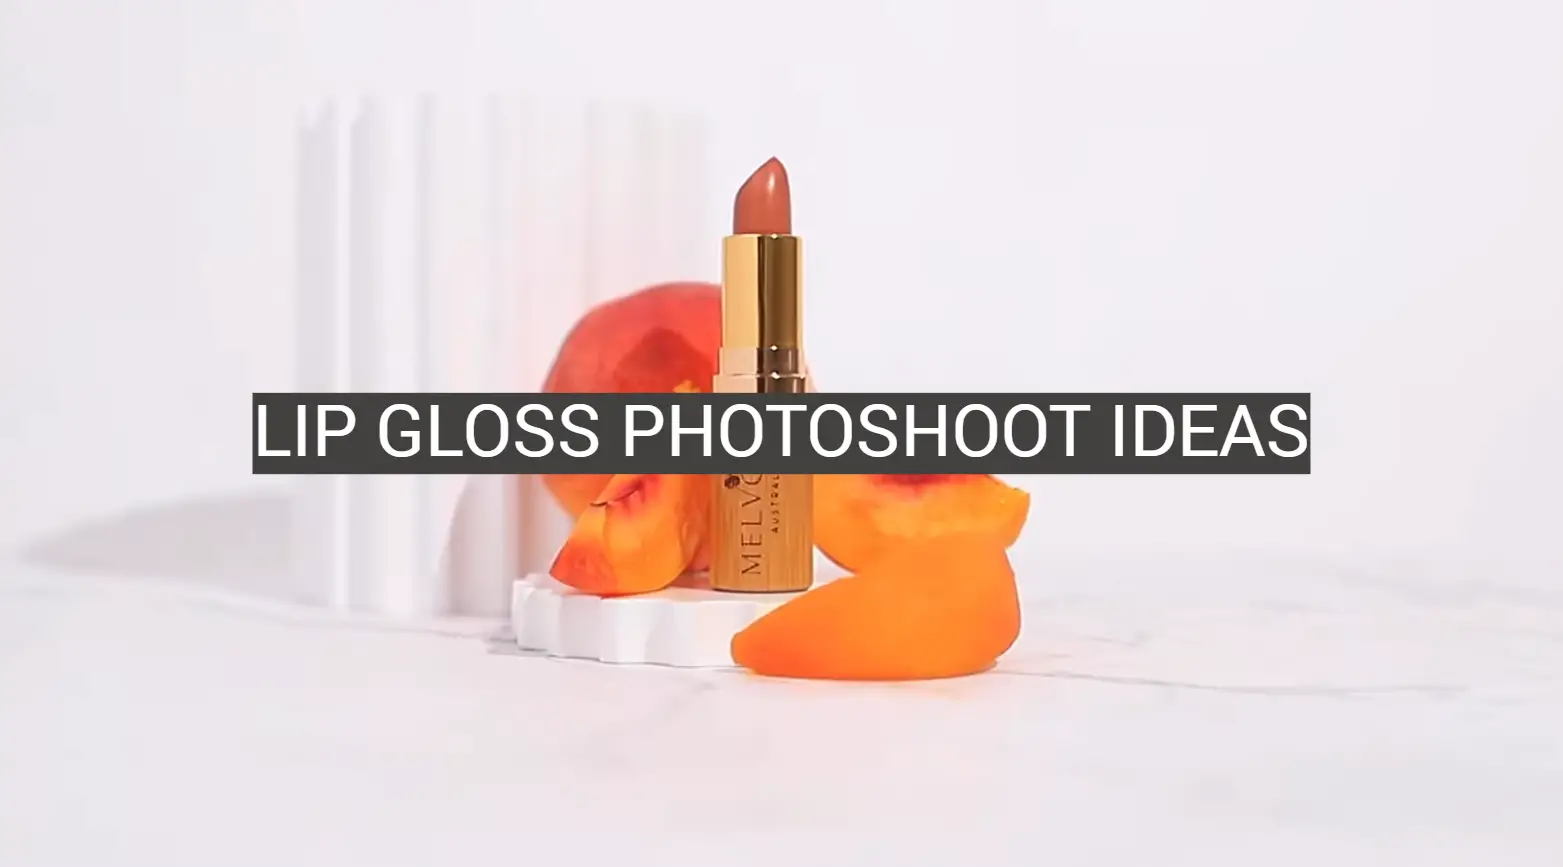
The process of creating the perfect lip gloss shoot is an undertaking that can seem daunting to many people. What kind of ideas should you consider? How do you make your gloss look its best in photos? In this article, we will answer all of those questions and more! We’ll provide a comprehensive guide to lip gloss photoshoot ideas, complete with tips on styling and execution. So whether you’re a first-time model or an experienced pro, read on for some invaluable advice.
Tips for a Lip Gloss Photoshoot
A lip gloss photoshoot is a great idea for multiple reasons. First, it’s a convenient way to showcase the colors and effects of a brand’s products. Photographers can bring out the unique characteristics of each product through careful styling, studio lighting, and creative angles. This makes it easier for customers to get an idea of what the lip gloss looks like in real life, instead of just relying on product descriptions.
Second, it can help create a connection with customers. By featuring models wearing the products, brands can build relationships between their brand and potential customers. This kind of content boosts engagement and builds trust with buyers—a critical element for any successful business.
Finally, lip gloss photoshoots are a great way to expand a brand’s reach across multiple platforms. Photographers can capture high-quality images that are perfect for both digital marketing campaigns and print publications alike. This allows a brand to get its message out quickly while also providing dazzling visuals that draw attention to their products.
Many folks are wondering how to get started with a lip gloss photoshoot and have no idea how to get about it. A great place to start is by creating a vision board that contains the look and feel of your photoshoot. In this section, we will discuss the key steps for creating your perfect lip gloss photoshoot.
Consider applying retro makeup
Retro makeup is the perfect way to add a bit of vintage flair to your lip gloss photoshoot. To keep things modern, opt for more muted colors and create subtle contours with a highlight and lowlight technique. This will help accentuate the features of the model and draw attention to their lips.
To get started, choose one or two shades that are complementary to your brand’s color palette but also bring out the best in the model. For example, if you have red-based lip glosses, pick a tangerine blush or yellow eyeshadow to liven up the look. You can also experiment with bolder hues such as electric blue eyeliner paired with an orange lip gloss for a dramatic contrast.
In addition to adding vintage-inspired makeup, you may also want to consider hairstyling that evokes a retro look. For example, try creating soft waves or voluminous curls with a curling iron and finish it off with a glittering headband or bright ribbon. This extra detail will help bring your lip gloss photoshoot to life!
Take photos at a photo studio to control lighting and backdrops
The most important part of any photoshoot is having control over the lighting and backdrops. Thus, it’s best to take photos at a photo studio instead of an outdoor location. At a photo studio, you can control temperature, lighting, and other variables that are critical for taking high-quality photos. You can also choose from a variety of backdrops and props to create the perfect atmosphere for your lip gloss photoshoot.
When selecting a studio for your photoshoot, be sure to check out its amenities—this includes equipment like lights, reflectors, stands, backdrops, etc. A good studio should also offer support staff who can help with everything from adjusting settings to setting up scenes.
Ensure that the lip gloss is correctly applied
Once you’ve found a great location, the next step is to ensure that the lip gloss is correctly applied. Consult with your makeup artist on this one—they have all the tips and tricks for making sure that every product looks its best. A good makeup artist will also be able to help you adjust lighting and other settings so that the colors of each product really pop in photos.
When it comes to application, there are many things to consider including color, texture, opacity, and shine. Each product should look distinct from one another while still maintaining a cohesive look overall. Don’t forget to take into account factors like skin tone when selecting shades—this helps create images that connect with viewers on an emotional level.
Shoot as you apply makeup
If you’re pressed for time (or just want to capture the creative process in action), consider shooting as you apply makeup. By doing this, photographers can capture each step of the application process and create an interesting series of images that showcase the transformation from product to look. This is also a great way to tell a story and show viewers what goes into creating a particular look.
For this type of photoshoot, it’s important that photographers adjust their settings accordingly so they can capture both close-up shots and full-body shots. It’s also helpful to take multiple angles—this helps create an immersive experience for viewers and allows them to see how products look from different perspectives.
Choose a lip gloss that matches your or your model’s looks
When selecting the right lip gloss for your photoshoot, it’s important to choose a shade that matches either yourself or your model’s looks. This ensures that the product looks natural and believable in photos. It also helps with creating an image that resonates with viewers and builds trust with buyers—a critical element for any successful business.
To choose the perfect shade of lip gloss, consider factors like skin tone, eye color, and hair color. If you’re working with a model, have them try on different shades before settling on one so they can get an idea of how each product looks on their lips.
With these tips and tricks, you’ll be well on your way to creating a stunning lip gloss photoshoot that showcases the beauty and versatility of your products.
Focus on the lips
When it comes to lip gloss photoshoots, the focus should always be on the lips. This is where viewers are going to look for details about each product so make sure that every image includes a clear shot of the lips.
To do this, photographers need to get up close and personal—this means using macro lenses or other specialized equipment to capture detailed shots. It’s also important to adjust lighting and shadows in order to create stunning visuals that highlight all the nuances of each product.
Take extreme close-up shoots
For a more detailed look at each product, photographers can take extreme close-up shots of the lip gloss. This is great for product photography because it allows viewers to see every detail—from texture to color and everything in between. It’s also important that the lighting be perfect when taking these types of photos so that colors are accurately represented.
Finally, don’t forget to experiment with angles and perspectives when taking extreme close-up shots of lip gloss. For example, you could try shooting from above or below the lip gloss to create interesting compositions that draw viewers into the image.
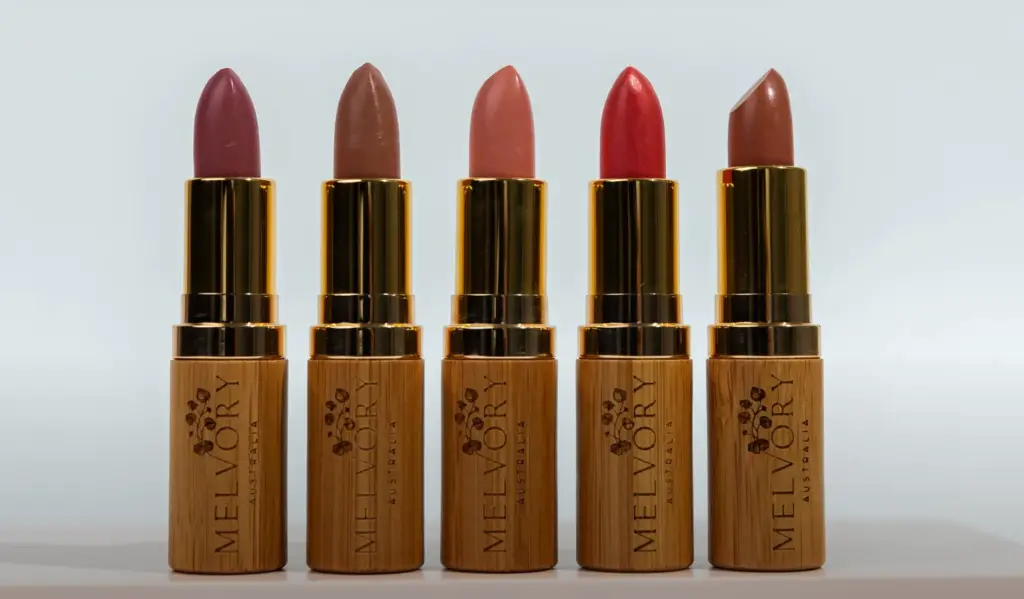
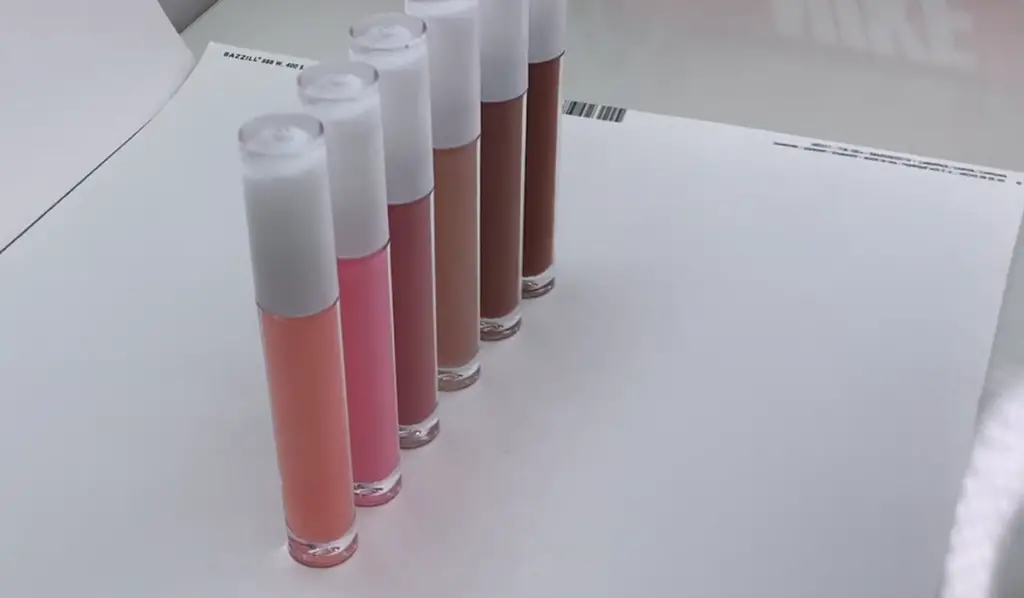
Take a group photo in different shades of lip gloss
One of the best ways to showcase a brand’s range of lip gloss shades is to take a group photo featuring models wearing different colors. This will give an overview of the collection quickly and effectively, while also giving customers insight into what each shade looks like.
All outfits should be similar in style and color so that viewers will focus on the differences between lip gloss shades rather than any discrepancies in wardrobe choice. Makeup should complement each hue as well—colors such as coral, pink, or bright red work great with light-colored shades; deep purples and browns pair nicely with darker hues.
Make sure your lips are in a good condition
When shooting lip gloss photos, it’s important to make sure your lips are in a good condition. This means drinking plenty of water and using a hydrating lip balm before the shoot to ensure that lips look plump and hydrated in photos. Additionally, make sure to exfoliate your lips with a scrub or brush beforehand—this will help remove any dry skin so that colors appear more vibrant. By following these tips, you can guarantee stunning shots of your products every time!
Use glittery lip gloss
Glittery lip gloss is a great way to add some sparkle and glamor to photoshoots. This can create interesting visuals that draw viewers into the images and make them feel more connected to the products.
When incorporating glittery lip gloss into shoots, it’s important to keep things subtle—too much glitter will appear tacky and cheap. For the best results, select shades that are slightly shimmery rather than heavily packed with sparkles. Additionally, use minimal makeup on other areas of the face so that attention remains focused on the lips. This will help ensure that all eyes stay glued to your amazing product shots!
Finally, don’t forget to play around with light and angles when taking photos of glittery lip gloss. Experimenting with different lighting setups and perspectives can help create stunning visuals that truly showcase the beauty of your products.
Utilize your editing skills
Once all the photos have been taken, it’s time to edit them for a final product. This is where photographers can really use their editing skills to create beautiful images that accurately represent each lip gloss shade.
First, adjust the brightness and contrast of the image to ensure that colors appear true-to-life. Additionally, sharpening tools should be used to bring out details in every shot—this will make sure viewers can clearly see every nuance of each product.
Finally, don’t forget to add text overlays or other elements if desired. This will help give your images a more professional look and further emphasize the beauty of your lip gloss photoshoot ideas. With these tips and tricks, you’ll be able to create stunning images that truly capture the eye of customers. [1]
FAQ
How do you photograph lip gloss?
Photographing lip gloss requires creating the right set up and light.
When setting up your shot, you should position yourself in front of the lip gloss product and adjust the camera settings for the best possible photo. To start, make sure that your lens is focused on the center of the product so it will be sharp in the image. If you are using natural lighting, try placing a white reflector behind your product to bounce light onto it. This will help ensure even illumination and reduce any shadows from appearing in your image. To add extra sparkle to your lip gloss photos, consider using an LED ring light or a diffuser to soften the light.
Once your setup is ready, you can start experimenting with different angles and compositions. A close-up shot of the lip gloss applicator can be particularly striking and will show off the product’s texture in detail. Alternatively, try taking a top down shot so that viewers can get an overhead view of the lip gloss container and see how it looks sitting on its own. Moreover, playing around with backlighting techniques will add a cool effect to your images while still highlighting the product in an eye-catching way.
Does lip gloss photograph well?
Yes, lip gloss photographs beautifully because of its glossy finish and vibrant colors. It is important to use the right lighting when shooting lip gloss in order to capture the vibrancy of the product. Natural light or studio lighting with various modifiers such as umbrellas and softboxes can give you a wide range of looks for your lip gloss photoshoot.
What color lip is best for a photoshoot?
When considering the color of lip gloss to use for a photoshoot, it is important to take into account the model’s skin tone and coloring. For example, if you are working with a pale-skinned model then lighter colors will work better as they won’t be too overwhelming on the skin. On the other hand, if you are shooting a darker-skinned model then brighter colors may look best as they will help create contrast and make the lips pop. It’s also important to consider which kind of makeup look you’re going for – either natural or glam – when deciding what shade of lip gloss would be best suited for your shoot. If a natural look is desired, then neutral shades such as browns and nudes can be used to create a subtle yet attractive look. If you want something more vibrant and glamorous, then brighter shades such as reds, pinks, and oranges can be used to draw attention to the lips.
How do you make lip gloss look good?
Creating a great lip gloss look relies on applying the product correctly. Start by selecting the right color and finish for your lips. The best way to do this is to test out different shades on the back of your hand or arm, as well as seeing how they look against your face.
Once you have selected the color, it’s time to apply! For best results, apply lip gloss using a lip brush and start at the cupid’s bow in the middle of your top lip. Then move outwards towards each corner and blend together in between with light strokes. If you want extra shine, add another layer of gloss over the first application and then gently pat down with a tissue or cotton pad. You may want to use a lip liner before applying gloss – this will help to create a more precise shape and longer wearing look.
It’s important to remember that you don’t need to overdo it with the gloss! Too much product can make lips look greasy, so start small and build up if needed. It’s always better to start out with less than too much, as you can always add more if needed. Finally, finish off the look by blotting away any excess oil or shine for an even finish.
Useful Video: How to Photograph Beauty Products! | Beauty Cosmetic Product Photography Using Lipsticks
Conclusion
Lip gloss photoshoots are a great way to show off your creativity and make your makeup look stand out. With the right planning, lighting, and styling, you can create amazing photos that will be sure to impress. Remember to have fun with it and don’t be afraid to experiment!
In this article, we’ve discussed why lip gloss photoshoots are so popular and how to create the perfect look. We’ve also covered tips for choosing the right products and props, setting up a background, propping items, adjusting lighting and angles, posing suggestions, and tips for post-processing your photos. You now have all the knowledge needed to create stunning images with a lip gloss photoshoot!
Try different angles and poses, use props, or even add in more people for a group shot. No matter what direction you take your lip gloss photoshoot in, these tips will help you create stunning photos every time. Good luck!
References
- https://www.peerspace.com/resources/lip-gloss-photoshoot-ideas/