
Are you hoping to take your photography to the next level? It can be intimidating at first, but with these useful tips, you’ll be surprised how quickly you can start producing professional results. Whether you’re an amateur or an expert photographer looking for some extra help, this blog post will help guide you through taking stunning shots that will impress even the most experienced photographers. So get ready and grab your camera because it’s time to learn how to make photos look professional!
What is a professional photo?
Professional photography is also essential for businesses looking to boost their brand image and create a more professional look for their website or social media campaigns. Professional photos can also be used for personal projects such as family albums, graduations, birthdays, anniversaries, and special moments in life. With high-quality photos, you can immortalize events and memories for years to come.
Professional photographers are also in demand for their expertise in editing. Using various image processing software tools such as Adobe Photoshop and Lightroom, they can enhance the photographs they take to bring out even more details and colors. Professional photo editing can make a simple photograph look like a piece of art.
Having professional photos taken is an investment that can pay off in the long run. It’s important to find a photographer who understands your vision and can capture it in a way that best reflects your brand identity and aesthetic. With high-quality photography, you can create beautiful visuals for your business or personal projects, adding value to whatever you are working on.
Whether you’re looking to take beautiful photos of your family or need professional images for advertising purposes, the right photographer can make all the difference. With their expertise and creativity, they can bring out the best in whatever they have been tasked with capturing, leaving you with lasting memories that will last a lifetime.
How To Find a Professional Photographer
Finding the right professional photographer for your project can be a challenge. You’ll want to start by researching photographers in your area and looking at their portfolios. Make sure that their style fits what you are looking for and read any reviews they have online. Once you have found several potential photographers, set up meetings with them to discuss your goals and get an estimate of the cost of their services.
The next step is to decide on the type of shoot you are looking for. Do you need a headshot session, or do you want to capture an event? Knowing what type of photography you require will help determine which photographer is best suited to your needs.
Once you have chosen a photographer, it’s important to provide them with as much information about the shoot as possible. This includes describing what you need and giving specific instructions on how the photographs should look. It can also help to provide examples of photos that you like so the photographer has a better understanding of your expectations.
When the shoot is complete, make sure to review the photos with the photographer. Tell them what you like and don’t like so that they can make any necessary adjustments or edits. Professional photographers will work to ensure that you are satisfied with the final products before ending the project.
With professional photography, you can create beautiful visuals for your business or personal projects. Finding a great photographer who understands your vision is key to ensuring that you are satisfied with the final results. With their expertise and creativity, they can help bring out the best in whatever you’re photographing. Investing in professional photography will be well worth it for all of your projects, both personal and professional [1].
What Makes a Photo Look Professional?
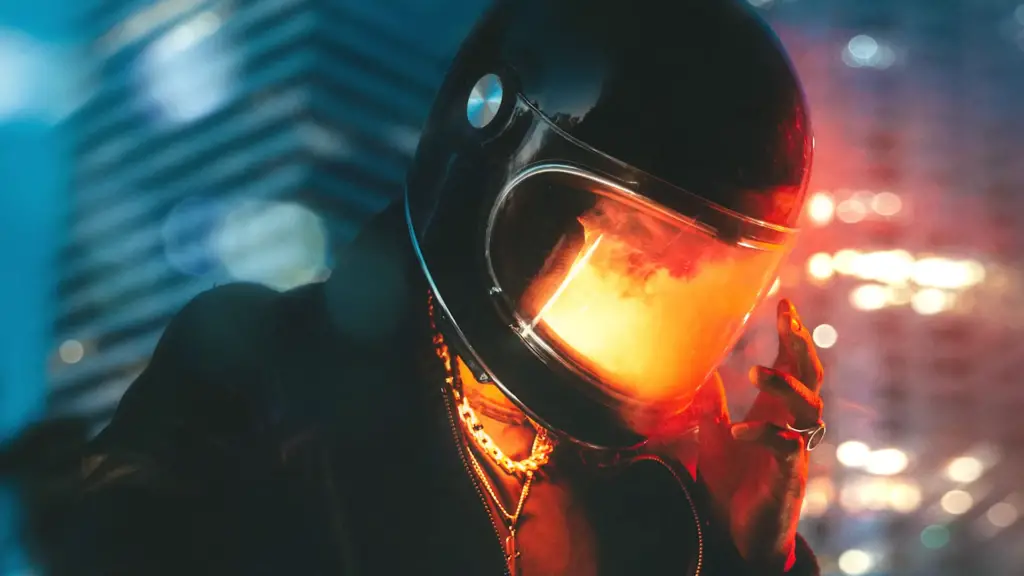
Correct color balance
One of the most important components of a professional photo is its color balance. Color balance refers to the relative amount of each primary and secondary color in an image. When these colors are balanced correctly, they can make an image look much more natural or even produce artistic effects. Professional photographers will usually use sophisticated editing software to achieve the desired level of color balance, but there are some simple techniques that anyone can use to improve their photos.
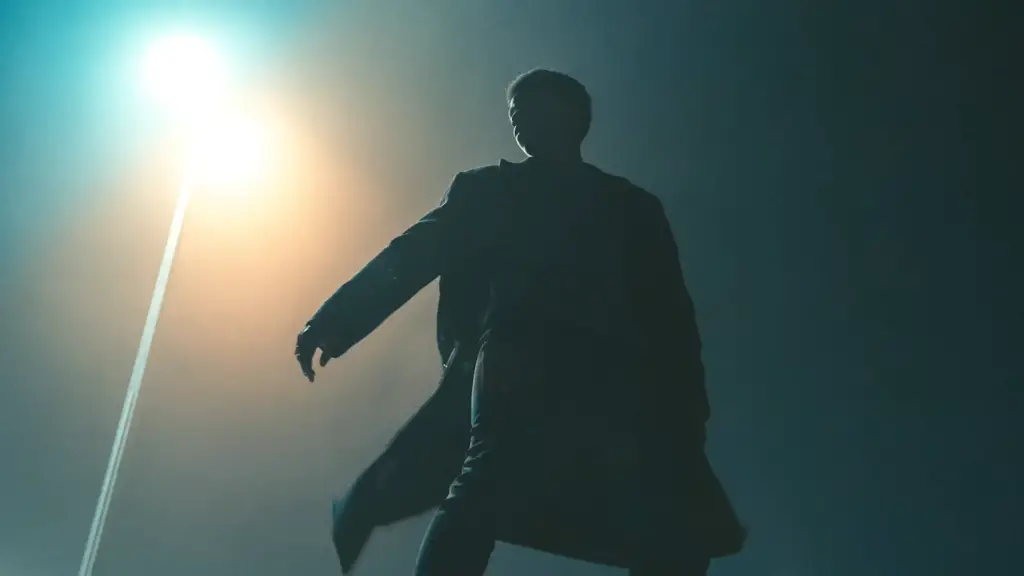
Good Lighting
Another crucial factor to consider when aiming for professional-looking photos is lighting. The quality and type of light used can have a significant impact on the overall appearance of your image. Whether you opt for natural light, which is often preferred for outdoor photography due to its soft and flattering qualities, or artificial light sources that offer greater control and flexibility for indoor shoots, understanding how to utilize both can yield exceptional results. Professional photographers, in particular, leverage a combination of these lighting techniques to achieve the desired visual outcome, ensuring every detail is beautifully captured and showcased.
Well-Composed Subjects
Even if your image is properly lit and color balanced, it won’t look professional unless it has a well-composed subject. This means that all elements in an image should be arranged in such a way that they create a pleasing overall composition. Professional photographers will often use the Rule of Thirds as a guideline when composing their images. This rule states that by dividing an image into thirds, either horizontally or vertically, one can position objects within the frame in such a way that they become more visually appealing and engaging.
Correct Shutter Speed
Achieving the perfect shutter speed for a professional photo is essential. Shutter speed refers to the amount of time that’s allowed for light to enter the lens and capture an image. To create a sharp, clear picture that looks professional, you must take into account factors such as ISO sensitivity, aperture size, and other environmental conditions to get the right shutter speed. Professional photographers will often use shutter speeds of 1/250th or faster to ensure sharpness and clarity in their photos.
Correct focus
A professional photograph will be in focus. The right focus is essential to achieving sharp images that look crisp and clear. Professional photographers utilize techniques such as back-focusing or manual focusing to ensure every element of an image is perfectly rendered. They may also opt for more sophisticated lenses with higher levels of precision to help them achieve the perfect amount of focus in
Correct exposure
Exposure is another important factor to consider when aiming for professional-looking images. Properly exposed photos will look well-balanced and appear more natural. Professional photographers use various metering techniques to ensure that they’re getting the correct amount of light in their images, resulting in beautiful photos with accurate colors and tones. The right exposure can also help bring out the details in a scene, adding depth and drama to the final image.
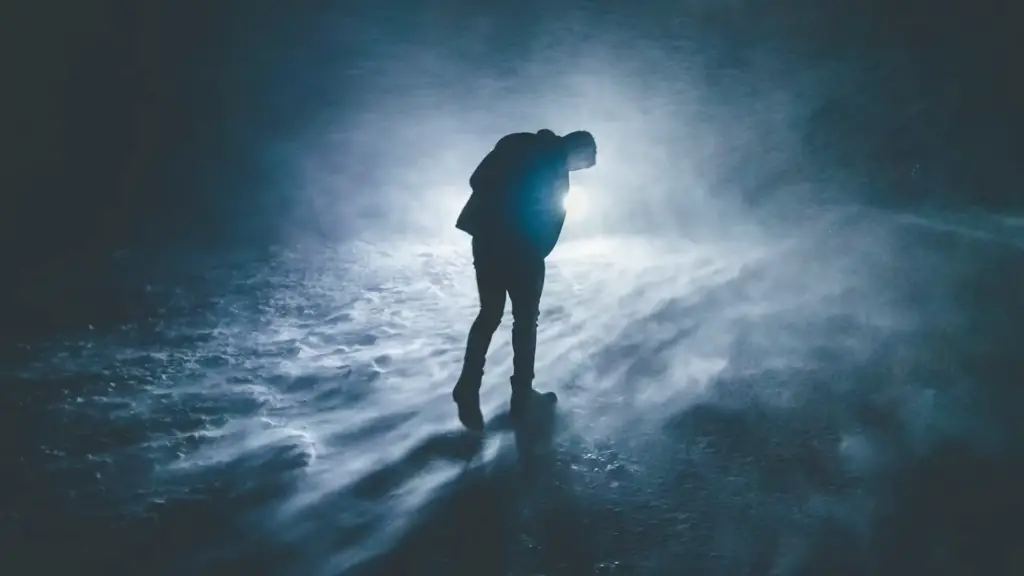
Soft background blur
Another key factor in creating professional photographs is using a soft background blur. This blurring effect helps separate the subject from its surroundings and can be achieved by utilizing a shallow depth of field along with a wide aperture size. Professional photographers will often select lenses with a wide aperture to create this beautiful, blurred backdrop that draws attention to the subject in an image [2].
How to edit photos like a professional?
Develop a personal style
The most important aspect of professional photography is to develop your own unique style. This can be as simple as selecting a specific color palette or composition, or you could incorporate more complex techniques such as using light and shadow to create depth. No matter what style you decide on, the key is to make sure it reflects who you are and expresses your creative vision.
Choose a photo editing program
Once you have developed a personal style for your photos, the next step is to carefully select a photo editing program that best suits your needs and preferences. Fortunately, there is a wide range of options available to cater to various skill levels and requirements. Two of the most popular and widely-used programs are Adobe Photoshop and Lightroom. These industry-leading software offer a plethora of powerful features that empower you to enhance your images by making adjustments to color, exposure, contrast, and much more.
However, if you are just starting out with photography and prefer a simpler and more user-friendly interface, it may be beneficial to begin your editing journey with programs such as Photoshop Elements or GIMP. These programs provide a more streamlined and accessible approach to photo editing, allowing beginners to grasp the fundamental concepts and gradually build their skills.
Remember, the choice of a photo editing program ultimately depends on your specific goals, preferences, and level of expertise. Take the time to explore different options, experiment with various tools, and find the program that allows you to express your creative vision and take your photos to the next level.
Use filters and presets
If you are looking to speed up the editing process, implementing filters and presets can be an excellent way to quickly achieve the desired look. Although many photo editing programs now offer hundreds of incredible filters and presets, there is no guarantee that they will perfectly match your style. For this reason, it is important to take the time to tweak each filter and preset until you are completely satisfied with the results.
In addition, using your own custom presets can be a great way to save time and maintain consistency across all your photos. You can create these on your own or download them from different online sources. Once you have built up a library of carefully crafted presets, you can apply them to any image with just a few clicks – saving you valuable time and energy.
Take advantage of automatic modes
Many photo editing programs now include automated features and tools that can be used to simplify the workflow. These range from basic exposure adjustments to more complex functions such as object removal, facial retouching, noise reduction, and much more. If you are a beginner or simply don’t have enough time to manually adjust every single parameter of your photos, these automated tools can be a great way to achieve the desired results quickly and efficiently.
Crop the scene
Crop is the process of trimming a photo to eliminate unnecessary elements. It can be used to draw attention to the main subject, improve composition, or just emphasize certain aspects of the scene. Taking the time to carefully crop your photos can make a huge difference in their overall appearance and impact.
When cropping an image, it is important to consider the rule of thirds – a compositional principle that divides the frame into nine segments and suggests placing points of interest along the imaginary lines that intersect at their intersections. By doing this, your photos will appear more balanced and visually appealing.
Pay attention to sharpness
Sharpness is one of the essential components of a successful photo. It is important to remember that even if you take the perfect shot, it can easily be ruined by a lack of sharpness. Fortunately, it is possible to fix this issue in post-processing using certain editing techniques such as unsharp masking or a high pass filter. Experiment with these tools and find the one that best suits your needs – whether it’s increasing subtle details or making more dramatic changes.
Bring colors to life
Adding color to your photos can be a great way to evoke certain emotions and draw attention to the main subject. To achieve this, you can adjust each hue individually or use color grading tools such as curves and split toning. Just remember that too much color saturation can often look artificial, so it is important to find the perfect balance between realism and vibrancy.
Adjust the white balance
White balance is the process of adjusting the overall color temperature and tint of an image. It can be used to correct any color casts that may be present due to different lighting conditions or camera settings. Fortunately, many photo editing programs now offer automated white balance tools which make it quick and easy to achieve a natural-looking result in just a few clicks.
Remove spots and clutter
In the world of professional photography, every detail matters. This is why it is important to take the time to remove any unwanted elements from your photos, such as dust spots or other distracting clutter. Many photo editing programs now include powerful tools that make this process quick and painless – simply select the area you wish to remove and click a few buttons.
Add some finishing touches
FAQ
How do I make my pictures look professional on my phone?
For those looking to take professional-quality photos with their phones, there are a few tips and tricks that can help achieve this. The most important aspect is ensuring good lighting – natural light from windows or using a spot lamp for indoor shots can help create the perfect setting. Additionally, make sure you have all of your settings (exposure, white balance, etc.) adjusted to make sure your photos come out looking crisp and clear. Finally, if possible, use a tripod or monopod to keep the phone still while taking pictures – this will help eliminate camera shake for sharper images. By following these steps and practicing with different angles and techniques, you can start creating professional-quality photos with just your smartphone!
Why don’t my photos look professional?
If your photos are not looking as professional as you’d like, it could be due to several factors. One of the most common is lighting – if there is too little light in your shot, the image will appear grainy and dull. Additionally, if any of your camera settings are off (white balance, exposure, etc.), this can affect the quality of your photos. Finally, if the phone isn’t properly stabilized while taking pictures – such as using a tripod or monopod – this can result in camera shake and blurry shots. By ensuring good lighting and setting up your camera correctly, you’ll be able to take better-looking photos with just your smartphone!
What are some tips for shooting professional-quality photographs?
Taking professional-quality photos with a smartphone doesn’t need to be complicated – all it takes is some practice and an understanding of the basics. First, make sure you have good lighting either from natural sources or by using a spot lamp for indoor shots. Second, adjust your camera settings (exposure, white balance, etc.) so that the image comes out crisp and clear. Third, use a tripod or monopod to help keep the phone steady while taking photos – this will help reduce camera shake for sharper images. Lastly, try different techniques and angles to find the look that best suits your vision! With these tips in mind, you can start creating professional-quality photos with just your smartphone!
Why isn’t everyone photogenic?
Unfortunately, not everyone can look picture-perfect in front of a camera. Everyone has unique features that alter the way they appear in photos – factors such as lighting, shadows, and angles can all play into it. Additionally, the way people pose (or don’t pose) can affect how photogenic they are. Finally, many people feel more self-conscious when their picture is taken, which can lead to awkward expressions. Ultimately, it takes practice and understanding the basics of photography to truly look your best in a photo – but even then, some people just don’t photograph as well as others!
Can I take professional-grade photos with my phone?
Yes! Taking professional-quality photos with a phone is not only possible but achievable with the right techniques and understanding of the basics. To get started, make sure you have good lighting – whether that be natural light from windows or using a spot lamp for indoor shots. Additionally, adjust your settings (exposure, white balance, etc.) to ensure the photo comes out crisp and clear. Finally, use a tripod or monopod to keep the phone still while taking pictures – this will help eliminate camera shake for sharper images. With just these few steps, you can start creating professional-grade photos with just your smartphone!
What’s the difference between amateur and professional photography?
The main difference between amateur and professional photography is the level of quality and skill that is put into each image. Professional photographers typically invest time and effort into getting the perfect shot – from finding the right lighting to adjusting their camera settings to capture a stunning image. Amateur photography, on the other hand, often lacks this level of attention to detail, resulting in more basic photos that don’t have the same professional quality as those taken by professionals. Ultimately, anyone can be an amateur photographer – but to truly excel in this field, it takes time and dedication to master the art of photography.
What are the best editing apps for professional-looking photos?
For those looking to edit their photos for a more professional look, there are several great editing apps available on both Apple and Android devices. For Apple users, apps such as Pro Camera and VSCO are popular choices for editing photos; while on the Android side, PicsArt and Snapseed are great options. All of these apps offer a variety of features – from filters to adjustments – which can help enhance your photo’s look. Additionally, some also provide tutorials or tips to help get the most out of your images. By taking advantage of these apps and learning how to use their features, you can start creating beautiful professional-looking photos with ease!
Useful Video: How To Make your Photos More CINEMATIC
Conclusion Paragraph
If you want to make photos look professional, there are a set of skills that you will need to master. You’ll need to understand composition and light, as well as the technical aspects such as shutter speed and aperture. Finally, it’s important to have an eye for detail and a good understanding of brand voice to capture great shots consistently. With time, practice and dedication anyone can become an excellent photographer.
References
- https://www.lbarnettphotography.com/articles/10-tips-choosing-perfect-photographer
- https://www.nlalorphotography.com/blog/what-makes-a-photo-look-professional-photography-tips
- https://www.rei.com/learn/expert-advice/photo-editing-basics.html