Are you new to RAW shooting or just Nikon cameras? This guide is for you! In this article, we will answer some of the most common questions people have about RAW shooting. We’ll also give you some tips on how to get the most out of your camera when shooting in RAW. So, whether you’re just starting out or you’re looking for a few more pointers, read on for all the information you need to start shooting in RAW today!
What is RAW and Why is It Better Over JPEG
However, RAW files are not as widely compatible as JPEGs and TIFFs. So, if you want to share your photos with friends or family, you may need to convert them to a different format first.
Shooting in RAW gives you much more flexibility when it comes to post-processing your images. You can adjust things like white balance, exposure, sharpness, and noise reduction without losing any quality. And because all of the data from your sensor is retained, you can make much more drastic edits to your RAW files than you could with JPEGs.
It can save a dark or bright image
Have you ever taken a picture only to find out that it was too dark or too bright? When you shoot in RAW, you can adjust the exposure of your image afterwards to fix this problem. This is because RAW files contain more information than JPEGs, which means that there is more data to work with when you are editing your photos.
It gives a better control over pictures
When you shoot in RAW, you have more control over your final image. This is because all of the data from the image sensor is captured and stored in the RAW file. You can then use software to make adjustments to things like exposure, white balance, and noise reduction without affecting the quality of the original image. This means that you can get exactly the look that you want from your photos without worrying about losing any detail or information.
Non-destructive editing
Another benefit of shooting in RAW is that you can make changes to your images without destroying the original file. RAW files are not compressed like JPEGs, so there is no information lost when you make edits. This means that you can experiment with different settings and effects without having to worry about ruining your photo. So, if you’re not happy with the results, you can always go back and start again.
Another advantage of non-destructive editing is that it helps to keep your workflow tidy. When you make changes to a RAW file, those changes are saved separately from the original file. This means that your original image stays untouched and safe from accidental deletion or modification.
White balance control
Shooting in RAW gives you more control over white balance as you can change it later during post-processing.
It preserves the quality when enlarging images
When you enlarge a JPEG, the image quality diminishes. That’s because JPEGs are compressed files and lose information each time they’re opened. A RAW file, on the other hand, is never truly finished until you export it as a JPEG (or another file type). So, when you enlarge a RAW photo in Lightroom or Photoshop, the quality doesn’t decrease.
This is especially helpful if you make large prints of your photos. If you start with a high-quality RAW file, you can be confident that your print will look just as good as the photo on your camera’s LCD screen.
Of course, shooting in RAW also has its drawbacks. For one thing, RAW files are larger than JPEGs, so you’ll need a larger memory card and faster write speeds to accommodate them. And because RAW files are unprocessed, they can be more difficult to work with if you’re not familiar with image editing software.
But if you’re willing to put in the extra effort, shooting in RAW is definitely worth it. [1], [2]
How to Shoot in RAW With a Nikon Camera
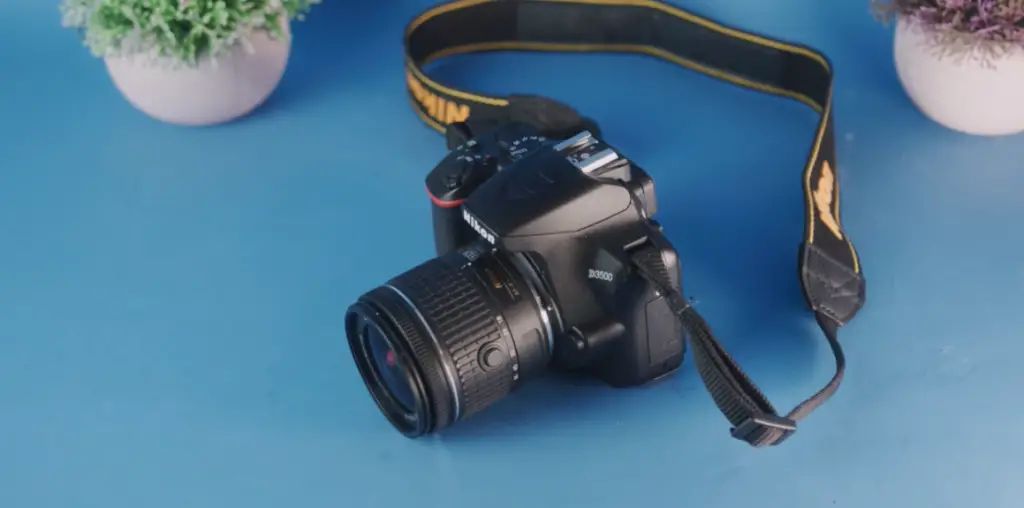
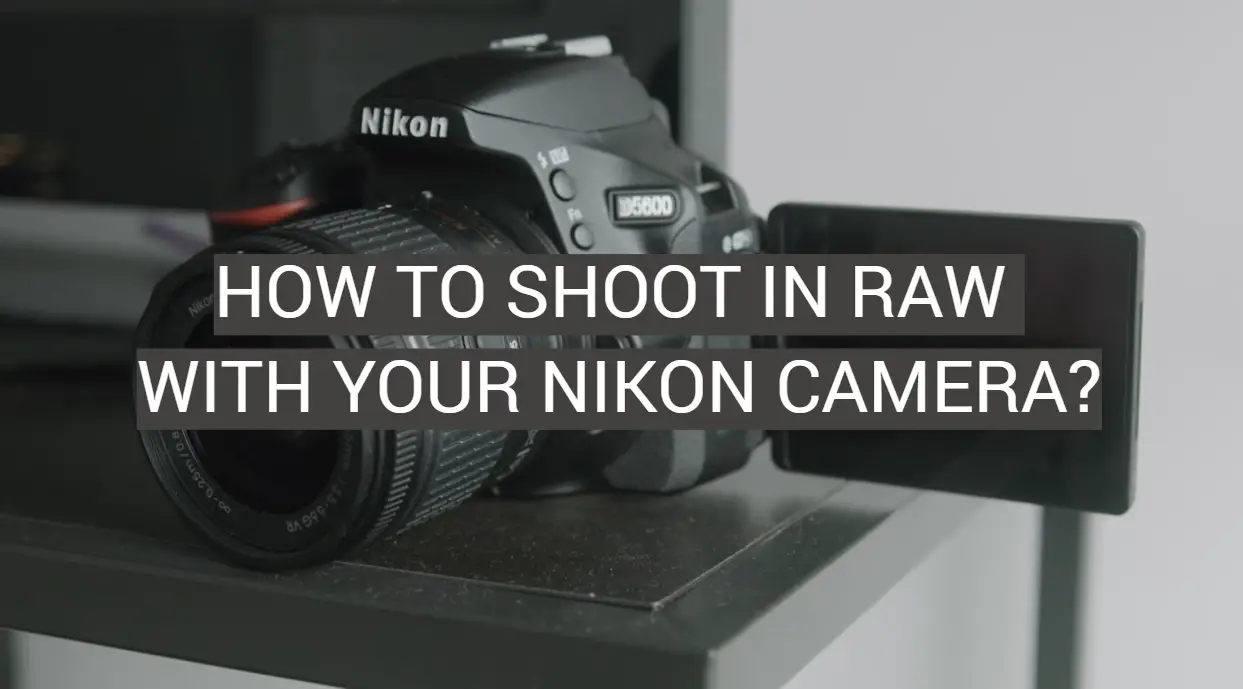
If you want to achieve the best results possible, shooting in RAW is the way to go. So, now that you know what RAW is and why it is better than JPEG, let’s take a look at how to shoot in RAW with your Nikon camera!
Make sure your camera supports RAW
All Nikon DSLR cameras released in the last few years support RAW shooting. Nikon uses a RAW format called NEF. If you’re not sure if your camera supports RAW, consult your camera’s manual or look up your model online. Once you have confirmed that your camera supports RAW, it’s time to get started!
Press the menu button
Once you have your camera in hand, press the menu button. This will open up the settings on your camera. Navigate to the “Shooting Menu” and select “File Format.” From here, you will be able to choose between RAW (NEF) and JPEG. Choose RAW (NEF) and then press the “OK” button.
Processing RAW images in your Nikon camera
Certain Nikon cameras have the ability to process RAW files right in the camera. This is a convenient feature if you want to quickly convert your RAW files to JPEG without the need for additional software. To do this, simply navigate to the “Retouch” menu and select “NEF (RAW) Processing.” From here, you can choose the RAW files that you want to convert and then save them as JPEGs.
You also can slightly edit your RAW files from the same menu. One option that is available to you is Image Quality, which lets you choose the image quality and size of your JPEG. Choose “Fine” for the highest quality or “Large” to save all the original pictures in your photo.
The ISO Noise Reduction option in your camera will also come in handy while processing RAW photos. It helps to reduce the amount of noise that can be caused by a high ISO setting.
Exposure Compensation can also be used to make your image brighter or darker. Simply choose this option from the right side of the screen. From here, you can use the plus (+) and minus (-) signs to make your adjustments.
Remember, when shooting in RAW, you have a lot of flexibility when it comes to editing your images. So don’t be afraid to experiment with the different settings on your camera until you get the results that you want! [3]
How to Open NEF Files on Windows
Since Nikon uses a proprietary RAW format called NEF, you will need special software to open and edit your NEF files. First, we will discuss how to open NEF files on Windows.
Install the required codecs
If you have a Windows computer, you can download the free Microsoft Camera Codec Pack to open NEF files in the Windows Photo Viewer and other applications. Microsoft Camera Codec Pack enables the viewing of a variety of device-specific file formats. Alternatively, you can download the NEF Codec from the official Nikon website, which is a plug-in that enables NEF files to be viewed in the Windows Photo Viewer and other applications.
Open them in image editing software
If you want to edit your NEF files, you will need to open them in image editing software that supports the RAW format. Adobe Photoshop and Lightroom are two popular choices for editing RAW files. These programs offer a variety of features for editing your photos, such as the ability to adjust the white balance, exposure, and contrast. Once you have edited your NEF file in Photoshop or Lightroom, you can save it as a JPEG or TIFF file.
You can also use Nikon’s official Capture NX-D software to edit NEF files. Capture NX-D allows you to edit your RAW images in a number of ways, including exposure compensation, white balance, and tone curves. There you also can convert your RAW files to JPEG or TIFF format for printing or sharing online. [4], [5], [6]
How to Open NEF Files on Mac
If you own a Mac, you can use the built-in Preview app to open NEF files.
To open an NEF file in Preview, simply double-click on the file or select it and click File > Open With > Preview. The drawback of Preview is that it doesn’t offer any editing features.
For this reason, if you want to edit your NEF files, you’ll need to use a more powerful photo editor like Adobe Photoshop, Lightroom, or Affinity Photo. All of these applications are available for both Mac and Windows computers.
Convert files to prepare them for editing
Once you have a photo editor installed, you can convert your NEF files to a format that’s more edit-friendly. TIFF and PSD are two of the best formats for editing photos. To convert your files, open them in your photo editor and choose File > Export As. Then, select either the TIFF or PSD format from the drop-down menu and click Save.
Open the View NX 2 software
If you’re using a newer Nikon camera, you should already have this software installed on your computer. To open it, simply double-click on the icon or select it from your applications menu.
If you don’t have View NX 2 installed, you can download it for free from Nikon’s website. Just scroll down to the “Download Software” section and select your operating system (Windows or Mac). Then, click on the “Download” button next to ViewNX-i / Capture NX-D.
Once you have View NX 2 open, click on the “Open File” button in the top-left corner of the window. This will open a file explorer window. Navigate to the folder that contains your NEF files and select one of them.
After it opens, you can click the “Convert” button in the top-right corner of the window to convert your file to a TIFF or PSD. Do not convert it directly to JPEG as this will result in a loss of quality.
Open image in editor
After you’ve converted your file, you can open it in your chosen photo editor. To do this, simply double-click on the file or select it and click File > Open With. Then, select your photo editor from the list of applications. You should now be able to edit your NEF file like any other image! Remember to save a copy of your edited image in a different format so you don’t overwrite your original RAW file. [7]
FAQ
Is RAW format better than JPEG?
The answer to this question is a resounding YES!
This means that you have a lot more information to work with when editing your photos in post-processing. You can recover blown out highlights and shadows, fix white balance issues, and generally get much better results than you would with a JPG file.
How do I set my camera to shoot in RAW?
The first thing you need to do is find your camera’s menu. On most Nikon cameras, this is accessed by pressing the “MENU” button on the back of the camera. Once you’re in the menu, scroll down to the “Shooting Menu.” Under the shooting menu, you should see an option for “Image Quality.” Select this option and then choose “RAW” from the list of options. That’s it! Now your camera is set to shoot in RAW format.
What RAW format does Nikon use?
Nikon uses the NEF (RAW) format to store information captured by your camera’s sensor. This file type is lossless, meaning that no data is compressed or lost when it is stored on your memory card. NEF files are larger than JPEGs, but they offer much more flexibility when it comes to post-processing your images.
How do I change my Nikon D3500 to RAW?
To change your Nikon D3500 to RAW, go to the menu and select “Image Quality.” Then choose “RAW” from the list of options.
Shooting RAW gives you much more control over your images when editing them later. The trade- is that files are larger and take up more space on your memory card. But if you’re serious about photography, it’s worth learning how to shoot in RAW.
Useful Video: How to Shoot RAW Images on the Nikon D7200
Conclusion
That’s all there is to it! Shooting in RAW is a great way to get the most out of your Nikon camera and ensure that you always have high-quality images to work with. As you can see, setting your camera to RAW format can be simply done by changing a few settings in the menu. So get out there and start shooting. Be sure to experiment with different settings and see what works best for you and your photography style! Thanks for reading. Now go out there and start shooting some amazing photos!
References
- https://nikonschool.co.uk/hints-and-tips/4-benefits-of-shooting-raw-with-your-nikon-camera
- http://christinagreve.com/jpeg-raw-beginners-guide-start-shooting-raw-image-mode-easy/
- https://www.dummies.com/article/home-auto-hobbies/photography/how-to-process-raw-images-in-your-nikon-d5300-203751/
- https://www.lifewire.com/nef-file-2622081
- https://downloadcenter.nikonimglib.com/en/download/sw/203.html
- https://windowsreport.com/open-nef-files-windows-10/
- https://www.techwalla.com/articles/how-to-fix-jagged-edges-in-photoshop





Leave a Reply