
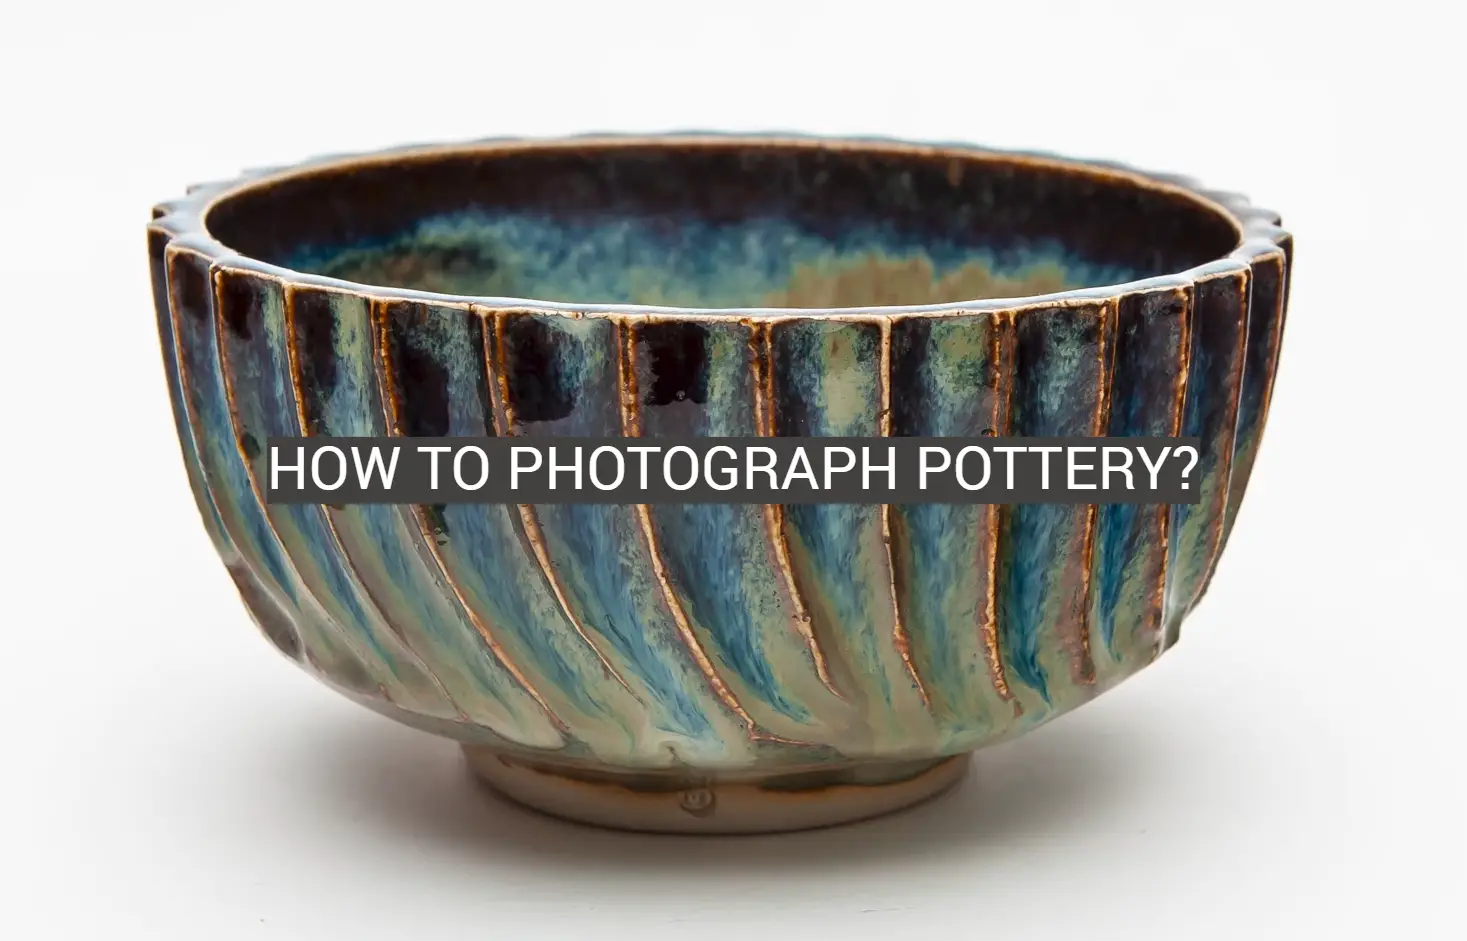
Pottery is a timeless form of art that has been around for decades, and capturing the beauty of it in perfect detail can be a challenge. With these photography tips, you’ll be able to confidently capture your pottery and showcase its intricate details with ease. This blog post will provide some handy advice on how to photograph pottery so that you can preserve its unique beauty in perfect clarity. So, if you’re looking to make your pottery pieces pop with an eye-catching photo, read on!
Types of pottery for great photography
The type of pottery you choose for photographing will depend on the effect you are trying to achieve. Different types of pottery can create vastly different effects, so it’s important to consider the look and feel you’re aiming for before making a decision. Here are some popular choices:
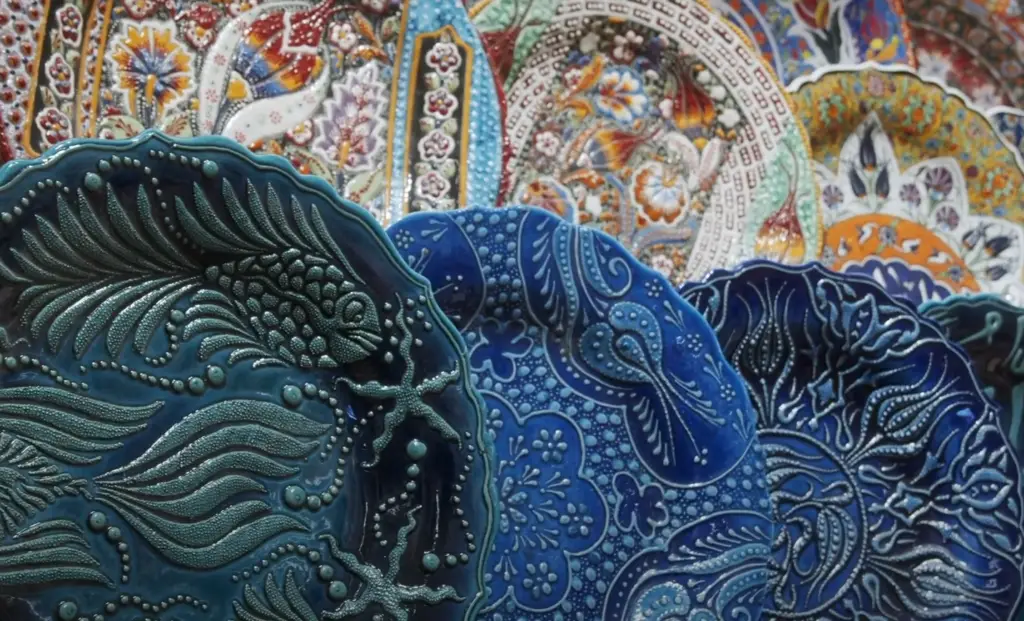
- Glazed Pottery: Glazed pottery is an attractive option with its bright colors and shiny finish. If your goal is to create a vibrant, eye-catching photo, glazed pottery can be a great choice.
- Unglazed Pottery: Unglazed pottery has a more subtle and natural appearance than glazed varieties, which makes it perfect for those looking to capture a rustic feel in their photography.
- Earthenware: Earthenware is made from a combination of clay and other natural materials, giving it a handmade look that can make your photos stand out.
- Stoneware: Stoneware has an elegant, refined quality that makes it great for those looking to create more formal or artistic photographs.
No matter which types you choose, pottery can add unique texture and dimension to any photo, making it the perfect subject for creative shots!

What do you need to Photograph Pottery?
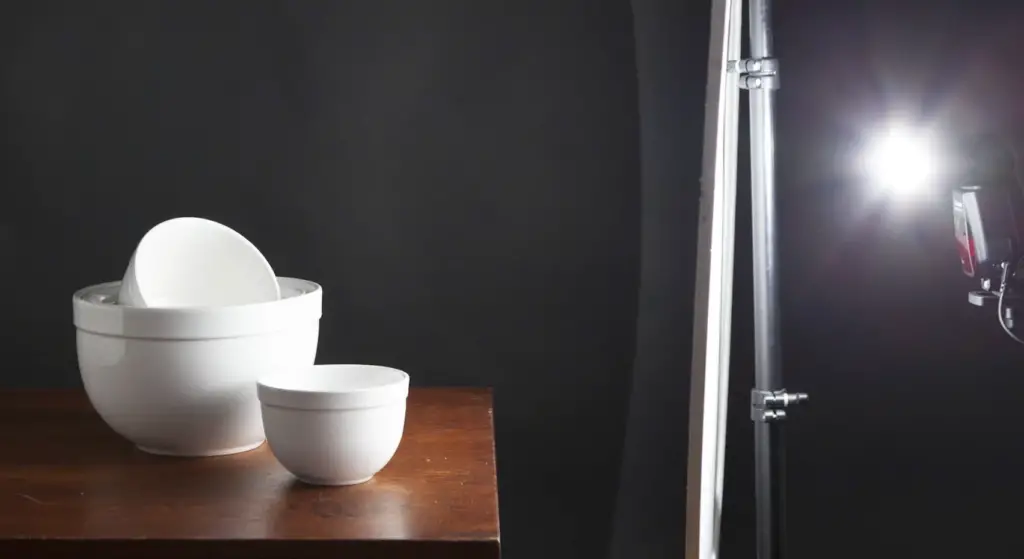
If you are looking to photograph pottery, there are a few things you will need. The most important thing is a good camera. You will want something with interchangeable lenses and the ability to take pictures in RAW format. This allows for more flexibility when it comes to editing your photos later on. You may also want to invest in a macro lens as this will allow you to get close-up shots of the intricate details of your pottery pieces.
You will also need some lighting equipment. Natural light can be used, but if that isn’t available or it doesn’t provide enough illumination for the image then using studio lights or continuous LED panels can make all the difference in getting great images of your pieces. Additionally, you will need a tripod to minimize camera shake and ensure that your images are sharp.
Some photographers also add softboxes or umbrellas to diffuse the light which can help create beautiful photos with even lighting. Finally, you may want to invest in some post-processing software such as Photoshop or Lightroom so that you can perfect your images after the photo shoot. With all of these items, you should be well on your way to creating amazing pottery photographs.
How To Photograph Ceramics With iPhone: Step-by-Step Guide
Step 1: Create a Seamless Background
To create a seamless background for your ceramic photography, you’ll need to set up your space. You can use any solid color fabric, paper backdrop, or even a neutral wall as your background. Make sure the area is well lit and try to avoid using direct sunlight. Additionally, make sure you remove any distractions from the shot – like furniture or clutter.
Step 2: Position the Ceramic on the Background
Once you have your background set up, position the ceramic in a way that highlights its best features. If you’re photographing multiple pieces, be sure to space them out so there is some separation between them and the background.
Step 3: Position Your Camera with a Tripod
When photographing ceramic art, it’s important to keep your camera steady. Using a tripod will help you get sharp images without any blur or shake. If you don’t have a tripod handy, try placing the phone on a flat surface, like a table or countertop.
Step 4: Set Up Your Lights
Natural light is best when photographing ceramics, so it’s important to position your lights in a way that will illuminate the piece without creating harsh shadows or highlights. If you don’t have natural light available, try using fluorescent lighting or lampshades.
Step 5: Soften the Highlights and Shadow
By softening highlights and shadows, you can bring out the shape and texture of the ceramic. You can do this by placing a piece of tracing paper in front of your lights or using a light diffuser. Additionally, you can adjust the exposure and white balance of your camera to make sure all details are captured.
Step 6: Make a Gradient in the Background
To make your ceramic stand out against the background, create a gradient in the background. This will help draw attention to the piece and give it more dimension. You can achieve this by using a colored backdrop, or by adjusting the exposure of your camera or lighting.
Step 7: Adjusting Your iPhone’s Camera Settings
Once you’ve set up your shot, it’s time to adjust the camera settings on your iPhone. Start by setting your focus point and exposure. Make sure to zoom in or out as needed so that you have an unobstructed view of the object in the frame. Additionally, adjust the white balance according to the lighting conditions – this will help ensure accurate colors in your photo.
Step 8: Capture the Image
Once you’ve framed your shot and adjusted the settings on your iPhone, press the shutter button to capture the image. If possible, use a timer or remote shutter control to minimize camera shake and ensure sharp images.
Step 9: Post Production
Finally, use post-production editing tools to make any final adjustments. For example, you can adjust the contrast, saturation, and white balance in a photo editing app. Additionally, you can use filters or effects to enhance the look of your image [2].
How To Edit Photos of Your Ceramics
Adjusting Levels and Contrast
Adjusting levels and contrast is one of the most important parts of editing photos of ceramics. This can help to bring out details in the image that may not be as visible otherwise or to make colors pop more. You can easily adjust levels and contrast by using photo-editing software like Adobe Photoshop or GIMP. In Photoshop, this is done by going to “Image > Adjustments > Levels” or “Image > Adjustments > Curves”. In GIMP, you can find these tools under the “Colors” menu.
To get started, it’s best to use an “Auto” setting first to see what changes will be applied automatically. Then you can tweak the settings manually to get the effect you want.
Sharpening and Clarity
Sharpening and clarity adjustments are also important for bringing out details in your photos. Again, these tools can be found in photo-editing software like Photoshop or GIMP. In Photoshop, you can find sharpening and clarity tools under “Filter > Sharpen” or “Filter > Other > High Pass”. In GIMP, these are located under the “Filters” menu.
When making these adjustments, it’s best to start with a low setting first to see what changes it will make before increasing the strength of the effect. This will help ensure that your image isn’t overly sharpened or excessively altered.
Do the Other Adjustments
Finally, you can make other adjustments to your photo such as cropping, straightening, saturation, etc. These tools can be found in most photo-editing software like Photoshop or GIMP.
Making these adjustments will depend on the particular image and what you want it to look like. You may want to experiment with different settings and see what looks best for your particular photo. That way you can get the exact effect you’re looking for!
Once you’ve made all of your adjustments, don’t forget to save your final image so that you have it for later use! With just a few simple tweaks, you should be able to easily edit photos of your ceramics and get the perfect result!
Background Ideas to Photograph Pottery
Photographing pottery can be a challenging yet rewarding process. Here are some ideas to help you get the best photographs of your pieces:
- Use natural light when possible. Natural light helps to bring out the texture and colors in pottery that may not be as visible with artificial lighting. If you cannot use natural light, try using a softbox or diffuser rather than direct lighting for more even illumination.
- Choose an interesting background for your photos. Plain backgrounds can be visually boring so consider adding some texture or color to add interest to your photos. A simple white cloth draped over a table makes an ideal backdrop and allows you to manipulate its shape depending on the piece of pottery being photographed. Textured surfaces such as brick walls or wooden boards can also be used to create a rustic look.
- Consider the angle at which you take your photographs. Experiment with different angles as this can greatly affect how the pottery is seen in the photograph. Taking photos from above and below will capture details that may not be visible when shooting from eye level.
- Don’t forget about props! Props add interest and help tell a story about your pieces. Look for items that complement your pottery or match its style, whether it be flowers, fruit, small plants, books, etc.
- Use editing software to enhance your photos if desired. Editing software allows you to adjust brightness, contrast, and other settings to make the most out of your pictures.
Follow these tips to create beautiful photographs of your pottery! Have fun and don’t be afraid to experiment with different ideas [3].
Where to use photographs of your pottery?
Photographs of your pottery can be used in a variety of ways. You can use them to showcase your work on social media or websites, as part of an online portfolio, for advertising and promotional materials, and even to make prints that can be sold or gifted. The possibilities are endless!
For example, photographs of your work could be shared on Instagram or other social media sites to create a following and attract potential customers. They could also be featured on personal blogs and websites to help you promote your pieces. Additionally, by featuring high-quality images of your pottery in print ads and brochures, you can easily reach more people with the unique features and design elements of each piece. Finally, you could create beautiful prints of your pottery to gift to friends and family or even sell in art galleries and boutiques.
No matter how you choose to use photographs of your pottery, it’s important that they are taken with the utmost care and quality. Investing in professional photography services can ensure that each image captures the beauty and detail of your work in a way that is sure to impress potential customers!
Lastly, don’t forget about using photographs for yourself. Prints make wonderful home decorations or souvenirs by creating something beautiful out of clay! Enjoy documenting your creative process through photos and you’ll have an incredible record of all the pieces you’ve made over time. That’s truly priceless!

FAQ
What camera settings for ceramics?
When photographing ceramics, the best settings depend on the type of ceramic being photographed. Generally speaking, a lower ISO and higher aperture are ideal to ensure sharpness and minimal noise. You may want to experiment with different exposure times as well to ensure the proper amount of light is hitting your object. Additionally, you’ll want to make sure that any reflections or shadows don’t show up in your final image. If necessary, use a diffuser or reflector to avoid unwanted glare in your photos. Finally, consider shooting in RAW format for maximum control over post-processing adjustments that you can make later.
What is the best lighting for ceramics?
Soft lighting tends to work best when photographing ceramics. Avoid direct sunlight and opt for indirect natural light or studio lighting to achieve the best results. Try using a diffuser to further soften the light hitting your object and reduce any unwanted reflections or glare.
What is the best background for ceramics?
When photographing ceramics, it is important to give the object enough space so that its details are visible. Generally speaking, plain white backgrounds work well because they provide good contrast without competing with your subject matter. However, if you’re looking for something more interesting, consider adding texture or color to your background – this can help create a sense of depth and dimensionality in your images. Additionally, you may want to experiment with using objects or props in the background to create a more interesting composition. Finally, it’s always important to make sure your background doesn’t overpower your subject matter – if there is too much going on in the background, it can be distracting and detract from your main subject. Simple backgrounds are often best when photographing ceramics!
How do you photograph clay art for Instagram?
When photographing clay art for Instagram, the same guidelines apply as when photographing ceramics. Start by setting up your lighting and background properly to ensure that your subject is well-lit and visible. You may want to experiment with different exposure times to ensure you’re getting the right amount of light hitting your object. Additionally, consider using a diffuser or reflector to reduce any unwanted reflections or shadows in your photographs. Finally, make sure that whatever props or objects you put in the background don’t overpower your main subject – simple backgrounds tend to work best! Once you’ve taken your photo, you can use basic editing techniques such as cropping and color adjustment to enhance the image before posting it on Instagram.
What are some tips for photographing pottery?
When photographing pottery, it is important to make sure that the piece is well-lit and properly composed in your photograph. Consider using indirect natural light or studio lighting to achieve the best results – you may want to experiment with different exposure times as well. Additionally, use a diffuser or reflector to reduce any unwanted reflections or glare in your photographs. Make sure that whatever props or objects you put in the background don’t overpower your main subject – simple backgrounds tend to work best when photographing pottery! Finally, consider shooting in RAW format if possible so you can have maximum control over post-processing adjustments later on.
How do I take pictures of pottery with my iPhone?
Taking pictures of pottery with your iPhone is easy! Start by setting up the right lighting and background to ensure that your subject is well-lit and visible. You may want to experiment with different exposure times as well. Additionally, use a diffuser or reflector to reduce any unwanted reflections or glare in your photographs. Make sure that whatever props or objects you put in the background don’t overpower your main subject – simple backgrounds tend to work best when photographing pottery! Once you have taken your photo, you can use various editing apps on your phone such as Snapseed and VSCO to edit and enhance your image before posting it on Instagram.
How do you photograph ceramic pieces?
When photographing ceramic pieces, the best settings depend on the type of ceramic being photographed. Generally speaking, a lower ISO and higher aperture are ideal to ensure sharpness and minimal noise. You may want to experiment with different exposure times as well to ensure the proper amount of light is hitting your object. Additionally, you’ll want to make sure that any reflections or shadows don’t show up in your final image. If necessary, use a diffuser or reflector to avoid unwanted glare in your photos. Finally, consider shooting in RAW format for maximum control over post-processing adjustments that you can make later.
How do you photograph pottery without glaze?
Photographing pottery without glaze requires special attention to lighting and background. Soft lighting tends to work best – avoid direct sunlight and opt for indirect natural light or studio lighting to achieve the best results. Additionally, use a diffuser or reflector to reduce any unwanted reflections or glare in your photographs. Make sure that whatever props or objects you put in the background don’t overpower your main subject – simple backgrounds tend to work best when photographing pottery! Finally, consider shooting in RAW format if possible so you can have maximum control over post-processing adjustments later on.
What camera should I use for ceramics?
Choosing the right camera depends on many factors such as budget, level of skill, and desired final product. Generally speaking, digital SLR cameras offer excellent features for detailed photography, such as manual exposure settings and RAW format for maximum control over post-processing adjustments. Additionally, if you are looking for a more affordable option, mirrorless cameras or even smartphones can be used to take detailed photographs of ceramics. It’s important to experiment with different cameras and lenses until you find the combination that produces the best results for your particular needs.
What kind of light should I use when photographing ceramics?
When photographing ceramics, it is important to use the right type of lighting so that details are visible and there are no unwanted reflections or glare. Generally speaking, soft lighting works best – avoid direct sunlight and opt for indirect natural light or studio lighting to achieve the best results. You may want to experiment with different exposure times as well. Additionally, use a diffuser or reflector to reduce any unwanted reflections or glare in your photographs. Finally, consider shooting in RAW format if possible so you can have maximum control over post-processing adjustments later on.
What camera settings should I use when photographing ceramics?
When photographing ceramics, the best camera settings will depend on the type of ceramic being photographed and the desired look of your final image. Generally speaking, a lower ISO and higher aperture are ideal to ensure sharpness and minimal noise. You may want to experiment with different exposure times as well to ensure the proper amount of light is hitting your object. Additionally, make sure that whatever props or objects you put in the background don’t overpower your main subject – simple backgrounds tend to work best when photographing pottery!
Can you put pictures on pottery?
Yes, you can put pictures on pottery! This is usually done using a specialized printing technique such as dye sublimation or thermal transfer. It’s important to make sure that the image you are printing has a high enough resolution for the final product. Additionally, be careful when printing with delicate items such as porcelain or ceramic – they may need extra protection from heat and moisture during the process. Finally, make sure that whatever image you choose complements the shape and form of your pottery piece. Once your picture is printed on pottery, it will last forever! With proper care and handling, your photos can stay vibrant and beautiful for years to come.
Which media is used for ceramic art?
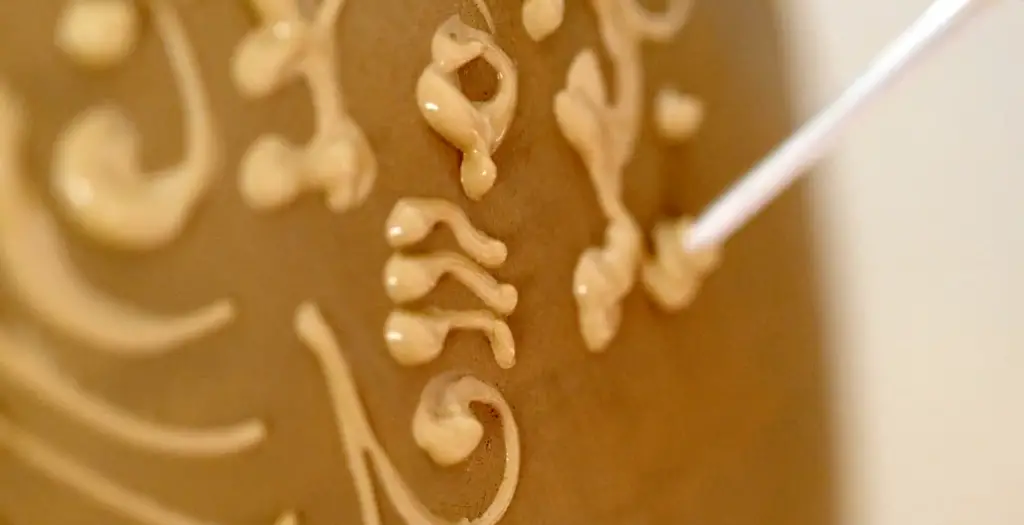
Ceramic art can be created in many different ways. Some of the most common materials used in ceramic art are clay, porcelain, and stoneware. Different types of glazes can also be applied to create unique textures and finishes on the surface. Additionally, artists can use techniques such as hand-building, slip casting, and wheel throwing to create their desired objects or sculptures. Finally, a variety of tools and materials can be used to add decorative elements such as painting and carving into the artwork. With so many possibilities available for creating ceramic art, it is up to the artist’s imagination!
Useful Video: How to photograph pottery and ceramics using a three point light setup at home – tutorial.
Conclusion
Photographing pottery can be a great challenge for photographers. It requires patience and skill to capture the beauty of pottery pieces. The key is to use proper lighting, angles, props, and correct camera settings in order to get the most out of your images. Photographing your own pottery pieces is an excellent way to express yourself creatively as well as showcase them professionally. With practice and experimentation, anyone can learn how to take stunning photos of their pottery pieces that will stand out from the crowd. By following these tips, you will be on your way to creating beautiful photography that showcases your pottery in its full glory!
References
- https://nomliving.com/blogs/thingswedo/pottery-and-ceramics-a-brief-explanation
- https://photovideolounge.com/496/how-to-photograph-ceramics-with-iphone-step-by-step-guide/
- https://ceramicartsnetwork.org/daily/article/A-Guide-to-Pottery-Photography-That-Will-Make-Your-Work-Pop