
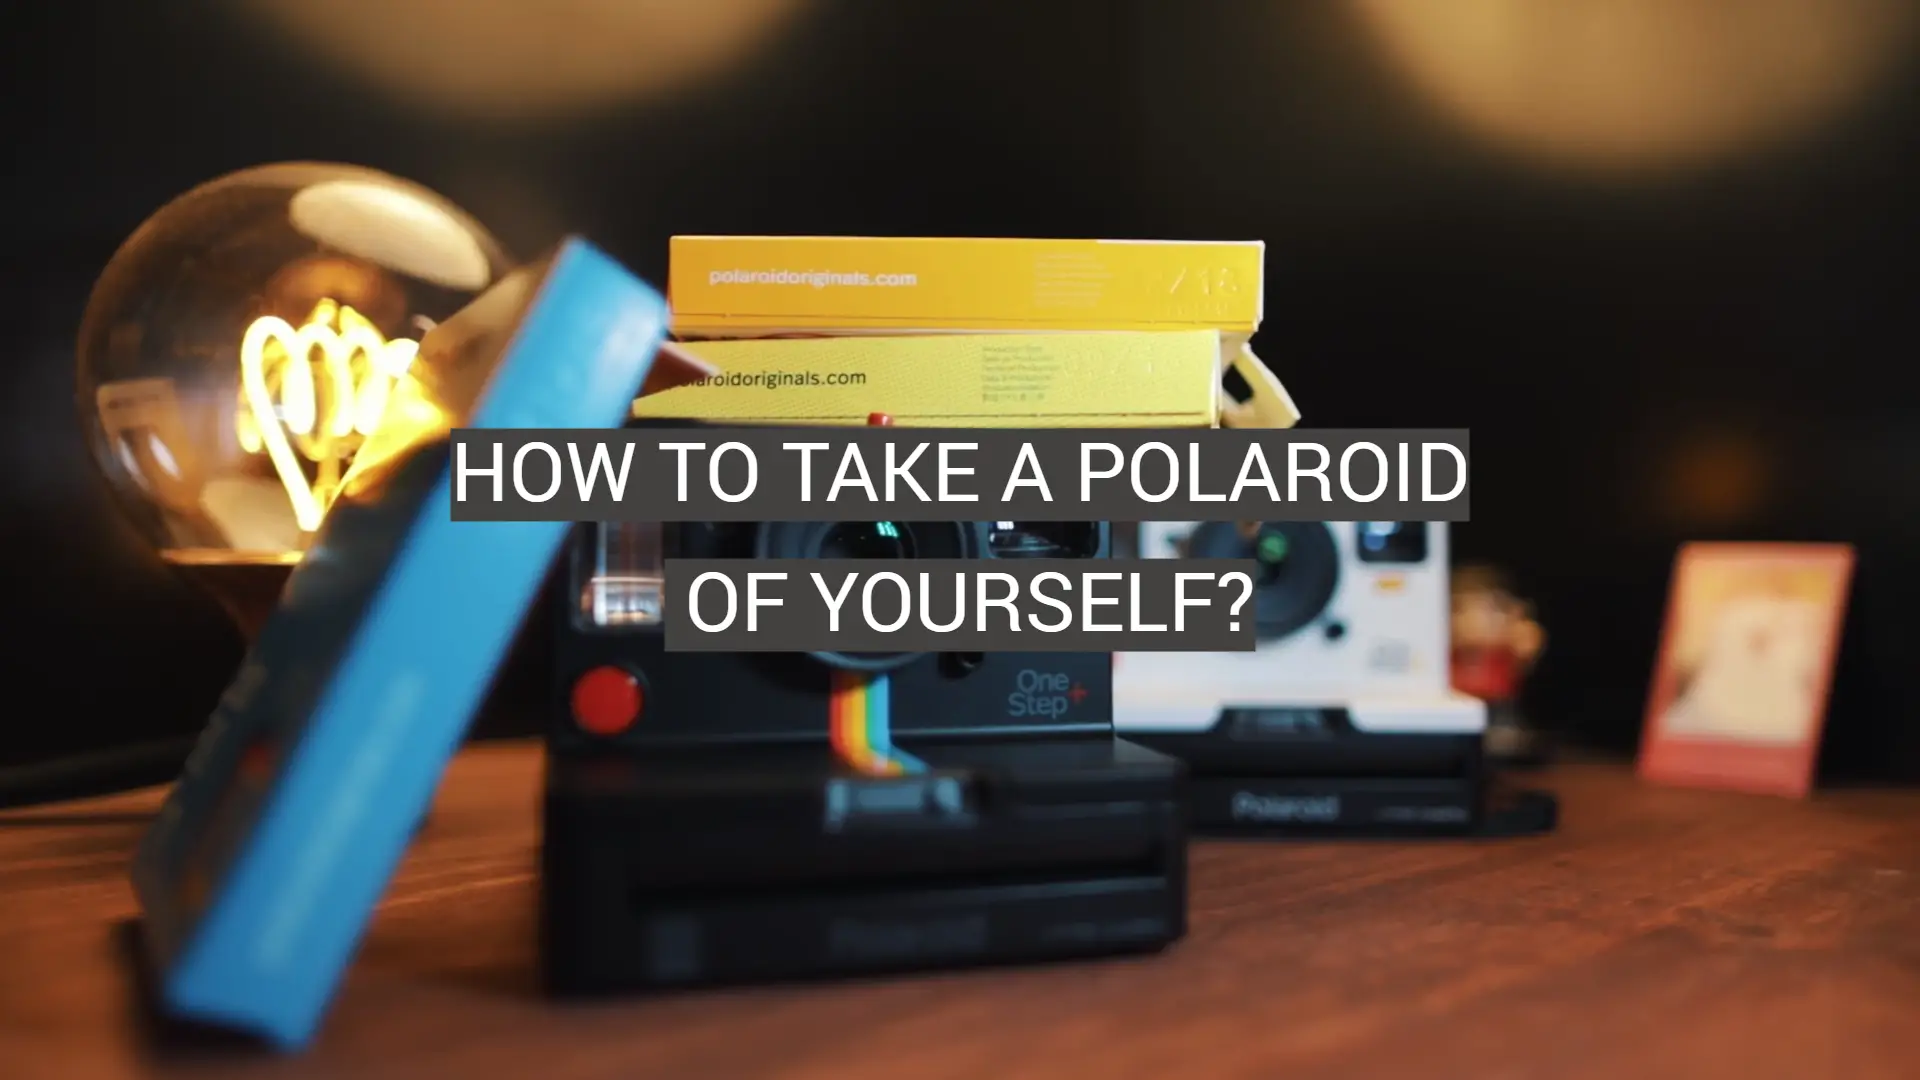
If you want to capture the perfect moment and keep it forever, taking a beautiful Polaroid of yourself is your best bet. With this easy step-by-step guide, you’ll be holding a tangible picture in your hands before you know it. By following these tips on how to take a Polaroid of yourself, you will be sure to make the most of this timeless art form.
Instax and Polaroid
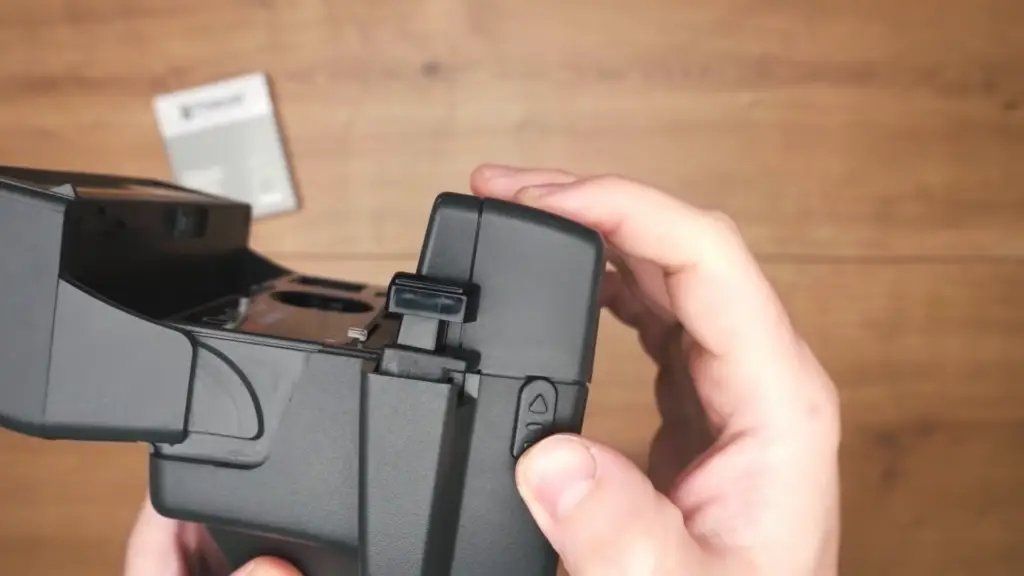
If you’re looking to take a Polaroid of yourself, then you’ll need to get your hands on a camera. Instax and Polaroid cameras are the most popular options for this purpose. Instax cameras come in all shapes and sizes, with many features including automatic exposure control, selfie mode, double exposure mode, macro attachments and more. On the other side of the coin is Polaroid. These are usually bulkier than Instax models but offer greater manual controls such as shutter speed settings and aperture adjustments. Both types of cameras produce instant prints that can be framed or kept as mementos – it’s up to you!
Monochrome Is Your Friend
Many people think of a Polaroid as being bursting with vivid colors, but that’s not the only way to take a great photo. Monochrome photography can be just as impactful when done right, so why not give it a try? Start by selecting simple backgrounds and objects in your photos, such as structures or landscape that won’t distract from the image. When utilizing monochrome photography for self-portraiture, consider placing yourself in an environment that will tell your story without any words. For example, if you’re feeling particularly introspective opt for something calming and serene like a beach or garden. If you’re trying to capture more of an adventurous side try setting up near mountains or other natural landmarks.
The Flash Will do the Job, But You Still Need a Little Light
No matter what kind of camera you have, the flash is always necessary when taking a Polaroid of yourself. The built-in flash on most cameras will be enough to get the job done, but it can also help to have some additional light sources around. If possible, make sure that the light source comes from behind or beside you and at least twice as far away as you are from the camera. This will help create an evenly illuminated picture with no harsh shadows. For best results, use natural daylight if available.
Also, try not to stand too close to walls or furniture — these can cause unwanted shadows in your photos. It is best practice to place yourself slightly off center in relation to the background for a more interesting image. Try to find an area with neutral tones and a simple backdrop so that you can easily stand out in the photo.
To ensure your photo looks its best, keep these tips in mind when setting up your Polaroid picture. With the right setup and an eye for composition, you will be able to create beautiful photos of yourself! Have fun and experiment to get the results you want!
Film Makes Everyone Look Good
Polaroid photos are special not just because of the instant gratification they offer in a world where digital photography has become so ubiquitous. The way that film captures light is unlike any other medium, and adds a certain “je ne sais quoi” to the finished product. Film brings out subtle details that you can’t get with digital photography, like soft shadows or highlights on your face. Many people find that they look better in Polaroid photos than they do in digital ones!
If you’ve never taken a Polaroid photo before, don’t worry — it’s actually quite simple. All you need is an instant camera, some film, and good lighting. Read on for our guide to taking the perfect Polaroid of yourself.
Stay Back 4 Feet From Subject
When taking a polaroid of yourself, it’s important to make sure you stand at least 4 feet away from the subject. This will ensure that your photo has enough depth of field and won’t look too flat. If you’re using a tripod for the camera, then try to position it so that you can be seen in the photo without having to come too close. As a general rule of thumb, if you feel like you have to get uncomfortably close in order to fit into the frame, take a step back instead!
Finally, if you’re having trouble getting everyone into frame, then take advantage of your phone’s zoom feature. This will give you more control over how close or far away subjects are in relation to one another and help make sure everyone fits nicely into the photo without any distortion.
Where Do You Look When Taking A Selfie?
When taking a selfie, it’s important to think about where you’re looking. You want your eyes to be the focus of your photo, so make sure that they’re pointed at the camera or slightly away from it for a more natural look. If possible, find a nice angle and lighting source that will enhance your features rather than washing them out. Also keep in mind not to leave any unnecessary distractions in the background of your shot; this is the time to highlight yourself and showcase you and only you! Remember that practice makes perfect when it comes to self-portraits: try out different poses, angles, and expressions until you find one that works best for you. With enough effort put in, there’s no doubt that you’ll be able to take a stunning self-portrait.
Choosing the Right Camera for Your Polaroid Selfie
When it comes to taking a selfie, you should also think about which camera is best suited for the job. If you’re going for a more classic, vintage look, then of course go all out and use a polaroid camera! But if you don’t have one or want something more modern, then digital cameras are also great options. With digital cameras, you can tweak settings like aperture and shutter speed to get that perfect shot. Plus, with their higher resolutions, you’ll be able to capture more detail in your photo than any other camera on the market. Whichever type of camera you choose – remember to use it to capture your most beautiful self!
Once you’ve chosen the right camera for the job, it’s time to start taking some selfies. Here are a few tips and tricks for taking great polaroid selfies:
- Stand close to the camera so that your face is in focus; try not to be too far away from the lens.
- Use natural light whenever possible. This will help enhance your features while keeping any harsh shadows away from your face.
- Experiment with different angles and poses until you find one that flatters you best. Just make sure that there’s nothing in the background of the shot that could take away from your photo.
- And lastly, don’t forget to have fun! Taking selfies can be a great way to express yourself and showcase your personality, so make sure you enjoy the process as well.
Follow these steps, and soon enough, you’ll be taking amazing polaroid selfies that will look stunning printed out or shared online!
How to Take Selfies on the Instax Mini 7s?
The Mini 7s is a popular, compact instant camera from Fujifilm that uses the Instax mini film format. With this camera, you can easily take perfect selfies and share them with your friends, family, or post them online! Here’s how to do it:
- Find a good spot with decent lighting. Natural daylight from an open window or light streaming in through trees can both give great conditions for taking pictures. You want the light to be evenly distributed on your face so make sure there are no harsh shadows like those created by a single bright bulb or lampshade.
- Point the lens at yourself and frame it up properly. Before pressing the shutter button, move around until you get the best angle that highlights your features. Make sure to stay in the middle of the frame so that your face will remain in focus and won’t be cut off at the edges.
- Press the shutter button lightly, making sure not to shake the camera too much. It has a 10-second self-timer mode, which is perfect for taking selfies – just press and hold down the shutter button for 2 seconds and then you’ll have 10 seconds to strike a pose before it takes your picture!
- Wait for it… When the picture develops, you’ll be able to see how awesome it looks! You can even get creative with editing tools such as filters or borders available on the Fujifilm MyFinePix Studio app to make your selfie extra special.
Enjoy experimenting and have fun!
How to Take Selfies on the Instax Mini 8?
The Mini 8 is one of the most popular cameras on the market today, and it’s super easy to take selfies with it. To get started, first make sure your camera is loaded with film. Then follow these steps:
- Turn on your Mini 8 and select “selfie mode” by pressing the button at the top of the camera.
- Raise the lens cover and point it towards yourself making sure you can see what’s in front of you in the viewfinder window.
- Position yourself at arm’s length from the lens, about 2-3 feet away for best results (you can use a selfie stick if needed).
- Smile and press the shutter button.
- Hold still for a few seconds until your Polaroid is printed!
You can also take group shots with the Mini 8 by setting it on a flat surface or tripod, and then pressing the timer button to start taking pictures without having to stay in front of the camera. It’s great for parties or special occasions when you want to capture memories with friends and family!
How do you take a selfie on Instax Mini 9?
Taking a selfie with your Mini 9 is easy! Here are the steps:
- Make sure your camera is in Selfie Mode. To do this, flip the lens from wide-angle to portrait mode by pressing down on the lens switch.
- Extend and adjust the close-up lens so it’s in line with the front of your camera’s viewfinder — this will help you see what you’re taking a photo of.
- Position yourself within arm’s reach of the camera — you don’t want to be too far away when taking a selfie! Get ready for your best smile or pose and press down lightly on the shutter button.
- Wait for the photo to develop — it should take about three minutes. Once you’ve got your polaroid, admire your work and share it with friends!
Remember, the key to taking great selfies is practice, so don’t be discouraged if you don’t get a perfect shot every time. Have fun experimenting and see what kind of poses and results you come up with!
How to Use the Selfie Mode on the Instax 11?
The Instax 11 camera is an excellent choice for taking Polaroid selfies. To use the selfie mode, simply follow these steps:
- First, ensure you have the Instax 11 set up with enough film loaded and ready to go.
- Then, select the ‘Selfie Mode’ icon on the touchscreen display of your Instax 11. This will activate the Selfie Mode feature and extend the lens outwards slightly so that it can focus on your face in close range (this may take a few moments).
- Next, adjust your pose so that you are looking directly at the lens and frame yourself within the specified frame on the display.
- Use the onboard timer feature to set a delay of 10 seconds so that you have time to get ready and pose when it’s time to take the photo!
- When the countdown is complete, your Instax 11 will automatically capture your Polaroid selfie!
- Finally, you can then remove your picture from the camera once it has been printed out for safe keeping or sharing with others.
How to Use the Selfie Mode on the Instax Mini 40?
One of the great features of the Mini 40 is that it comes with a Selfie Mode. This mode can make taking selfies simple and easy, so let’s take a look at how to use it.
First, you’ll want to turn your camera on and set it to “Selfie Mode”. You’ll be able to switch between modes by pressing and holding the shutter button for several seconds. When you’ve selected the Selfie Mode, you will see two arrows appear in the display window – these indicate that you are in selfie mode.
Next, press the shutter button halfway down and hold it there until you get a focus signal from your camera. After this step is complete, all you need to do is press the shutter the rest of the way and your Mini 40 will snap a photo.
How to Take Selfies on the Instax Mini 70?
The Mini 70 is a great way to capture those special moments with your friends and family! Taking selfies on the Mini 70 is easy – just follow these steps:
- First, make sure you have your camera in selfie mode. To do this, press the button until it says “SELFIE” on the LCD screen.
- Choose your background! The Mini 70 has a variety of backgrounds built-in including starry night, rainbow colors, polka dots, and more. Select whichever one brings out your personality best!
- Now it’s time for some fun poses! You can use any type of pose you want – just make sure to look your best!
- Done with posing? Press the shutter and a bright flash will come out of the camera. Your selfie is now ready in an instant!
- Lastly, add some fun decorations to your Polaroid for extra pizzazz. You can use stickers, markers, and other craft materials to make it truly unique!
And that’s it – you just took a beautiful selfie on the Instax Mini 70!
How to Take Selfies on the Instax Mini 90?
Once you’ve mastered the basics of taking a Polaroid of yourself, it’s time to level up your game! The Mini 90 is great for taking selfies. It comes with an adjustable mirror just above the lens, and a tripod thread mount on the side, so you can easily set up your shot. Here’s how to take amazing self-portraits:
- Start by positioning your camera in front of you at arm’s length. Make sure the adjustable mirror is angled right towards your face – this will help you make sure that what you see in the viewfinder is what will appear on the film.
- You may want to use a tripod to keep your camera steady while you take your Polaroid – it will help reduce any blur.
- Look into the viewfinder and compose your shot – if you’re using a tripod, don’t forget to adjust the mirror again once you’ve adjusted the camera position!
- When you have everything lined up, press the shutter halfway down to focus, then all the way down to expose the film.
- If your image is blurry or out of focus, try adjusting the lens and making sure that you are holding still enough for accurate exposure.
- You can also experiment with different angles and poses to create interesting self-portraits! Try taking photos from a higher angle, or from the side.

How to Take Selfies on the Instax Square SQ1?
All you need to do is point the lens towards your face and press the shutter. The camera will automatically detect your face and adjust the focus accordingly. You can also use the selfie mirror if you want a better view of what you’re shooting. Once you have your picture framed, hit the shutter. This camera also has a built-in timer that allows you to set it for 3 or 10 second intervals so that you can get into position before it takes the shot. Don’t forget about using fun filters!
How to Take Selfies on the Instax Square SQ6?
Taking selfies on the SQ6 is easy and fun! To get started, all you need to do is make sure your square camera is charged, load it up with film, and press the shutter. With some practice and experimentation, you can create a wide range of photos – from standard portrait shots to wacky perspectives and close-ups.
Here are a few tips for taking great selfies:
- Make use of the mirror near the lens so you can easily frame yourself in the shot.
- Use flash if needed to brighten up your picture. The Instax SQ6 has two brightness settings – low light and normal – so you can adjust accordingly for different lighting conditions.
- Experiment with angles and poses. Close-ups can be particularly interesting, as they highlight details more prominently than wider shots.
- When taking a group selfie, hold the camera far enough away from you all in order to fit everyone in the frame.
- Play around with the various settings – such as timer mode – for some creative results!
How to Take Selfies on the Instax Square SQ20?
All you need to do is push the shutter, and it will automatically switch to self-portrait mode. Here are some useful tips:
- Position yourself in front of the camera at least one foot away. This will ensure that your entire face is in frame.
- Use a tripod or something else to keep your camera steady while taking pictures – blurry images won’t make for good selfies!
- Smile! A genuine, happy smile will always look best in photos.
- Try diverse angles and poses to find the most flattering one.
- Ensure the lighting is good – you don’t want to be too dark or too bright.
- Play around with the features on the SQ20 – like the multiple exposure and split shot modes – to make your selfie stand out from all the rest!
- Most importantly, have fun with it! After all, that’s what selfies are all about!
So go ahead and get snapping some awesome shots of yourself!
How to Take Selfies on the Instax Mini Evo?
If you’ve recently purchased the Mini Evo, then you’ll be pleased to know that taking selfies with it is a breeze! Follow these steps to get started:
- Open the lens cover and press the power button.
- Activate the self-timer by pressing the button on the back of your camera.
- Ensure your subject is in focus before pressing down on the shutter release button.
- When you hear a beep, smile big and let the shutter do its job! Your selfie will print out in just a few seconds!
- Enjoy your printed selfie – or share it with friends!
The possibilities are endless – have fun!
How to Take Selfies on the Instax Mini LiPlay?
It has a host of features to make taking photos easy and fun. For getting started:
- Turn on the camera.
- Swipe up from the bottom of the screen to access your settings, then select “Self-Timer” (0 or 10 seconds).
- Adjust any additional settings as needed, then press OK when finished.
- To take your selfie, hold down the shutter button located at the top right of your camera until it takes your photo. If you’ve chosen to use a self-timer, the camera will start counting down once you press and hold the shutter button.
- A few seconds after your photo is taken, it will appear on the screen for you to view.
- If you’re happy with your picture, you can print it right away and pop out your Mini LiPlay selfie!
- To take even more selfies, just repeat steps 1-6 until you’ve got enough photos!
Taking selfies with the Mini LiPlay couldn’t be easier – so get ready to show off all your best poses and have fun taking lots of snaps! Have a play around with different settings and angles to find what works best for you and create some awesome Polaroid memories.
How to Take Selfies on the Instax Wide 300?
Here are some of our top tips for getting great shots with the Wide 300:
- Ensure your camera is in Selfie mode. This setting will give you the ideal focal length and image size settings for taking selfies.
- Find natural, even lighting that won’t create too much contrast on your face. Soft window light or a diffused lamp work best.
- Compose your shot carefully – look into the lens and make sure you’re in the middle of the frame so there’s enough room to crop if needed.
- Avoid using flash as it can wash out your features and create harsh shadows on your face.
- Experiment with angles and poses – holding the camera slightly above or below your face can create some interesting shots.
- Take several shots to increase your chances of getting a good one!
- Have fun and don’t be afraid to be creative with your selfies. Flip them upside down, add props, make funny faces…you never know what you might come up with!
- And finally, once you get the shot you want, don’t forget to save it in an album so you can look back on all those special moments forever. [2]
FAQ
How do you take a model Polaroid of yourself?
Taking a model Polaroid of yourself is easy! Just follow these simple steps:
- Get your camera and film ready. Make sure that the film you’ve selected has enough space for taking self-portraits, or selfies.
- Place the camera in a comfortable position – either on a tripod or on a flat surface such as a table top – so that it captures your face clearly.
- Look into the lens and make sure you’re framed correctly within the picture frame.
- Push the button to take a photograph and wait for your Polaroid to develop in front of you!
- Smile big, move around, pose however you like – have fun with it!
- When your Polaroid photograph is ready, remove it from the camera and admire your work!
- Repeat steps 1 to 6 until you’ve got a few great pictures of yourself that you’re happy with.
With some practice, you’ll soon be able to take perfect Polaroids of yourself every time! Don’t forget to share your snapshot with friends and family too – they’ll love seeing all of your different poses and expressions. Polaroid photographs make for great mementos and keepsakes so don’t be afraid to get creative with them!
How do you take a Polaroid of yourself in the mirror?
Taking a Polaroid of yourself in the mirror is an easy and fun way to create unique self-portraits! Here’s what you need to do:
- Gather your materials. You’ll need a Polaroid camera, film, and a tripod (optional).
- Set up the space. Find a spot with plenty of natural light and clear out any clutter from the background. Prop up your camera on the tripod or set it on something stable like a book or box if you don’t have one handy.
- Get ready for your selfie! Position yourself between the camera lens and the mirror so that you can see both your reflection and the lens in the mirror when standing in front of it.
- Take the shot! Make sure your camera is pointed directly at your reflection and your face is well-lit. Then, press the shutter button and smile!
- Develop your Polaroid photo. After you’ve snapped a few shots, take out the film from the camera and place it in a dark area for about 10 minutes while it develops. Once it’s done, you can admire your one-of-a-kind self-portrait! [3]
How do you take a good Polaroid selfie?
Taking a good Polaroid selfie is all about having the right setup and technique. Here are some tips to get you started:
- Find the best lighting source for your environment. Natural light is always ideal, so try taking your shots near a window or outdoors. You can also use lamps and other lights to create interesting shadows and effects.
- Figure out how far away from your camera you should be. Your Polaroid’s lens might have a wide angle, which means that if you’re too close, it could distort your features in an unflattering way. Experiment with different distances until you find one that looks right in the frame of viewfinder.
- Take multiple shots. If you’re not sure which one looks best, take several and choose the one you like the most. It’s also a good idea to snap a few extra photos in case something goes wrong with the development process. [4]
How do I convert a photo to polaroids?
Converting your photos into polaroids is easier than you may think! All you need is a photo-editing app and some simple steps.
- First, open the photo-editing app of your choice. Upload the photo that you would like to turn into a polaroid. Many editing apps have effects specifically for creating polaroids. Browse through these effects and choose one that looks best for your image.
- Next, adjust the brightness, contrast, saturation, or other settings to make sure the colors on your polaroid pop! You don’t want it looking too washed out or dark. Experiment with different levels until you find the perfect balance between light and vibrant colors.
- Finally, add any personal touches you want to make it your own. For example, adding a caption or frame can give your polaroid a unique look. Once you’re happy with the output, save it and get ready to print! [5]
With these simple steps, converting your photos into polaroids is now easy and fun! So go ahead – show off your best pictures in an old-school way and give them new life with a digital polaroid!
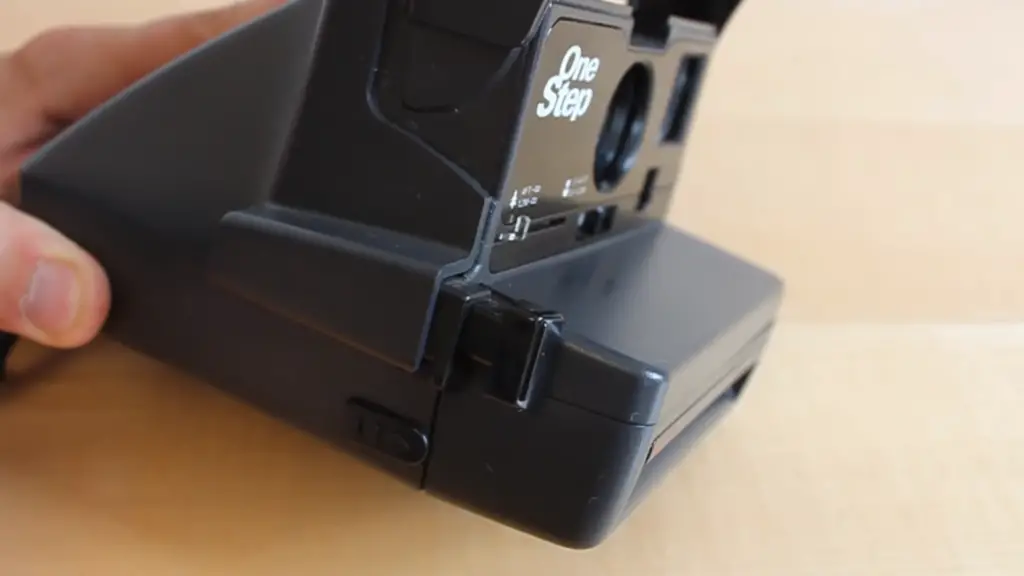
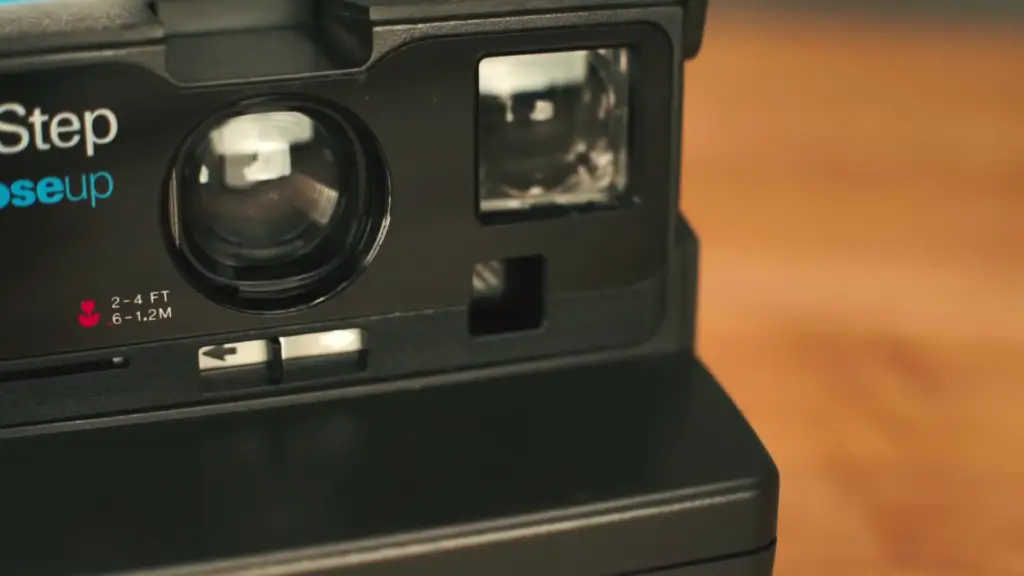
Useful Video: How to use a POLAROID CAMERA correctly – Polaroid OneStep 2
Conclusion
Once you have the perfect picture, all that’s left is to enjoy your Polaroid! Put it up on your wall or share it with friends. You can even frame it and add a personal touch – Polaroids look great in vintage frames! Taking a Polaroid of yourself is an easy and fun way to capture memories, no matter whether you’re an amateur photographer or an experienced pro. With a few tips and tricks, you can make sure that each photo turns out perfectly. So dust off your camera and get ready to take some amazing selfies! Happy shooting!
References
- https://danfinnen.com/2021/12/13/how-to-take-the-perfect-private-polaroid-featuring-ramona-romance/
- https://thephotographyprofessor.com/how-do-you-take-a-picture-of-yourself-with-an-instax-camera-tips-and-tricks/
- https://www.polaroid.com/blog/articles/how-to-use-selfie-polaroid-go
- https://www.makeuseof.com/how-to-take-polaroid-pictures/
- https://www.perfectcorp.com/consumer/blog/photo-editing/how-to-make-a-polaroid-edit-in-three-steps