
The Fujifilm Instax Mini 9 is the perfect way to capture and keep your memories forever. Whether you’re a seasoned pro or a beginner, learning how to use the Mini 9 can be overwhelming. That’s why we’ve created this comprehensive guide so you can get up to speed on all things Mini 9 quickly and easily! From essential tips on exposure settings to lomographic advice, this guide will ensure that you’re getting the most out of your Mini 9.
What Film Does the Fuji Instax Mini 9 Use?
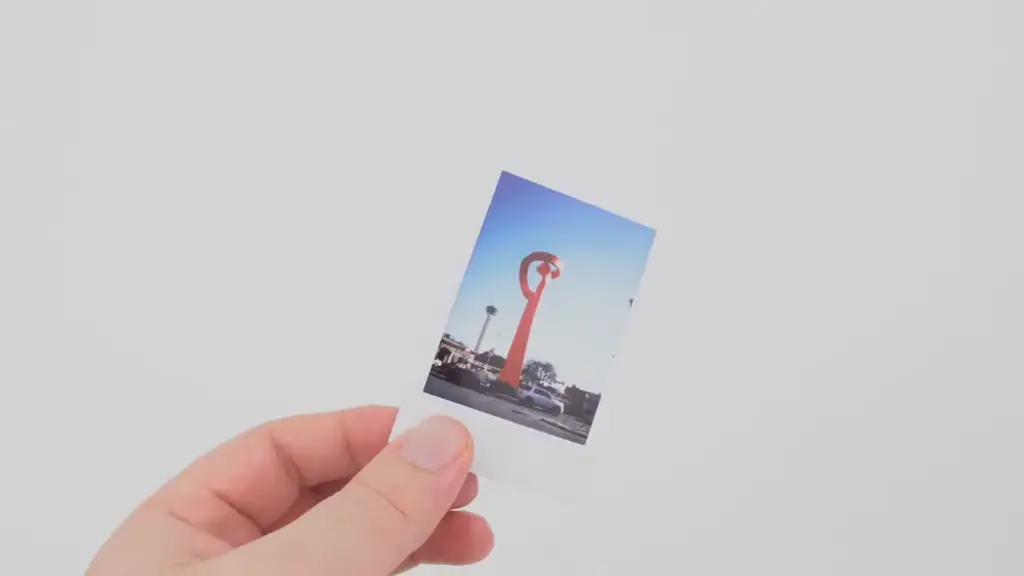
The Instax Mini 9 uses Fujifilm Instax mini-film. This film is designed to give you great photos with a glossy finish, and it comes in various packages of 10 or 20 shots. The film works perfectly with the Mini 9 camera and will produce beautiful prints that last for years.
Preparing to Shoot
Using Mini 9 is so much fun that you’ll want to get started right away. But first, let’s go through the steps of preparing your camera for shooting photos.
To start with, make sure your camera is fully charged. This will help you to avoid having a dead battery when you’re ready to take your shots. Once your battery has been charged, check if you have enough film in the camera and replace it if necessary. You should also check out all the settings and features available on the camera before beginning to shoot.
After ensuring that everything is properly set up and ready to go, it’s time to start taking pictures! Before pressing the shutter button, remember to take a few moments to compose your shot and adjust the camera’s settings as needed. This will help you get the best images possible with your Mini 9.
Identifying Parts of the Camera
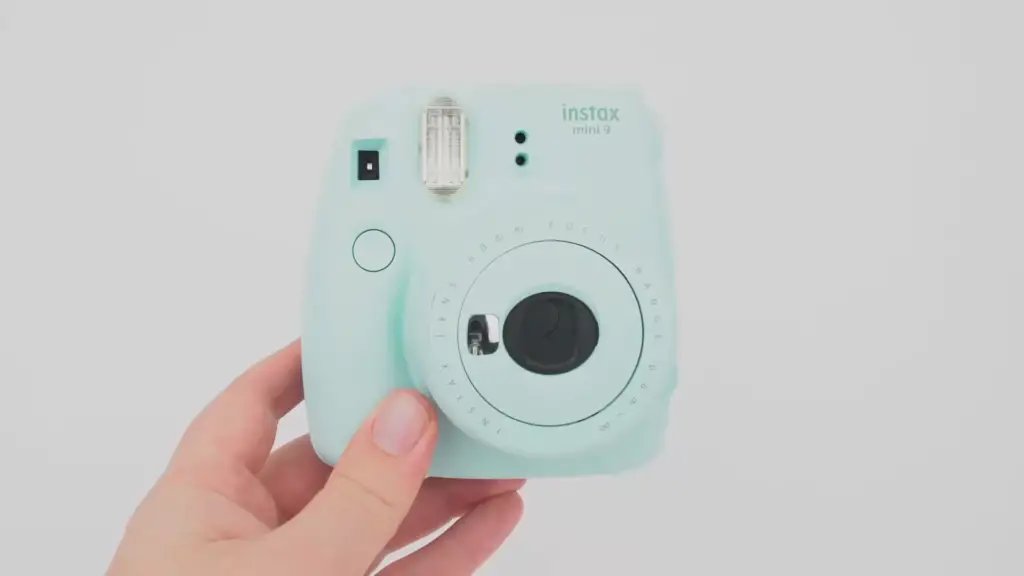
The Mini 9 may look small and simple, but there are still a few parts you should be familiar with. The most important part is the lens, which is located on the front of the camera. There’s also a shutter button that takes pictures when pressed. Additionally, there is an LCD display on the back of the camera that shows the remaining battery life as well as how many shots are left in your film pack and the current exposure compensation setting. On the side of the camera, you’ll find a dial for adjusting settings and a port for connecting to your computer or printer using an optional USB cord or adapter. Lastly, at the bottom of the Mini 9 is where you load your film packs.
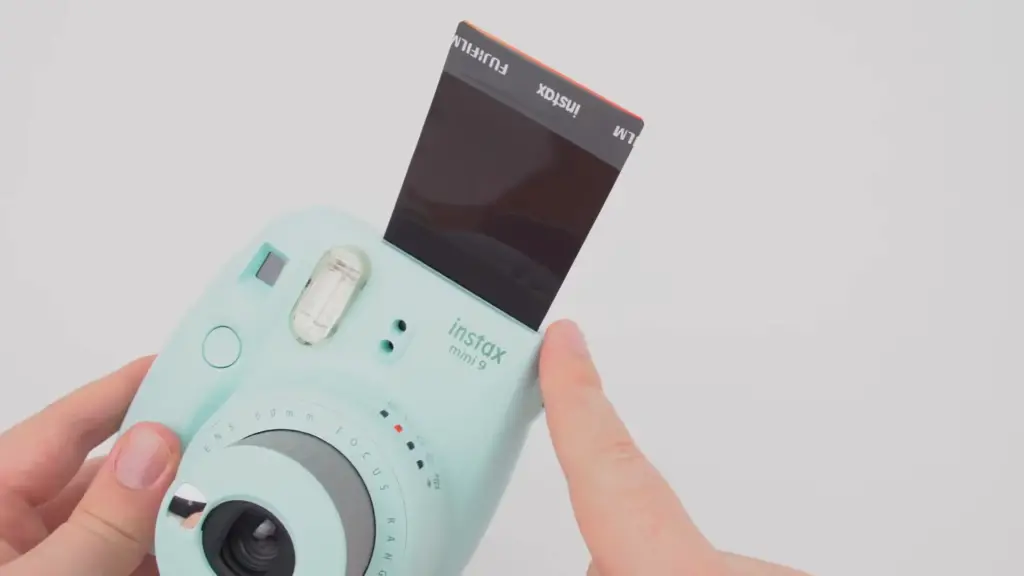
Loading Film
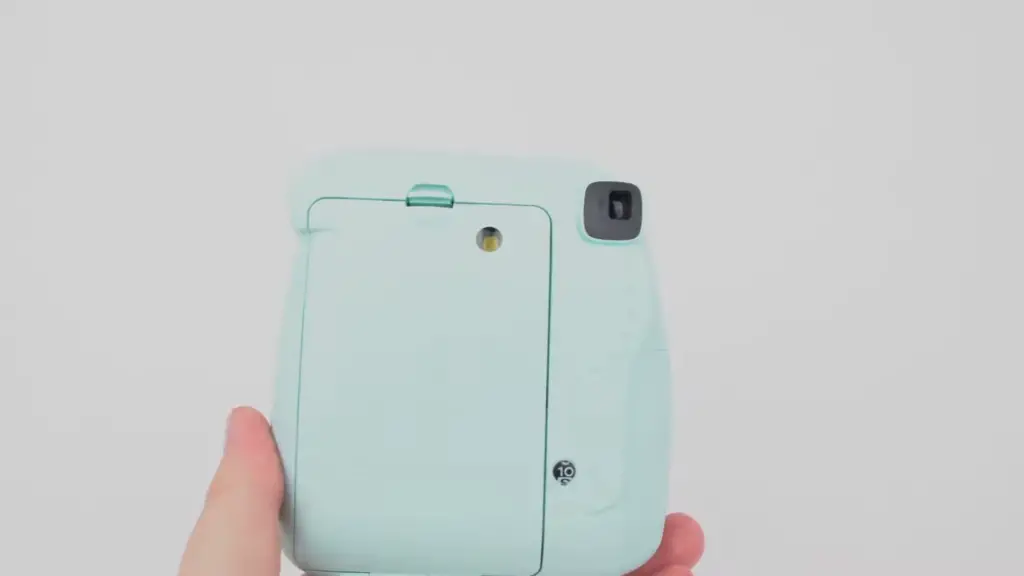
Loading film into your Mini 9 is an essential part of using the camera. The camera uses instant color film, which comes in packs that you can purchase from various retailers or online stores. To load a new pack of film, follow these steps:
- Pull out the tab at the bottom left-hand corner of the cassette and remove it completely from its package.
- Open up the back cover of the camera by pressing down on two sliding buttons located on either side of the back cover.
- Insert one end of the film into one side of the camera and use your finger to guide it across until it’s properly seated in place.
- Close the back cover and press down on both sliding buttons to make sure it’s secure.
- Pull out the small tab at the top of the cassette, which will automatically advance the film into position for your first shot.
Turning the Camera On
To turn the Mini 9 on, start by pushing down the power button located on the top of the camera. This will activate the lens and you will hear a beep to indicate that it is ready for use. Once you’ve done this, you can now begin taking photos!
Setting Exposure
For most pictures, you can get decent results with pre-set exposure. However, if you are shooting in a very bright or dark environment, it’s worth adjusting the exposure manually to get the best results. To adjust the exposure manually, use the brightness adjustment dial on top of your camera. You can adjust this either before or after you take a photo – simply turn it clockwise for brighter photos and counter-clockwise for darker photos. If you’re taking an indoor picture, try turning it one notch lighter than what the LED indicator light is suggesting as this will usually give a more natural look to your pictures. For outdoor shots in direct sunlight, however, please do not turn up the exposure any higher than what was suggested by the LED indicator light. Doing so will result in overly bright and overexposed photos.
Shooting
Once you have loaded your film and inserted it into the camera, it’s time to start shooting. The Mini 9 has two main shooting modes: auto exposure and hi-key mode. Auto exposure is the default setting, so when you turn on the power switch, this will be selected by default. This mode adjusts shutter speed, flash intensity, and other settings automatically depending on the amount of light in your surroundings for easy shooting. Hi-key mode alters the tone curve and applies a soft focus filter to create images that look softer and brighter than those taken with the standard auto exposure settings.
Common Troubleshooting for the Instax 9
Got your Instax 9 and it’s not working the way you’d like? Don’t worry! We’ve got some quick tips to help you get back on track.
- Make sure all components are properly connected – This includes the camera body, lens, batteries, and film cartridge.
- Check whether the lens cover is open – If not, gently push it up until it clicks into place.
- Ensure that the film cartridge is loaded correctly – The light should be green when it’s installed correctly.
- Clean the lens periodically – Fogging or spots on your pictures can be a sign of dust buildup on the lens. Use a soft cloth without any solvents to gently wipe away any particles.
- Adjust your focus – The Instax 9 has two options for focusing – 0.6m and infinity. Make sure you’re using the correct mode for your subject.
- Choose the right picture size – The Instax 9 takes full frame pictures, so make sure to adjust the dial accordingly before taking a shot.
- Check your lighting – If it’s too bright or dark, use an ND filter or flash to get better results.
- Take several shots in a row – This way, you’ll increase your chances of getting one perfect shot! [1]
We hope these tips help you take amazing photos with your Instax 9! Keep shooting and have fun!
Top tips and tricks Instax mini 9 for Best Shots
- Always check the settings for the right exposure level. To make sure you get a good photo, adjust your camera settings to the exact environment in which you’re shooting. This will make sure that your picture will not be overexposed or underexposed.
- Take advantage of Instax Mini 9’s macro mode feature when taking close-up shots. This will help ensure that all details are captured in sharp focus and with great detail.
- Make use of natural lighting whenever possible as it helps soften shadows and brings out the best elements in a photo without having to adjust too much on editing afterwards.
- Don’t forget to experiment with angles – try different views, heights and perspectives when shooting with Mini 9 and see for yourself what looks best.
- Keep an eye on the background of your shots – make sure that it is not too cluttered or distracting from the main subject in focus.
- Have some fun with filters and effects available on the Mini 9 – you can try out different colors, frames and special effects to add more personality to your photos!
- Most importantly, have fun! Taking great photos with your Mini 9 should be enjoyable, not stressful – so take some time to play around with all its features and settings to make every shot memorable!
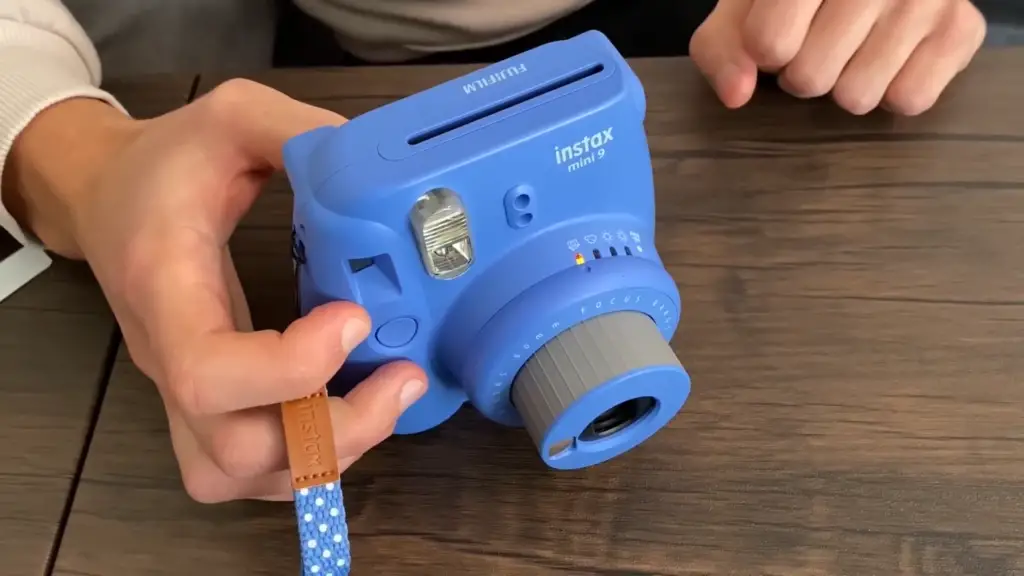
Brightness adjustment dial and Dots
Instax Mini 9 has a brightness adjustment dial and dots for making sure that your photos have the right level of exposure. The brighten/darken dial allows you to make adjustments so that the correct amount of light is let in from the lens to create a good photo. The four small dots on the back are indicators to tell you how much to turn the dial, depending on which one lights up.
High Key
The Instax Mini 9 also allows you to take photos on a low key or high key setting, depending on the type of photo you want to achieve. The high key setting is great for taking bright, airy shots with soft highlights while the low key will give your images a darker, moodier look. To switch between these two settings, simply turn the dial at the top or bottom of the camera until it clicks into place.
These are just some tips and tricks that can help you get better results from your Instax Mini 9! With practice and experimentation, you’ll be able to take amazing photos in no time. Have fun!
Why should you use High key Mode?
High key mode is a great way to take brighter, more airy photos with softer highlights than you could achieve in the standard or low key modes. This setting can create stunning photos that perfectly capture any moment, whether it’s an outdoor landscape or an indoor family gathering. The high key setting also has the added benefit of automatically adjusting the brightness and contrast levels for each shot to make sure that they are just right.
So if you’re looking for bright photos with a lot of detail, then it’s definitely worth giving Mini 9’s high key mode a try! With a bit of practice and experimentation, you’ll soon be taking amazing shots every time.
What should not do with Mini 9 Shots?
When using Mini 9, it is important to pay attention to some things that you should not do with your shots.
- Don’t take pictures in direct sunlight as this will cause underexposure and the colors of the photos will not be accurate.
- Never zoom when taking a picture, as this may result in blurry or distorted images.
- Don’t use too much flash when taking photographs indoors or at night. This can overexpose most shots and degrade the quality of the image.
- Avoid overexposing your shot by avoiding high-contrast scenes or objects with strong reflections in them, as this can lead to undesirable results.
And remember — have fun and enjoy the moment.
Close-up lens attachment
This feature which allows you to take stunning portraits and selfies. To use this feature, attach the close-up lens to the camera lens by aligning it with the small orange arrow marker. You can then switch between regular shooting mode and close-up mode using the dial.
In close-up mode, you’ll need to be closer to your subject for clear pictures due to the narrower field of view. Use this feature when you want to capture detailed images or take beautiful selfies! If there’s too much light in your background, make sure you adjust your brightness settings before capturing your image. At the same time, don’t forget to experiment with different angles and perspectives to get the perfect shot!
Selfie
One of the Mini 9’s most exciting features is its selfie lens. It makes it easier to take selfies without having to twist your arm and crane your neck in uncomfortable positions. To use the selfie lens, simply point the camera at yourself and press the shutter button. It will automatically recognize that you are taking a selfie and adjust the focal length accordingly. You can also use this feature when taking group photos.
Finally, use the Selfie Mode setting to get that perfect selfie! This feature automatically adjusts the brightness and shutter speed so you can take fabulous-looking selfies with ease. You can play around with this mode and experiment to find out which settings work best for your photos. Happy snapping!
FAQ
What setting should I use on Instax Mini 9?
For most photos, you’ll want to stick with the ‘automatic’ setting. This will adjust the flash, shutter speed, and focus according to the light conditions. If you’d like more control, you can switch to ‘fill-in’ mode for more detailed adjustments. Try experimenting with both settings!
How do you use an Instax camera for the first time?
Using the Mini 9 is a breeze. Before you start taking pictures, you need to make sure you have all the necessary items: a camera with film, batteries and an instruction manual. Once everything is set up, turn on the camera and adjust any settings as needed.
Next, load in your Mini film. Make sure that the white side of the cartridge faces outward when putting it into place and that it snaps securely into place. You’ll be able to tell if it’s properly installed because there will be a green light visible around the lens area. [3]
What does the light mean on Instax Mini 9?
The Mini 9 has an LED light on the front of the camera and a light next to the lens. The LED light is used as a status indicator and will blink in different colors, depending on what mode you are using or if there is an error.
- A solid green light means that everything is operating normally.
- An amber/orange light indicates that you have selected “Selfie Mode”. You can take selfies with the Mini 9 by pressing down on this button while looking into the lens.
- When the light flashes red, it means that you need to replace your film cartridge.
- Lastly, a blinking blue or purple light could indicate an error with your camera. In this case, you should turn it off and then on again to reset the system. [4]
These indicators will help you understand what is happening with your Mini 9 and allow you to get the most out of your experience using it.
Why will my Instax Mini 9 not take pictures?
It could be due to a few things. First, ensure the film is loaded correctly and that there is still film left in the cartridge. If you have checked both of these and it still won’t take pictures, then check if the lens cover is open – this will block any incoming light from entering the lens and won’t allow for proper exposure. You should also make sure that all batteries are replaced with fresh ones to ensure they have enough power to operate properly. Lastly, if none of these solutions work, you may have an issue with the camera itself. In that case, contact a technician or your retailer for help troubleshooting any issues you may be having. [5]
Useful Video: How to Use a Fuji Instax Mini 9 Instant Film Camera
Conclusion
The Mini 9 is an incredibly easy-to-use camera that can produce great and unique photos in a matter of seconds. With the ability to choose from accessories, lenses, and film frames, you will never run out of creative ways to improve your Instagram game. Whether you’re using it for fun or professional photography purposes, the Mini 9 provides endless possibilities for creating beautiful memories with friends and family. So get ready to start printing your favorite moments!
References
- https://danfinnen.com/article/how-to-use-the-fuji-instax-mini-8-or-9-instant-film-camera-a-beginners-guide/
- https://instaxworld.com/instax-mini-9-settings/
- https://www.adorama.com/alc/how-to-use-the-fujifilm-instax-8-everything-you-need-to-know/
- https://thephotographyprofessor.com/7-most-common-problems-with-your-instax-mini-9-camera-and-how-to-fix-them/
- https://instantcamerablog.com/tips-and-tricks/instax-mini-9-not-working/