
Nail art is all the rage right now, and there are so many amazing designs to choose from. If you want to create your own nail art masterpiece, you first need to take some great pictures of your nails.
Taking photographs of one’s nails is quite popular. Many individuals post photographs of their manicures online to demonstrate how beautiful they are to the rest of the world. Taking a poor-quality photo may ruin everyone’s enjoyment and excitement.
In this blog post, photography experts will teach you how to take professional-quality nail pictures using your smartphone!
How to Take Great Nail Photos: Expert Advice
1) Great light is the key
If you can, go outside and take advantage of natural light. If not, try to find a well-lit room indoors.
To get the best possible light for your nail photos, go outside or find a room with lots of natural light. If you can’t do either of those things, try to find a well-lit room indoors [1].
If you’re shooting indoors without natural light, use bright white lights. Even better if the bulbs include a filter and dimmer. Pro lights are less expensive, but the ring light is far superior in terms of aesthetic results, as well as being more practical and easier to set up.
2) Great composition
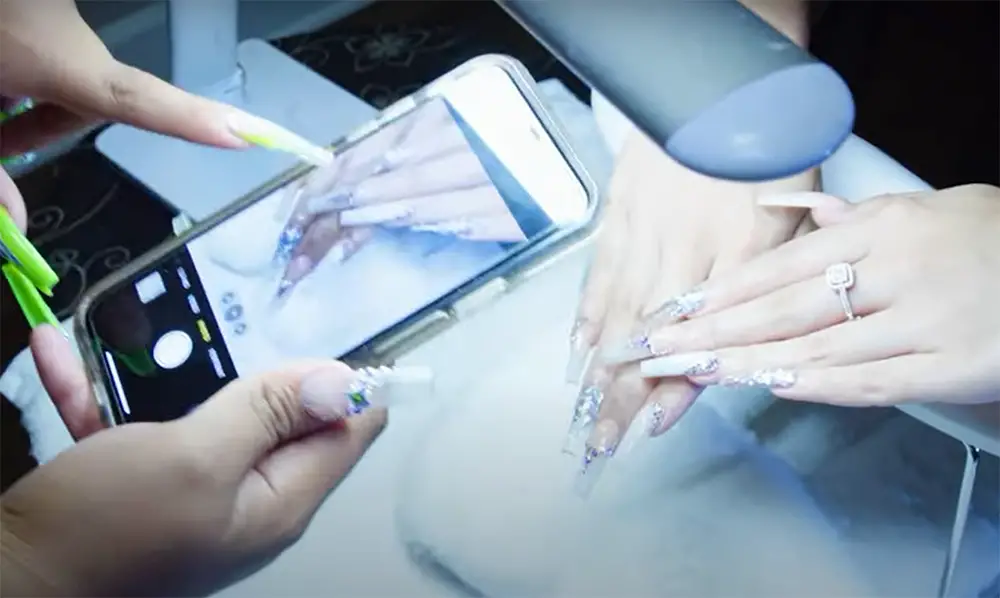
Once you’ve found the perfect spot for taking pictures of your nails, it’s time to focus on getting the right angle. For the best results, hold your hand close to the camera and slightly below it so that your nails are in focus but your fingers aren’t blocking too much of the shot. Experiment until you find the angle that works best for you.
To make that nail design stand out, think about your composition. The simplest method to get your composition correct is to position your hand in the center of the photograph with the focus point on the middle fingernail. Nevertheless, if you use the guideline of thirds and place your main subject, such as a nail, in the lower right or left corner, your pictures will be more interesting [2].
3) Strike the pose
When it comes to posing for a nail photograph, there are some that are well-liked. The claw is a common stance. To be in this posture, the fingers needed to be flexed and folded in half, thus they resembled claws [3].
When you’re photographing a person’s nails, this is the position for you since it doesn’t need much expertise and your attention will be focused on the hands while they are being shot. Hold the fingers softly so that they do not become painful. You should stretch out their fingers as if you could blow on the nail polish to make it dry.
The next most popular position to show off the nails is to hold the nail polish bottle. This is a good position for close-ups or when you want to show off the color of the polish. The fingers need to be extended and slightly curled in. The thumb should not be seen in the photo.
Another pose that is easy to do is called “the hang loose”. This is when all the fingers are extended outwards and the palm is facing towards the camera. This look can be achieved by lying on your back with one arm above your head or by simply holding your hand up in front of you.
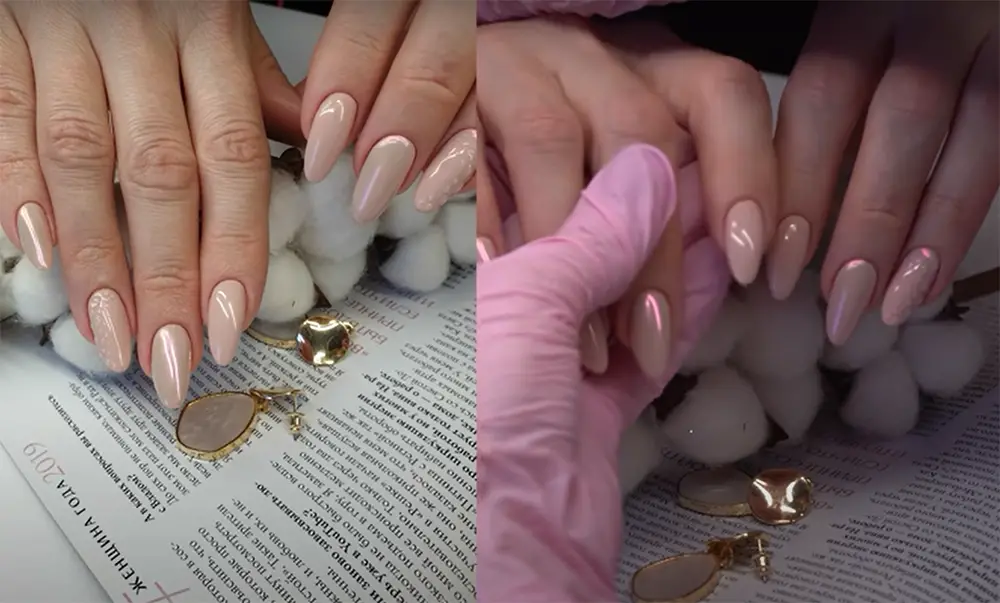
Another popular stance for photographing the nails is “hand over hand”. This posture is ideal if the nails are colored in different colors or have various patterns on them. This is a delicate and feminine posture. The palms are softly joined, with the nails placed flat in all of them. You may examine the many nail polish colors like this.
The “high-five” stance is a new position that has been catching on among bloggers and those who take professional pictures. To do this, you need to put your hand in a high-five position and then take the picture from above. This will show off the nails and the polish very well.
Lastly, is what we call “the natural”. In this position, the hand is just placed however it would be normally. The fingers are not contorted or posed in any way. This is good for close-ups or if you want to show off the whole hand in the shot.
4) Edit like a boss
Whether you’re shooting photos with an iPhone, a small digital camera, or a DSLR, editing can significantly improve them. It doesn’t have to be anything fancy; all you usually need to do is change the exposure, brightness, and saturation.
There are a number of ways to edit your photos. If you’re using an iPhone, the built-in Photos app has some basic editing tools. For more advanced editing, you can use apps like Snapseed or VSCO. If you’re using a small digital camera or a DSLR, you’ll need to transfer your photos to a computer before you can edit them. Once they’re on your computer, you can use photo-editing software like Adobe Lightroom or Photoshop.
5) Invest in great equipment
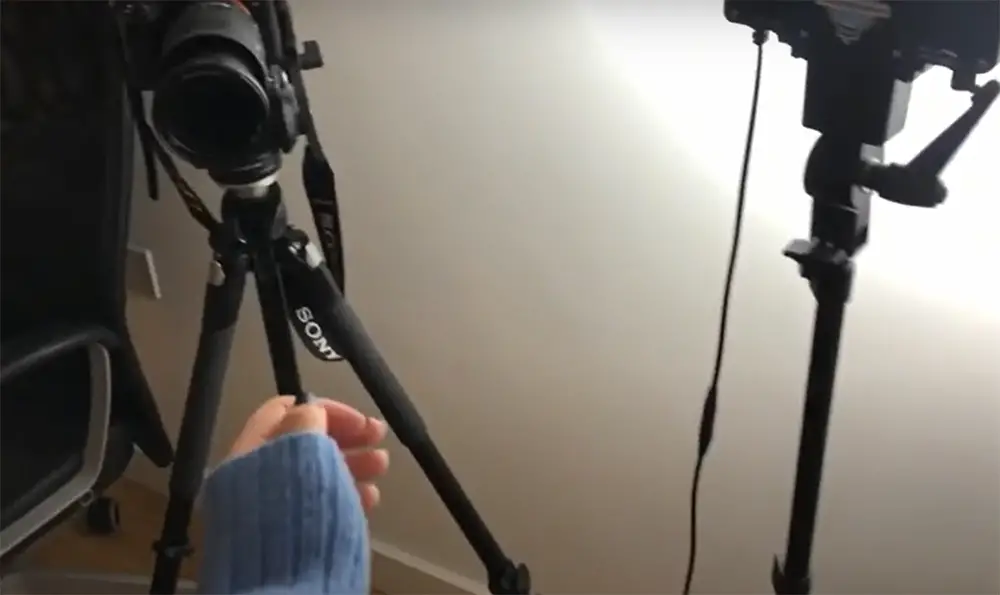
For example, you may use Canon EOS 600D which is good for beginners and amateurs, or Nikon D5300 if you are willing to spend a bit more money. If you want to take really great pictures, you can invest in a DSLR camera like the Canon EOS Rebel T100 or the Nikon D5600 [4].
Both of these cameras have advanced features that will allow you to take stunning photos.
Of course, taking great nail pictures isn’t just about having a good camera. It’s also important to know how to use it properly. However, investing in some quality equipment is definitely a step in the right direction.
6) Set up a special space for your nail photos
This doesn’t have to be anything fancy – a small table or desk will do. However, you’ll want to make sure the surface is clean and clutter-free. This will help your photos look their best.
If possible, set up your space near a window for natural light. Nevertheless, if that’s not an option, any kind of well-lit area will do. Just avoid direct sunlight, as it can create glare on your nails [5].
7) Take care of your hands before the photoshoot
Now that you have your space all set up, it’s time to prep your hands. Start by giving them a good wash – you’ll want them to be clean and free of any oils or lotions.
Once your hands are clean, gently push back your cuticles. This will help your nails look their best in the photos.
If you’re doing your own manicure, now is also the time to paint your nails. Choose a color that you love and that will photograph well. Once your nails are polished, let them dry completely before moving on to the next step.
When you’re ready to start taking pictures, place your hand on the surface in front of you. Make sure that your fingers are spread out and that your nails are visible. If you’re using a phone to take the photos, consider propping it up on a book or something similar. This will help you avoid any awkward angles.
8) Use a large aperture to focus completely on your nail art
The more narrow your aperture, the blurrier your backgrounds, and foregrounds will be. If you want to make your nail art in a blurry background stand out, use a lens that allows you to do so. Bear in mind that extremely big apertures, such as f/1.2, might make it tough to capture an entire hand in detail.
Choose an aperture that captures every detail you require without fading into the background depending on the subject of your shoot [6].
9) Don’t get too close to your nails to avoid distortion
Once you have your aperture set, it’s time to start taking pictures. However, before you start snapping away, there’s one important thing to keep in mind: don’t get too close to your nails.
10) Use a simple background to compliment your nail color
When it comes to the background of your photos, less is definitely more. A simple white or light-colored background will help your nails stand out and look their best.
If you’re using a phone to take pictures, you can create a simple background by tapping a piece of paper on the wall behind you. If you’re using a camera, consider investing in a small photography backdrop. These are relatively inexpensive and will make your life much easier when it comes time to take photos.
Once you have your background set up, place your hand on the surface in front of it. Make sure that your fingers are spread out and that your nails are visible.
Comparison of Nail Picture Quality using Different Techniques
Taking nail pictures is essential for those who love nail art or those who want to showcase their nails. But, it can be challenging to capture the perfect shot that displays the details of the nail design clearly. In this table, we will compare the nail picture quality using different techniques.
The table below compares the quality of nail pictures taken with different techniques. The indicators used to evaluate the quality of the nail pictures include image resolution, clarity, color accuracy, and overall quality. The techniques compared include using a smartphone camera, a DSLR camera, and a professional nail photography setup.
| Technique | Image Resolution (in megapixels) | Clarity (1-10 rating) | Color Accuracy (1-10 rating) | Overall Quality (1-10 rating) |
|---|---|---|---|---|
| Smartphone Camera | 12 | 6 | 5 | 6 |
| DSLR Camera | 24 | 9 | 8 | 9 |
| Professional Nail Photography Setup | 36 | 10 | 9 | 10 |
The results of the comparison show that using a professional nail photography setup provides the best quality nail pictures, with a 36-megapixel image resolution, and a perfect score of 10 for both clarity and overall quality. A DSLR camera also produces high-quality pictures, but not as good as the professional setup. Smartphone cameras, on the other hand, have limited image resolution and produce lower quality nail pictures. While using a smartphone camera may be convenient, it may not provide the best quality for those who want to showcase their nail art.
Overall, the table provides a useful guide for those who want to take high-quality nail pictures. It highlights the importance of investing in good equipment or seeking professional help to achieve the best results.
FAQ
How to edit nail photos?
There are a number of ways to edit your photos before you post them online.
If you’re using a smartphone, there are many free apps available that will allow you to crop, filter, and otherwise edit your photos. Some of our favorites include VSCO Cam, Afterlight, and Snapseed.
If you’re using a computer, most experts recommend using Adobe Photoshop Lightroom CC. It’s an easy-to-use program that has everything you need to make your photos look amazing.
Once you’ve edited your photos, it’s time to post them! Experts recommend using Instagram or Pinterest as they are both very visual platforms that work well for nail art pictures. You can also use Twitter or Facebook, but we find that the photos don’t always look as good on those platforms.
How to show off your nails in a picture?
A few things you can do to make sure your nails look their best in photos:
- First, make sure your nails are clean and well-groomed. This means no chipped polish, hangnails, or dirt under your nails;
- Second, use a top coat of clear polish to give your nails a nice shine. This will also help protect your manicure from smudging or chipping;
- Third, choose a flattering angle. Experts recommend holding your hand up close to the camera so that the focus is on your nails and not on the rest of your hand. You can also try taking pictures from different angles until you find one that you like;
- Finally, don’t be afraid to experiment! Try different filters, editing techniques, and poses until you find a style that you like;
What nail art to choose for your nail photos?
There are endless possibilities when it comes to nail art, so it can be tough to choose what to do for your photos. If you’re feeling stuck, nail experts recommend trying one of these three popular trends [7]:
- Negative space nails. This trend is all about clean lines and simple designs. To get the look, start with a nude or white base coat and then use a contrasting color to create geometric shapes or stripes;
- Matte nails. Matte polish has been gaining popularity in recent years, and there’s no better way to show off this trend than by taking some photos of your matte manicure! To get the look, simply apply a matte top coat over your regular polish;
- Glitter nails. Who doesn’t love a little bit of sparkle? Glitter nails are the perfect way to add some fun to your photos. To get the look, start with a base coat of glitter polish or use a top coat of glitter over your regular polish;
How to make nail photos look natural?
If you’re worried that your photos might look too staged or fake, there are a few things you can do to make them look more natural.
First, try taking pictures of your nails in different settings. For example, if you usually take pictures of your nails at home, try taking them out in nature or in front of interesting architecture. This will help add some variety to your photos.
Second, don’t be afraid to show off your personality in your photos. If you’re funny, include a funny caption with your photo. If you’re creative, experiment with different filters and editing techniques. The more unique your photos are, the more likely people are to engage with them!
Finally, remember that not every photo has to be perfect. Sometimes the best photos are the ones that are a little bit imperfect. Embrace your inner perfectionist and don’t be afraid to experiment!
What are some tips for taking good nail pictures?
One of the best ways to show off your fabulous nails is by taking pictures of them! But if you’ve never taken a picture of your nails before, it can seem daunting. Here are some tips to help you get started:
- Use a solid background: A busy pattern can be distracting. Instead, opt for a solid color that will complement your nails.
- Make sure your nails are clean and filed: This will help them look their best.
- Use natural light whenever possible: It will make your nails look more vibrant.
- Take close-ups to show off the details: Your camera doesn’t have to be super fancy. Even a simple smartphone camera can take great pictures if you get up close.
- Experiment with different angles: Try taking pictures from above, below, or the side to get different perspectives.
- Use props to add interest: Adding some jewelry or flowers can really make your nails pop!
How to pose your nails for pictures?
Pose your nails by holding your hand out in front of you, or at a slight angle to the camera. Make sure all your nails are in view and nicely manicured. You can use props such as jewelry or flowers to add interest to your photos. Experiment with different lighting conditions to see what works best for photographing your nails. Take lots of pictures and have fun!
How do you hold your hand for nail pictures?
The answer is: it depends on the type of shot you’re going for. If you want a close-up of your nails, you’ll need to hold your hand close to the camera. But if you’re looking for a more creative shot, try holding your hand in different positions or angles.
And don’t forget about the lighting! Natural light is always best, but if you’re taking pictures indoors, make sure there’s enough light so your nails don’t look dark or blurry. Experiment with different lighting until you find what works best for you.
How do you get worthy nails on Instagram?
First of all, make sure your nails are clean and presentable. You can use a base coat to even out your nail color and give it a nice finish. Secondly, take pictures of your nails in different angles so that people can see them from different perspectives. Try using natural lighting whenever possible for the best results. Finally, don’t forget to edit your photos before posting them online! Add filters or other effects to make them look even more amazing.
How do you edit your nail pictures on Instagram?
There are a few ways that you can edit your nail pictures on Instagram. One way is to use the built-in filters that Instagram offers. Another way is to use a third-party app like VSCO or Afterlight.
If you want to get really creative with your nail pictures, you can also use Photoshop or another photo editing software. This will allow you to make more detailed edits and really change the look of your nails.
No matter how you edit your nail pictures, the most important thing is that you have fun and experiment with different looks! Try out different filters and editing techniques until you find something that works for you. Don’t be afraid to try something new!
What app puts nail polish on pictures?
You can find a number of apps that can help you add nail polish to your pictures. One option is Nail Polish Camera, which offers a variety of colors and styles to choose from. Another option is the Nail Art app, which lets you create custom designs. Or, if you want something simpler, try the Paint My Nails app, which allows you to paint your nails in any color you like.
Once you’ve selected an app, open it up and select the photo you want to edit. Then, just follow the instructions on how to add nail polish to your picture. In most cases, it’s as simple as selecting the color and painting your nails with it. After that, just save your edited photo and you’re all done!
With these apps, you can easily add nail polish to any picture, whether it’s a selfie or a photo of your friends. So go ahead and give it a try! Who knows, you might just end up with some amazing nail art.
What should people avoid when taking pictures of their nails?
When taking pictures of your nails, avoid using a flash. The flash can cause the polish to appear streaky and can also create shadows that make the nails look uneven. Instead, try natural light or artificial light sources that are diffused.
Another tip is to use a plain background. A busy background can be distracting and take away from the overall look of the nails. Try a white or neutral colored background for best results. Finally, make sure the nails are clean and free of any debris before taking the picture. Having clean nails will help them look their best in photos!
Is there anything nervous about photographing nails?
Of course! Here are some tips:
- Use a solid background. A sheet of white paper or poster board works great.
- Place your hand on the background so that the nails are visible and in focus.
- Use natural light if possible. If you must use a flash, position it directly above the camera lens. Bounce the light off a nearby wall to soften it.
- Experiment with different angles and compositions. Get close up for detailed shots, or step back for more dramatic images.
With these tips in mind, you’re ready to start taking amazing nail pictures! So go grab your camera and get started!
Useful Video: How to Take Pictures of Nails
References:
- https://sonailicious.com/how-to-take-nail-photos/
- https://sonailicious.com/how-to-take-nail-photos/
- https://www.brokemynail.com/guide-to-nail-photography/
- https://sonailicious.com/how-to-take-nail-photos/
- https://professionalbeauty.co.uk/site/newsdetails/5-tips-to-take-better-nail-pictures-20200310164046
- https://expertphotography.com/nail-photography/
- https://www.glamourmagazine.co.uk/gallery/nail-designs-ideas