Do you want to find a creative way to preserve memories while having an enjoyable experience? Look no further than the Instax Mini 8! It has been gaining in popularity over recent years, with many people wanting to know more about how to use it. We’ll provide all the necessary information, as well as some useful tips and tricks, so you can get the most out of your Mini.
How to Set Up Instax Mini 8 For The First Time
Setting up your Mini is easy and only takes a few steps. Here’s what you need to do.
1. Load The Batteries
Before you can start using your Mini 8, you need to load the batteries.
Open the battery compartment by pressing down on the latch and then lifting it up. Insert two AA batteries, paying attention to their orientation, and then close the battery compartment.
2. Load The Instax Mini Film into the Mini 8
Make sure the back cover of your camera is open and then insert a film pack into the side of the camera. Push down until you hear a clicking sound and then close the back cover.
3. Turning On The Camera
To turn on the Mini 8, just press the power button. You’ll see a small light next to the power button when your camera is turned on.
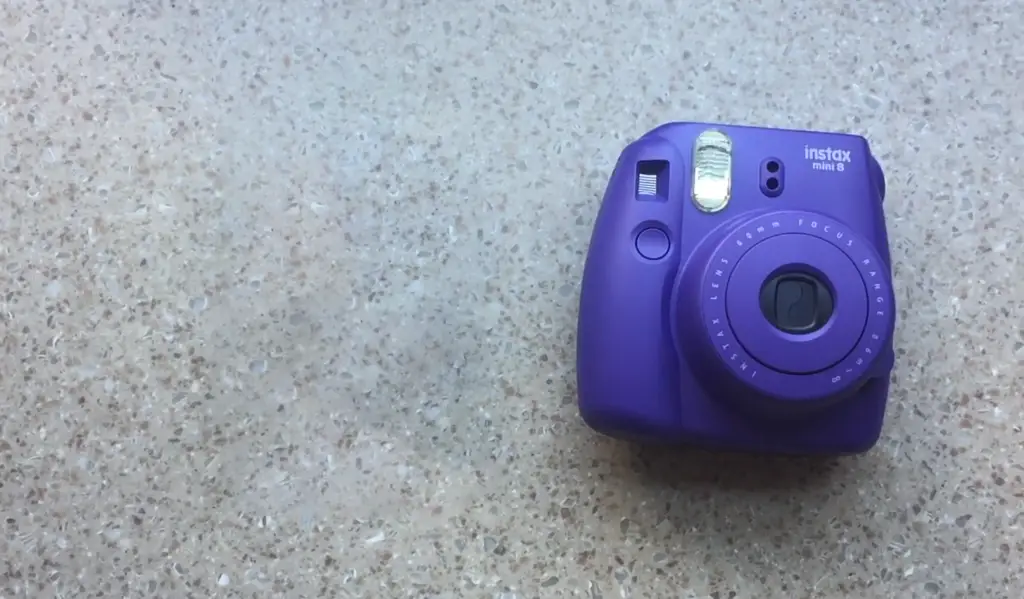
4. Adjust the Exposure
The Mini 8 has an adjustable exposure control dial that allows you to choose the right amount of light for your photos. To adjust the exposure, simply turn the dial until you’ve reached the desired setting.
5. Shooting Photos
Now it’s time to start shooting photos! Once you’ve framed the shot, press the shutter button all the way down to take a photo. [1]
With these simple steps, you’re well on your way to capturing beautiful memories.
What Film Does the Instax Mini 8 Use?
The Mini 8 uses Fujifilm Instax Mini instant film. These cartridges come with ten exposures which you can see through the window on the side of the camera. This film is widely available online and in camera stores everywhere.
Loading your film is quick and easy. First, ensure the camera is turned off by pressing and holding down the power button for a few seconds until you hear a beep sound. Then, open up the back cover of your camera. You will find a place to insert your cartridge of film inside with an orange tab that says “OPEN”. Slide this tab open, inserting your cartridge into the camera until you hear a click. At this point, you can close the back cover and turn your Mini on by pressing the power button again. The film should now be ready for use!
Tips After Setting Up Instax Mini 8
It’s time to start snapping away! Here are some tips:
- Understand how to use the flash correctly. The automatic flash will fire when there’s insufficient light and can be turned off if desired. Make sure you understand how to turn on/off the flash before taking any photos.
- Learn how to adjust brightness levels as needed for different lighting situations. Each situation is unique and finding the right balance between exposure and brightness can make a difference in your final photo quality.
- Experiment with different positions and angles when taking photos, so that each time you shoot, the result is unique.
- Be mindful of your lens angle and distance when taking selfies or group photos. You want to make sure everyone fits in the frame without having to squish together!
- Try out different lenses for different effects. Use a wide-angle lens and fisheye lens for a more interesting photo experience.
- Have fun with it! The best way to get great photos with a Mini is to just have fun with it – experiment and enjoy yourself while capturing truly unique moments on film! Enjoy! [2]
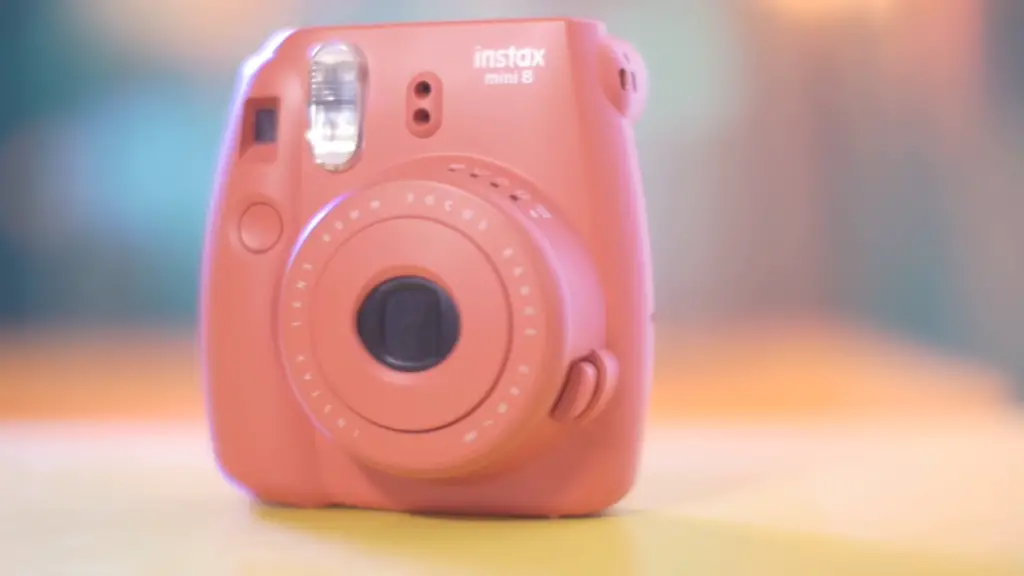
Don’t Open The Back Cover in Direct Sunlight
Avoid damaging the Mini 8, and do not open the back cover when in direct sunlight. Doing so can damage your film and cause it to get too hot or melt. It’s best to use your camera indoors or in a well-lit area that isn’t exposed to direct sunlight. This also applies when you’re loading new film into the camera; ensure you don’t expose it directly to sun rays while you’re doing this!
The Maximum Flash Range of the Instax Mini 8
The Mini 8 has an impressive maximum flash range of up to around 1.97 ft to 8.86 ft, allowing it to take pictures in a variety of environments and lighting conditions. When the camera’s flash is activated, it will automatically adjust its exposure settings for optimal results. To ensure you get the best possible shot, be sure to keep your subject within the recommended range when using the flash. Additionally, the flash will not be activated if your subject is outside of this range, so it’s important to keep this in mind when shooting. [3]
Tips for Using The Mini 8 Flash
When using the flash, it’s important to remember a few tips:
- Make sure that your subject is between 1.97 ft and 8.86 ft away from the camera; otherwise, the flash will not activate!
- Try to keep your subject as close to the middle of the frame as possible for the best results.
- Avoid taking pictures in direct sunlight or bright artificial light sources such as lamps or overhead lighting fixtures as these can wash out your photo.
- Move around to find the best angle for your shot; don’t just rely on the flash to get a good shot.
- Experiment with different angles and distances to see what works best for you and your subject!
Don’t Cover the Sensors of Mini 8
When you first get your Mini 8, it can be tempting to cover the sensors. After all, no one wants their camera to get dust or dirt on it. However, covering the sensors of the Mini 8 can actually do more harm than good. If you cover the sensors, it will not allow them to react and adjust as needed based on lighting conditions which can lead to blurred pictures or underexposed photos. So make sure that you don’t ever cover the sensors with anything!
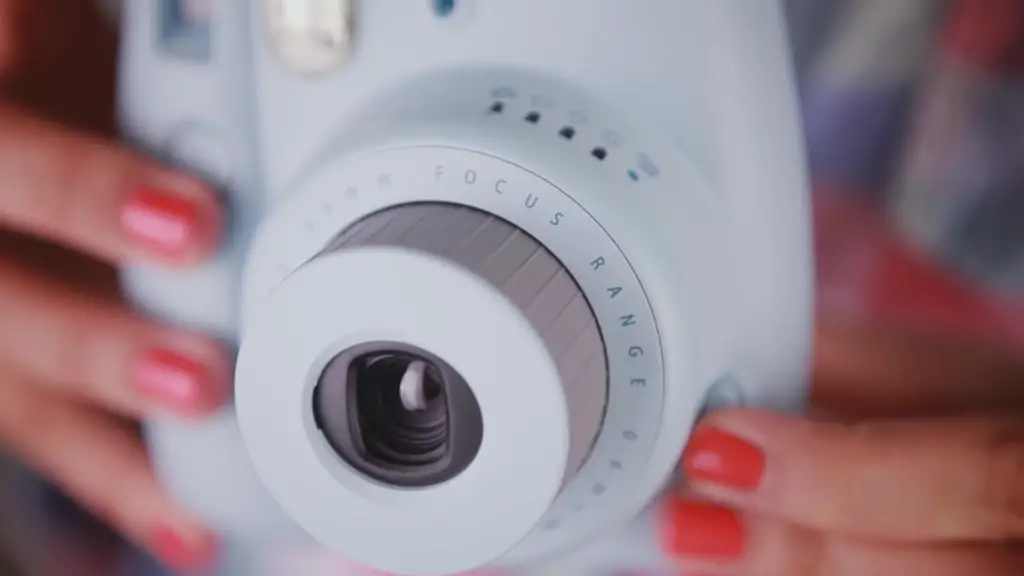
Taking care of your Mini 8 is important, and following these few simple tips will help to ensure that you get the best possible photos each and every time. So keep these in mind when using your camera for making memories!
How to Use a Polaroid Camera Like the Instax Mini
Using a Polaroid camera can be one of the most rewarding experiences when it comes to capturing memories. The ease and simplicity associated with these cameras make them great for amateur and professional photographers alike. The Mini 8 is one of the most popular Polaroid cameras, so here’s our guide on how to use it like a pro!
How to Use the Instax Mini Self Timer?
Using the self-timer on Mini 8 is very easy. To activate it, press the Timer button on the back of the camera. You’ll then be able to choose from 2 seconds or 10 seconds when you’re ready to take your photo.
When you press the shutter button after activating the self-timer, a light will blink and count down until your picture is taken. This allows you to get into position for perfect selfies or group shots!
It’s also important to note that using flash with the self-timer will increase how long it takes for your photo to be taken. If you plan on using flash frequently, make sure to set up your shot before activating the self-timer.
The Mini 8 also has an auto power-off feature that will turn your camera off after 5 minutes of inactivity, so it’s important to press the shutter button before the timer runs out!
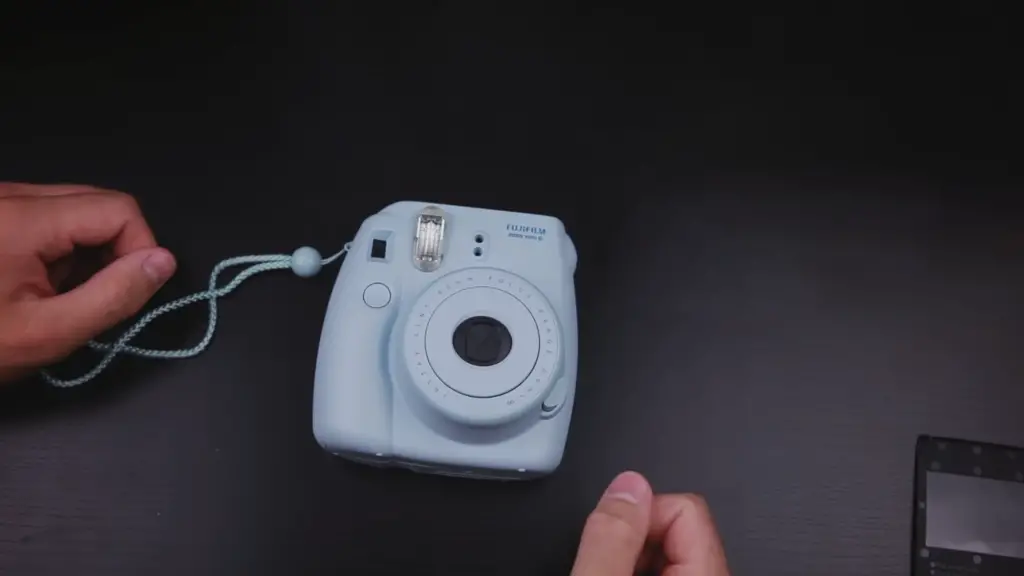
Tips for Taking Great Pictures with Your Fujifilm Instax Mini Camera
- Use the flash – When taking pictures with your Instax Mini camera, you should always use the built-in flash. This will help to properly expose your photos and prevent them from being too dark or blurry.
- Adjust the brightness setting – Depending on where you’re taking photos, you may need to adjust the brightness settings on your Instax Mini camera so that it takes better images in brighter or darker environments. To do this, simply press and hold the button labeled “Brightness” until a light appears next to one of the five dots located underneath it. The more dots lit up, the brighter your photo will be.
- Change perspectives – Changing your perspective when taking photos can create some unique and interesting shots. For example, try shooting from a low angle or a high angle to capture different perspectives in the same scene.
- Use the selfie mirror – Instax Mini cameras are equipped with a tiny self-portrait mirror located near the lens so that you can take better selfies. Simply glance into it before taking your photo and adjust your position accordingly for a great selfie shot.
- Experiment with filters – Your Instax Mini camera has several filters available for use when taking pictures, such as black & white, sepia, and fisheye lenses. Play around with them to see what kind of effect they have on your photos and find out which one captures the image that you’re looking for.
Find good lighting
The Mini 8 needs good lighting to capture the best photos. You should try to find a place with natural light, such as near a window or outdoors. If you’re shooting indoors, consider investing in some brighter bulbs for better pics. Be careful not to use too much flash, though – it can create overexposed images and washed out colors! Also make sure that your background is well lit – dark backgrounds will look muddy and flat on the pictures.
Try experimenting with different light sources and setups until you find one that works for you! Once you’ve found the perfect spot to take your pics, you’ll be ready to start snapping away!
Don’t stand too close or too far from your subject
The distance between you and your subject is important. Make sure to stand at least 2 feet away from your subject (or more depending on the size of the person or object) and no more than 10 feet away. Taking pictures too far away will result in a blurry image while being too close can cause distortion. To ensure the best quality photos possible, practice standing at different distances to see what works best.
Also be sure that there’s no background clutter that could distract from your photograph. If there are objects in the background, have them repositioned or move them out of frame before shooting. This way you’ll make sure that nothing detracts from the subject of your photograph.
Play around with the suggested brightness setting
Once you have inserted the batteries and film, it is time to play around with the settings. Before taking a photo, you can make adjustments to the brightness level. There are three options: dark, normal, and bright. Depending on the type of photograph you want to create – natural or artistic – choose between these three options by pressing the “brightness” button located at the back corner of your Instax Mini 8. If you don’t know which setting to use, take some test shots with each option until you find one that works! You can also try experimenting with different types of lighting and different angles – this will help give your photos a unique spin.
How to Use the Instax Mini 8 – Important Tips
It’s easy to get started with your Mini 8 camera. After following the setup instructions, you’ll be ready to go. Before jumping in, here are some important tips to keep in mind for using this fun and versatile camera.
Flash
The flash is an important part of capturing the best images. The “Auto” setting will adjust to the conditions you’re shooting in, or you can manually select one of five different levels from “Weak Flash” to “Strong Flash.” To use the flash, make sure it’s turned on by pressing the Flash button at the top of your camera.
Distance
The Instax Mini 8 has a range of 0.6m to 3m, so make sure you’re standing at least 0.6m away from your subject for best results. If you’re shooting in low light or at night, distance isn’t as important since the flash will give off enough light to get a good shot no matter how close or far away you are.
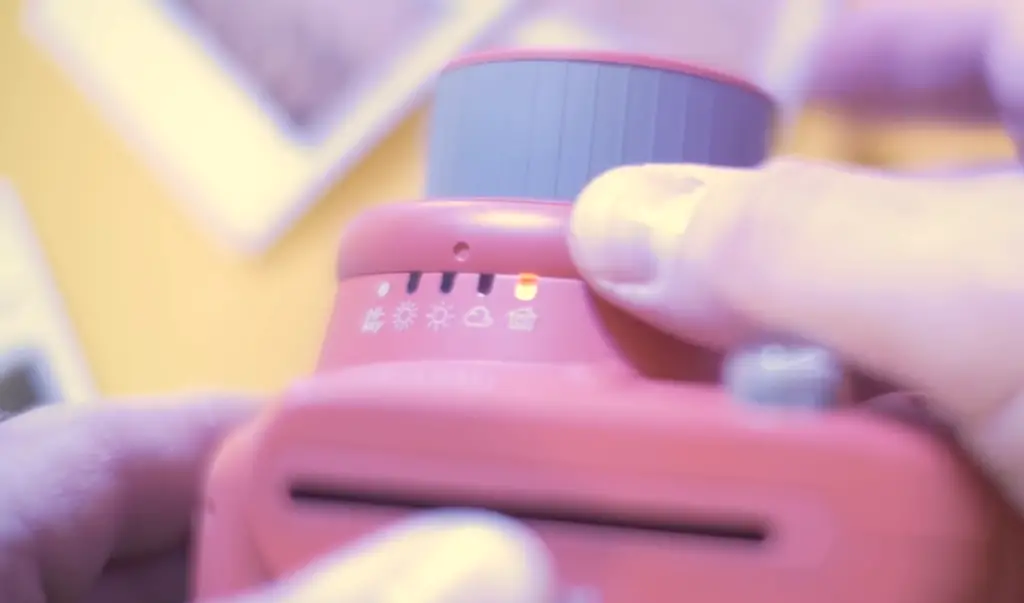
Exposure Sensing and Setting
The Instax Mini 8 has an adjustable exposure control. This function helps lighten or darken the image depending on how you set it. To adjust the exposure, press the “+” button until you get your desired effect.
Film Handling
Always handle your film carefully and store it in a cool, dry place. When inserting the film pack into your camera, make sure that the yellow line on the back of the cartridge is oriented toward you.
Try the Camera
Now that you’ve read up on some tips for using your Mini 8, it’s time to try it out! With practice and by following these steps, you’ll be able to take beautiful photos with your new camera.
FAQ
How do I take good pictures with my Instax Mini 8?
The Instax Mini 8 is an easy-to-use camera that captures instant photos with a simple point and shoot method. To take the best pictures possible, here are some tips:
- Make sure you have enough light. The Mini 8 works best in bright lighting conditions – if it’s too dark or overly contrasted, the picture quality may not be as good.
- Use the right settings for your subject matter. Depending on what you’re shooting, make sure to adjust the lens focus (close up or far away) and pick the right brightness setting for your environment (indoor/outdoor).
- Experiment with angles and perspectives! Get creative to capture unique moments – you might be surprised at the results.
- Keep your hand steady and avoid shaking when taking pictures. This will help keep the image clear and crisp.
- Have fun! Mini 8 is a great camera to take on the go, so explore different locations and take lots of photos!
How do you turn on the Instax Mini 8?
Turning on the Instax Mini 8 is an easy task. Just make sure that you have a charged battery and an installed film cartridge. On the left side of the camera, you’ll find a switch with two positions – “ON” and “OFF”. Slide it down to turn your camera on. Once the power is turned on, a green light will flash indicating that your camera is ready to use.
If you want to check how many photos are left in your film cartridge, press the button near the viewfinder window once. The number of remaining shots will blink on and off in LED format. You’re now ready to take some awesome pictures! [4]
Why is the film not coming out of my Instax Mini 8?
It’s possible that the film isn’t coming out of your Instax Mini 8 because it doesn’t have a new cartridge inserted. Make sure to check that you’ve loaded a new cartridge and that it’s securely in place – if the cartrige is incorrectly inserted, then there won’t be enough pressure to release the film.
If there is indeed a new cartridge inserted but the film still isn’t being released, try pressing down firmly on the back cover for around 10 seconds before releasing. This should force the mechanism to start working again.
You may also want to check whether any components of the camera are blocked as this can cause issues with printing photos. Check each part of your Instax Mini 8 and make sure that there isn’t any dust, dirt blocking the film’s path.
If none of the above resolve your issue, it may be time to call in a professional technician to take a closer look at your camera. It could be that there is an internal problem which needs attention from someone with experience in this area.
How do I know if my Instax Mini 8 has film?
One of the most important things to check when using your Instax Mini 8 is if you have enough film. The good news is that it’s easy to tell! On the back, there is a small window that will light up with LED lights when there is still film left in the camera. If all LEDs are lit then you still have plenty of shots left before needing to replace the film. However, if one or more of those balloons are missing then you should replace your film soon.
The LED lights can also alert you if something isn’t right with your camera itself. For example, if one LED is flashing and none are lit then this signals an error and you will need to check your camera manual for troubleshooting instructions. [5]
If you’re unsure if your camera has enough film or needs maintenance, make sure to check the LED lights before continuing with any photography projects!
Useful Video: How to Use an Instax Mini Camera
Conclusion
The Instax Mini 8 is a great camera for those who are looking to capture fun and unique memories. With its impressive range of features, it’s easy to customize your photos with this model. The best part about the Instax Mini 8 is how user-friendly and straightforward it is — just point and shoot! Whether you’re an aspiring photographer or just need some fun snaps for your family album, the Instax Mini 8 is sure to become your favorite camera in no time. Happy shooting!
References
- https://thephotographyprofessor.com/how-do-you-use-a-fujifilm-instax-mini-8/
- https://instantcamerablog.com/tips-and-tricks/instax-mini-8-loading-film/
- https://www.adorama.com/alc/how-to-use-the-fujifilm-instax-8-everything-you-need-to-know/
- https://instantcamerablog.com/tips-and-tricks/how-to-turn-on-off-instax-mini-8-mini-9/
- https://danfinnen.com/article/how-to-use-the-fuji-instax-mini-8-or-9-instant-film-camera-a-beginners-guide/



Leave a Reply