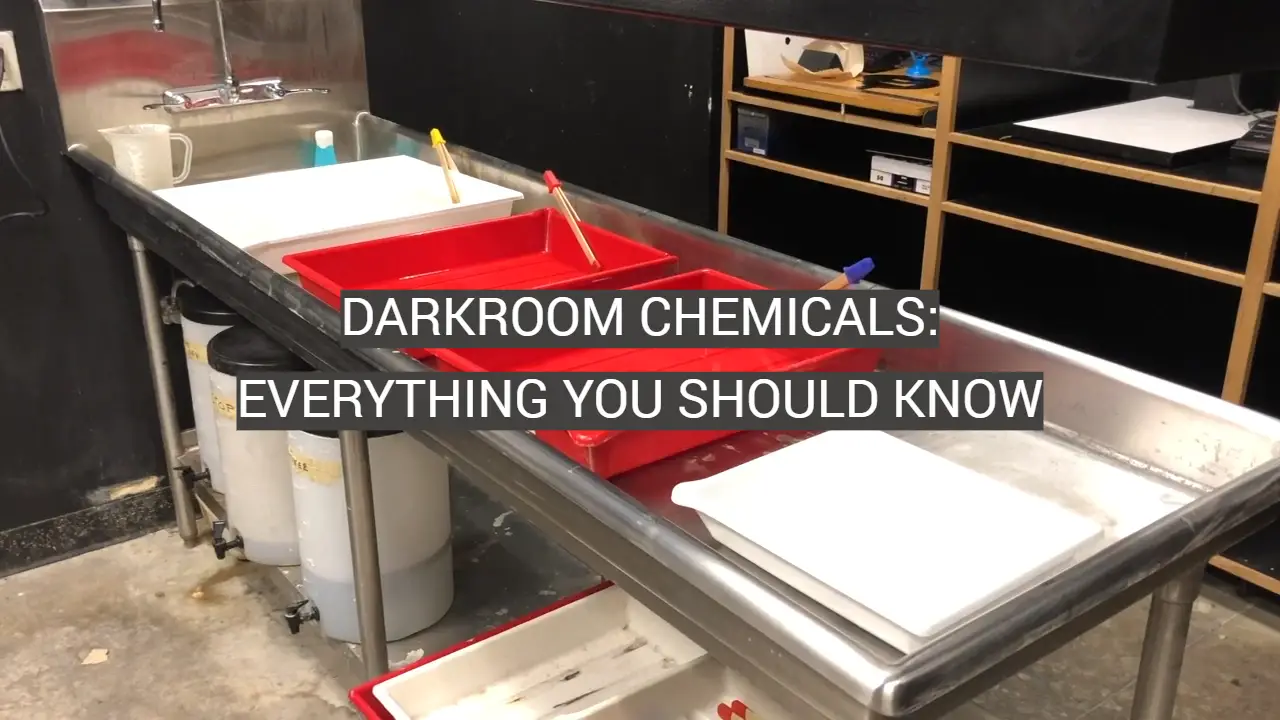
Have you ever wandered the depths of a darkroom and marveled at the mysterious magic within? While some of the processes may seem arcane, understanding the role that different chemicals play is essential for creating prints with optimal quality. In this comprehensive guide, we’ll explore the essential elements of darkroom chemicals and provide useful tips on how to use them in order to get amazing results.
What Three Chemicals Are Used in the Darkroom?
The three main chemicals used in the darkroom are developer, stop bath and fixer.
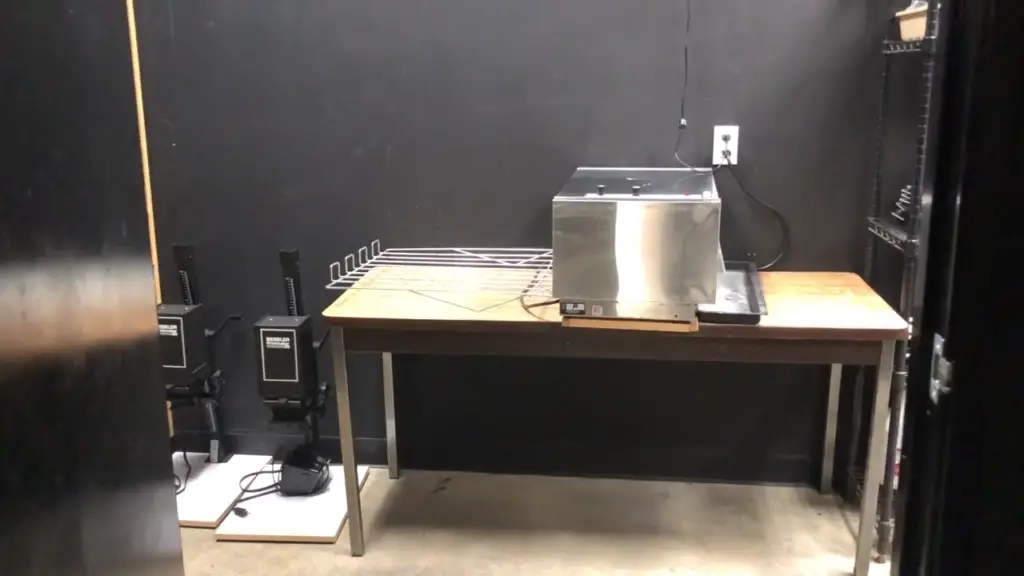
Developer: Starting the Process
The most important chemical is the developer, also known as an activator or reducer. It activates light-sensitive silver halide crystals on the paper, converting them into metallic silver and making the latent image visible. It also controls contrast and can be used to increase or decrease it depending on your print’s desired outcome.
Stop Bath: Halting Development
The stop bath is an acid-based solution that stops the development process as soon as it’s applied to the exposed paper. This helps reduce overdevelopment which can lead to a muddy black print that lacks detail and contrast. Stop bath also neutralizes any residual developer left on the paper before you apply the fixer, preventing it from affecting your print negatively.
Fixer: Making Your Print Permanent
The last chemical used in darkroom printing is a fixer, also known as a stabilizer or hardener. Its job is to remove any remaining silver halide crystals from the paper, making your image permanent and preventing it from fading over time. Fixer also helps reduce static electricity build-up, improving drying times, and it can be used in combination with various toners for special effects like sepia tones. [1]
Using these three chemicals correctly will help you create quality prints that accurately reflect your vision. With practice and experimentation, you’ll gain an understanding of how each chemical works together to produce the desired result. Paying attention to details like mixing ratios, exposure times and temperature control are key elements in creating successful prints.
Black and White Developers
The black and white developer is an essential part of the darkroom process. It is used to convert the exposed film into a visible negative image. The two most popular B/W developers are Kodak D-76 and Ilford ID-11, both of which have been around for decades and are trusted by many experienced darkroom photographers.
Kodak D-76 is a dilute developer that’s designed for standard development times of 8 minutes or less at 20°C (68°F). It produces images with good contrast and sharpness, but some users may find it to be too slow for their needs.
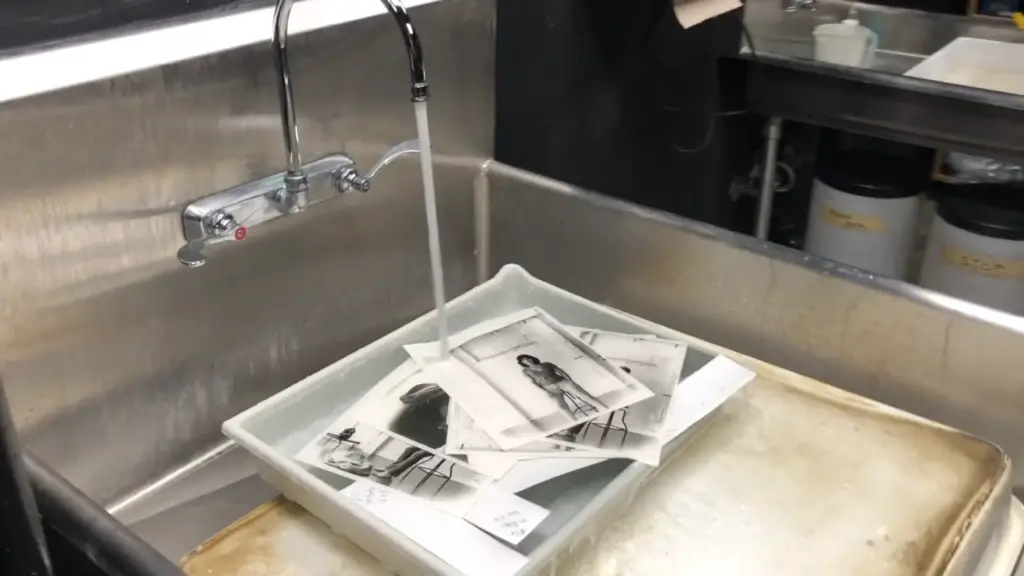
Ilford ID-11 is a more active developer that can produce faster developing times than Kodak D-76. It is better suited for high-speed films and long exposures, but some users may find it to be too strong for their needs.
When choosing a developer, it’s important to consider the type of film being used as well as the desired developing time. It’s also important to always follow manufacturer instructions. Safety should always come first!
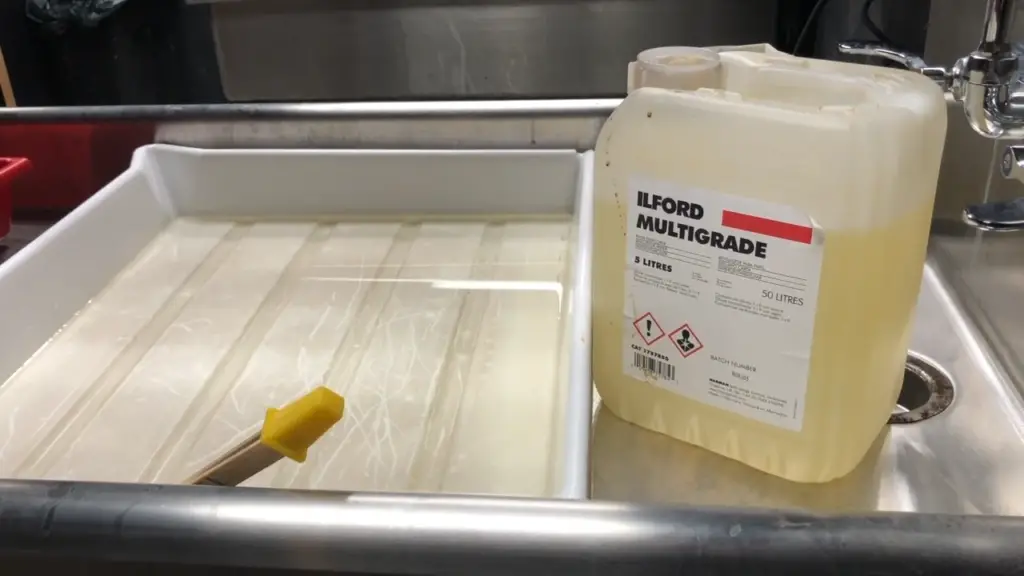
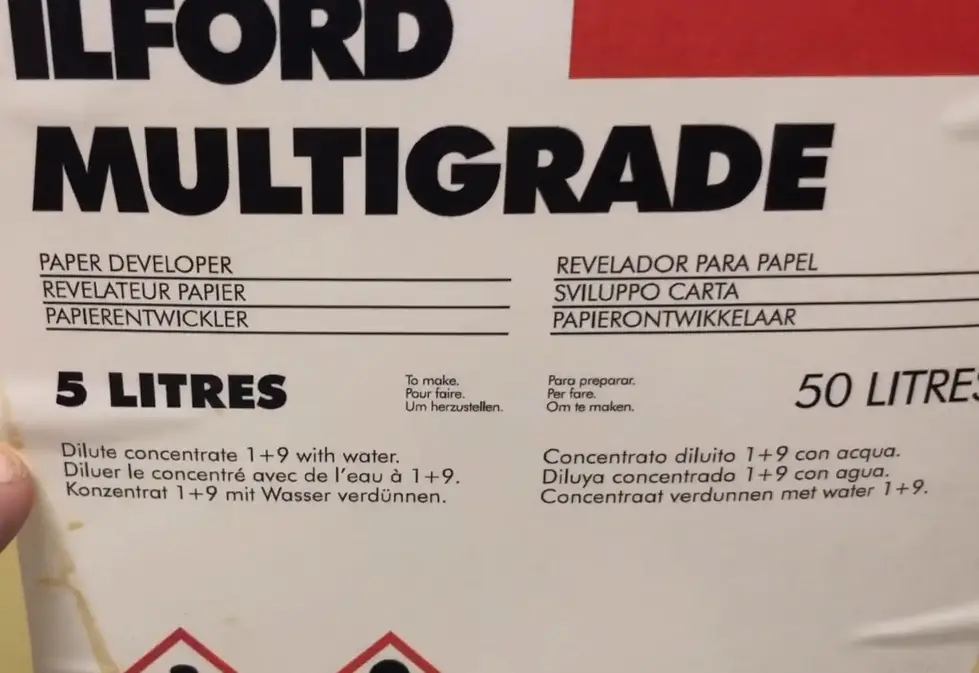
There are many other types of B/W developers available on the market today. Some of these include Kodak HC-110, Ilford Multigrade, Df96 Monobath, Pyrocat HD, and Rodinal. Each one has its own set of advantages and drawbacks that should be considered when making a decision. [2]
Store all darkroom chemicals in a cool, dry location and ensure they are kept away from direct sunlight. They should also be used within the recommended expiration dates and never be mixed with other chemicals unless specifically instructed by the manufacturer.
Other Darkroom Chemicals
In addition to the chemicals mentioned above, there are other products you may want to consider when setting up your darkroom. These include: stop bath, activator, sensitometer developer, toners, film cleaner and fixer. Stop bath is a liquid that stops the development process of photographic paper during processing. Activator helps to activate the development process in photography chemistry formulas. A sensitometer developer is used for testing the light sensitivity of photographic paper or films and can be used with particular developers such as D-76 or Dektol. Toners are used for changing the color of prints after development and are available in different shades including cyan, magenta and yellow. Film cleaner is used to clean exposed films before developing them while fixer stabilizes the image on the film or paper after development.
Photo-flo
Photo-flo is a special darkroom additive that creates streak-free photos and helps with the drying process. It can be added to all types of photographic solutions and when used, prevents water droplets from forming on the surface of prints or film while washing them in a darkroom. Photo-flo also reduces static electricity which can cause dust particles to stick to your processed photos during drying. Finally, it can help reduce drying time by enabling the water droplets to form into larger drops and roll off the surface more quickly. All in all, using photo-flo will help keep your photographs clean and dust-free!
Washing Aid / Hypo-Clear
Washing aid, also known as hypo-clear, is a concentrated solution that helps to reduce the overall washing time of prints in the darkroom. It works by breaking down the silver halide on exposed photos during processing and increases their ability to absorb water. This means that when they are washed afterwards, they will need less time for all the chemicals to be rinsed away. Washing aid can help speed up your darkroom processing significantly!
Bleach and Fixer
Bleach and fixer (sometimes referred to as blix) is a combination of chemicals used specifically for color film processing. It contains both a bleach and a fixer and they work together to remove the silver halides from exposed films, leaving them with the correct colors that you want in your prints. The bleaching action also helps with fading and other unwanted features during development. Bleaching and fixing will help you get the best results possible from your photos!
Photo Emulsion Cleaner
It is a must-have after darkroom work. It helps to remove any residual chemicals that may have been left on the film or paper after processing and can be used both before and after washing. Photo emulsion cleaner will help you keep your darkroom safe and clean!
Hypo-Check To Check Fixer
Hypo-check is a simple way to make sure that the fixer you are using in your darkroom is at the right concentration. Hypo-check consists of testing strips which react with different concentrations of hypo (fixing agent) when dipped into processing solutions. This allows you to quickly check whether your fixer is at the correct level, so you can adjust it if needed. It’s an essential tool for any darkroom user!
Setting up a darkroom and understanding all the chemicals and processes involved can seem daunting, but with this knowledge, you will be able to get great results from your prints every time!
Eco-Friendly & Low Toxicity Darkroom Chemicals
One of the most important things to look for in darkroom chemicals is eco-friendliness and low toxicity. In our modern world, it is important to take steps towards protecting the environment, as well as keeping yourself safe while developing photos. Luckily, there are a number of chemical products available on the market that are designed with these considerations in mind.
When selecting chemicals for your darkroom, try to find ones that have been specifically created with environmental concerns in mind. Look for manufacturers who offer products that contain fewer hazardous materials and don’t release toxic fumes into the air. Also make sure they don’t have any harsh or dangerous ingredients like chlorine or lead.
Additionally, you should always carefully read and follow the instructions for storage, handling, and disposal of any chemicals you use. Many products come with warnings about potential toxicity if they are not used as directed, so following each manufacturer’s directions is key to keeping your darkroom safe and eco-friendly.
Overall, you don’t have to sacrifice quality in order to find safer darkroom chemicals. With a bit of research, you can easily find chemical solutions that are both effective and kinder to the environment. By taking these steps towards sustainability, you can develop photos while also protecting our planet!
The Dangers of Darkroom Chemicals
Using darkroom chemicals is often essential to developing film and prints, however they can be dangerous if not handled correctly. Before using any type of chemical in a darkroom, you should make sure that you are familiar with the correct safety procedures and wearing protective clothing such as gloves, masks, and aprons.
Some of the common dangers associated with darkroom chemicals include skin irritation or burns from contact with strong acids or alkalis; inhalation of hazardous vapors; and eye irritation or damage caused by contact with powdered chemicals. Long-term exposure may also increase the risk of cancer due to certain materials used in photography processing.
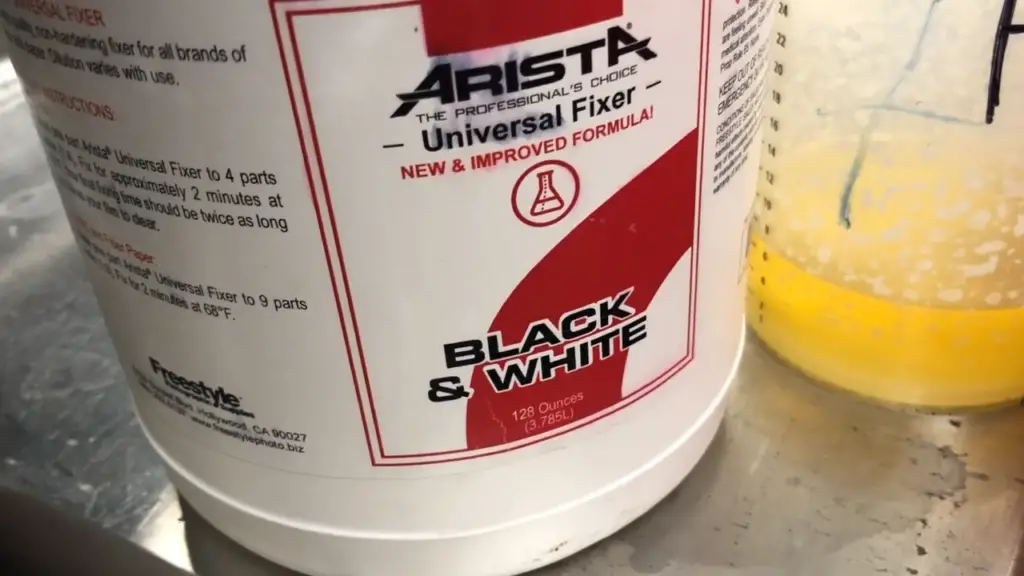
To reduce the risk of harm when using these chemicals, it’s important to read the product labels carefully and to take appropriate safety precautions. Additionally, it’s a good idea to research any potential hazards before using a new chemical in order to be aware of potential risks.
Finally, it is also important to store chemicals properly and away from sources of heat or ignition such as light bulbs. This will help ensure that there are no accidents when handling these potentially dangerous materials.
Powder Vs. Liquid Darkroom Chemicals
When it comes to darkroom chemicals, you have two main options: powder and liquid. Each has its advantages and disadvantages, so take some time to research your specific needs before deciding which one is best for you.
Powder darkroom chemicals are a popular option because they tend to be more affordable than their liquid counterparts. Additionally, powder versions usually last longer than liquid ones as they don’t spoil or go bad after being opened. However, powder solutions can be difficult to mix correctly and may need frequent stirring or agitation in order to stay active during processing.
Liquid darkroom chemicals are also quite popular due to their ease of use – simply pour them into your tank or tray and you’re good to go!
They also often provide more consistent results, and some solutions are premixed to make your life even easier. The downside of liquid chemicals is that they can be expensive, and have a shorter shelf-life; you must use all the solution you’ve opened within a certain period of time or else it will spoil.
How to Mix Powder Darkroom Chemicals?
Mixing powder darkroom chemicals can be a daunting task for those new to the darkroom. The process involves carefully measuring out and combining precise quantities of each chemical in order to produce a usable solution. Fortunately, there are some simple steps you can take that will help make this procedure easier and more successful.
- First, read the label on each container of chemical before beginning your mixing process. Make sure that all of your ingredients are fresh, and check the expiration date if one is given. Also, familiarize yourself with the safety precautions listed on the packaging – many of these products contain powerful acids or alkalis that need to be handled properly in order to avoid serious harm.
- Next, measure each individual component using a precise set of scales. It’s important to get the proportions right, as this will affect the final product. Most instructions will tell you how much of each ingredient is needed in order to create a usable solution.
- Once all of your ingredients are measured, combine them into an appropriate container and mix them together using a stirring rod or spoon. Be patient and take your time – make sure that everything has been thoroughly blended before moving on to the next step.
- Finally, adjust the pH levels of your mixture with an indicator strip or solution. This will ensure that your darkroom chemicals are at optimal concentrations for use in processing photographs.
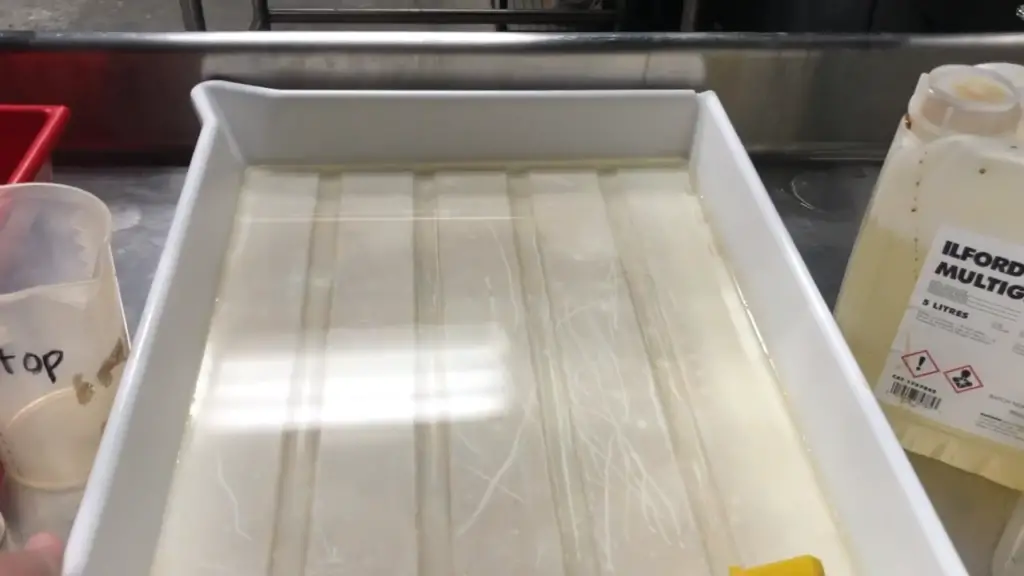
Mixing powder chemicals doesn’t have to be intimidating – following these simple steps will help make sure that you end up with a successful and usable solution.
How to Mix Liquid Darkroom Chemicals?
Mixing liquid darkroom chemicals can seem like a daunting task at first, but it’s actually quite easy to do. First off, you’ll need a few supplies: gloves, safety glasses, and measuring spoons or cups. It’s also essential to work in a well-ventilated area as the fumes from some of the chemicals can be hazardous.
Once you have all your supplies ready, it’s time to start mixing! Begin by reading the instructions for your particular chemical mix carefully and thoroughly so that you understand exactly what measurements are required and how much of each chemical needs to be added. You may want to make notes on paper while you read through them. [3]
When it comes time to actually mix the chemicals, start by adding the smaller measurements first and slowly increase the amount of each chemical as you go. Most chemicals should be added to a bucket or bowl of water and stirred until completely dissolved before being added to your main container. It’s important to make sure that all the ingredients are evenly distributed throughout the mixture.
Once everything is mixed together properly, it’s time to use your liquid darkroom chemicals in whatever process they are needed for. Take proper safety precautions while mixing them and follow all instructions carefully!
How to Store Darkroom Chemicals
It’s important to store your darkroom chemicals correctly so they remain effective and, most importantly, safe. There are four key steps you should follow:
- Make sure that all chemicals are stored in their original containers with the lids securely shut.
- Store the chemicals in a cool, dry place away from direct sunlight or any other sources of heat.
- Keep all bottles tightly sealed and preferably upright. If storing them on their side, make sure the lid is extra secure.
- To ensure safety, always label all containers containing photographic solutions clearly with what they contain and how it was prepared (for example, “diluted developer”). This will help avoid any accidents due to incorrect usage. [4]
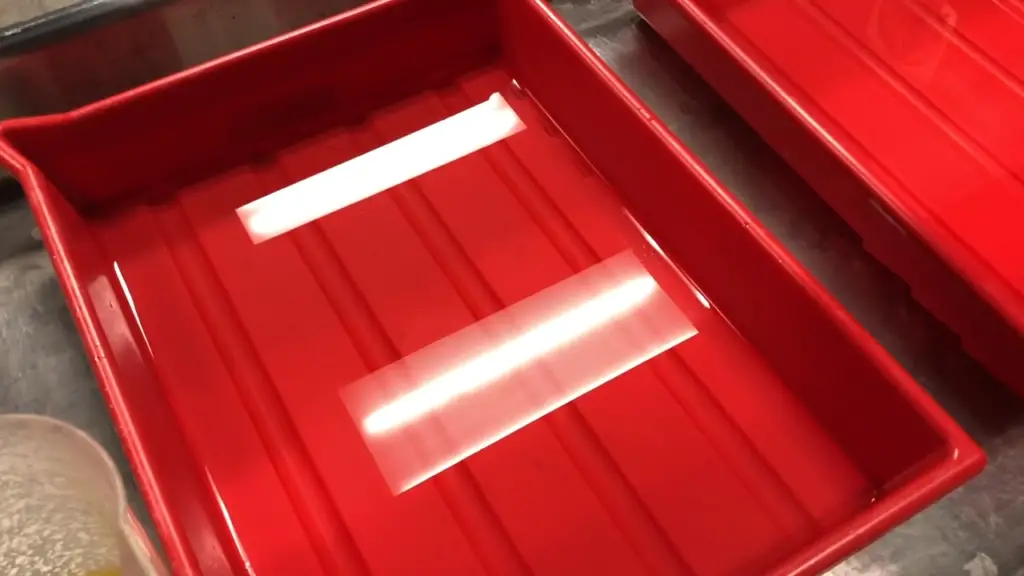
Can You Reuse Darkroom Chemicals?
In general, darkroom chemicals can be reused if they are stored properly. Additionally, it’s important to keep the chemicals tightly sealed after each use so that there is no evaporation or contamination occurring.
If the chemicals are kept in optimal conditions, they should last for many weeks or months before needing to be replaced with fresh stock. To ensure your chemicals will not degrade over time, we suggest testing their effectiveness every few weeks and replacing any chemical that displays signs of deterioration or discoloration.
It’s also important to take safety precautions when handling darkroom chemicals. You should also ensure that you dispose of any unused or expired darkroom chemistry in an appropriate manner – contact your local government for more information on how to do this properly.
How to Dispose of Darkroom Chemicals
To properly dispose of certain chemicals, it’s important to avoid pouring them down the drain or releasing them into the environment. It’s best to use a chemical waste disposal service for safe and responsible handling.
If you are unable to do so, then here are some tips for proper disposal:
- Wear protective gloves and goggles when handling darkroom chemicals.
- Avoid mixing used darkroom chemicals together as it may result in hazardous outcomes.
- Collect all the used chemicals into one container and seal them tightly before disposing of them safely.
- If possible, dilute your used chemistry with water to reduce toxicity levels before disposal.
- Do not discard any chemical containers in the trash or in public places.
- Use a dedicated container for disposing of your darkroom chemicals to avoid cross-contamination.
- Before taking any action to dispose of a chemical, make sure to consult with an expert if you are unsure about the correct procedure.
This will also help protect the environment and keep our water supply free from contamination.
Color Darkroom Chemicals
Darkroom chemicals come in a variety of colors, from clear to bright red. It is important to understand what the different colors indicate so that you can make sure you are using the right chemical for your darkroom printing process.
- Clear or light yellow: These chemicals usually contain potassium bromide and are used as a developer in traditional black and white photography.
- Bright yellow-orange: This color usually indicates an alkaline bleach-fixer formula which helps to remove any unwanted silver halides from the print surface.
- Light greenish-yellow: This is generally used as a stop bath and helps to neutralize any remaining active developers on the paper surface.
- Deep purple: This color indicates that a chemical contains potassium dichromate which is used as a fixing agent to make the print permanent.
- Bright red: This color usually indicates a reducer or toner which helps to adjust the tones of the photograph after it has been developed.
By understanding the different colors of darkroom chemicals, you can ensure that you are using the right chemical for your specific process. This will also help you avoid any potential accidents or mishaps when working in your darkroom.
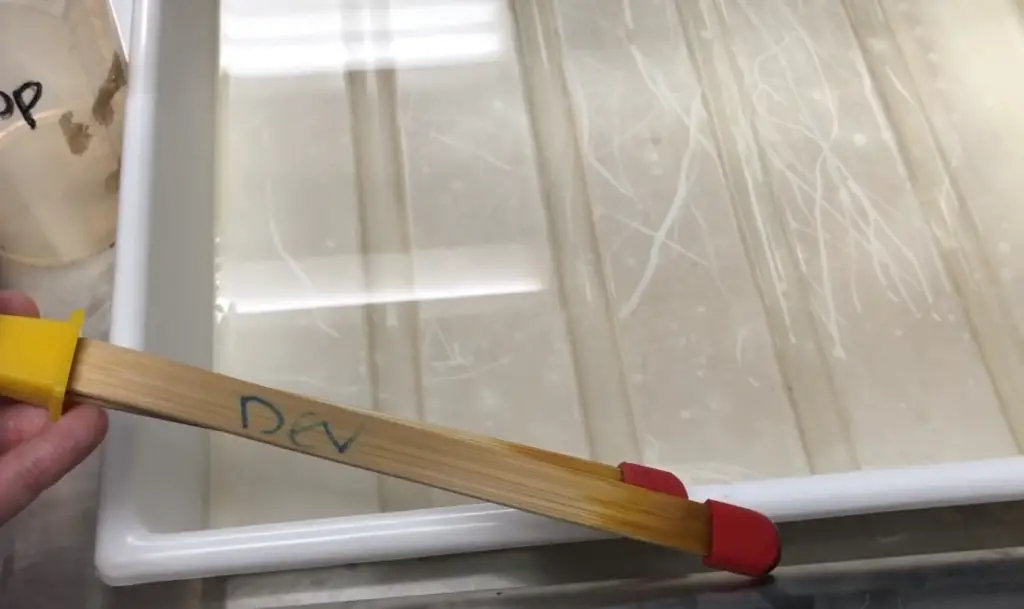
Never mix any used chemicals together as this could have dangerous consequences. Wear protective gloves and goggles when handling the chemicals and secure them in a dedicated container before disposing of them safely.
If you are unable to locate a chemical waste disposal service, then make sure to dilute your used chemistry with water before disposal to reduce toxicity levels. Do not discard any containers in the trash or in public places and if you are unsure about how to dispose of a particular chemical, consult with an expert beforehand.
Black and White Darkroom Chemistry
When it comes to disposing of darkroom chemicals used in B/W photography, safety must always be the top priority. Never pour these chemicals down the drain or into the environment. Ideally, you should use a chemical waste disposal service to properly dispose of them.
Darkroom Chemicals Safety Tips
It is essential to keep yourself and your workspace free of hazards. Here are some tips for ensuring the safe use of darkroom chemicals:
- Always wear protective gear, including goggles, gloves and a face mask. This will help to protect your eyes and skin from direct contact with the chemicals.
- Make sure to work in a well-ventilated area or use a fume hood if possible. The fumes produced by darkroom chemistry can be harmful when inhaled.
- Follow instructions carefully when mixing or using any of the chemicals involved in the darkroom process. Do not attempt anything beyond what you already know how to do safely. If you are unsure about something, seek advice from an expert or read up on it before attempting it yourself.
- Try not to combine different types of chemicals as this could lead to unpredictable reactions that could result in harm.
- Keep chemicals stored away from children and pets, and make sure the lids are closed tight when not in use.
- Label all containers clearly so you know what is inside them and do not mix up different chemicals.
By following these safety tips, you can ensure that your darkroom chemistry adventures are safe and successful!
Enjoy exploring the world of darkroom photography!
FAQ
What are the 3 most common darkroom chemicals?
The 3 most common darkroom chemicals are developer, stop bath, and fixer. Developer is responsible for converting the latent image on the photographic paper to a visible one; it also softens up some of the finer details in the photo too. Stop bath is used to halt the activity of the developer and reduce its activity; it helps preserve the highlights and shadows in a photograph that can be lost during over-development. Finally, the fixer acts as a stabilizer by fully fixing and permanently setting all exposed areas on your photos that have been affected by developing.
What chemicals are used in dark rooms?
When it comes to darkroom chemicals, there are several different types that you need to familiarize yourself with.
The most common chemicals used in a traditional darkroom are developer, stop bath, fixing agent, and stabilizer.
The developer is the chemical responsible for transforming your exposed photographic paper into a visible image. It’s important to understand the time-temperature relationships of this chemical so that you can properly develop your negatives without over- or under-processing them.
Stop bath neutralizes the developer before you put your film or paper into the fixer. There are many different types of stop baths available on the market, but most contain acetic acid as their main ingredient.
The fixing agent then permanently fixes the image onto the paper or film. This chemical is typically a liquid composed of sodium thiosulfate, and makes sure that your image doesn’t wash away when you rinse it.
Finally, a stabilizer helps to protect your negatives from mold, dust, and other environmental pollutants while they’re stored in the darkroom. Stabilizers usually contain potassium alum and are added to the water bath after processing.
What is the proper order of darkroom chemicals?
When working with darkroom chemicals, it’s important to be aware of the proper order in which they should be used. Generally speaking, you want to start from the least aggressive chemical and work your way up. For example, a typical sequence might be developer, stop bath, fixer, and then wash.
However, this can depend on a few different things including what type of film you are using as well as if you are utilizing any additional special effects or toners. Be sure to read the instructions for your specific chemicals carefully so that you’re following them correctly. Additionally, take care not to mix different types of chemistry together unless specified in the instructions. Doing so could potentially cause damage to both your negatives and prints alike!
Are darkroom chemicals harmful?
Darkroom chemicals can be harmful if not used properly. When using darkroom chemicals, always make sure to read the safety instructions and wear protective gear such as gloves and a respirator. Keep all chemical containers closed when not in use, and store them away from food or children. Be especially careful with developing solutions, as these can contain hazardous ingredients such as silver nitrate which can cause skin irritation and respiratory problems if inhaled or handled improperly. Additionally, it is important to dispose of chemicals correctly by using an approved disposal method for your area – never dump them down the drain! Finally, keep in mind that some darkroom chemicals may expire over time so be sure to check their expiration dates before use. Taking precautions when working with darkroom chemicals can help ensure your safety and the health of your environment. [5]
Useful Video: How to Choose Your B/W Darkroom Chemicals
Conclusion
By now, you should be well-versed in the world of darkroom chemistry. You know what to look for when selecting a darkroom chemical and understand how it interacts with your prints. Whether you’re new to the darkroom or an experienced enthusiast, understanding these basics will help ensure that you get consistent and quality results from your prints. With this guide, we hope that you can take your photography to the next level!
Doing all of this is not hard if you stick to some basic principles: always use fresh chemicals, match temperatures closely, pour carefully and slowly, mix solutions properly for best results, store chemicals correctly and safely – including disposing of them responsibly – and last but not least have fun!
Happy printing!
References
- https://www.freestylephoto.com/darkroom-supply-list
- https://www.bhphotovideo.com/explora/photography/buying-guide/top-12-black-and-white-film-developers-to-try?BI=7367¤cy=EUR
- https://www.learnfilm.photography/are-liquid-or-powder-film-developers-better/
- https://www.learnfilm.photography/how-to-maximize-film-development-chemical-life/
- https://www.reed.edu/ehs/safety-information-and-programs/index/d/Darkroom-Safety-info-sheet.pdf





Leave a Reply