They can add color, personality, and visual interest to any space. If you are looking for ideas on how to arrange three photo frames on a wall, you have come to the right place! In this article, we will provide tips and advice on how to hang picture frames in a way that is both stylish and visually appealing.
Choosing Pictures to Group Together
Choosing the right three images to hang together is key to creating a balanced and visually appealing wall display. Consider proportions and colors when selecting photos that will work well in your grouping, as too many conflicting elements can create an overly busy look.
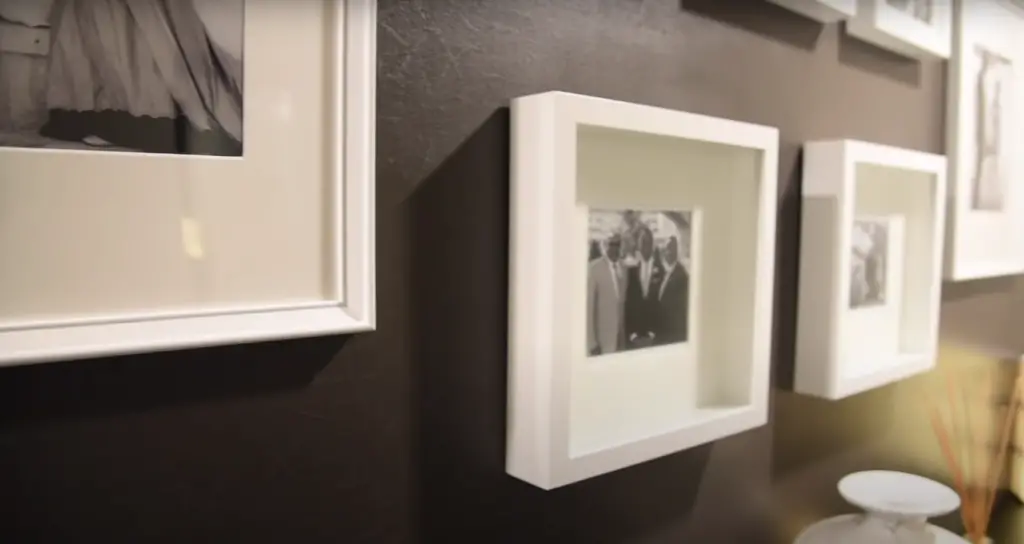
If you’re not sure what pictures to use, it may be helpful to start by organizing them into categories like family, friends or travel. If you have more than three pictures, consider rotating the groupings on a regular basis; this allows for greater flexibility with your decorating styles over time.
Pick a mutual element for the three pictures to share
This will help you create a sense of unity between them while still allowing each photo its own space. Choose something that all three photos have in common, such as color, framing style or subject matter. It can also be helpful to pick one frame that is slightly larger than the others so it stands out more and draws the eye to its central position in your grouping.
Split one image across three canvases
If you have a single image that you love, but don’t want it to take up the whole wall space, consider splitting it into three distinct canvases and hang them separately in your chosen grouping. This allows for more flexibility when arranging the frames and can create an interesting focal point if hung in a triangle or square formation.
Pick pieces with the same dimensions
This will create a sense of balance and cohesion on the wall. If you’re using different images in each frame, consider picking ones that are similar in size or have a common thread to unify them visually.
Create a cohesive display by choosing one large, medium, and small picture
If you’d like to create a more dynamic look to your wall grouping, consider choosing one large, medium and small picture. This can be helpful if you have both landscape and portrait images that you’d like to display together; the smaller frames can easily fill in any empty space between the larger ones.
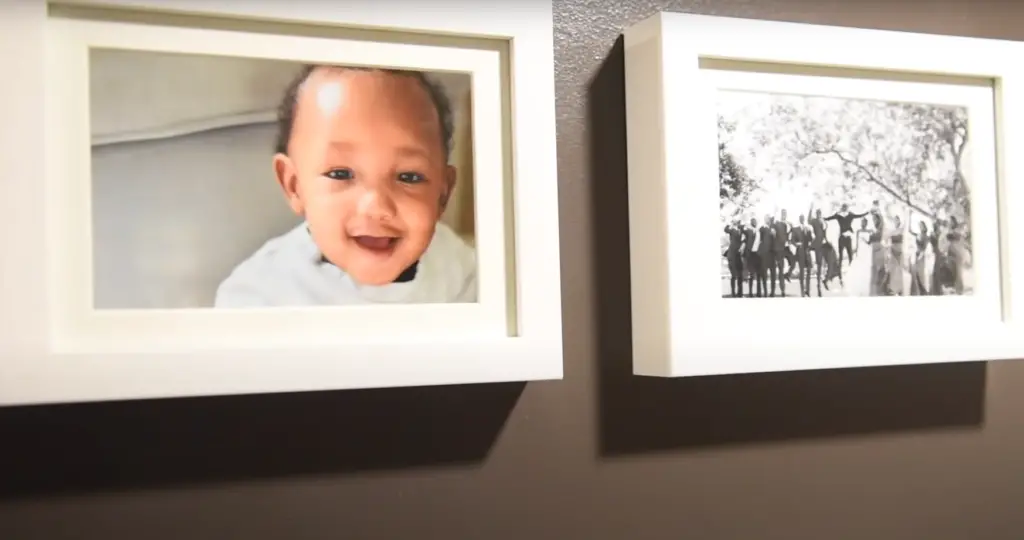
Hanging Pictures in Horizontal or Vertical Groupings
Once you’ve decided on the wall where you want to hang your photos, it’s time to consider how they should be arranged. It is essential that you take into account the size and shape of each frame in order to determine what kind of grouping will look best. You can arrange your photographs in a horizontal line, vertical line or a combination of both.
If you are arranging multiple frames horizontally, make sure that the gap between each one looks balanced and even. Use painter’s tape as a guide for this – measure out the distance between each frame and mark it with some masking tape before hammering any nails into the wall.
This will give the arrangement a neat and orderly look. It’s also a good idea to ensure that all frames are level with one another, so don’t forget to check this with a spirit level before you put your pictures up.
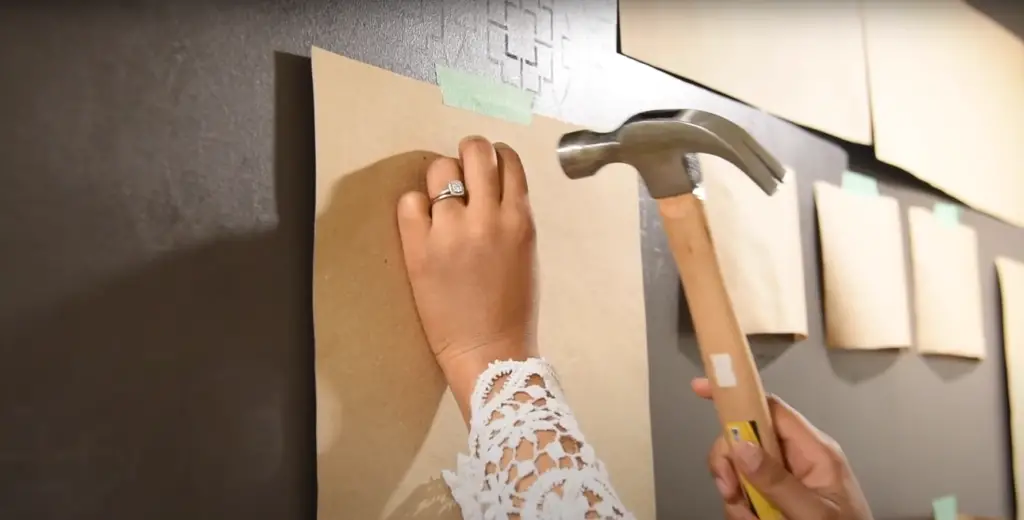
Cut out each picture by tracing it onto craft paper
The next step is to trace the outline of each photo onto some craft paper or a piece of card. This will help you determine what looks like a suitable size and shape for each image before you mark out the wall with any nails. Once you’ve cut out an outline, hold it up against the wall, making sure to keep it at the same height as your other frames if they are in a vertical line.
You can then use these templates to mark exactly where your nails should go on the wall. Use a pencil to draw lightly around each template so that it’s easier to see once you have removed them from the wall afterwards!
Create a horizontal grouping
If you want to create a versatile look in your home, consider arranging your pictures in a horizontal line. This looks great above a sofa or bed and can easily be adjusted as you change up the decor in your room. You don’t have to stick to just three frames here either – go wild and add some more if you like!
When creating a horizontal grouping, it’s important that all of the images are at the same height on the wall. Measure out the spaces between each frame so that they look evenly spaced too. If you’re using larger photos, try spacing them slightly further apart than smaller ones for an aesthetically pleasing arrangement.
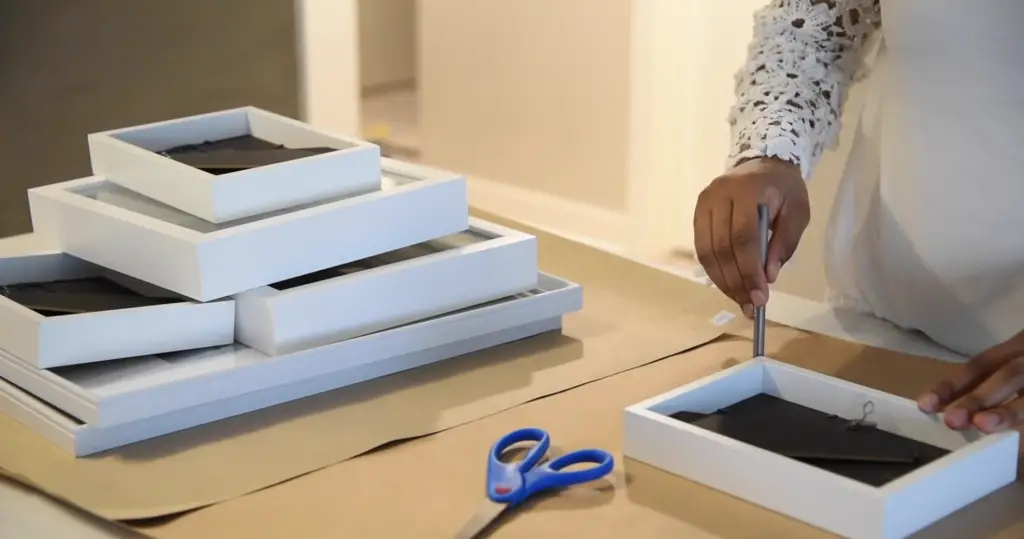
Place vertically to save space
If you don’t have a lot of wall space to work with, consider forming a vertical grouping instead. This will give your photos an imposing look and can be great for adding some height to narrow spaces such as hallways or staircases. Make sure to keep all of the frames at the same height on the wall so that they form a neat line up and down.
When arranging your images in this way, it’s best to use frames that are similar in size and shape so that they appear cohesive when hung together. Try not to go too wild with colours either – if you want to add some vibrancy then stick to one or two statement pieces surrounded by more neutral tones for balance!
Hang your favorite picture in the center
Once you have arranged your frames on the wall, it’s time to decide which photo should take center stage. You can make a statement with a particularly eye-catching image or simply hang your favorite in the middle of the arrangement. Either way, this piece will be sure to draw attention and create an interesting focal point for any room!
Forming a Creative Grouping
There are a few key elements to consider. Firstly, you will need to find a visual balance between all of the elements that have been put together. You can create this by placing the frames in a diamond-like shape (with one frame in the centre and the others angled slightly inward) or in a straight line across the wall.
Another way to form an aesthetically pleasing grouping is by using identical frames with different sizes and orientations. This allows you to focus on playing with perspective and creating interesting patterns from various angles. By doing this, you can also use depth as another element for forming an effective design for your photo frames.
Choose a creative grouping for a compact and creative look
If you have a smaller wall, don’t worry – there is still plenty of fun to be had with your photo frames. You can use the same ideas as above and form an effective grouping that looks both creative and compact at the same time.
One option is to create a small square shape with four identical frames (with one in each corner). This allows for a more subtle display and gives the impression of one large artwork instead of several individual pieces. Another great idea is to create a triangle with three frames; this will give the illusion of depth and add interest to the overall look.
Place the largest picture in the bottom left
When it comes to placing the frames on the wall, one of the most important things to consider is balance. To achieve this, you should always place the largest picture in the bottom left-hand corner of your arrangement. This will create a sense of stability and help draw attention to the rest of your grouping.
For added interest, try playing with perspective by angling some of your smaller frames towards each other or arranging them in a zigzag shape – just make sure that there are no awkward gaps between any of your pictures. If you’re struggling for ideas, take advantage of popular design trends like hanging all three frames at eye level for an easy way to create a stylish display.
Place the middle of the creative grouping
When it comes to arranging your frames on the wall, always keep in mind the importance of placement. The middle of the grouping should be placed at eye level; this will help create a visual balance that allows the viewer to appreciate each frame without feeling overwhelmed. Additionally, you can use a tape measure or laser leveler to make sure all of your frames are perfectly aligned and evenly spaced out – this ensures that no detail is left unnoticed and creates an even more cohesive look.
Hang square frames diagonally along a staircase
Finally, if you have a staircase in your home, you can use this as an opportunity to get creative with your photo frames. A popular idea is to hang square frames diagonally along the stairs – this creates a dynamic visual and gives the viewer something interesting to look at from all angles. Additionally, you can experiment with different sizes for each frame and mix up the orientations for an even more interesting effect. [1]
Opt for a Stack or Row
The first step to consider when arranging three photo frames is whether you want them in a stack or a row. Stacking the pictures vertically can create an eye-catching focal point that draws attention up to the wall, while spreading them out horizontally produces a more spread-out effect and gives visitors something interesting to look at as they move around the room.
Try a Triangular Configuration
It will bring balance to the arrangement and make it look aesthetically pleasing. To give it a little more depth, try clustering the photos at different heights in the triangle formation.
To start, trace out your triangle onto the wall with a pencil — this will help you get an idea of where each frame should go before you place them up. Make sure to measure twice and mark once! Once you’ve done that, hang your first frame in the center of your triangle and then work outward until all three have been placed.
You also want to consider how close together or far apart you want the frames to be. If you want a more subtle look, hang them closer together but if you’re going for something more eye-catching, give them some space so they stand out on the wall.
Vary Frame Types
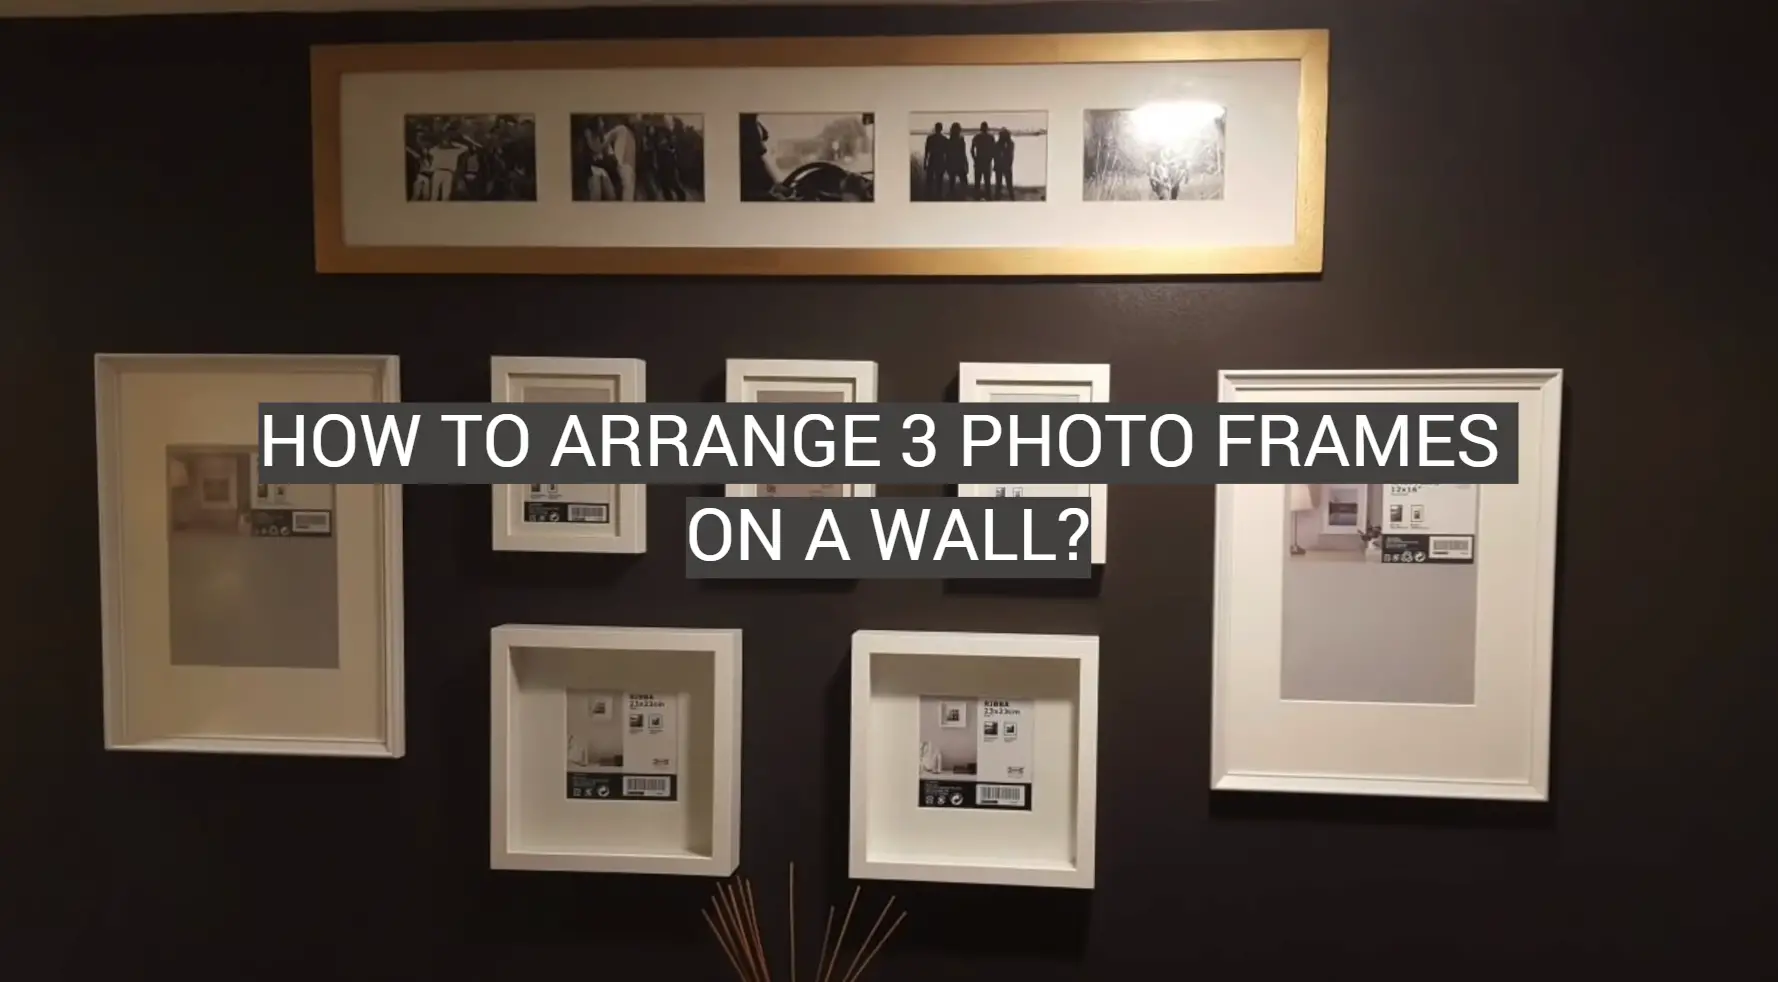
Once you decide the order of the frames and where they go on the wall, consider varying frame types and sizes. This will add interest and make your arrangement more eye-catching.
For example, pair two large frames with a smaller one in between them or use three square frames of different sizes. You can also mix it up by using a combination of framed artwork, photos, mirrors, and other items to create an eclectic display.
Take some time to choose complementary colors for all of your frames that fit in with the overall theme of the room’s decor. Also consider going with a uniform look because this look creates continuity and is always attractive no matter what type of interior design style you are going for.
If you decide to go with a uniform look, be sure to use subtle variations between each frame such as texture or color. This will keep the arrangement looking interesting and not too “matchy-matchy”.
Finally, try playing around with different shapes and sizes until you get something that looks good to you. Be creative and have fun while putting together your photo frames collection! It’s a great way to show off your favorite memories in style.
Try a Picture Ledge
One creative way to hang three photo frames on a wall is by using a picture ledge. This method allows you to display the photos without having to drill any holes into the wall or use any adhesives. Picture ledges are also great because they come in different sizes, shapes and colors so you can find one that matches your style.
To mount this type of frame, all you need is a screwdriver and some screws that can hold the weight of the frames and ledge. Simply hold up your picture ledge against the desired spot on the wall, mark where it needs to be attached, insert the screws and tighten them with your screwdriver until it’s firmly secured onto the wall.
Once mounted, hang your three frames from the picture ledge. Some ledges even come with hooks that can easily hold multiple frames or you can use removable picture frame hangers (they come with adhesive on one side) instead.
This method is simple, modern and stylish – great for creating impact in any room of your home. Plus, if you ever feel like changing things up, you can simply rearrange the photos or take them down without having to put any new holes into the wall!
Have a Bit of Fun
Once you’ve got the basics down, it’s time to have a bit of fun with your photo frames. Try different arrangements and layouts until you find one that works for you. Play around with the size and shape of your frames as well as their positions in relation to each other. You can even add elements like plants or wall art to complete the look.
If you’re feeling extra creative, why not alternate between portrait and landscape photos? If all three are portrait-style, they could be arranged in a straight line along the wall. Or if two are in portrait style and one is landscape, try positioning them in a triangle-like shape on the wall – this will help draw attention to each photo and create an interesting visual effect.
Finally, use accessories like ladders, shelves and hooks to give your photos a more creative edge. Layer the frames for depth and texture or hang them from string for a whimsical look. Just make sure that you don’t overcrowd the wall – three photo frames should be enough to decorate any wall!
FAQ
How many ways can you hang 3 pictures in a row on a wall?
Hanging 3 pictures in a row on a wall opens up a world of possibilities! You can arrange them vertically, horizontally, or diagonally, or even create an abstract shape by arranging them around an imaginary point.
How far apart should I hang 3 pictures side by side?
When hanging three pictures side by side, it’s important to keep them a consistent distance apart. The ideal gap between framed pictures will depend on the size of your frames and the wall space you have available. Generally speaking, if you are hanging smaller frames (less than 20 inches in width), aim for about 4-6 inches of spacing between each frame. If you’re hanging larger frames, leave at least 8-10 inches between them for a balanced look. As a general rule, try to keep all of your frames at the same level regardless of their size and shape.
How do you line up 3 pictures?
When it comes to lining up 3 pictures, the best way to ensure that they look good together is by creating a triangle shape with them. Start by measuring your wall and deciding how far apart you would like each photo placed. Then, measure the distance between each point of the triangle (top left, top right, and bottom centre) and place your photos accordingly. [3]
To make sure that everything looks even, use a level or ruler to mark where each photo should go on the wall. This will help you keep things straight and symmetrical when mounting the frames. Once all three frames are mounted in their designated spots, step back and make any adjustments as needed.
How do you hang 3 frames evenly?
If you want to hang 3 photo frames perfectly evenly, a good way is to use a measuring tape and mark the wall where each frame needs to be hung. Once you have marked the spot for each frame, you can use a pencil or ruler to connect the marks in perfectly straight lines. This will give you an easy guide for aligning your frames when you hang them up.
You could also consider using picture hangers that allow you to move the frames around until they are aligned perfectly. These hangers usually come with small pins which fit into holes drilled in the top of each frame so that it can be adjusted on the wall. It’s important to make sure that all three frames are level with one another before tightening down the pins. [4]
Finally, if you have a steady hand and an eye for details, you might be able to get your frames hung up evenly without using any tools or hangers. Just make sure that each frame is straight when you hang it and try to keep the spacing between them uniform as best as you can.
Useful Video: How to Create a Gallery Wall | SIMPLE HACKS
Conclusion
Arranging three photo frames on a wall is an easy and creative way to bring your photos to life! Start by picking out the right frames for your photos, then decide on the best layout that highlights each frame. Hang your frames securely and with care. And finally, stand back and enjoy your work of art — you’ve created something beautiful!
We hope this guide has given you some inspiration for arranging photo frames in your home. Whether you choose a classic or unique design, remember to have fun with it. Arranging photo frames is like creating a piece of art — let your personality show through! When done correctly, you’ll be able to look fondly at every corner of your room and see how you’ve used art and design to make it truly yours. Good luck!
References
- https://www.wikihow.com/Arrange-Three-Pictures-on-a-Wall
- https://homework.study.com/explanation/how-many-ways-can-you-hang-3-pictures-in-a-row-on-a-wall.html
- https://www.mrhandyman.com/blog/2018/august/how-to-perfectly-hang-three-pictures-in-a-row/
- https://utrdecorating.com/blogs/news/how-to-hang-3-picture-frames-in-a-perfectly-straight-row






Leave a Reply