
If you’re looking for a comprehensive guide on how to connect your Canon camera to your Mac, you’ve come to the right place. In this article, we’ll answer some common questions and provide helpful tips on how to make the connection as smooth as possible. So whether you’re a beginner or an experienced photographer, keep reading for everything you need to know!
Connect your Canon camera to your MacBook with a USB drive
One of the easiest ways to connect your Canon camera to your Mac is by using a USB drive. Most Canon cameras come with a USB cable that you can use to connect the two devices. Simply insert the USB cable into the port on your camera and then plug it into one of the USB ports on your MacBook.

If you’re not sure which port to use, consult your Canon camera’s manual or look for a label that says “USB.” Once the connection is made, your MacBook will automatically recognize the camera and prompt you to import the photos.
Keep in mind that importing photos via USB can take some time, especially if you have a lot of them. So be patient and give it a few minutes before moving on to the next step.[1]
Connect your Canon camera to your MacBook with an SD card
One of the easiest ways to connect your Canon camera to your Mac is by using an SD card reader. Simply insert your SD card into the reader, then connect the reader to your Mac via USB. Once the connection is made, your Mac will automatically open a new window with all of the files on the SD card. From there, you can simply drag and drop the files you want onto your computer.
If you don’t have an SD card reader, you can also use a USB cable to connect your Canon camera directly to your MacBook.[2]
Connect a Canon camera to MacBook wirelessly
The first step is to put your Canon camera into its wireless shooting mode. To do this, consult your camera’s instruction manual. Once your camera is in wireless shooting mode, open the Wi-Fi function on your MacBook. You should see your Canon camera listed as one of the devices that you can connect to. Select it and enter the password if prompted. Your computer and camera are now connected wirelessly!
There are a few things to keep in mind when using a wireless connection:
- The further away your camera is from your MacBook, the weaker the signal will be and the slower the connection will be. So, if you’re having trouble connecting or maintaining a connection, try moving closer to your camera.
- Make sure that there are no obstacles between your camera and MacBook that could weaken the signal, such as walls or furniture.

- If you’re using a public Wi-Fi network, be aware that the connection may not be secure. Avoid entering any sensitive information (such as credit card numbers) while connected to a public Wi-Fi network.[2]
Connecting MacBook to your canon camera
To get started, you’ll need to gather a few things:
- Your Canon camera
- A USB cable
- Your Mac computer
Once you have everything you need, we can begin!
The first thing you’ll want to do is connect the small end of your USB cable into the port on your Canon camera. Next, take the other end of the USB cable and plug it into one of the ports on your Mac. You should see a little green light on your camera turn on, indicating that it’s connected. Now, open up the Finder app on your Mac. You should see your Canon camera appear as a drive in the list of devices on the left-hand side. Click on it to open it up.
Inside your Canon camera’s drive, you should see a folder called “DCIM.” This stands for “Digital Camera Images,” and is where all the photos and videos that you take with your camera are stored. To access these files on your Mac, simply double-click on the DCIM folder. You should now see all of the images and videos that are stored on your Canon camera! To copy them onto your Mac, simply select the ones that you want and drag them into a folder on your computer. And that’s it! You’ve now successfully transferred files from your Canon camera to your Mac.[3]
Connecting your canon camera to Windows OS
If you’re a Windows user, the process of connecting your Canon camera to your computer is pretty simple. All you need is a USB cable that’s compatible with your camera. Once you have the cable, just connect one end to the camera and the other end to an available USB port on your computer.

Once the connection is made, your computer should automatically detect the camera and launch the appropriate software for downloading and managing your photos and videos. If not, you can usually find the software on Canon’s website or by doing a search for it in Microsoft’s app store.
With most Canon cameras, all you need to do once the connection is made and the software launched is simply follow the prompts on your screen to import your photos and videos. However, there are a few things to keep in mind when doing this to ensure the process goes smoothly.
Second, make sure you have enough free space on your computer to accommodate all of the files you’ll be downloading. Depending on the size of your memory card and the quality of your photos and videos, a single session of shooting can easily generate several gigabytes of data.
Finally, if you’re using a Canon camera that supports Wi-Fi, you can also import your photos and videos wirelessly by connecting the camera to your computer via the included USB cable and then following the prompts on your screen. This is often the easiest and quickest way to get your files onto your computer, especially if you’re not near a Wi-Fi hotspot.[3]
How do I transfer photos or videos from my Canon camera to my Macbook?
The process of moving files from your Canon camera to your Macbook is actually pretty simple, and there are a few different ways that you can go about doing it. One of the most popular methods is to use a USB cable, and we’ll walk you through that process step-by-step below.
First, make sure that your Canon camera is powered off. Then, take the appropriate USB cable (usually included with your camera) and plug it into the “USB” port on your camera. Next, plug the other end of the USB cable into one of the USB ports on your Macbook.
Once everything is plugged in, power on your Canon camera. You should see a notification on your Macbook asking if you want to import the photos and videos from your camera. Click “Import” and then select the folder on your Macbook where you want the files to be saved.[1]
Why can’t I connect my Canon camera to my mac?
There are a few reasons you might not be able to connect your Canon camera to your Mac. The most common reason is that the two devices aren’t using the same type of connection. For example, if your Canon camera uses a USB cable and your Mac doesn’t have a USB port, you won’t be able to connect them.
Another possibility is that the drivers for your Canon camera aren’t installed on your Mac. Drivers are pieces of software that allow one device to communicate with another. If you don’t have the right drivers installed, your devices won’t be able to understand each other.
Can I connect the camera to the mac with HDMI?
Yes, you can connect your Canon camera to your Mac using an HDMI cable. This will allow you to transfer photos and videos from your camera to your computer. To do this, simply connect one end of the HDMI cable to your camera and the other end to your Mac. Once connected, you will be able to view and import your photos and videos into iPhoto or Image Capture on your Mac.[1]
How to Solve Canon Camera Not Connecting to Mac?
If you’re experiencing difficulties connecting your Canon camera to Mac, there are a few things you can do to troubleshoot the issue. First, check that the cables you’re using are compatible with your Canon camera and Mac. Next, make sure that the USB ports on both devices are working properly. Finally, try restarting both your Canon camera and Mac.
If you’re still having trouble connecting your Canon camera to Mac after following these steps, feel free to reach out to our team of experts for help. We’ll be happy to assist you in troubleshooting the issue and getting your devices connected.[3]
Comparison of Methods to Connect Canon Camera to Mac
Connecting your Canon camera to a Mac computer allows you to transfer photos and videos, perform remote shooting, and access other camera functionalities. Here, we compare various methods to connect your Canon camera to a Mac.
| Connection Method | Compatibility | Transfer Speed | Remote Shooting | Software Required |
|---|---|---|---|---|
| USB Cable | Most Canon Cameras | High | No | Canon EOS Utility (Installed on Mac) |
| Wi-Fi | Wi-Fi Enabled Canon Cameras | Medium | Yes | Canon EOS Utility (Installed on Mac) + Wi-Fi Setup |
| Bluetooth | Bluetooth Enabled Canon Cameras | Low | Yes | Canon Camera Connect App (Installed on Mac) |
| Card Reader | All Canon Cameras with Removable Memory Card | High | No | No additional software required |
Explanation of the table:
- USB Cable: This method is compatible with most Canon cameras and provides high transfer speeds. However, it does not support remote shooting unless you use a separate USB tethering software.
- Wi-Fi: This method requires Wi-Fi enabled Canon cameras. While it allows for remote shooting, the transfer speed is medium. You need to set up Wi-Fi on your camera and use the Canon EOS Utility on your Mac.
- Bluetooth: Suitable for cameras with Bluetooth capability, this method offers low transfer speeds but supports remote shooting. You’ll need to install the Canon Camera Connect app on your Mac.
- Card Reader: This method works with all Canon cameras that have removable memory cards. It provides high transfer speeds but doesn’t support remote shooting. No additional software is required; just use a card reader to connect the memory card to your Mac.
Choose the method that best suits your camera model and needs to efficiently connect your Canon camera to your Mac computer.
FAQ
How do I open the Canon EOS utility on mac?
The Canon EOS utility is a software that comes with Canon cameras. It is used to transfer images from the camera to the computer. To open the Canon EOS utility on mac, go to Applications > Utilities > Canon Utilities > EOS Utility.
Why is my Mac not detecting my camera?
One reason your Mac might not be detecting your camera is because the cable you’re using is not compatible. Make sure you’re using a USB cable that came with your Canon camera, or a high-quality third-party option. Another possibility is that your USB port is damaged and needs to be repaired or replaced.
If you’re still having trouble connecting your Canon camera to your Mac, please contact our support team for further assistance.
How do I know if my mac camera is plugged in?
The first thing you need to do is check and see if your Mac camera is plugged in. If it’s not, then you won’t be able to connect your Canon camera to it. To do this, open up the System Preferences on your Mac. Click on the “Security & Privacy” icon and then click on the “Privacy” tab. On the left-hand side, you should see a list of different types of data that apps can access on your Mac. Scroll down until you find “Camera.”
If there is a checkmark next to “Camera,” then that means that your Mac camera is already plugged in and ready to go! If there isn’t a checkmark next to it, then you’ll need to plug in your Mac camera before you can continue.
Does Canon EOS utility work on Mac?
The Canon EOS utility is a great tool that allows you to control your Canon camera from your computer. However, it is only available for Windows and not for Mac. There are some workarounds that allow you to use the EOS utility on a Mac, but they are not as reliable or easy to use as the native Windows version.
If you want to use the Canon EOS utility on your Mac, we recommend using a third-party software like Image Capture or Photo Mechanic. These programs offer similar functionality to the EOS utility and are much more reliable on macOS.
Where does EOS Utility save photos on Mac?
By default, EOS Utility saves images to the “DCIM” folder on your Mac’s hard drive. If you’ve changed this location, you can find your photos by opening the EOS Utility and clicking “Preferences.” From here, you can navigate to the “Location” tab and see where your photos are being saved.
If you want to change the location that EOS Utility saves photos, simply click the “Browse” button and choose a new destination for your photos. Once you’ve selected a new location, click “OK” to save your changes.
Keep in mind that changing the location that EOS Utility saves photos will only affect future imports – it won’t move existing files that have already been imported.
How can I connect my Canon camera to my Mac using a USB cable?
To connect your Canon camera to your Mac using a USB cable, follow these steps:
1. Power off your camera and Mac.
2. Connect one end of the USB cable to your camera’s USB port and the other end to an available USB port on your Mac.
3. Power on your camera.
4. Your Mac should recognize the camera, and you’ll be able to access your camera’s files and settings.
Can I connect my Canon camera to my Mac wirelessly?
Yes, you can connect your Canon camera to your Mac wirelessly using Wi-Fi. To do this, you need to make sure that both your camera and Mac are on the same Wi-Fi network. Then, enable the Wi-Fi feature on your camera and use the Canon EOS Utility software on your Mac to establish the connection.
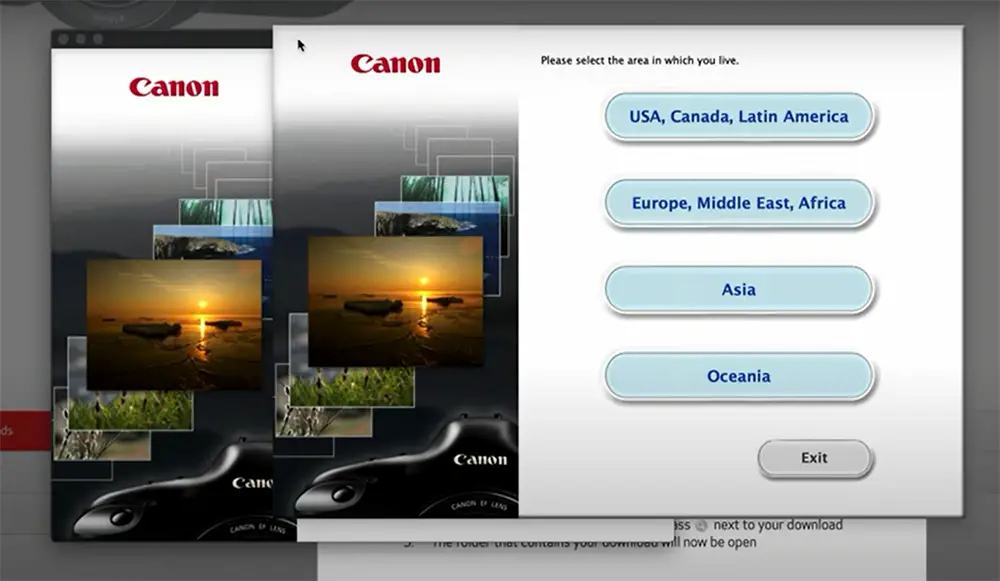
What is the Canon EOS Utility software, and how do I install it on my Mac?
Canon EOS Utility is software provided by Canon to connect your camera to your Mac and control it remotely. To install EOS Utility on your Mac, follow these steps:
1. Visit the official Canon website and go to the support page.
2. Search for your camera model and locate the EOS Utility software for Mac.
3. Download the software and follow the on-screen instructions to install it on your Mac.
How do I transfer photos from my Canon camera to my Mac?
To transfer photos from your Canon camera to your Mac, you can use the following methods:
1. Connect your camera to your Mac using a USB cable and use the Image Capture or Photos app to import the photos.
2. If your camera supports Wi-Fi, establish a wireless connection between your camera and Mac and transfer the photos using Canon EOS Utility.
Can I use third-party software to connect my Canon camera to my Mac?
Yes, there are third-party software options available that allow you to connect your Canon camera to your Mac. Some popular alternatives include Adobe Lightroom, Capture One, and CamRanger. Ensure that the software supports your specific Canon camera model before use.
What should I do if my Canon camera is not showing up on my Mac after connecting?
If your Canon camera is not showing up on your Mac after connecting it via USB, try the following troubleshooting steps:
1. Ensure that your camera is powered on and in the appropriate mode for data transfer.
2. Check the USB cable for any damage or try using a different USB cable.
3. Restart both your camera and Mac.
4. Verify that you have installed the necessary Canon EOS Utility software on your Mac.
5. Test the connection on a different USB port on your Mac.
Can I use my Canon camera as a webcam on my Mac?
Yes, you can use many Canon cameras as webcams on your Mac. To do this, you’ll need to install Canon’s EOS Webcam Utility software on your Mac and connect your camera to it using a USB cable. This enables you to use your Canon camera for video conferencing and live streaming applications on your Mac.
Is there a way to connect my Canon camera to my Mac without installing any software?
Yes, you can connect your Canon camera to your Mac without installing additional software by using the standard USB Mass Storage mode or PTP (Picture Transfer Protocol) mode, which most modern Canon cameras support. In this mode, your Mac will recognize the camera as an external storage device, and you can manually access and copy the photos from the camera’s memory card to your Mac’s storage.
Useful Video: How to Wirelessly connect a Canon camera to a Mac
Conclusion
So, that’s how you connect your Canon camera to Mac. We hope this guide was helpful and informative. If you have any questions or tips of your own, feel free to leave them in the comments below. Thank you for reading!
Did this guide help you? Let us know in the comments below! And if you found it helpful, please share it with your friends on social media. Thank you for reading and happy shooting!
References:
- https://cameraanalyzer.com/how-to-connect-canon-camera-to-mac/
- https://cameraguider.com/how-to-connect-canon-camera-to-mac/
- https://repairit.wondershare.com/camera-tips/fix-canon-camera-not-connecting-to-mac-pc.html