
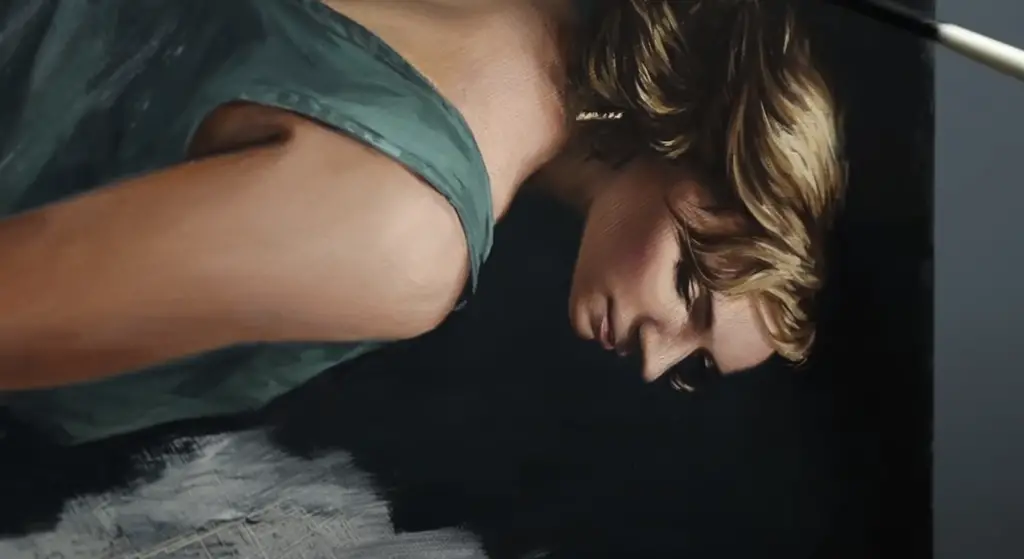
Are you an aspiring artist looking for the perfect way to showcase your artwork? Whether you’re preparing to submit a portfolio for an exhibition or if you need to display artwork on a website, photography is essential. This step-by-step guide to photographing artwork will help you create stunning images that capture the beauty of your creations and make them stand out from the crowd. With just a few simple tips and careful attention to detail, you’ll be able to produce gorgeous photos of your artwork every time. Get ready – let’s learn how to bring your work to life!
What Are the Best Cameras To Photograph Artwork?
When it comes to choosing the right camera for photographing artwork, there are a few important criteria that should be considered. The key factors that make up an ideal camera for photographing artwork include image resolution, sensor size, lens selection, and ISO capabilities.
Sensor size also plays an important role in capturing sharp images with accurate colors: larger sensors provide better color accuracy and greater control over depth of field (DOF). Cameras with larger APS-C or full-frame sensors tend to be better suited for artwork photography than those with smaller sensors.
Lens selection is also important, as the type of lens you use will determine how much detail can be captured and the quality of the bokeh (background blur). Prime lenses provide greater clarity and sharpness than zoom lenses, but they are typically more expensive. If your budget allows it, investing in prime lenses might be worth it for capturing artwork.
Finally, you’ll want to make sure your camera has good ISO capabilities—the ability to capture photos in low light without adding too much noise. Look for cameras that offer a wide range of ISO settings and can handle high ISOs without sacrificing image quality.
All in all, when choosing the best camera for photographing artwork, look for models with high image resolution, larger sensors, good lens selection, and strong ISO capabilities. With these features, you can take beautiful photos of your artwork that are sure to impress [1].

Is It Better To Scan or Photograph Artwork?
Scanners and cameras both have their advantages when it comes to preserving artwork for the future. Scanned images are of higher quality, as they capture the detail of the original work more accurately. They also tend to be easier to store and manage than photographs due to their digital nature. On the other hand, photographs can offer a unique perspective or mood that captured by scanning cannot quite replicate. The key is to use a combination of both technologies depending on what you want to achieve with your artwork preservation project.
In general, scanners are best used for archiving high-quality copies of important works where exact details need to be preserved. Photographs are better suited for capturing interesting compositions or adding an artistic flair to your collection. You can also use them to quickly capture multiple images of the same artwork in different lighting and angles.
No matter which option you choose, it is important to take care when handling valuable artwork. Use gloves to protect the surface from dirt and oils that may be transferred from your hands, and keep the room cool and dry to avoid damaging the delicate paper or canvas on which pieces are often painted or drawn. Lastly, always make sure that your scanner or camera is clean before using it to avoid dust particles showing up in your preserved images [2]!
9 Tips for Artwork Photography
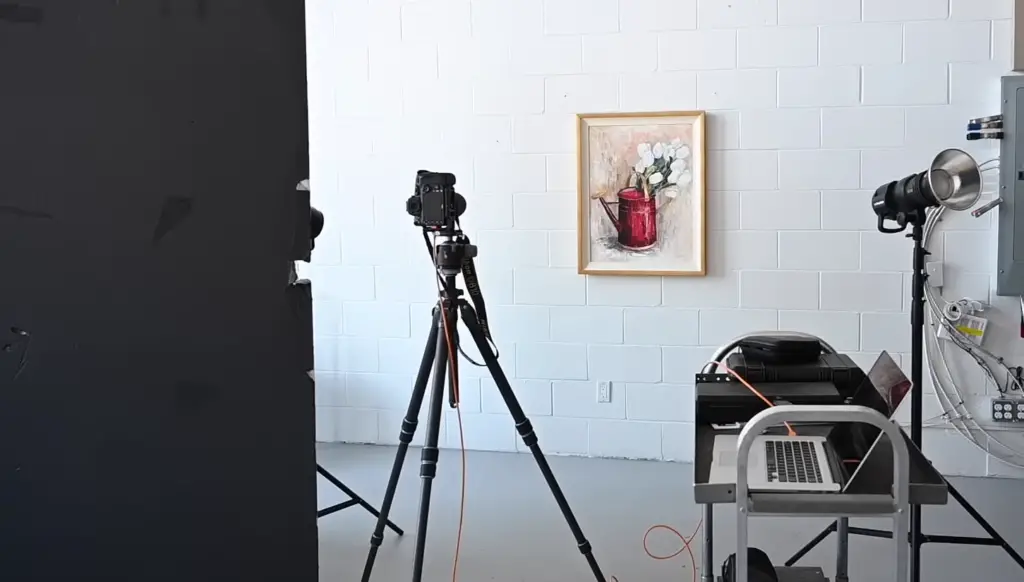
Plan and Prepare Your Background
Before you start photographing, take some time to plan your background. Think about the colors you want, the size of the background, and any other details that will help contribute to a better composition. Consider what props might be useful to add more interest to the artwork. And if you’re going with a plain white or black backdrop, make sure it’s free from wrinkles or creases.
Hang Your Artwork on the Wall
If you’re taking photos of artwork that won’t fit on a tabletop, consider hanging it on the wall. This will give you more flexibility in composition and lighting possibilities. It also makes it easier to capture details such as texture or brush strokes. Just be sure to hang the artwork securely so that it doesn’t move during shooting!
Shoot at an Angle
When photographing artwork, avoid taking straight-on shots — it can flatten out the look of your composition. Instead, try shooting your art at an angle, which can add dimension and interest to the photograph. This is especially helpful when photographing sculptures or three-dimensional pieces of art.
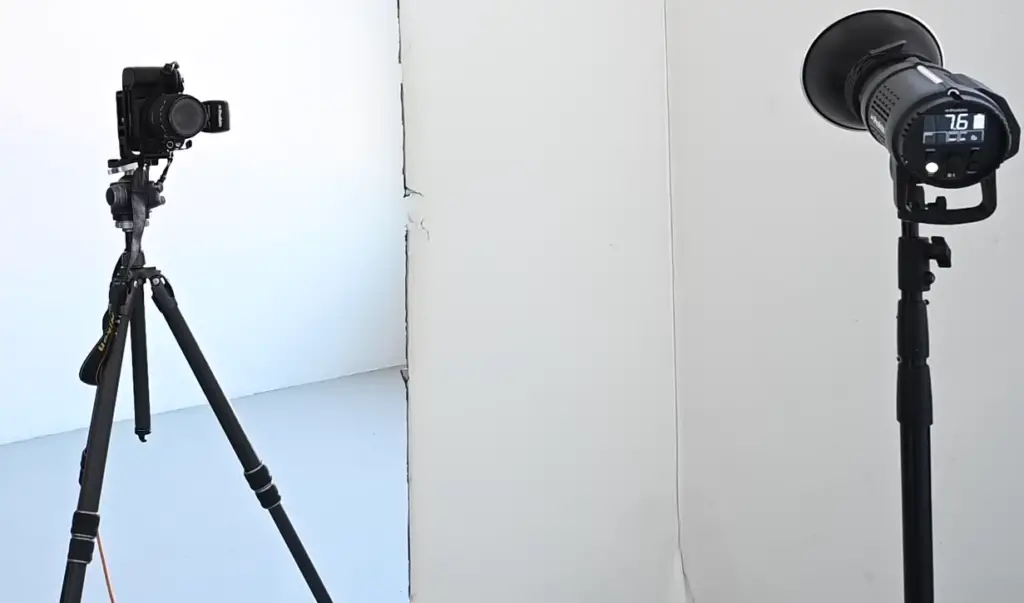
Use Natural Light or Studio Lighting
For the best results, rely on natural light or studio lighting when photographing artwork. Natural light gives a more natural effect and can be great for capturing details in paintings or drawings. Studio lighting, on the other hand, allows you to control the shadows and highlights of your composition.
Adjust Your Camera and Settings
Play around with your camera and settings to get the best results. Experiment with white balance, ISO, shutter speed, aperture, focus mode, metering mode, and other settings to capture the perfect shot of your artwork.
Choose the Right Lens
The type of lens you choose will depend on what type of artwork you’re photographing. For detailed shots of paintings or drawings, use a macro or telephoto lens. Wide-angle lenses are great for capturing large-scale works such as sculptures. And if you want to capture an overall view of multiple artworks in one frame, try using a wide-angle lens too.
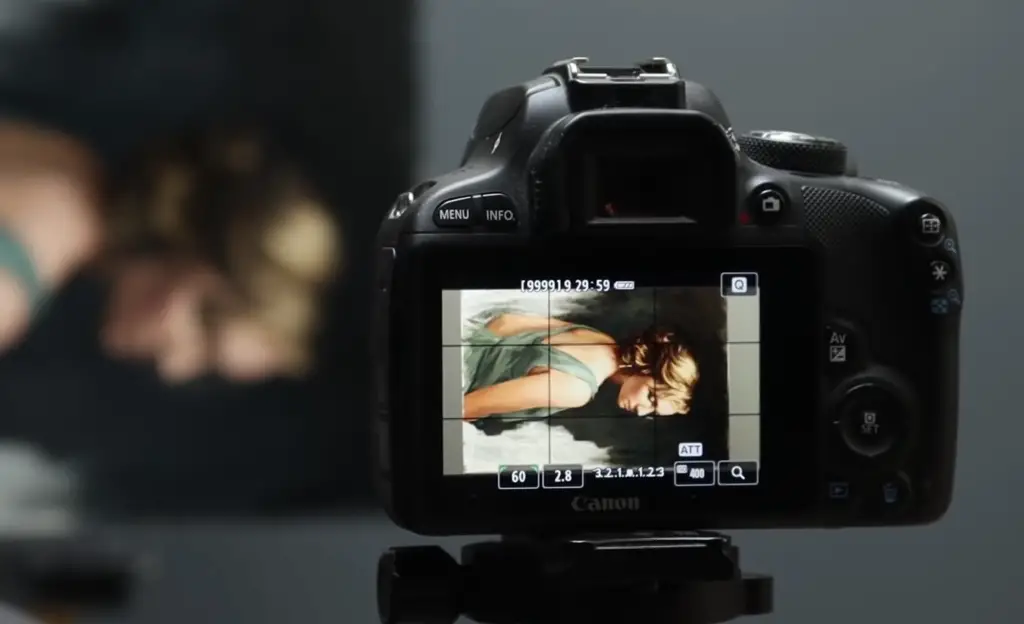
Check Focus and Shoot Fine Details
Be sure to check the focus of your image before you take a photo. And if your artwork has small details that need to be captured, use a tripod and shoot with a slower shutter speed for the best results. This will help ensure that each detail is sharp and in focus.
Use a Grey Card to Balance Colors
To ensure accurate color in your photos, use a grey card. This will help you adjust the white balance of your photo and ensure consistent colors throughout. Place the grey card next to your artwork and take a test shot before you begin shooting so that all the colors are balanced correctly.
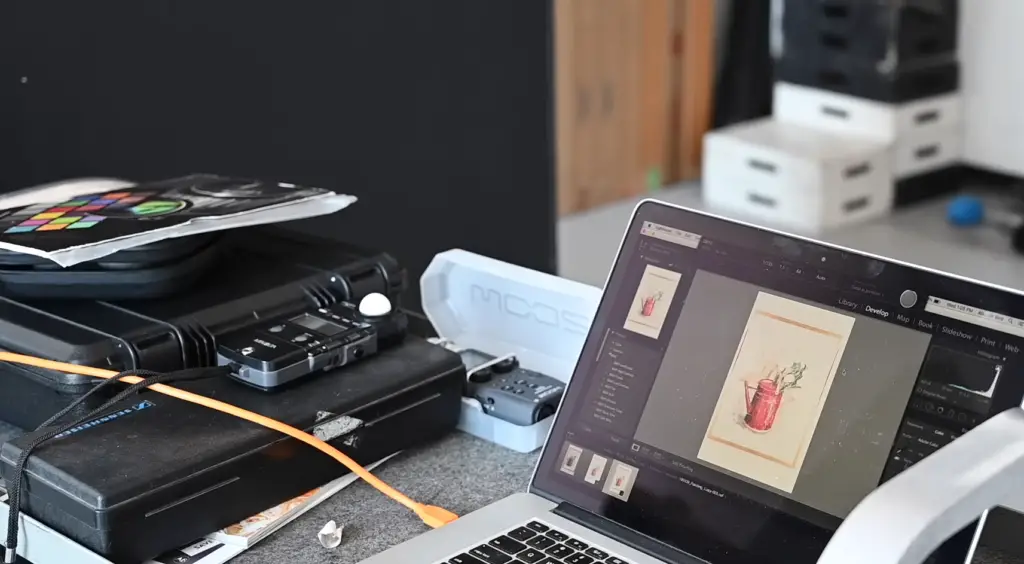
Edit Your Images
Once you’ve taken your photos, it’s time to edit them. Make sure the colors are accurate, adjust the sharpness and contrast of the image and crop as needed. If you want to add any special effects or filters, now is the time to do so. Finally, be sure to save your artwork images in a high-resolution format (such as JPEG) for optimal printing quality.
These 7 tips should give you a good starting point for photographing your artwork. With some practice and patience, you’ll be creating stunning photographs of your artwork in no time! And don’t forget to share them online with friends and family [3]!
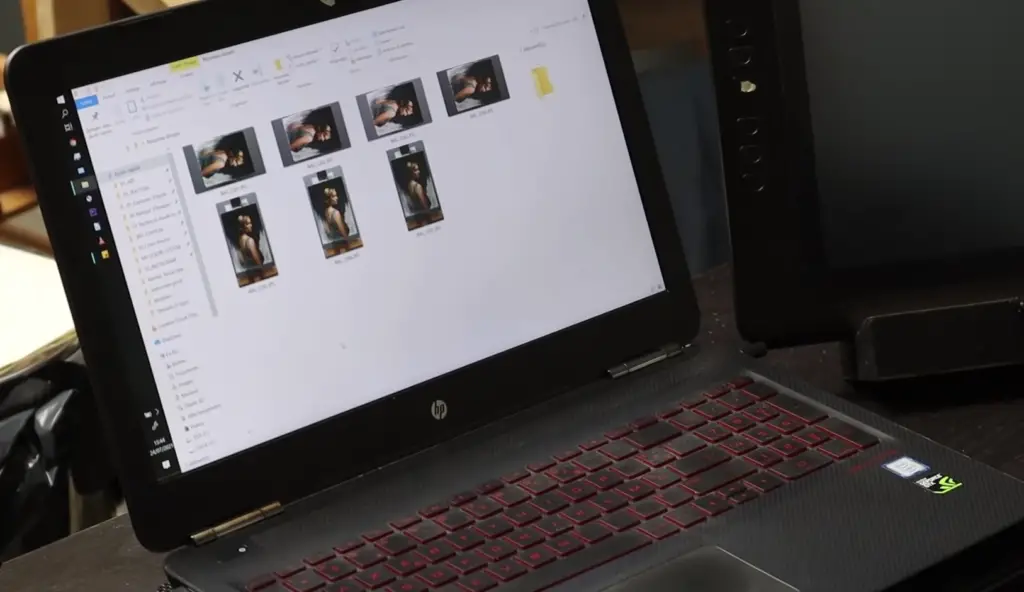
Preparing a Digital File of Your Artwork
Software for Digital Photographs
When it comes to digital artwork, software is an essential part of the process. It’s important to choose the right software for your project so you can get the best results. Software like Adobe Photoshop and Corel Painter are highly recommended for editing photographs and creating digital artwork. Both programs have a wide range of features that allow you to manipulate images in many unique ways. Other programs such as GIMP or Paint Shop Pro offer a variety of tools at more affordable prices.
Resolution / File Size
When preparing art for the web, it’s important to keep file size in mind as this affects how quickly your artwork will load online. Aim to keep resolutions at 72 ppi (pixels per inch) and under 2 MB (megabytes) per image. This will allow images to load quickly and look good on any device.
File Format
The most commonly used file formats for digital artwork are JPEG, PNG, and GIF. JPEG files are generally smaller in size than other file formats which makes them ideal for the web. PNG and GIF are best suited for logos or graphics with fewer colors as they can produce sharper results with less data. It’s important to choose the right format when creating digital artwork so that it looks good on all devices.
Exporting Your File
Once your artwork is ready, it’s time to export the file. Before exporting, make sure to check the resolution and file size of your image to ensure they meet the requirements for the web. When exporting you can choose a variety of options such as JPEG, PNG, or GIF depending on your needs. Once you’ve exported your artwork, you’re ready to upload it online!
Colour Profiles (RGB / CMYK)
When preparing artwork for the web it’s important to keep color profiles in mind. RGB (Red, Green, Blue) is used for digital displays such as computers and phones while CMYK (Cyan, Magenta, Yellow, Black) is used for print. When exporting your artwork make sure to select the correct profile so that it looks right on all devices.
By following these simple steps you can create professional-looking digital artwork quickly and easily! With the right software and a bit of practice, you’ll be creating beautiful artwork in no time.
Common Mistakes when Photographing Your Artwork
- Poor Lighting: Good lighting is essential for capturing the colors, textures, and details of artwork accurately. Avoiding direct sunlight or extreme shadows can help keep your photograph balanced and professional.
- Too Much Depth of Field: Using too much depth of field when photographing artwork can be distracting and make it hard to focus on the details of your art. When shooting artwork, using a shallow depth of field helps capture the sharpness of your image.
- Not Taking Enough Photos: Make sure to take multiple shots from different angles when photographing your artwork. This will ensure that you have plenty of options to work with when it comes time to edit the photo later on.
- Underexposure: When taking photos of artwork, it’s important to make sure the image is properly exposed. If your photo looks too dark or washed out, try adjusting your exposure settings to get the best result.
- Not Checking Your Image on a Computer Screen: It’posure: Overexposing or underexposing your artwork can cause colors to become washed out and details to be lost. Try taking a few test shots and adjust the exposure accordingly to get the best results.
- Not Using Professional Equipment: Investing in professional photography equipment can make a huge difference when it comes to capturing your artwork in its best light. If you’re serious about photographing your art, investing in quality lenses and cameras will help ensure that you get great photos every time.
- Not Backing Up Photos: Taking lots of pictures is great, but if they aren’t backed up properly, you may risk losing all of your hard work if something were to happen to your computer or camera. Make sure to back up your photos on an external hard drive or cloud service, just in case. 8. Not Editing Your Photos: Professional photographers edit their photos to enhance the colors and details of the artwork. If you’re serious about showing off your artwork online, make sure to spend some time editing each photo so that it looks its best.
- Ignoring Composition: The composition of a photograph can have a huge impact on how viewers perceive it. Paying attention to things like leading lines, negative space, and framing when photographing your artwork will help create visually interesting images that draw people in and showcase your art in the best way possible.
- Not Using A Tripod: Taking pictures with a tripod will help ensure that you get clear and sharp images, every time. A tripod also gives you the freedom to experiment with different angles and perspectives when photographing your artwork.
By following these tips, you can avoid some of the most common mistakes when it comes to taking photos of your art. With practice and dedication, you’ll be able to create beautiful photographs of your work that accurately display the effort and talent put into each piece.
FAQ
What is the best way to photograph art?
The best way to photograph art is to use natural light and a tripod. You should also try to capture the entire piece of artwork in one shot if possible. Try to keep your camera steady when taking photos, so that the image does not appear blurry or distorted. Additionally, use a polarizing filter if you can, as this will help reduce glare from any reflective surfaces on the artwork. Lastly, use editing software such as Photoshop or Lightroom to adjust brightness, contrast, and color levels to make sure your images look their best.
How can I photograph my artwork at home?
Photographing your artwork at home can be a challenge, but with the right equipment and technique, it is possible to get great results. First, you will need to find a good backdrop for the artwork so that it stands out from whatever is in the background. You will also need lighting – natural light is ideal if you have access to it, otherwise consider using LED or strobe lights that are adjustable in brightness and color temperature. Finally, make sure you have a tripod for your camera so that your photos are steady and consistent. With these tools and some practice, you should be able to photograph your artwork successfully.
What is the best way to store art prints?
The best way to store art prints is by keeping them protected in an archival-quality container, such as a portfolio or tube. This will help to ensure that the colors and paper quality of your artwork remains intact over time. Additionally, you should keep your prints out of direct sunlight to avoid fading and discoloration and store them in a cool, dry place away from moisture to prevent any damage caused by humidity. Lastly, it is important to make sure there is adequate ventilation around your prints so that air can circulate freely. If done correctly, these measures should guarantee longevity for all of your art prints.
What materials are good for framing art?
When framing artwork, it is important to use materials that won’t cause any harm to the piece itself. For this reason, archival materials such as mat boards and acid-free backing boards are the best options. Additionally, you should choose a frame that is UV resistant to prevent any fading or discoloration over time. Finally, make sure to use high-quality mounting hardware to secure the artwork in place, as this will help to ensure it stays firmly in place for years to come.
How do you photograph original paintings?
When photographing original paintings, it is important to use the right equipment and techniques. First, make sure you have a good camera with an adjustable aperture setting so that you can get the best possible results. Additionally, use natural light if possible, and a tripod for stability. You should also consider using a polarizing filter to reduce any glare or reflections on the painting’s surface. Finally, take multiple shots of the artwork from different angles to make sure every part of it is visible in your photos.
How do you photograph art without glare?
To avoid glare when photographing art, you should use a polarizing filter. This will help to reduce any reflections from the artwork and make sure your images are clear and sharp. Additionally, consider using a diffuser or reflector if necessary, especially if you are working with natural light. Finally, try not to take pictures of the artwork at an angle as this can cause unwanted shadows or highlights on the image.
How do you photograph a painting step by step?
When photographing a painting, the best approach is to start by setting up your equipment and lighting. Use natural light if possible, or LED/strobe lights with adjustable brightness and color temperature settings.
Then, use a polarizing filter to reduce reflections on the artwork’s surface. Next, take multiple shots of the painting from different angles until you are satisfied with the results. Finally, edit your images in Photoshop or Lightroom to adjust brightness, contrast, and color levels as necessary.
What do I need to know about copyright laws when photographing art?
It is important to understand copyright laws when photographing art, as you cannot legally reproduce artwork without the permission of the artist. Additionally, if you are planning to sell any prints or products featuring artwork that is not your own, you need to make sure you have a license from the copyright holder to do so. Lastly, always credit the original artist when using their work. This will help ensure that they receive due recognition for their work and avoid any potential legal issues down the line.
Can I use my photos of artwork commercially?
Yes, you can use your photos of artwork commercially, but it is important to understand and abide by copyright laws when doing so. You must obtain permission from the copyright holder before selling prints or products featuring another person’s artwork and always credit the original artist appropriately. Additionally, you may need to purchase a license from the copyright holder depending on how you plan to use the images. Finally, it is important to note that copyright laws will vary from country to country so make sure you research and understand any applicable laws before using artwork commercially.
How to maintain artwork prints?
Maintaining artwork prints is essential for keeping them looking their best. When storing prints, it’s important to use archival-quality materials such as mat boards and acid-free backing boards. Additionally, always keep your prints out of direct sunlight and away from moisture to prevent fading or discoloration. Finally, make sure there is adequate ventilation around the print so that air can circulate freely. With these measures in place, you should be able to ensure your artwork stays in great condition for years to come.
Why do you need to use a polarizing filter when photographing artwork?
A polarizing filter is essential for reducing reflections and glares on the surface of artwork when photographing it. Without this, your images can often be marred by unwanted highlights or shadows due to the angle of light. Additionally, using a polarizing filter will help to make colors appear more vivid in your photos. Finally, it also helps to protect your artwork from any potential damage caused by strong lighting sources.
What is the importance of photographing artwork?
Photographing artwork is important for a variety of reasons. It allows you to capture the artwork and preserve it in digital form, which can be useful for selling prints or showcasing your work online. Additionally, having high-quality photographs of your artwork makes it easier to make small adjustments or edits in post-production if necessary. Finally, it also helps to ensure that all details and nuances of the piece are captured accurately so that nothing is lost in translation.
How to use a UV filter when photographing artwork?
A UV filter is an important tool for reducing any fading or discoloration of artwork over time. When using a UV filter, make sure you attach it to the lens of your camera before taking photographs. This will help to protect your artwork from the harmful effects of ultraviolet radiation while preserving its colors and vibrancy in the images. Additionally, some cameras may also have a built-in setting that allows you to reduce UV exposure in photos as well.
Why use natural light when photographing artwork?
Using natural light when photographing artwork is important for achieving the best possible results. Natural light tends to be more balanced and even than artificial lighting, which can help to bring out the colors and details of the artwork in your photographs. Additionally, it also helps to minimize any glare or reflections that may occur with strong lighting sources. Finally, using natural light will save you time as there is no need to set up equipment or adjust settings on your camera.
Useful Video: HOW TO Take HI-RES PHOTOS of your PAINTINGS – Tutorial
Conclusion
To photograph artwork successfully it is important to have the right equipment, lighting, and environment. It is also essential to consider factors such as perspective, contrast, and composition. With a bit of practice and experimentation, you can learn to capture beautiful images that will bring your artwork to life. Taking the time to ensure that all of these elements are considered will help create the most accurate representation of your artwork possible. As with any craft, photographing art takes patience and dedication to achieve great results. With a few simple tips, however, you can master the process of capturing amazing photographs of your work. While taking pictures for artwork may seem intimidating at first, it doesn’t have to be something that causes stress or frustration.
References
- https://justcreative.com/best-cameras-for-artwork/
- https://egoidmedia.com/should-i-scan-or-photograph-my-artwork/
- https://photographers-diary.com/how-to-photograph-your-art/