
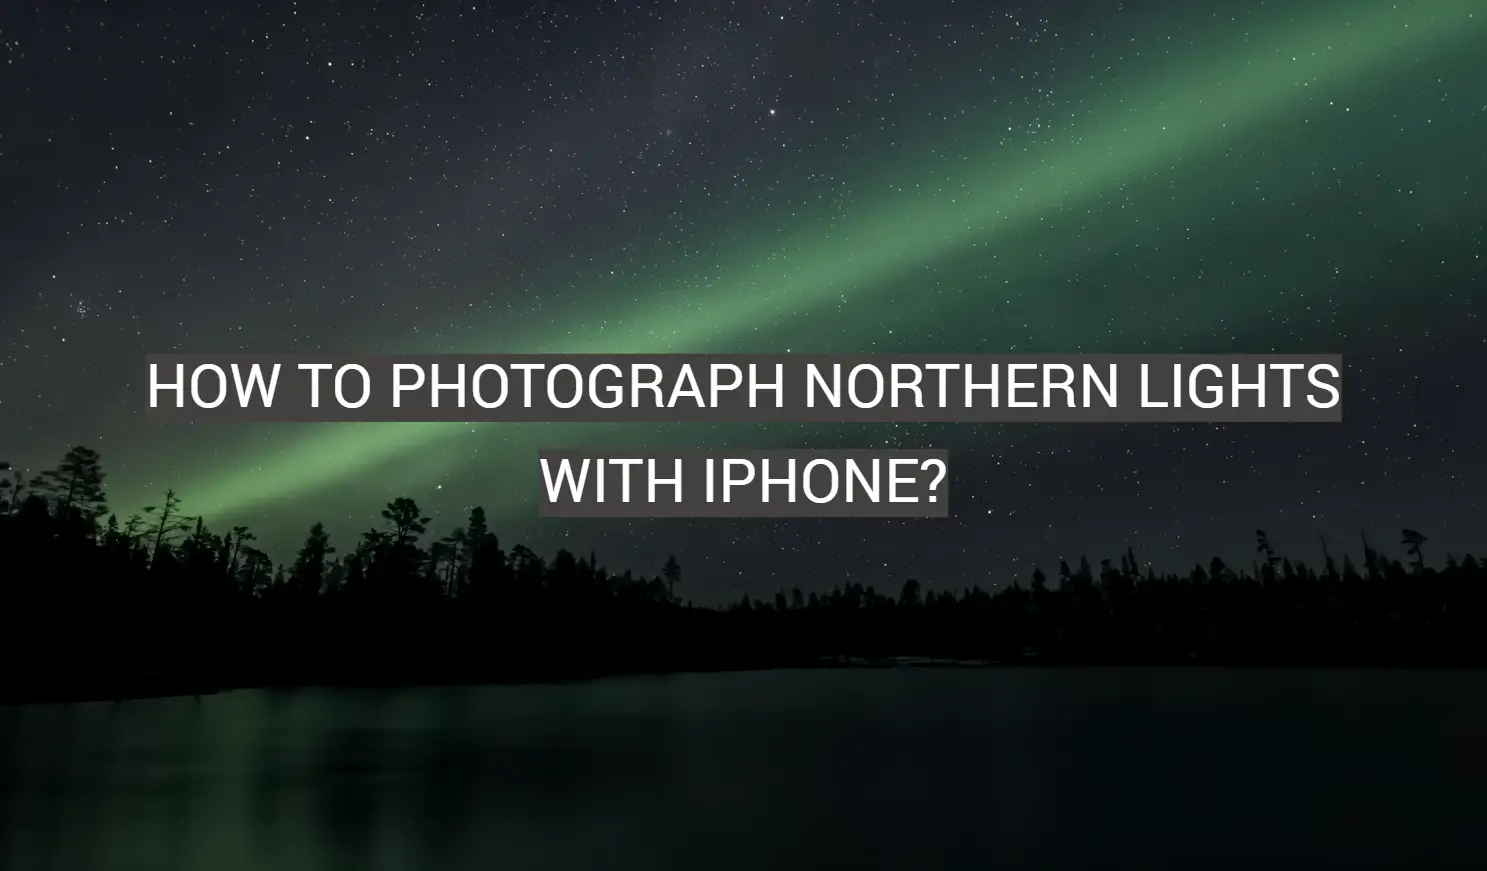
The Northern Lights have captivated our imaginations for centuries, and now you can take part in the breathtaking beauty of these mysterious auroras with your own professional-level iPhone photos. With just a few tips and tricks, you can unlock the secrets to capturing the majestic light show of the northern skies with your phone. From setting your camera up for optimal focus to finding the best time of night, this guide will help you capture the magic of the Northern Lights like a professional photographer!
What are the Northern Lights?
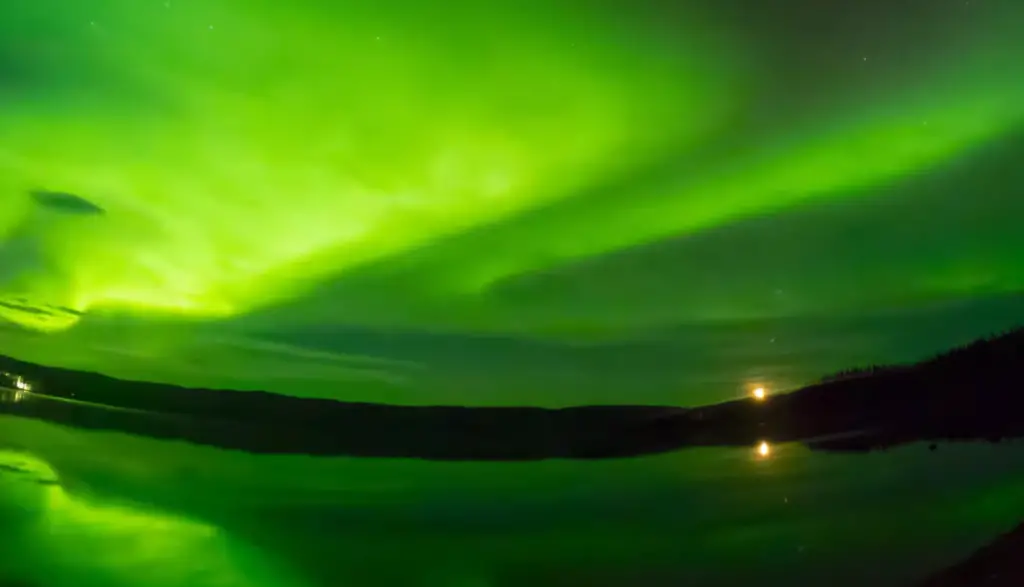
The Aurora Borealis is prevalent in higher latitudes, meaning places around or above 60 degrees North of the equator. This includes parts of Europe such as Norway and Finland, Canada and Alaska, Russia and Greenland.
In some areas near these higher latitudes, the Northern Lights can be seen more often and are more intense due to certain geographical features. For example, in Canada, there are two main regions where the lights are most visible: Yellowknife in N.W.T., and Whitehorse in Yukon Territory.
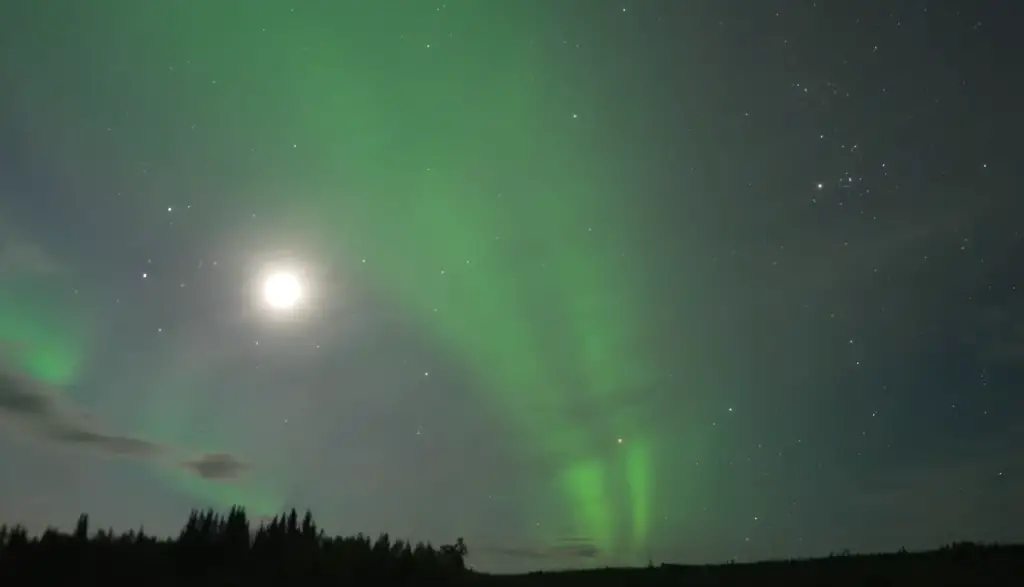
When viewing the Northern Lights, make sure you have a clear view of the northern sky as they can often be seen near the horizon. Additionally, it’s important to make sure that the sky is dark and free of bright light sources such as street lights. The best time to view them is usually around midnight during days when the moon is not full [1].
iPhone Settings for Shooting The Northern Lights – Aurora Borealis
Night Mode
The Night mode feature on the iPhone utilizes advanced AI-powered functionality to capture stunning low-light photos with exceptional clarity and detail. By simply accessing your camera settings, you can enable this feature, allowing you to effortlessly capture the breathtaking beauty of the Aurora Borealis. For even more remarkable shots, consider using the “long exposure” option, which enhances the overall quality and depth of your photos, resulting in truly mesmerizing images that will leave you in awe.
Shutter Speed
The shutter speed of a camera plays a crucial role in capturing the magical beauty of the Northern Lights. It determines how quickly the sensor captures the mesmerizing dance of light in the night sky. To capture this celestial spectacle in all its glory, it is recommended to keep your shutter speed as slow as possible without introducing any visible motion blur into your photos. By setting the shutter speed to anywhere between 1/2 and 4 seconds, you can adapt to the varying brightness levels of the night sky and capture stunning images that showcase the ethereal colors and intricate patterns of the Northern Lights. So, grab your camera, find a cozy spot, and immerse yourself in the captivating world of astrophotography. Get ready to capture the awe-inspiring beauty of nature’s very own light show!
ISO and White Balance Settings
The ISO setting on your camera determines how sensitive it is to light, which can greatly impact the quality of your photos. A lower ISO value is typically preferred when shooting the Northern Lights to minimize noise and grain. Similarly, the white balance setting plays a crucial role in accurately representing colors in your images. Setting it to “auto” can help ensure optimal results, especially when capturing the vibrant hues of the Aurora Borealis. By fine-tuning both these settings and finding the perfect balance, you can enhance your photography and capture the mesmerizing beauty of the Northern Lights in all its glory.
Exposure Adjustment
In addition to the above camera settings, it is also important to adjust the exposure to capture a properly exposed and balanced image. Exposure adjustments can be made by simply dragging your finger around on the screen of your phone’s viewfinder while looking through the lens. Make sure that you look for areas with even illumination and then use the exposure adjustment slider to fine-tune the brightness and darkness of your photo. With this simple and easy-to-use feature, you can quickly achieve remarkable results, allowing you to capture the beauty of the Aurora Borealis in all its glory!
How to tell your iPhone to preserve specific settings or not?
You can preserve specific settings for shooting the Northern Lights on your iPhone by using the “Preserve Settings” feature. This will allow you to automatically apply all your camera settings each time you open the camera app. To enable this feature, simply access your phone’s camera settings and select “Preserve Settings” from the list of options. Now all your preferred camera settings will be automatically applied each time you open the camera app, allowing you to quickly and easily capture stunning photos of the Northern Lights.
What iPhone model do you need?
Most modern iPhones feature advanced camera technology that can capture beautiful photos of the Aurora Borealis. The iPhone X series, in particular, is particularly well-suited for astrophotography due to its powerful camera and sophisticated image processing capabilities. So, if you’re looking to get the best possible shots of the Northern Lights, consider investing in one of these powerful devices [2].
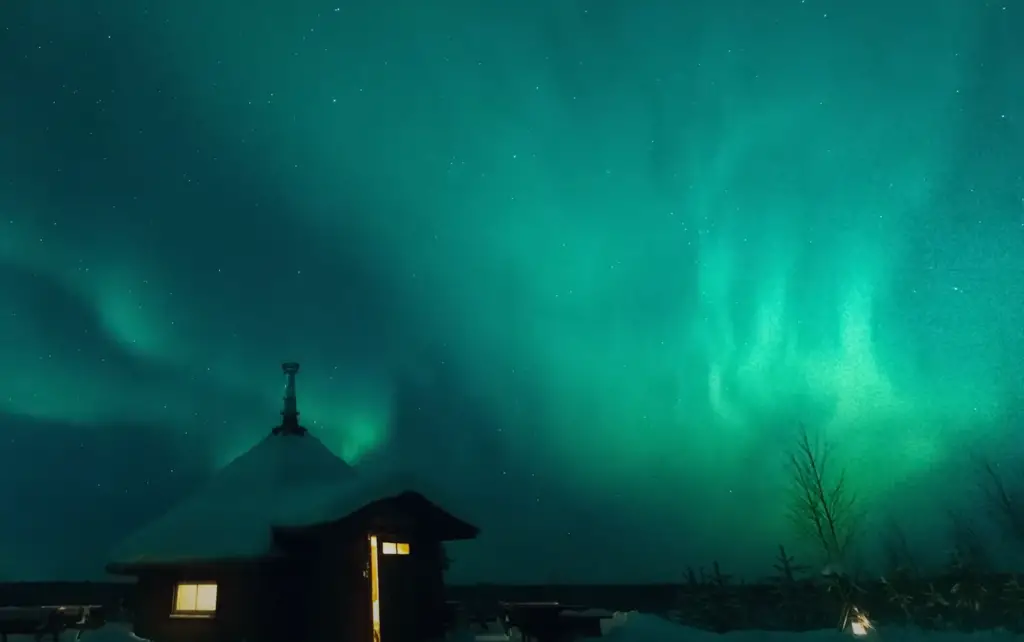
Iceland Northern Lights photography tips
Tripod
One of the key pieces of equipment when it comes to photographing the mesmerizing Northern Lights is a sturdy tripod. Investing in a high-quality tripod will not only ensure stability and eliminate camera shake, but it will also enable you to capture breathtakingly sharp images of this natural phenomenon. With a reliable tripod, you can confidently experiment with longer exposures, allowing you to capture the full spectrum of vibrant colors that paint the magnificent canvas of the Aurora Borealis.
Digital camera, DSLR, or smartphone?
The type of camera you choose to take with you on your Northern Lights photography journey will greatly influence the quality and composition of your images. Digital cameras offer basic photographic capabilities and provide an affordable entry point into night sky photography. DSLRs, on the other hand, are ideal for capturing the complexities of the Aurora Borealis in all its glory, as they come equipped with a wide range of features that can make all the difference between an average shot and a truly stunning image. Smartphones are also capable of taking beautiful images of the Aurora Borealis, but for best results, you will need to invest in some additional equipment such as specialized lenses and tripods.
Lenses
When it comes to capturing the breathtaking beauty of the Northern Lights, investing in a good quality lens becomes paramount. The right lens choice can make all the difference in creating stunning images that truly do justice to this natural wonder. One of the key factors to consider is the focal length, and wide-angle lenses are particularly well-suited for this purpose. With their ability to capture more of the expansive sky in each shot, they allow you to showcase the full grandeur of the Northern Lights, revealing intricate details and a sense of depth that will leave viewers in awe. Adding to this, opting for a higher quality lens, such as an ultra-wide or fisheye lens, can elevate your photographic endeavors to new heights.
The superior optics and advanced features of these lenses will ensure that every shot of the Northern Lights is a masterpiece, delivering unparalleled results that truly capture the magic and majesty of this celestial spectacle. So, when it comes to photographing the Northern Lights, remember that investing in a top-notch lens is not just a wise choice, but an essential one that will unlock a world of possibilities and enable you to create truly extraordinary images that will be cherished for a lifetime.
Focus
One of the most important things to consider when photographing the Aurora Borealis is your focus. It can be difficult to get a sharp image with longer exposures, so make sure you set your camera’s focus to infinity before shooting. This will ensure that your images are in focus and allow you to capture more details in each image. Also, keep in mind that you should avoid using autofocus when photographing the Northern Lights as this may cause your camera to hunt for focus in the dark.
To make sure your shots are razor-sharp, use manual focus and set it to infinity before taking any photos of the Aurora Borealis. This will ensure that all elements in your frame are perfectly in focus, allowing you to capture the full splendor of this natural phenomenon.
Batteries
Cold temperatures can be a major obstacle when it comes to capturing great images of the Northern Lights. It’s important to remember that batteries are particularly affected by cold conditions and will drain quickly in low temperatures. To ensure your battery lasts for as long as possible, keep spare batteries on hand and try to keep them close to your body while shooting so they remain warm. This will help to extend the life of your batteries and allow you to shoot for longer without interruption.
Location, location, location!
It’s no secret that photographing the Aurora Borealis is a challenge in itself, but picking the right spot can be just as tricky. A good starting point is researching potential locations in advance and finding out whether they offer good viewing opportunities. Look for spots away from light pollution so you can enjoy unobstructed views of the sky and make sure to scout out areas with interesting elements such as mountains, rivers, or forests that will add a unique touch to your photos. Also, pay attention to weather forecasts so you can plan your shoot around clear skies and avoid missing out on this captivating natural phenomenon.
General tips for capturing the Northern Lights
Anticipation is the key
When it comes to photographing the mesmerizing Northern Lights, patience truly becomes a remarkable virtue. To ensure the best chance of capturing this natural wonder, it is highly recommended to arrive early, preferably at least an hour before darkness envelops the sky. This additional time allows you to meticulously set up your camera, adjust the necessary settings, and become acclimated to the enchanting surroundings. By immersing yourself in the moment and embracing the serenity of the scene, you enhance your potential to capture the awe-inspiring beauty of the Northern Lights in all their glory.
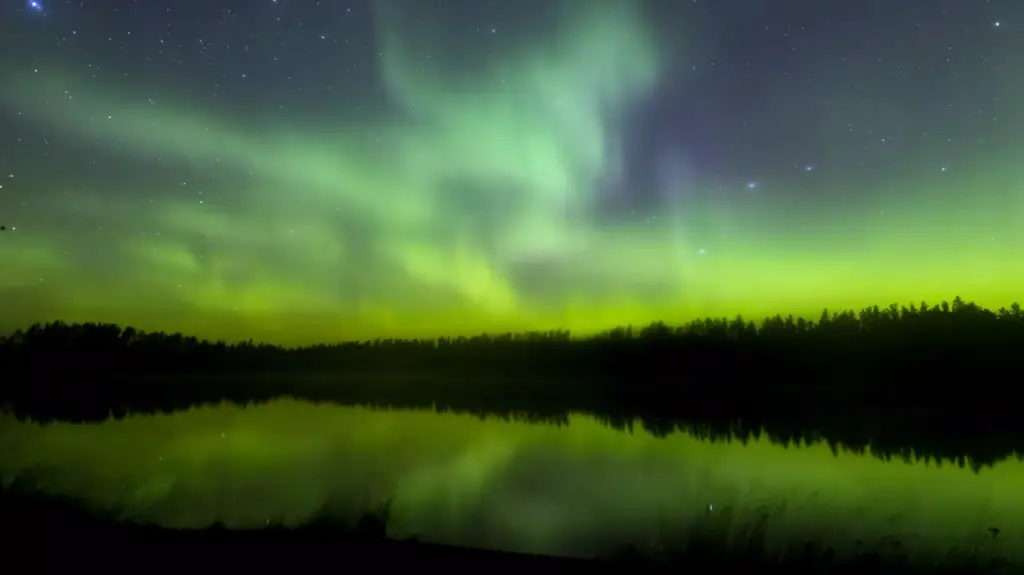
Location and timing
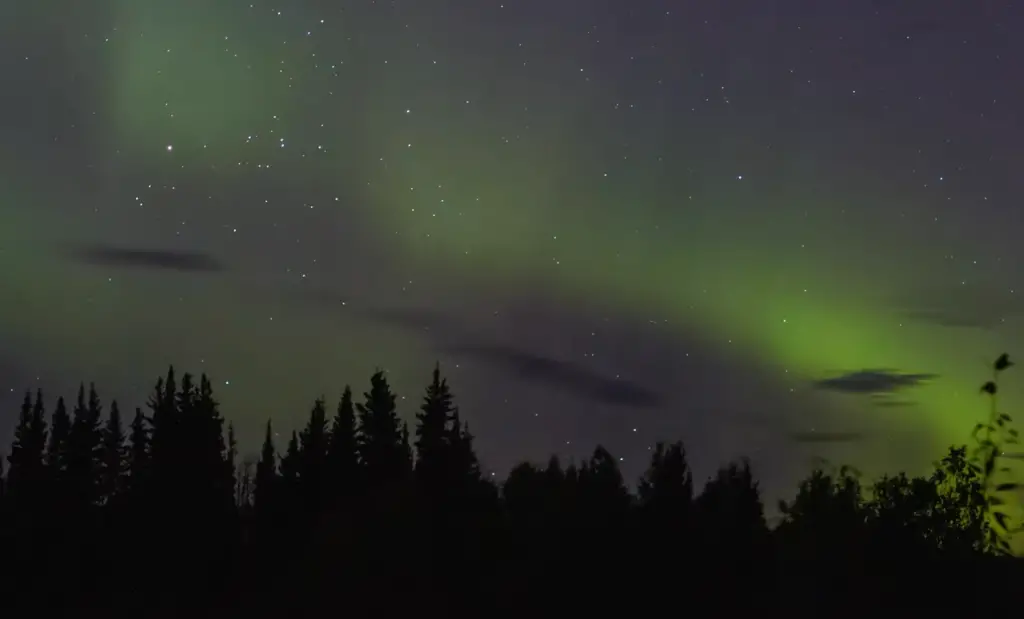
It’s important to choose a location with minimal artificial light pollution, as this will help you achieve better-quality photos. The ideal spot should provide an open view of the night sky without any obstruction. If possible, avoid visiting heavily populated areas since urban lights can easily overpower and wash out the display of Aurora Borealis. Additionally, timing is essential when photographing the Northern Lights; they are visible from late August to early April in the northern hemisphere and are generally more active during the winter months.
Check the Northern Lights activity
Before setting out on your Northern Lights photography adventure, it is important to check the current activity of Aurora Borealis. This can be done by visiting websites and apps that offer real-time updates regarding the intensity and location of active lights in different regions. It’s also recommended to follow local forecasts as weather conditions play a huge role in capturing amazing photos of the Northern Lights.
Check weather conditions
To capture the best photos of the Northern Lights, it’s important to choose a night when the sky is clear and crisp. Cloudy skies can be a major setback as they will block out the display of Aurora Borealis. Moreover, strong gusts of wind can also cause problems in photography since tripod movement can disrupt image capturing. So make sure to pick a night when there’s little or no wind and the skies are free of heavy clouds.
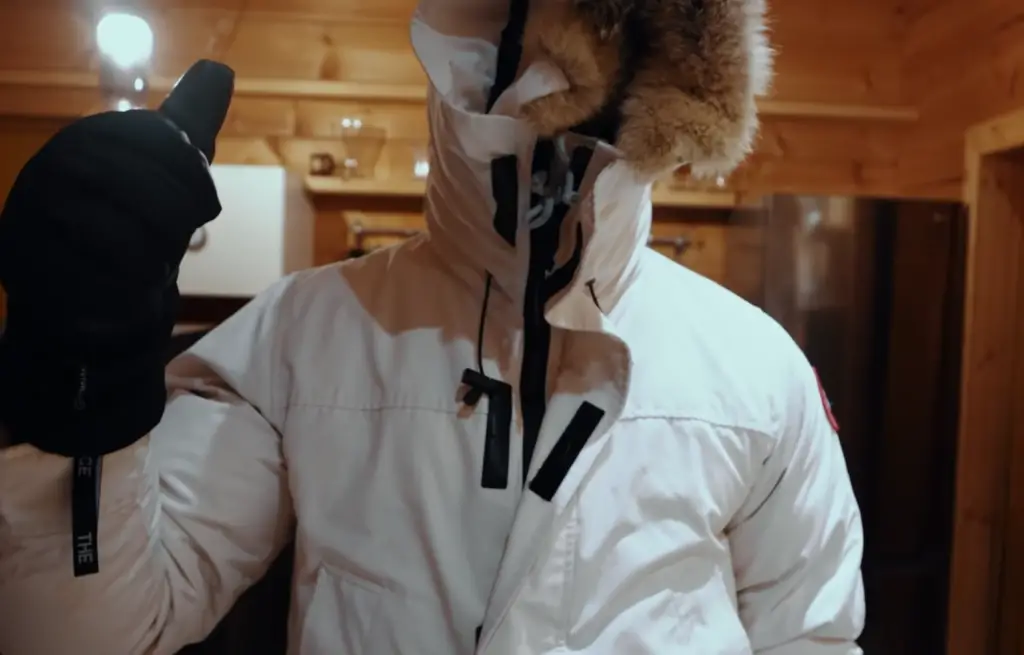
Wear warm clothes
FAQ
What iPhone app is used to photograph Northern Lights?
When it comes to photographing the mesmerizing Northern Lights, look no further than the highly acclaimed Aurora Photo Booth. This remarkable iPhone app utilizes cutting-edge algorithms to assist you in capturing breathtakingly beautiful photos of the celestial night sky. With its intuitive interface, you can effortlessly adjust essential settings like exposure time, ISO, and white balance, ensuring optimal results. And that’s not all – the app also offers a wide range of filters that can be applied to your photos, allowing you to add a touch of drama and uniqueness to your captures. Get ready to embark on an extraordinary photographic journey with Aurora Photo Booth!
Can I view the Northern Lights from the United States?
Yes, it is possible to view the Northern Lights from the continental United States. The best chances of experiencing this natural phenomenon occur in places like Alaska, Montana and Maine. However, even if you’re located elsewhere across the country, there’s still a chance that you may catch a glimpse of the Aurora Borealis on certain nights. To increase your chances, it’s recommended that you travel away from cities and other light sources, as the night sky needs to be dark for optimal viewing. Additionally, look out for forecasts – these can provide clues as to when the Northern Lights may appear in certain areas.
What is the best time of year to view the Northern Lights?
The Northern Lights are visible from late August to mid-April. However, the intensity of the lights can vary during this period. Generally speaking, the best time to view them is between late September and early April when nights are longer and darker. If you’re hoping to experience the most vibrant displays of colors, then plan your trip for February or March as this is typically when the lights are at their peak. Keep in mind that weather conditions can also impact visibility, so be sure to check the forecast before heading out!
How do I take pictures of Northern Lights with my phone?
The best way to take pictures of the Northern Lights with your phone is to use a tripod and an app like Aurora Photo Booth. With this app, you can easily adjust settings like exposure time, ISO, and white balance so that your photos come out looking stunningly beautiful. Additionally, you’ll be able to add extra drama by applying filters to your captures. If you don’t have a tripod, simply prop your phone up against something stable and place it on manual mode for optimal results. Above all else, remember to be patient – the Northern Lights may take some time to appear in the night sky!
How do I turn on Star mode on my iPhone?
If you want to take photos of the night sky with your iPhone, then you’ll need to turn on Star mode. To do this, pull up the Camera app and select ‘Night Mode’. This will automatically activate Star mode which is designed to capture the stars more clearly and sharply. You can also adjust the settings like exposure time, ISO, and white balance to further improve your photos. With Star mode enabled, you’ll be able to take beautiful photographs of the Northern Lights with ease!
Are there any resources I can use to learn more about photographing Northern Lights?
Yes, there are a number of great resources available for those who want to learn more about photographing the Northern Lights. One such resource is the Aurora Photo Booth app, which provides users with a wealth of helpful information on how to take stunning photographs of the night sky. Additionally, there are various photography websites and blogs that offer advice on capturing the Northern Lights with both digital cameras and phones. Finally, you can also find many tutorials online that provide step-by-step instructions for taking photos of this natural phenomenon. With the right resources, you’ll be ready to start capturing stunning images of the Northern Lights!
Does the iPhone camera have a Night mode?
Yes, the iPhone camera does have a Night mode which is designed to capture photos in low light conditions. When this mode is activated, your phone’s camera will automatically adjust settings like exposure time and ISO to produce better results. Additionally, the built-in flash will be disabled to prevent any unwanted glares or reflections from ruining your shots. With Night mode enabled, you’ll be able to take beautiful photographs of the Northern Lights with ease!
How do I take pictures of the northern lights with my iPhone 13?
Taking pictures of the Northern Lights with an iPhone 13 is easy! First, make sure you’re in a dark area that’s away from any light pollution. Then, pull up the Camera app and select ‘Night Mode’. This will enable Star mode which is designed to capture stars more clearly and sharply. Once this setting is enabled, adjust the exposure time and ISO settings to get the best results possible. Finally, prop your phone against something stable and snap away at the mesmerizing night sky! With these tips, you’ll be ready to capture stunning photos of the Northern Lights with your iPhone 13!
What are the best settings for night photography on iPhone?
The best settings for night photography on an iPhone depend on the type of photo you’re trying to capture. For photos of the night sky, such as those of the Northern Lights, it’s recommended that you use a tripod and enable Night mode. This will adjust the exposure time and ISO settings automatically to produce better results. Additionally, you can further improve your photos by using filters and playing around with the white balance setting. By following these tips, you’ll be able to take amazing photographs of the Northern Lights with your iPhone!
Useful Video: HOW TO: TAKE NORTHERN LIGHTS PHOTOS LIKE A PRO!
Conclusion Paragraph
To photograph Northern Lights with an iPhone is possible, but it requires more skills and knowledge than traditional point-and-shoot digital cameras. It’s also important to have a good tripod, iPhone case, and app for night photography or astrophotography. Once all the necessary gear has been obtained and some practice with the camera has been established, photographers will be able to capture beautiful images of the aurora borealis. It’s also important to choose a dark location with minimal light pollution and a clear view of the sky for optimal results.
References
- https://www.space.com/15139-northern-lights-auroras-earth-facts-sdcmp.html
- https://www.travelfoss.com/how-to-photo-shoot-the-northern-lights-with-your-iphone-aurora-borealis/
- https://fullsuitcase.com/photograph-northern-lights-beginners/