Have you ever been out in the field with your trusty camera, only to take a picture and find that it looks foggy and blurred? Do you feel like your camera lenses are constantly damp and obscured? If this sounds familiar, then get ready to say goodbye to foggy lenses forever! This guide will take you step-by-step through the process of removing moisture from your phone camera lens so that you can take crystal-clear shots every time. Get ready to ‘clean up’ your photos and say hello to a clearer, sharper photography experience!
Why can the Phone Camera Lens get moist?
The camera lens on your phone can get moist for several reasons. Moisture can enter the lens due to condensation, humidity in the air, and even from your breath when you are speaking or breathing near the camera. The heat generated by your phone can also cause moisture to accumulate inside the camera lens if it is not adequately ventilated. Additionally, if you use any type of chemical cleaners or sprays that contain alcohol, they can leave residue behind which will attract moisture. Finally, dust and debris can also cover the lens which will prevent it from drying out after use. All these things combined could lead to a foggy foggy phone camera lens!
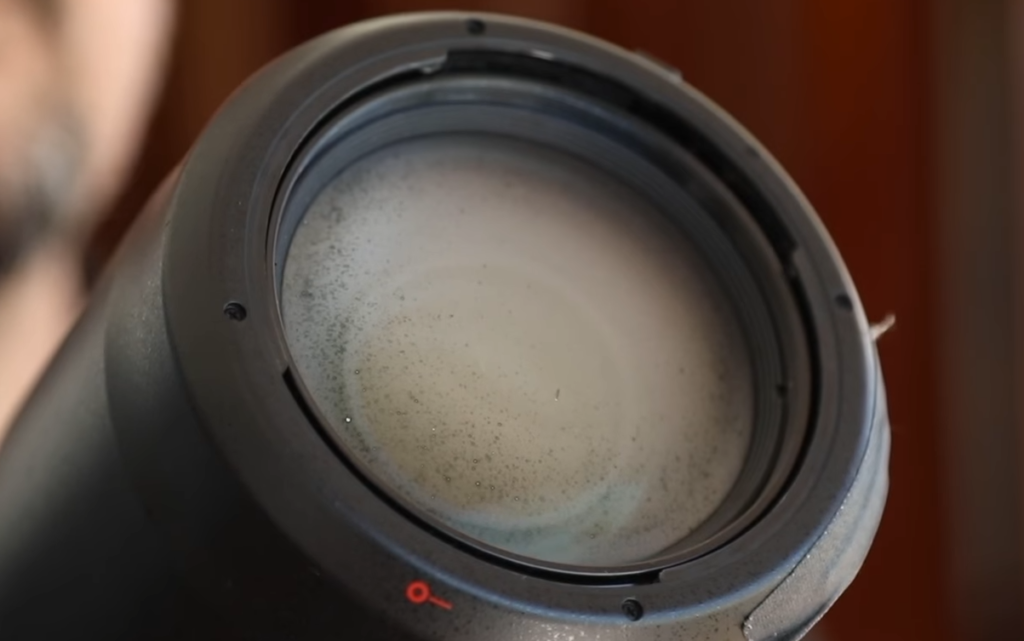
One way to do this is by using a microfiber cloth or lens cleaner solution and wiping down the lens with clean, dry strokes. Make sure not to put any pressure on the lens as this can cause scratches or other damage. Additionally, you should check for any signs of condensation or water droplets that may have accumulated around the edges of the lens and wipe them away too. Finally, make sure that your phone is stored in a cool, moisture-free place when not in use as this will help reduce the risk of future moisture buildup.
Six ways to clean the camera lens on your mobile phone
Use a cleaning pen to remove dust
Using a cleaning pen is one of the best and easiest ways to remove dust from your camera lens. It’s important to use a microfiber cloth and/or an alcohol-based solution with the cleaning pen instead of just using the pen itself, as this will help prevent any scratching or damage. Additionally, you should also make sure that there isn’t any dirt on the surface of the lens before you start using the cleaning pen.
Use a Q-tip or cotton swab for stubborn marks
If any stubborn marks won’t come off with the cleaning pen, then it may be necessary to use a Q-tip or cotton swab. In order to do this, just dip the Q-tip or cotton swab in a small amount of rubbing alcohol and gently rub it on the lens. Make sure to be gentle and use soft circular motions, as you don’t want to scratch the surface of the lens.
Use a microfiber cloth to buff away smudges
Microfiber cloths are great for removing fingerprints and smudges from the lens of your phone. Before using the cloth, make sure that it is completely dry and free of any dirt or debris. Then use gentle circular motions to buff away any smudges or streaks.
Use compressed air to remove particles from hard-to-reach places
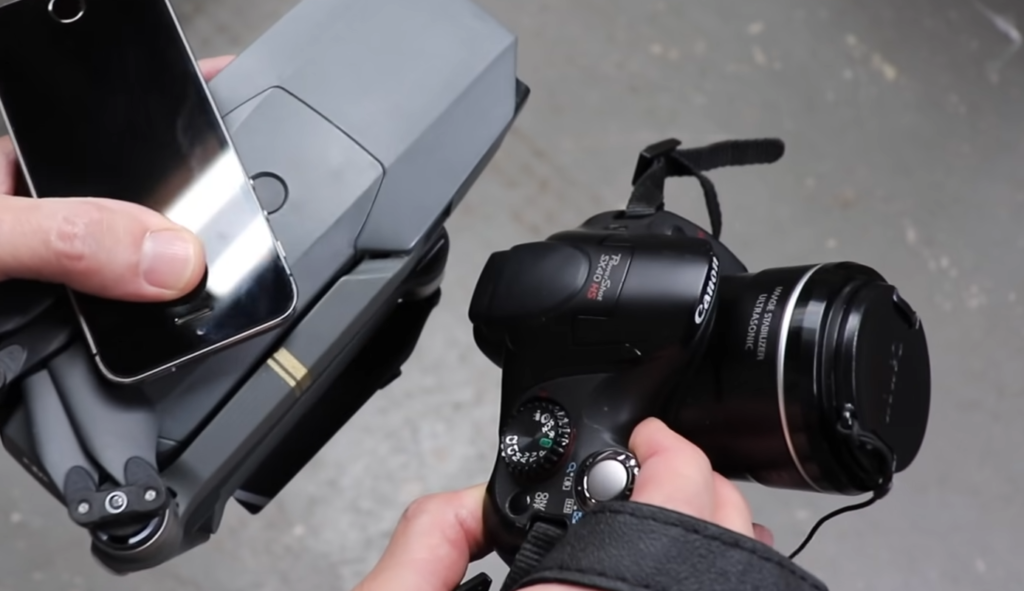
Compressed air can be used to reach small crevices in the lens where dirt and dust may be hiding. Make sure that you use a short burst of air at a time instead of one long blast so that you don’t damage the fragile surface of the lens. Additionally, keep in mind that compressed air cans contain pollutants, so it’s best not to breathe in the air coming from the can.
Use a lens wipe for more stubborn grime
Lens wipes are designed specifically for cleaning camera lenses, and they can be great for removing stubborn grime from the surface. To use them, just follow the instructions on the package and make sure to be gentle as you wipe away any dirt or dust. Additionally, it’s important to remember not to make any circular motions with the lens wipe as this could damage the lens.
Use a lens cleaner or a homemade version
Lens cleaner can be a great way to keep your lens free of dirt and debris. If you don’t want to buy a pre-made lens cleaner, then you can make your own using isopropyl alcohol and distilled water. Just mix the two ingredients in equal parts and use a microfiber cloth to apply it to the lens.

How to protect your phone’s camera lens?
- Use a protective cover: One of the simplest and most effective ways to protect your phone’s camera lens is to use a protective case or cover that fits snugly around it. Not only will this help keep dirt and debris away from the lens, but it will also provide shock protection in case you accidentally drop your phone.
- Clean your lens only with approved products: While some people may suggest using items like paper towels and other household cleaners, these can cause scratches on the delicate surface of your camera lens. Instead, use products specifically designed for cleaning lenses such as special wipes, microfiber cloths, or compressed air cans. These are all safe to use without the risk of damaging the lens coating.
- Avoid using the camera in extreme temperatures: Exposing your phone to incredibly hot or cold temperatures can cause irreparable damage to the camera lens, so avoid using your phone’s camera in such conditions as much as possible.
- Keep it covered when not in use: If you’re not using your phone’s camera, be sure to keep its lens covered with a protective cap or case. This will help prevent dust and other particles from getting trapped on the surface of the lens and potentially causing scratches over time.
- Handle with care: Be extra careful when handling your phone and try not to put too much pressure on the area surrounding the camera lens. Dropping it or putting pressure directly onto the lens could create cracks or other damage.
- Regularly check for damage: Check your phone’s camera lens every now and then to make sure it hasn’t gotten scratched or cracked. If you notice any signs of wear and tear, be sure to get it fixed as soon as possible before further damage occurs.
Following these simple tips can help keep your phone’s camera lens safe and protected from dirt, dust, scratches, and other forms of accidental damage. Taking the time to properly care for your device can save you a lot of money in the long run [2]!
How NOT to clean your phone’s camera lens
Don’t use domestic glass cleaner
It’s tempting to reach for a window cleaner or a similar product when you’re trying to clean your phone’s camera lens, but this isn’t the best tactic. Domestic glass cleaners are often too strong and can actually damage the delicate coating on the lens and lead to permanent discoloration.
Don’t use paper products
Paper towels and other paper-based cleaning materials shouldn’t be used either. They may contain small particles that can scratch your lens, leaving it permanently damaged.
Don’t scrub the lens too hard
If you do decide to use a cloth, make sure not to scrub too hard as this can also lead to scratches on the surface of the lens. When wiping away dust or dirt, use light pressure and don’t scrub in circles — instead, wipe gently in one direction.
Don’t forget to power down
Before you start cleaning your phone’s camera lens, make sure it is powered down completely. This will ensure that no extra static electricity builds up while you clean, which can cause further damage.
Don’t use harsh chemicals or solvents
Harsh chemicals such as alcohol or ammonia should never be used on a camera lens, as they can strip away the delicate coating and leave permanent streaks on the lens. Additionally, solvents like acetone should not be used either since they can corrode some of the metal components.
Don’t forget to use the right cloth
When cleaning your phone’s camera lens, always make sure you are using a soft, lint-free cloth such as microfiber or a dedicated lens-cleaning cloth. These materials will not leave any residue behind and won’t scratch the surface of the lens either.
Don’t use tap water
Tap water contains minerals that can leave a residue on the lens and lead to permanent discoloration. When cleaning your phone’s camera lens, use only distilled or deionized water instead.
Don’t forget about lens protectors
Lastly, don’t forget about lens protectors if possible. These extra layers of protection can help keep dirt and dust from getting onto your camera lens in the first place, saving you time and effort when it comes time to clean. Many popular smartphones come with built-in lens protectors as well.
How to Dry Out Your Phone?
Leave Your Phone to Evaporate
The most straightforward way to dry out your phone is to leave it in a dry, room-temperature area and let the moisture evaporate. This might take 24 hours or longer if there was a lot of water exposure. Do not use a hairdryer, microwave oven, or any other heat source to hasten the process. Heat can cause more damage and may render your phone inoperable.
Remove the Battery (If Possible)
If possible, you should remove your battery before attempting to dry out your phone. Don’t try this with an iPhone; Apple doesn’t allow users to remove their batteries due to safety concerns. With some Android phones, you may be able to pry off the back cover and remove the battery.
Dry Out the Exterior with a Soft Cloth
Using a soft, lint-free cloth, gently dry off any remaining moisture on the exterior surface of your phone. Avoid scrubbing or rubbing too hard; this could cause additional damage to your device.
Place Your Phone in an Airtight Container of Rice
Once you have removed any excess moisture from the outside of your phone, place it into an airtight container filled with uncooked rice. Uncooked rice is one of the best materials for absorbing water due to its granular structure. Leave your phone in the container for at least 24 hours or longer if possible before attempting to turn it on again.
Allow Your Phone to Sit Unused for 24-48 Hours
After you have removed as much moisture from your phone as possible, allow it to sit unused for at least 24-48 hours. This will give the remaining water time to evaporate and allow any internal components affected by the water exposure to dry out completely.
Try Some Silica Gel Packets.
Silica gel packets are a great way to help absorb moisture from your phone. Place the packets around and inside of your device, being sure to not block any air vents. Silica gel is especially useful for devices with tightly sealed interior components as it will draw out moisture without damaging the internal parts.
Turn On Your Phone and Check for Signs of Damage
Once you have allowed time for your phone to dry out completely, you can try turning it on to see if it still works properly. If there are signs of damage such as watermarks on the screen or if your phone doesn’t turn on at all, you may need to seek professional help from a repair shop or contact your device’s manufacturer [3].
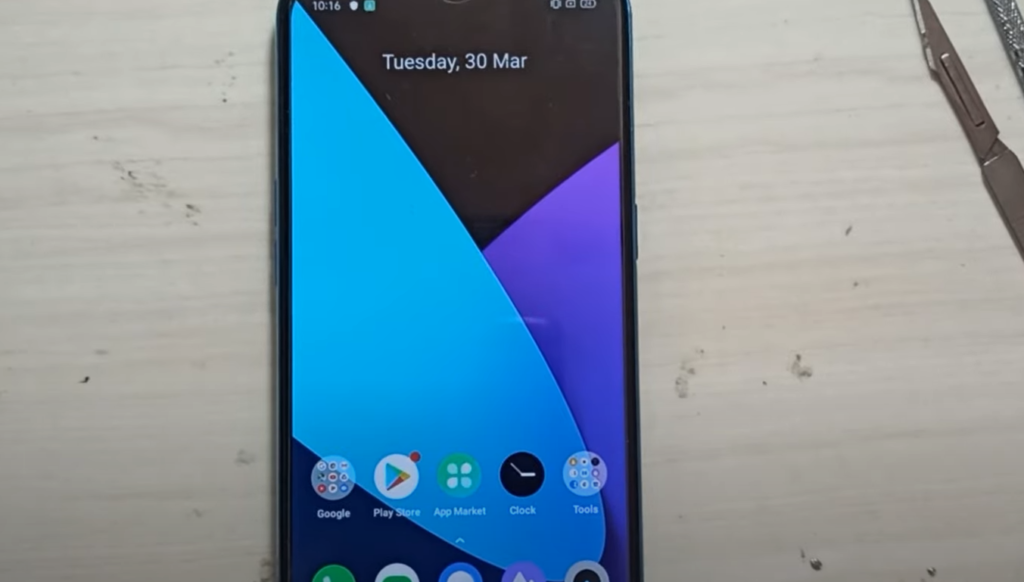
How to remove condensation from your phone’s camera lens?
If you’ve noticed condensation on the lens of your phone’s camera, don’t panic! There are a few simple steps you can take to remove it and keep it from happening in the future.
- Make sure that there is no moisture inside your phone by wiping down the screen and any ports with a microfiber cloth. This will help prevent further condensation build-up.
- If there are still water droplets present, gently wipe them away with a more lint-free cloth or cotton swab. Do not use anything abrasive as this could damage the lens coating or scratch the surface of your lens.
- Turn off your device and remove the battery if possible. This will help to keep the heat away from your camera lens and reduce condensation build-up.
- Place the phone in a cool, dry place (i.e. not the bathroom!) for at least 30 minutes before powering it up again. This will give time for any excess moisture to evaporate away.
- Once you’ve powered back on, check for any remaining condensation and repeat this process if needed until all droplets are gone!
- Finally, prevent future buildup by using a case or cover that is designed to both protect and help ventilate your device so that it won’t overheat or get too humid inside which can cause condensation.
Following these steps should help to keep your phone’s camera lens free from condensation and ensure the best possible quality pictures! If you have any other tips for preventing or removing condensation, let us know in the comments.
FAQ
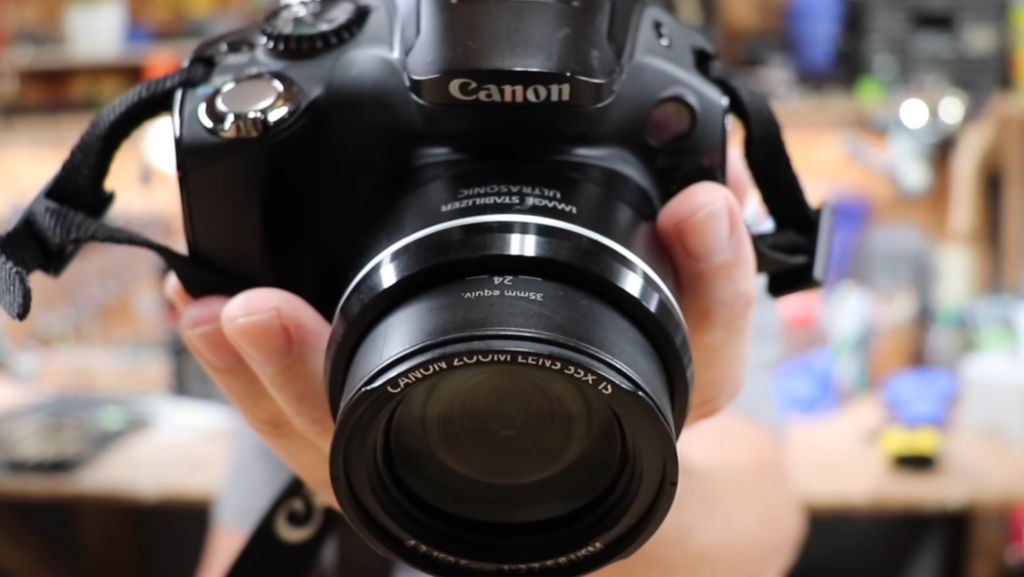
How do you remove moisture from a camera lens?
The best way to remove moisture from your camera lens is to use a microfiber cloth and some specialized lens cleaning solution. Start by gently wiping away any moisture or dirt using the corner of the cloth, then apply a few drops of cleaner directly onto the lens. Gently wipe it with the cloth, making sure not to press down too hard. If you still notice residue after cleaning, try using slightly dampened cotton swabs to reach smaller areas that may be harder to clean with the cloth alone. When finished, use a dry part of the cloth to buff away any remaining streaks or smudges.
How do you defog a camera lens?
Defogging a camera lens is similar to removing moisture, using a microfiber cloth and a specialized cleaning solution. However, rather than rubbing the fog away with the cloth, you will want to use cotton swabs as they are better equipped for reaching into smaller areas that may be harder to clean. Start by gently wiping away any moisture or dirt using the corner of the cloth, then apply a few drops of cleaner directly onto the lens. Use slightly dampened cotton swabs to wipe in circular motions around the affected area until all of the fog has been removed. Make sure not to press down too hard as this can damage your lens. When finished, use a dry part of the cloth to buff away any remaining streaks or smudges.
Can you dry out waterlogged camera lenses?
Unfortunately, it is not recommended to dry out waterlogged camera lenses as this can cause damage and even permanent discoloration. The best way to handle a waterlogged lens is to take it to a qualified technician or professional camera repair shop. They should be able to disassemble the lens and clean out any remaining moisture without causing further damage. If you try to dry out a waterlogged lens on your own, you may end up doing more harm than good!
Useful Video: HOW TO FIX MOISTURE IN A CAMERA LENS!
Conclusion
Removing moisture from Phone Camera Lens is essential for preserving the quality of pictures taken. It helps keep your phone camera lens free from dust, dirt, and other debris that can interfere with image clarity. Moreover, it also keeps the lens clean and provides better overall protection to the device. Lastly, removing moisture from a phone camera lens enables you to take clearer and sharper images that are sure to impress others. Therefore, eliminating moisture from a phone camera lens can be beneficial in many ways. Taking these simple steps will ensure that your photos come out looking great each time!
References
- https://www.xda-developers.com/how-to-clean-your-phone-camera-lens/
- https://www.diyfixtool.com/blogs/news/how-to-protect-cell-phone-camera-lens-the-only-guide-youll-ever-need
- https://www.carlcare.com/ke/tips-detail/how-to-remove-moisture-from-phone/




Leave a Reply