Whether you’re capturing a stunning sunset or a dimly lit room, the built-in flash on your Canon camera can be a powerful tool. A flash is essential in low-light situations where natural light isn’t sufficient for a clear shot. However, even seasoned photographers can sometimes grapple with the task of activating the flash. This guide outlines the simple steps to engage the flash setting on your Canon camera, ensuring you’re able to create beautiful, illuminated photographs in any setting.
Understanding When to Use Your Flash
When you’re using your Canon camera, there may be times when you need to turn on the flash. Knowing when to do this can help ensure that your pictures come out great. Generally speaking, it is best to use flash in dim or low-light situations where not enough light is available for a clear shot. When taking pictures of people, turning on the flash will reduce any harsh shadows, fill in unlit areas and generally create a more even lighting.
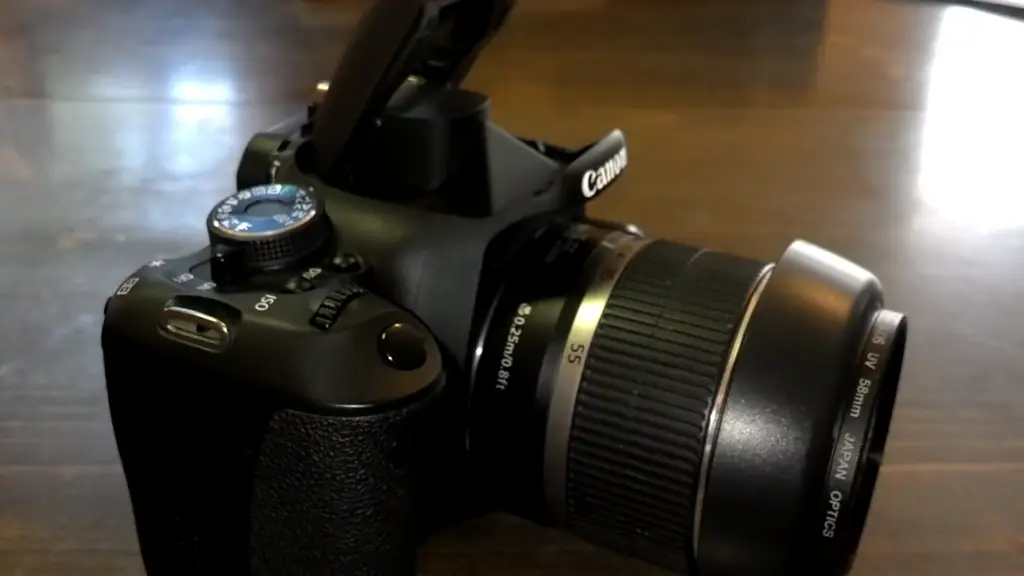
Another important factor to consider when using flash is shutter speed. You’ll want to set a slower shutter speed if you’re in a dimly lit room, as this will allow more time for the camera’s sensor to collect enough light from the flash to create a better photo. If you’re shooting in a brightly lit area, then you’ll want to use a faster shutter speed in order to properly expose the picture.
Lastly, it is important to understand the basics of composition and framing when taking pictures with your Canon camera. Make sure that your subject is well-lit and framed in an interesting way that will create a compelling image. Take your time and experiment with different angles and lighting to get the perfect shot. With some practice, you’ll soon be able to take amazing pictures with your Canon camera!
Turning on the Flash on a Canon Camera
On most Canon cameras, turning on the flash is quite simple. Follow these steps:
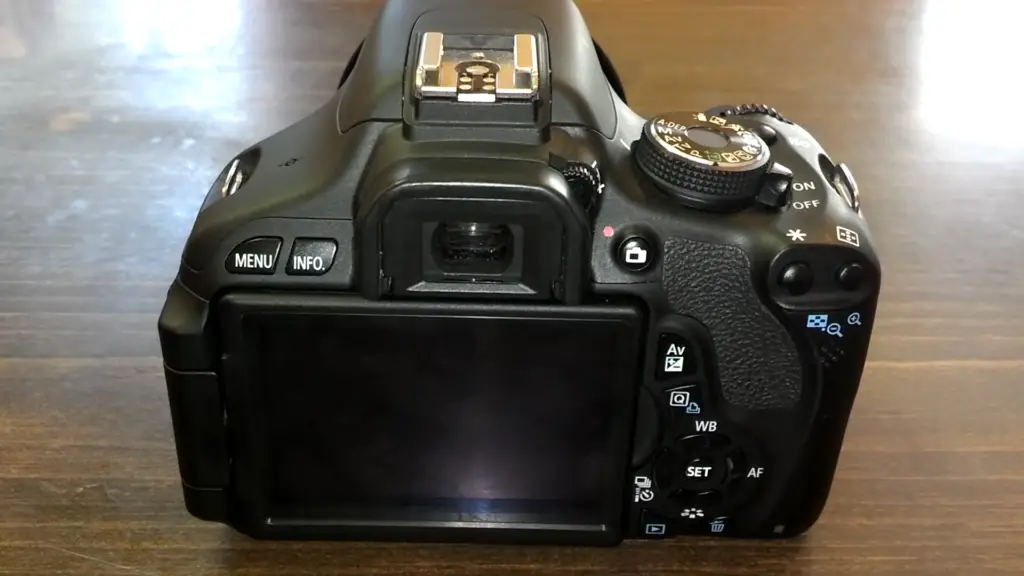
- Locate the flash button on your camera body (it should look like a lightning bolt and will typically be located near the top of the body).
- Press the flash button once to turn it on; press it again to turn it off.
- Once the flash is turned on, you can adjust the intensity of the flash using the camera’s control wheel or buttons.
- When you’re done taking photos, be sure to switch your flash back off so as not to drain your battery unnecessarily. [1]
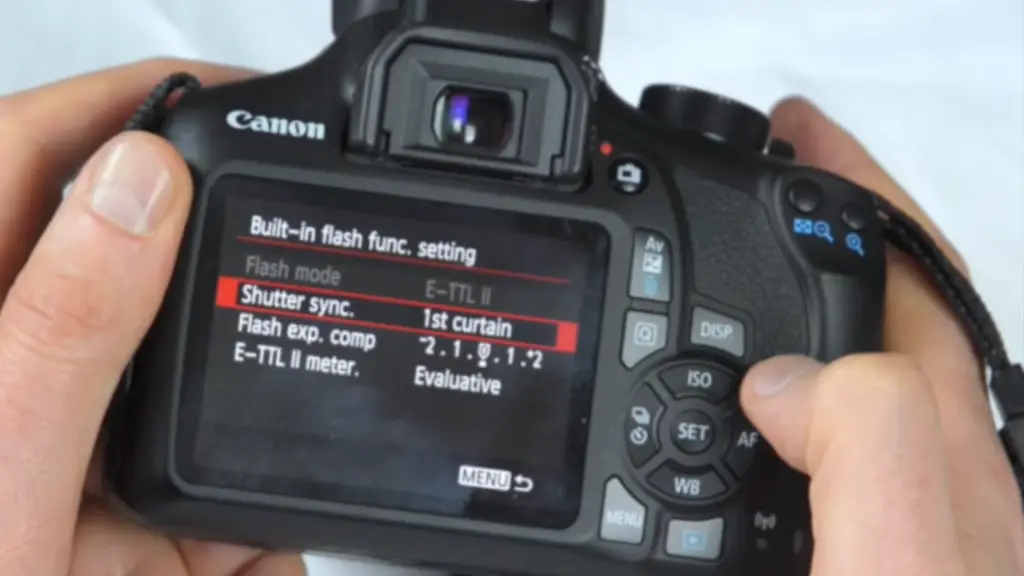
In addition, many Canon cameras offer additional flash settings, such as red-eye reduction and slow synchro. To access these settings, press the flash button once to activate it, and then press it again to bring up a menu of options. From here you can adjust the intensity and other settings with ease.
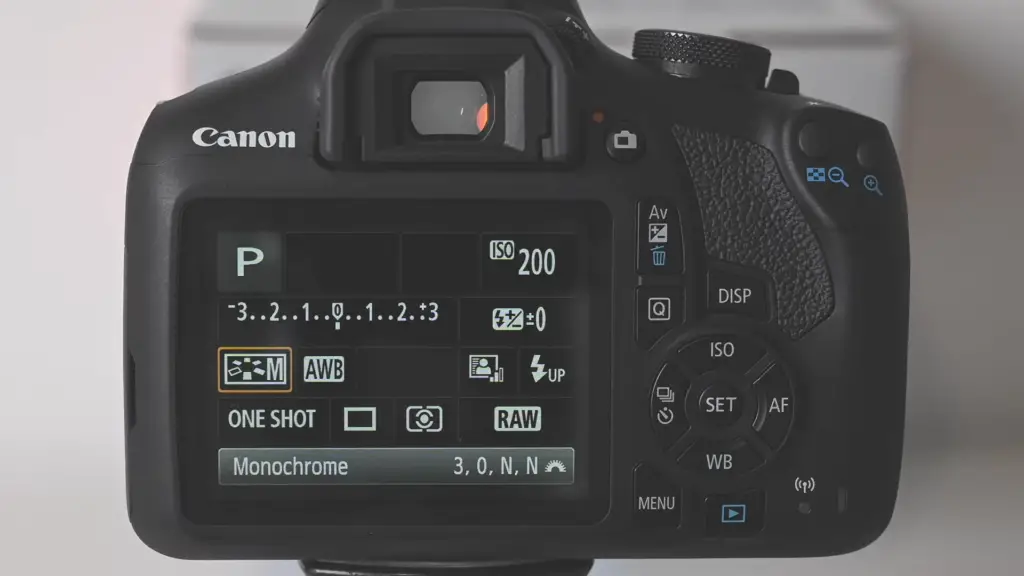
Finally, if you’re shooting in Manual mode (M), remember that turning on your flash can cause your camera to adjust its exposure settings. This is because the camera is trying to compensate for the extra light that will be produced when you take a photo. To avoid this, you may have to increase or decrease your shutter speed manually in order to get the desired exposure.
By following these steps, turning on the flash should now be a breeze!
Adjusting Flash Intensity
If you would like the flash intensity of your Canon camera, this is also an easy process. Simply press the Menu button on the back of the camera and use the arrow keys to navigate down to “Flash Intensity Settings”. From here, you can choose between different flash intensity levels such as Auto Flash, Manual Flash, or Forced Off. Select the option that best suits your needs and press the Set button to confirm your selection.
Once you have selected a flash intensity setting, your Canon camera will automatically adjust its flash accordingly for every photo that you take. You can always go back into the menu and change the settings as often as needed if you require different lighting in your photos. [2]
Using The Flash Wisely
When using the flash on your Canon camera, it’s important to think about what you want the end result of your photo to be. If you’re shooting in a dark environment and need more light, then the flash is probably a great option. But if you’re shooting outdoors during the day or in an area that already has plenty of light, then you may want to turn off the flash so you don’t overexpose your photo.
When using a flash, it’s important to note that some subjects may not look their best when photographed with a flash. For instance, if you’re shooting portraits of people or animals, then it may be better to use natural light rather than the flash. This will allow you to capture the natural beauty of your subject without harsh shadows or an unnatural look.
On the other hand, shooting with a flash can be great for still objects like objects in a museum exhibit or food photography. It will allow you to bring out details that might otherwise not be visible and create some dramatic effects.
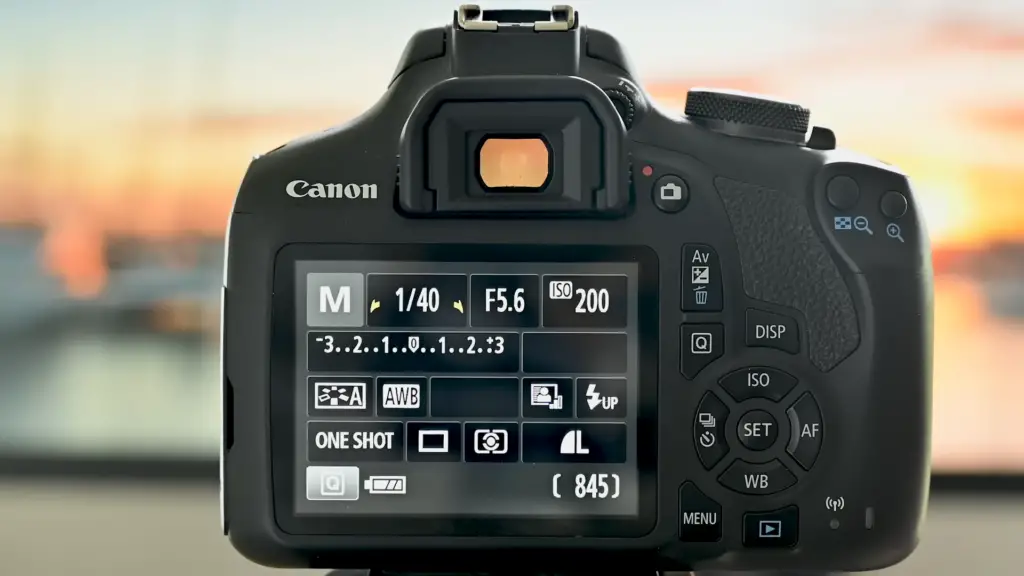
It’s also important to consider how close or far away you are from your subject when using the flash. If you’re too close, then the flash may be too intense and cause overexposure or harsh shadows. On the other hand, if you’re too far away, then your subject might not be lit well enough to appear in the photo.
Finally, when shooting with a flash it’s important to remember that flash photography requires more power than natural light photography. You may need to use higher ISO speeds or other camera settings to compensate for the amount of power your flash is using up.
Overall, understanding when and how to use a flash on your Canon camera can help you take more beautiful photos and capture special moments in time!
Common Mistakes When Using a Flash
One of the most common mistakes people make when using a flash is not taking into account the power output. If your flash is set too low, then you won’t be able to light up your subject properly. On the other hand, if your flash is set too high, then it could blow out some details and overexpose your photo.
Another mistake people make is using the flash when it’s not necessary. As previously mentioned, if you’re shooting in a well-lit area or outdoors during the day, then there might be no need to use a flash. When possible, use natural light instead and adjust the camera settings accordingly. [3]
Finally, even experienced photographers can forget to keep their flash position in mind. If you’re shooting close to your subject, then make sure the flash is pointing up or away from them so they don’t get blinded by the light.
By avoiding these common mistakes and paying attention to where and when you use your flash, you can take stunning photos with your Canon camera!
Troubleshooting Common Flash Issues
If you’re having trouble getting your Canon camera’s flash to work, there are a few common problems that can be addressed.
Not Enough Power
One of the most common issues is where the flash unit does not have enough power to fire properly. This means that either the battery needs more charging, or you need to use an external power source. To check the battery, ensure it is properly charged and inserted correctly. If you continue to have problems with power, you may need to purchase an external flash unit that plugs into your camera via a USB cable.
Flash Does Not Fire
If your flash is not firing despite having plenty of power, there may be a connection issue between the camera and the flash unit. Check to make sure the flash is properly connected to the camera body, and that all settings for external flash units are correct. You may need to adjust your exposure settings as well.
Flash Too Bright or Too Dim
Another common issue with flashes is when they are either too bright or too dim. This is usually caused by incorrect flash settings on the camera. Make sure you’ve set the correct brightness level for your particular flash, and readjust as necessary. You can also adjust the power of the flash manually to compensate if necessary. [4]
Red Eye Reduction Not Working
Red eye reduction is a feature found on most Canon cameras that helps reduce or eliminate red-eye in photos. If this feature is not working correctly, it could be due to incorrect settings or a malfunctioning flash unit. Be sure to check the settings and make any necessary adjustments. You may need to use an external flash unit if the problem persists.
Taking Creative Control of Your Images with Manual Settings
Now that you know how to turn on the flash and troubleshoot common issues, it’s time to take creative control of your images. With manual settings, you can adjust exposure, white balance, shutter speed and ISO levels to get the perfect shot. [5]
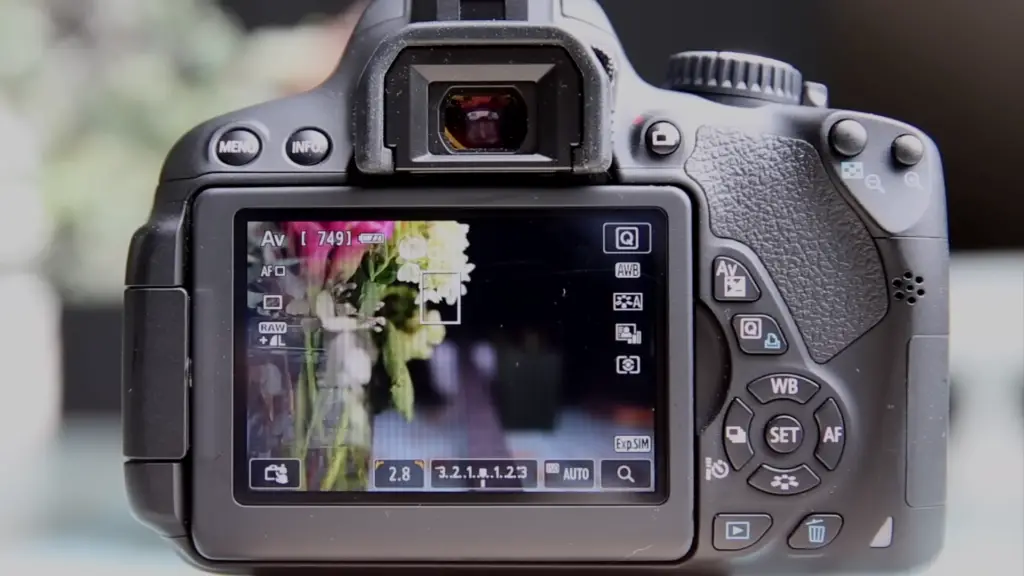
Start by familiarizing yourself with each setting:
- Exposure: This determines how bright or dark the image will appear.
- White Balance: This adjusts the overall color temperature of the photo.
- Shutter Speed: This controls how quickly or slowly the camera shutter opens and closes when taking a photograph.
- ISO Levels: This adjusts how sensitive your camera is to light, allowing you to capture more details in darker environments.
Use these settings to adjust your images to get the exact look you’re going for. Experiment with different combinations and take plenty of test shots to ensure you have the perfect shot.
Things to Consider When Using a Flash
Using a flash can make your photos look amazing, but there are also a few things to take into consideration before using one. Direct flash can wash out colors and create hot spots in the photo, so be sure to keep the subject within the recommended range of your flash unit. Diffusers can help soften light from direct flashes, while bounce cards reflect light in different directions for a softer look. [6]
Finally, always make sure the batteries in your flash are fully charged before taking photos to avoid any surprises during your shoot!
FAQ
How do I turn on the flash on my Canon camera?
There are a few simple steps to turn on the flash on your Canon camera. First, press the button labeled “Flash Off/On” located on the top of your camera body. You can usually find this button by looking for a lightning bolt symbol or an icon that looks like a camera with a lightning bolt in front of it.
Why isn’t the flash working on my Canon camera?
If you have pressed the “Flash Off/On” button and it still isn’t working, there are a few possible explanations. The first is that your camera may not be set to the correct mode for flash photography. Try changing your camera’s shooting mode from Automatic to Manual or Aperture Priority to see if this fixes the problem.
Another possible explanation is that your camera’s battery may be low. Try replacing the battery with a fresh one to see if this resolves the issue.
Finally, it is possible that there is an obstruction blocking the flash from firing properly. Check to make sure nothing is blocking the flash head or lens on your camera and try again.
What other settings do I need to adjust for flash photography?
When using your camera’s built-in flash, be sure to set the ISO and white balance correctly. The ISO should be set low enough so that it doesn’t overexpose the image but high enough so that you can still capture good quality images. Be sure to also check your camera’s white balance setting and adjust accordingly.
For more advanced flash photography techniques, you may need to adjust additional settings such as shutter speed, aperture, and exposure compensation. Experimenting with different combinations of these settings can help you get the most out of your flash photography experience.
What accessories do I need for flash photography?
Most camera manufacturers offer a range of accessories designed specifically for use with their cameras. These can include external flashes, light modifiers, and off-camera triggers.
External flashes allow you to increase the intensity of your flash output and provide more control over how the light is spread around the scene. Light modifiers such as softboxes and umbrellas help to diffuse the light from your flash, making it softer and more natural looking. Finally, off-camera triggers allow you to fire your flash remotely from a distance, providing even more flexibility when shooting with flash.
No matter what type of flash photography you’re planning on doing, it’s worth investing in some good quality accessories to get the best results.
What other tips do I need to know for flash photography?
Flash photography can be a tricky subject to master. Here are some tips to help you get started:
- Use the camera’s exposure compensation settings when using flash in order to adjust for any brightness inconsistencies.
- Shoot in Manual mode rather than Auto for more control over your images.
- Experiment with different angles and light modifiers to achieve unique results.
- Use a tripod or other stabilizing device to reduce camera shake and blur when shooting in low light.
- Increase the ISO slightly when using flash for better quality images.
By following these tips, you should be able to take some great photos with your Canon camera’s built-in flash!
Can you manually control the flash level on a Canon camera?
Yes, you can manually control the flash level on a Canon camera. On most models, you can do this by adjusting the Flash Exposure Compensation (FEC) setting in the shooting menu. This will allow you to manually adjust the brightness of your flash output so that it is more or less powerful than its default settings. Depending on your model of camera, FEC may also be adjustable in the Quick Control Dial or on the back of the camera. You can use this setting to fine-tune your flash output and achieve better lighting results. For more detailed instructions, please refer to your Canon camera’s manual.
Another way to manually control your flash level is by using a Speedlite Flash unit, which gives you much more control over the flash output. Speedlite flashes also have a variety of features such as auto zoom, bounce and swivel head, wireless triggering, and High-Speed Sync (HSS) which allow you to further customize your lighting setup.
Overall, having the ability to manually adjust your flash level can be quite beneficial when shooting in various lighting situations.
What do I do when the flash does not synchronize with my shutter speed?
When the flash does not synchronize with your shutter speed, it means that the flash is firing too late or too early. This can be caused by several different factors such as a slow shutter speed, an incorrect ISO setting, inadequate exposure compensation, or even a faulty camera connection.
The first step to resolving this issue is to ensure that all of your camera settings are correct. Make sure that you have set the shutter speed to an appropriate value, choose a suitable ISO setting and set the exposure compensation to the desired level. Additionally, make sure that all of your camera connections are secure and not loose.
If these steps do not resolve the issue, then you may want to consider using a High-Speed Sync (HSS) feature on your Speedlite flash unit. This will allow you to synchronize the flash with faster shutter speeds and eliminate the problems associated with slow shutter speeds. You can also try manually setting a slower sync speed or using different camera lenses if you are having trouble syncing your flash with the camera.
How can I use the flash in different lighting conditions?
When using the flash on your Canon camera, it is important to consider the lighting conditions in which you intend to use it. Depending on the lighting situation, you can adjust the flash settings in your menu or through an external flash unit.
For most daylight scenes, setting a low flash intensity will help avoid harsh shadows and washed out highlights. If there are some bright highlights, you can use the flash to balance out the exposure and reduce any overexposed areas in your shot.
In low-light conditions, such as indoors or at night, you can increase the flash intensity to add more light to your image. This will help ensure proper exposures and create a better quality photo. Just remember to keep an eye on the overall lighting of your scene and adjust accordingly.
Finally, when shooting close-up or macro pictures, you may need to increase the flash intensity slightly to ensure that there is enough light for a sharp image. This will also help avoid any dark shadows around the edges of your subject.
What does the red-eye reduction mode do?
The red-eye reduction mode on your Canon camera helps to reduce the chances of capturing dark circles around people’s eyes in photos. This is caused by a reflection from their retinas which can be illuminated by the flash.
When you enable this mode, the camera will fire two quick flashes before taking the photo. The first flash will cause your subject’s pupils to contract and reduce the amount of light reflecting off their eyes. The second flash will then capture the photo.
While this mode is handy for avoiding red-eye in photos, it can be quite distracting for your subject as they may not be expecting the sudden flashes of light. Therefore, you should always take care when using this feature and make sure to ask your subject’s permission before enabling it.
Useful Video: Canon DSLR Tutorial – Using flash in auto mode
Conclusion
Using the flash on your Canon camera can help you capture better quality photos in a variety of lighting conditions. While it is important to adjust the settings accordingly for different situations, the red-eye reduction mode can also be used to reduce any unwanted reflections off your subject’s eyes. With practice and experimentation, you will soon be able to take stunning images using the flash feature on your camera. Happy shooting!
References
- https://asia.canon/en/support/8201739900
- https://filminglab.com/how-to-turn-on-flash-on-canon-camera/
- https://cameraguider.com/turn-on-flash-on-a-canon-camera/
- https://www.peachpit.com/articles/article.aspx?p=2432257&seqNum=10
- https://canoncanada.custhelp.com/app/answers/answer_view/a_id/1021712/~/setting-the-flash
- https://www.tutorialgeek.net/2013/02/how-to-fix-popup-flash-on-your-camera.html




Leave a Reply