
Have you ever wanted to take professional-looking photos on your iPhone, but found yourself unable to zoom in far enough? If so, then the new feature of Master Zoom could be the perfect way for you to unlock the iPhone’s photo-taking powers. By learning how to use this innovative tool, you can easily zoom into any scene like a pro and capture pictures with amazing clarity and detail. So don’t miss out on this opportunity to master Zoom on your iPhone and become an expert photographer!
How does zoom work on an iPhone?
Moreover, the iPhone camera offers the choice between digital zoom and optical zoom, enabling you to customize your zoom level based on your specific needs. With digital zoom, you can achieve a larger zoomed-in area, capturing fine details and emphasizing specific elements of the scene. On the other hand, optical zoom ensures that the image retains its sharpness and clarity, allowing you to maintain the overall image quality while bringing the subject closer.
By leveraging the power of Zoom in photography, you can add depth, dimension, and visual interest to your images, creating captivating compositions that draw viewers in and tell a compelling visual story.
iPhone Camera Zoom Beginner’s Guide
Understanding Optical and Digital Zoom
Optical zoom and digital zoom are two distinct functions that offer photographers the ability to get closer to their subject. Optical zoom is widely regarded as the superior option since it utilizes a physical lens to magnify the image, providing better clarity and detail. On the other hand, digital zoom relies on software algorithms to enlarge pixels, which can result in a loss of image quality and finer details. Therefore, photographers often prefer optical zoom for capturing high-quality photographs with greater precision and fidelity.
Leveraging Zoom for Creative Shots
Using zoom in creative ways can make a huge difference in the impact of an image. For example, photographers may choose to use a shallow depth-of-field with optical zoom to focus on one particular area of an image. This technique allows them to draw attention to certain elements within the frame while blurring out distractions and background noise. Additionally, zooming in close to fill the frame with an object or subject can create a sense of intimacy and connection with the viewer.
Another popular technique is zooming out wide-angle shots for capturing expansive landscapes. This creates a sense of grandeur and scale, which can be used to showcase breathtaking scenes or dramatic cityscapes. Finally, by zooming in on smaller details within a photograph, photographers can make them stand out and provide an interesting perspective that otherwise may have gone unnoticed.
Zoom and Night Mode
Night mode on the iPhone is a fantastic feature that allows users to fully utilize the optical zoom capabilities of the camera. With this advanced functionality, photographers can effortlessly capture stunning, vibrant, and incredibly detailed images, even in challenging low-light conditions. The remarkable aspect of night mode is its ability to minimize noise and graininess, resulting in visually pleasing photos that truly stand out.
To achieve the best results when shooting in night mode, it is crucial to maintain a steady hand and avoid zooming in too close. This careful approach ensures that the captured images remain sharp and retain their intricate details, leaving no room for blurriness or loss of crucial elements. By following these guidelines, photographers can truly unlock the full potential of night mode and create breathtaking photographs that showcase the beauty of any scene, regardless of lighting conditions.
Using Zoom Modes on iPhone
The Camera app on the iPhone offers various zoom modes to suit different shooting styles. For instance, switching to video mode allows users to smoothly adjust the focus during recording. This is especially helpful for situations where objects or subjects are constantly moving and require frequent refocusing. Additionally, the portrait mode provides a shallow depth-of-field that blurs out backgrounds for an artistic effect.
Furthermore, the panoramic mode allows users to capture wide landscapes by automatically stitching together multiple shots into one seamless image. Each of these zoom modes is easily accessible within the Camera app so photographers can quickly switch between them for maximum flexibility and creativity [1].
How to make different types of photos with zoom mode on an iPhone?
Zoom mode on iPhones is a great tool for capturing different types of photos. It can be used to take close-up macro shots, portrait shots, and even wildlife shots from a distance. Here are some tips for how to effectively use zoom mode on an iPhone:
- Macro Shots – For those looking to capture fine details in their photographs, macro shots are a great option when using zoom mode on an iPhone. To take the best macro shots, users should get as close to their subject as possible while zooming in and adjusting the focus manually.
- Portrait Shots – Taking portrait photographs with zoom mode can be tricky since it’s important to maintain a steady hand in order to keep the image in focus. To take the best portrait shots, users should hold the camera steady and press lightly on the shutter button to minimize any camera shake.
- Wildlife Shots – Taking wildlife shots from a distance is one of the great things about zoom mode on an iPhone. To capture clear images, it’s important to keep the phone as still as possible and adjust the focus manually. It’s also helpful to use a tripod or other stabilization device in order to keep the phone perfectly still while taking wildlife shots from further away.
Using zoom mode on an iPhone can be a great way to capture different types of photographs, whether it’s close-up macro shots or portrait shots from far away. With a steady hand and some practice, users can capture stunning images with their iPhones.
It’s also important to be aware of the effects of digital zoom when using an iPhone for photography. Digital zoom is a method that crops and enlarges the existing image, rather than magnifying the content like optical zoom does. This often leads to poor-quality images as it reduces sharpness and adds noise. To avoid this, it’s best to use optical zoom instead of digital zoom when taking photos with an iPhone [2].
What to avoid when using zoom on an iPhone Camera?
When using Zoom on an iPhone camera, it’s important to avoid a few common mistakes. These include:
- Using too much zoom: By zooming in too far, your image can become pixelated and distorted, resulting in a blurry photo.
- Not keeping your device stable: You should always make sure that you are holding your phone steady while using the zoom feature. Otherwise, you may end up with a blurry and distorted photo.
- Not turning on digital zoom: By enabling digital zoom on your iPhone camera, you will be able to get closer to objects without sacrificing image quality.
- Not adjusting the exposure: Exposure plays an important role in capturing good images. Adjusting it manually can help you avoid overexposed and underexposed photos.
- Not using a tripod: If you are shooting in low light, or if you want to capture long exposure shots, then it’s important to use a tripod for stability.
- Not using the tap-to-focus feature: This feature makes sure that your subject is always in focus, and that the background is blurred for a more dynamic shot.
These are just some of the mistakes to avoid when using Zoom on an iPhone camera. Remember to keep these tips in mind when shooting with your device, so you can get the best possible images every time.
How to take great photos with an iPhone? Simple tips to help you get started
First, make sure you have sufficient lighting. Natural light is usually the best option, but if this isn’t available then consider using artificial lights or boosting brightness levels if possible. This way, the subject of your photo will be visible and won’t be too dark or grainy.
Second, get the right angle. Taking photos from different angles can help create interesting compositions and perspectives. Try taking shots from above, below, at an angle or even zoom in to capture details that you may not have noticed before.
Third, pay attention to your background. Cluttered or busy backgrounds can be distracting and take away from the focus of your photo. Consider blurring the background, finding a less cluttered scene or even using a plain backdrop to help draw attention to your subject.
Finally, don’t be afraid to experiment with different editing techniques. From cropping and resizing images to applying filters and effects, editing tools can help you enhance the colors and overall look of your photos.
These tips should give you a good idea of how to take great photos with an iPhone. With a bit of practice and experimentation, you’ll soon be taking professional-level photos in no time!
FAQ
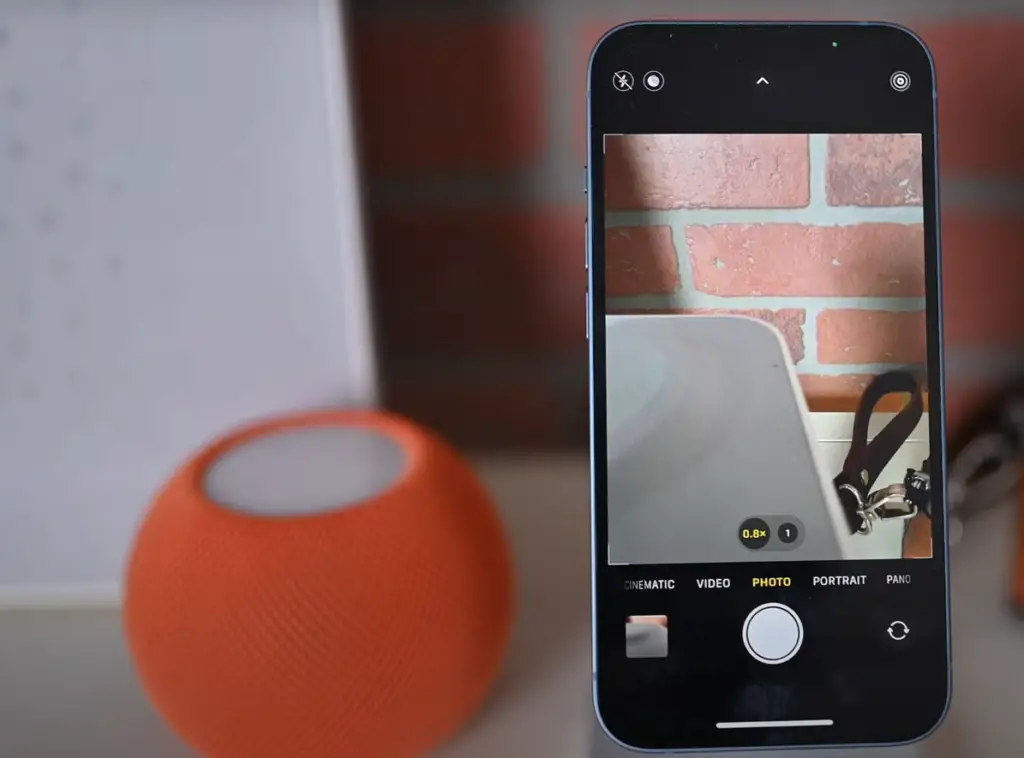
How do I get my iPhone camera to zoom in?
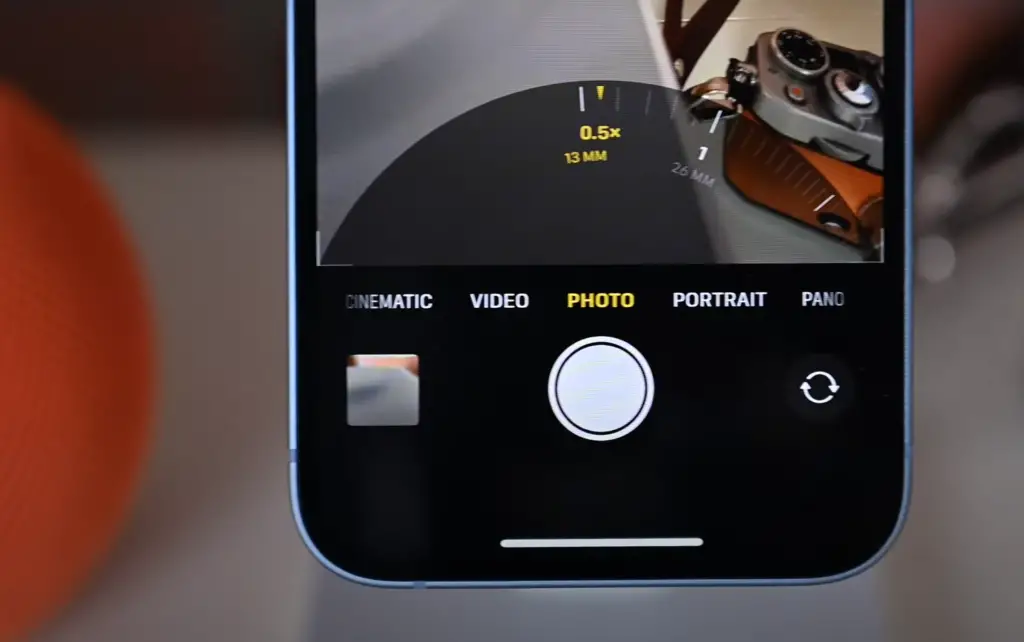
You can zoom in on your iPhone camera by tapping the screen where you would like to zoom in and then using the slider that appears at the bottom of the screen. You can also pinch or double-tap with two fingers to quickly zoom in or out. If your iPhone has dual cameras, you can switch between them for even more zooming flexibility. Finally, some models of the iPhone have a physical zoom slider that can be used to adjust the amount of zoom.
What are some tips for taking better pictures with my iPhone?
Creating beautiful, professional-looking photos with an iPhone is more than just pointing and shooting. Here are some tips for getting great shots from your iPhone:
- Set up the scene before taking your photo.
- Use natural light whenever possible.
- Stabilize your camera for sharp photos.
- Experiment with different angles and perspectives to get unique shots that stand out from the crowd.
- Keep an eye on the background of your shots to avoid unwanted distractions in the final image.
- Use the portrait mode feature for stunning portraits.
- Take advantage of HDR (High Dynamic Range) mode for more vibrant photos.
- Edit your photos to enhance their appearance and bring out fine details.
- Choose appropriate shooting modes when necessary, such as panoramic or burst mode for landscapes or action shots, respectively.
- Have fun and experiment with different techniques to create interesting photos!
Why can’t the iPhone camera zoom in?
The iPhone camera is limited in its ability to zoom due to the small size of the image sensor. The smaller size of the sensor prevents it from being able to use a traditional optical zoom lens, which would require more space for zooming in and out. Instead, iPhones use digital zoom which involves cropping and enlarging a portion of the image, resulting in lower image quality. However, modern iPhones do have hardware and software features that can help improve the zooming capabilities of the camera. For example, iPhones with dual cameras can switch between them for more zooming flexibility, while some models also feature a physical zoom slider. Additionally, advanced software features such as portrait mode can be used to simulate optical zooming effects.
How do I zoom in 10x on my iPhone 11?
The iPhone 11 Pro and Pro Max models feature an advanced camera system with a 2x optical zoom and up to 10x digital zoom. To take advantage of the 10x digital zoom, open the camera app and tap on the 1x button in the top left corner of the viewfinder. Then use the slider that appears at the bottom of your screen to adjust your zoom level up to 10x. You can also pinch or double-tap with two fingers on the screen to quickly zoom in and out. Keep in mind that digital zooming will result in a lower image quality compared to using optical zoom, so it is best to use the highest zoom level only when necessary. However, if you are looking for even more zoom capabilities, you should consider investing in an external lens for your iPhone. These lenses can provide up to 20x optical zoom, allowing you to capture sharp, detailed photos from far away.
Are there any accessories that will improve the camera performance of my iPhone?
Yes! There is a wide range of accessories available that can help you get even better results from your iPhone’s camera. The most popular option is an external lens, which can be attached to your iPhone’s camera using a special clip. External lenses come in different sizes and styles, with some offering up to 20x optical zoom and others providing macro capabilities for close-up shots. Other accessories such as tripods, light modifiers, flashes, and remote triggers can also help you get the most out of your iPhone photos. Finally, if you want to get serious about photography, there are several apps available that offer advanced editing tools and features such as RAW image support. With the right accessories and software, your iPhone can be an incredibly powerful tool for capturing stunning photos.
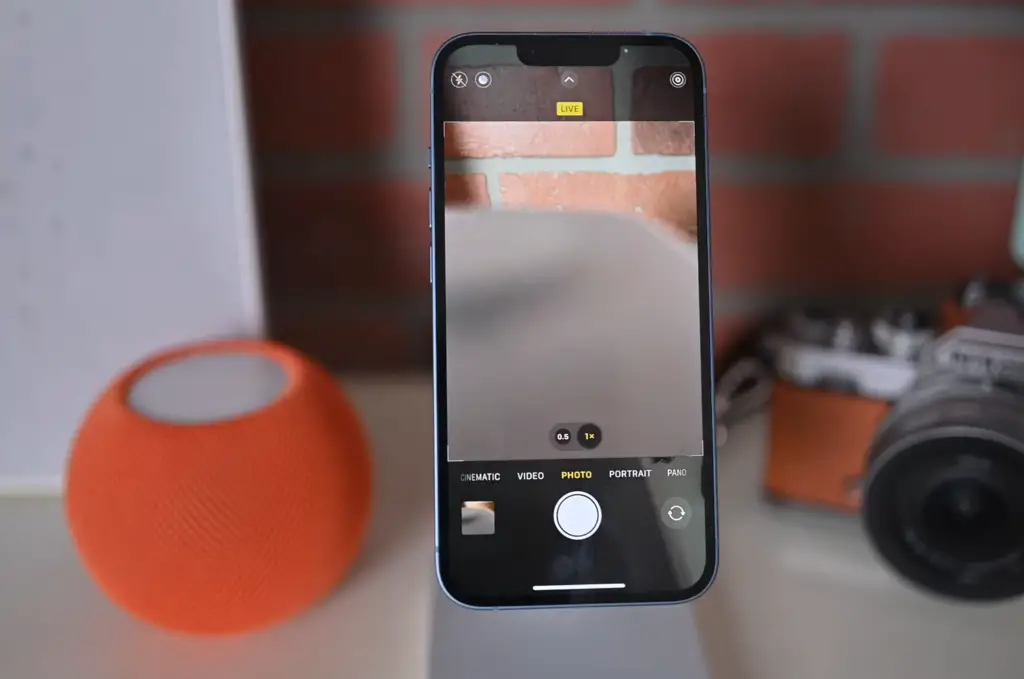
How do I turn my camera zoom on?
To turn the zoom on your iPhone’s camera, open the Camera app and tap on the 1x button in the top left corner of the viewfinder. This will open a slider at the bottom of your screen which can be used to adjust your zoom level up to 10x (depending on your device). You can also pinch or double-tap with two fingers to quickly zoom in and out. Finally, some models of the iPhone have a physical zoom slider that can be used to adjust the amount of zoom. For even more zooming flexibility, consider investing in an external lens for your iPhone which can provide higher optical zoom levels than what is available with digital zooming. With the right accessories, you can take your photos to the next level!
What are some tips for taking better night photos with my iPhone?
Taking photos at night can be a challenging experience, but the results can also be stunning. Here are some tips for making the most of your nighttime photography with your iPhone:
- Use a tripod to keep the camera steady and avoid motion blur.
- Dial up the ISO to increase the camera’s sensitivity in low light conditions.
- Keep your shutter speed slow to capture more light and create interesting starbursts from lights sources in your photos.
- Use Night Mode for detailed, well-lit shots without having to adjust any settings manually.
- Increase the exposure time in Manual mode to capture more light and create beautiful long-exposure shots.
- Experiment with different angles and perspectives for creative nighttime images.
- Add a flash or light modifier for even more control over your lighting conditions.
- Use the timer feature to reduce camera shake when taking photos without a tripod.
- Edit your photos to bring out fine details and enhance the overall appearance.
- Have fun and experiment with different techniques to create unforgettable night shots! With a bit of practice, you can create beautiful, captivating images even in the darkest of environments.
Why does zoomed-in iPhone photography look grainy?
When zooming in on photos taken with an iPhone, the image quality can begin to suffer because of the smaller size of the image sensor. This is due to digital zoom, which works by cropping and enlarging a portion of the image. As a result, you will see more noise or graininess in your images as well as a loss of sharpness. To help reduce this effect, it is best to stay as close to the 1x zoom level as possible and increase the ISO setting if needed. Additionally, investing in an external lens or telephoto lens that offers higher optical zoom levels can help you capture sharper, clearer images from far away. Finally, editing your photos with software can also help to reduce the appearance of noise and grain.
Useful Video: How to Master the Camera on iPhone 14 & iPhone 14 Plus!
Conclusion Paragraph
To zoom in on an iPhone camera, one needs to pinch the screen with two fingers. This will allow you to move closer or further away from the subject in focus. Another easy way to zoom in and out on an iPhone camera is by using the volume buttons located on the side of your phone. Pressing either the “+” or “-” button will enable you to manually control the zoom level of your camera. Finally, a third option is to go into the settings menu and adjust the zoom directly from there.
References
- https://www.knowyourmobile.com/user-guides/iphone-camera-zoom/
- https://iphonephotographyschool.com/iphone-11-camera/