
Do you have a photo that you love, but wish it could show more of the surroundings? With this simple guide, you can learn how to zoom out on already-taken photos on your iPhone! Even the most experienced photographers struggle to get the perfect shot in one take. By following this guide, you’ll be able to get creative with your photos and give them new context. Whether a landscape shot or just an everyday moment, unlocking the power of zooming will take your photography game to the next level!
What App Lets You Zoom Out Of Pictures?
PhotoZoom also offers a wide range of editing tools, allowing users to adjust brightness, contrast, and other image parameters to create stunning photos. Additionally, it supports batch processing so you can quickly zoom out multiple pictures at once. With its intuitive user interface and powerful features, PhotoZoom is one of the most popular apps for zooming out of pictures.
Another popular app for zooming out of images is ZoomOut Pro. It is a highly functional tool that allows users to quickly zoom in and out of photos, as well as adjust the parameters of each image. The app also has several powerful editing features, allowing users to crop and resize images with ease. ZoomOut Pro can be used to quickly generate stunning results with minimal effort.
Finally, Zoomerang is a great app for zooming in and out of pictures. It offers an easy-to-use interface that allows users to quickly adjust the size and position of images. Additionally, it has several powerful tools for editing pictures, such as contrast, saturation, sharpness, and more. With its intuitive user interface and powerful features, Zoomerang is one of the best apps for zooming out of pictures [1].
How To Zoom Out On A Picture Already Taken iPhone
Step 1: Open the Gallery Application
To zoom out on a picture already taken with an iPhone device, you can start by opening the Gallery app. This app is usually found in the Apps folder on your Home Screen, which is the main screen of your device where all the apps are displayed. By tapping on the Gallery app icon, you will be able to access your photo library and find the specific picture you want to zoom out on.
Step 2: Select Picture
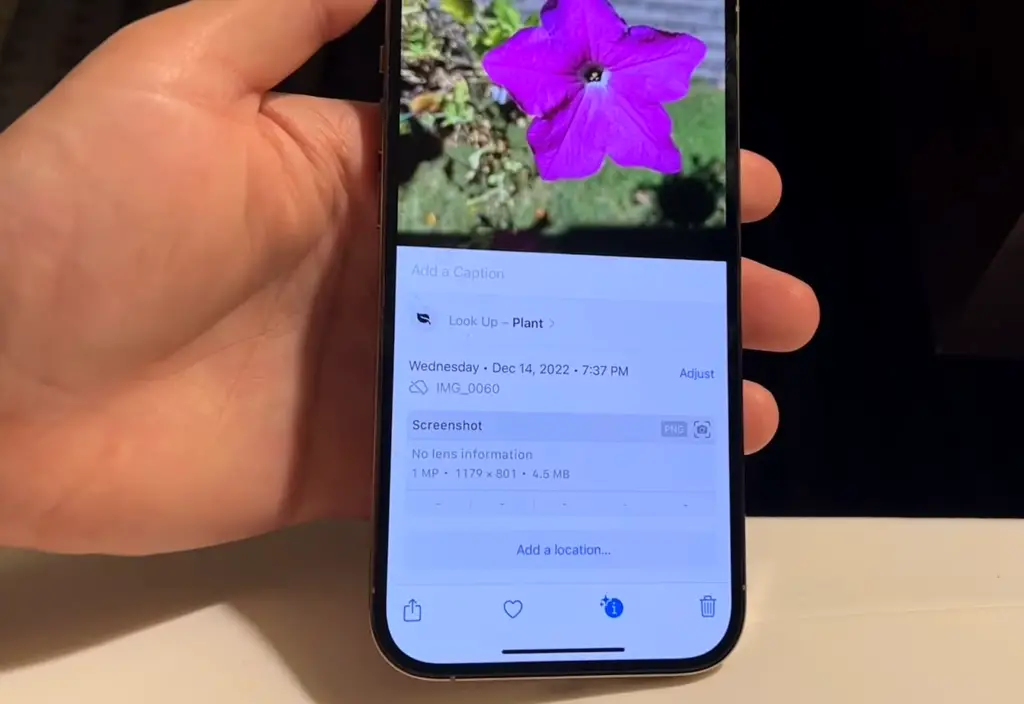
Once you open the Gallery application on your device, you will be presented with a visually appealing and organized list of pictures. This comprehensive collection showcases the various images currently stored in your device, allowing you to effortlessly navigate through them. Simply scroll through the list and select the specific picture that you wish to zoom out on, granting you a closer look at every intricate detail.
Step 3: Tap Edit
To begin, after you have selected the image you want to work with, look for the “Edit” icon positioned at the bottom of your screen. This icon will serve as your gateway to a range of editing options, including crop, rotate, and more. Once you have tapped on the “Edit” icon, a new window will gracefully emerge, unveiling a world of possibilities for enhancing your image. To accomplish the desired effect of zooming out, simply scroll down until you find the “Zoom Out” icon and give it a gentle tap. With these easy-to-follow steps, you’ll be able to effortlessly manipulate your image and achieve the desired outcome.
Step 4: Adjust Zoom Level
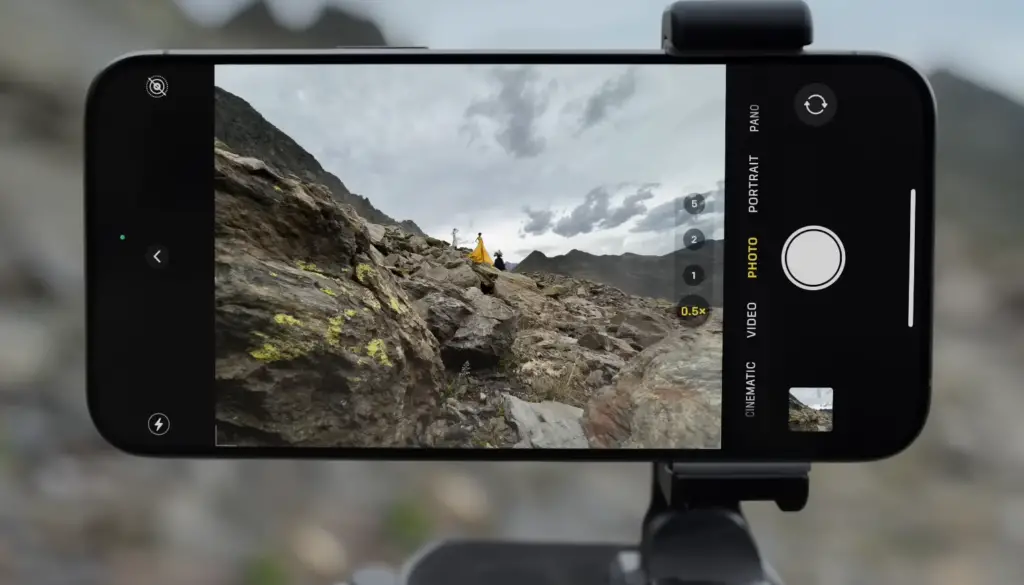
You will then be able to adjust the zoom level using the slider provided at the bottom of the screen. Depending on how much detail you wish to view in your picture, move the slider left or right in order to zoom out or zoom in. This will provide you with a more precise view of the image, allowing you to easily frame and compose it according to your preferences.
Step 5: Save Changes
Once you are satisfied with the updated version of your picture, don’t forget to save the changes by tapping on the “Save” icon at the bottom of the screen. This will provide a backup of your image, just in case you need to access it later. By following these steps, you can easily zoom out on any picture already taken with your iPhone device [2]!
How to zoom out a picture for Instagram?
Zooming out a picture for Instagram is easy with the right tools. Most modern phones come pre-loaded with photo editing apps that allow you to crop and resize pictures with ease. But if your phone doesn’t have an app, there are plenty of online options.
The most popular option is the free photo editor Pixlr, which allows you to crop, resize, and zoom out photos quickly and easily. Simply open the photo you want to edit in Pixlr, select “Crop” from the toolbar on the left side of your screen, and then adjust the handles around it until it’s the right size for an Instagram post. Once you’re happy with your selection, click “Apply” to save your changes.
There are also other photo editing tools available for those who want more sophisticated options. Adobe Photoshop and GIMP, for instance, allow you to make detailed adjustments to the zoom of your image. With these programs, you can not only crop and resize your photos but also adjust individual pixels or sections of the image [3].
What apps do you need to edit iPhone photos?
If you’re an iPhone user, you’ve probably wondered what apps are best for editing photos on your phone. Luckily, there are a few great options out there that make it easy to adjust brightness, contrast, saturation and much more.
The most popular photo editing app for the iPhone is Adobe Photoshop Express. It’s free to download from the App Store and offers a suite of features including cropping, rotating, applying filters and more. It also allows you to share your photos easily via social media or email.
Another great option is the VSCO app. This powerful editing app is often used by professional photographers to get that perfect shot. It has an intuitive interface and lets you adjust exposure, color temperature, sharpness and more. You can also save your edits as presets for future use.
You should also consider the Enlight app if you’re looking for something more powerful. The app comes with a wide range of advanced editing tools, such as masking and layers, to help you make precise adjustments to your photos. It also offers a variety of preset effects that will instantly transform your photos into works of art.
Another great option is the Enlight Quickshot app. This photo editor is specifically designed for quickly taking and editing photos on the go. It lets you easily adjust brightness, contrast, white balance and more without having to use complicated sliders or buttons. Plus, it has a powerful auto-enhance feature that will instantly make your photos look better.
If you’re looking for a more natural look for your photos, the Retrica app is worth checking out. This popular photo editor has a variety of filters and effects that will give your photos an organic feel. You can also add text to your photos or even create unique collages with this app.
Finally, if you’re looking for something a bit simpler then try Snapseed. It’s a free photo editing app with intuitive controls that make it easy to adjust brightness, contrast, saturation and other settings. There are also several pre-set filters included that let you quickly enhance your photos.
These are just a few of the apps you can use to edit iPhone photos. Each one offers something different, so try them out and see which one works best for you! With the right app, you’ll be able to take your photography skills to the next level. So don’t be afraid to zoom out and explore what’s available – you never know what you might discover!

FAQ
How do you zoom out on an existing photo on an iPhone?
Zooming out on an existing photo in your iPhone’s Photos app is easy. All you have to do is open the photo, tap the “Edit” button, and then use the pinch gesture (for zooming in and out) to adjust the zoom level of your photo. You can also use the slider at the bottom of the screen for more precise control. Once you are done, simply tap the “Done” button to save your changes. With a few simple steps, you’ll be able to zoom out on an existing photo in no time!
What is the best way to keep track of my photos?
The best way to keep track of your photos is by creating albums and labeling them accordingly. This will help you easily find the photo you’re looking for and also make it easier to share photos with others. Additionally, using iCloud Photo Library or Google Photos can help you automatically backup your photos in the cloud and free up space on your device. That way, all your precious memories are safe and secure.
How do I create a new album in the Photos app?
Creating a new album in the Photos app is easy. Just open the Photos app and tap on “Albums” at the bottom of the screen. Then, select “+ New Album” from the top right corner of your screen and give your album a name. Finally, add photos to your newly created album by selecting them from your camera roll. With these simple steps, you’ll have a new album in the Photos app in no time!
How do I Unzoom my iPhone?
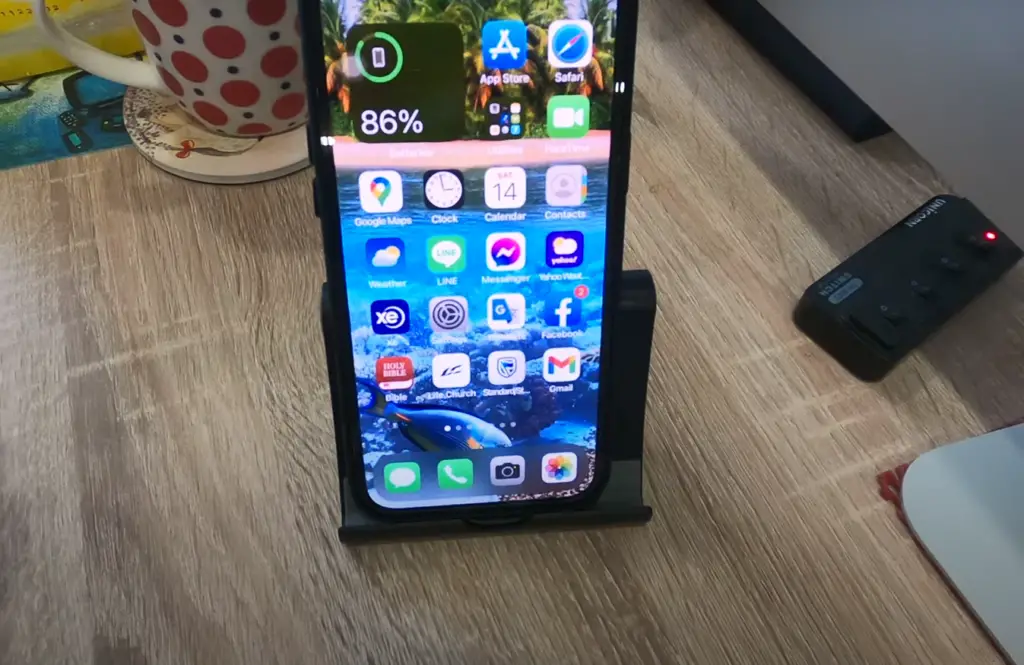
Unzooming your iPhone is a simple process. First, go to the Settings app and select “Display & Brightness” from the list of options. Then, tap on “View,” and select the zoomed-out option for your preferred view. You can also toggle between Standard and Zoomed options by triple-tapping with three fingers on any part of the screen. This will give you a more zoomed-out view of your iPhone’s home screen and apps.
What is the best way to edit photos on my iPhone?
The Photos app on your iPhone has some basic editing features that are great for quick fixes. You can crop, rotate, adjust exposure, add filters, and more with just a few taps. Additionally, you can also use third-party apps such as Adobe Lightroom or Snapseed to get more advanced editing features. With the right tools and some practice, you’ll be able to edit your photos like a pro!
Can I blur the background of my photos on my iPhone?
Yes, you can blur the background of your photos on your iPhone. For this, you can use a third-party app such as Adobe Photoshop Mix or Prisma to apply blur effects. Additionally, some of the editing features offered by the Photos app also enable you to achieve a similar effect with just a few taps. With these tools and techniques, you’ll be able to create beautiful photos with blurred backgrounds in no time!
Can I use my iPhone to take RAW photos?
Yes, you can take RAW photos with your iPhone. All you have to do is enable the feature by going to Settings > Camera and enabling the “Capture In RAW” option. Then, when taking a photo, you will be able to select either JPEG or RAW from the camera’s menu. With this feature, you can take photos with higher resolution and more information, which is perfect for professional photographers.
Can I shoot in Portrait Mode on my iPhone?
Yes, you can shoot in Portrait Mode on your iPhone. This mode allows you to take stunning portrait shots with blurred backgrounds and beautiful depth-of-field effects. To enable this feature, open the Camera app and select the Portrait Mode option at the bottom of the screen. Then, use your finger or a Bluetooth remote to adjust the focus and exposure while shooting. With these simple steps, you’ll be able to take amazing portrait shots with your iPhone in no time!
Can I use my iPhone to take panoramic photos?
Yes, you can use your iPhone to take panoramic photos. All you have to do is open the Camera app and select the Panorama mode option at the bottom of the screen. Then, follow the instructions displayed on your screen and move your device in a slow and steady motion while taking a picture. This will help you capture wide-angle images with amazing detail and clarity. With this feature, you can easily take stunning panoramic photos with your iPhone!
How do you zoom out on Instagram pictures on an iPhone?
Zooming out on Instagram pictures on an iPhone is easy. All you have to do is open the picture in your Instagram app, tap the three-dot menu icon at the top right corner of your screen, and select “View Original size.” This will allow you to view the image at its actual size without any cropping or zoom effects applied. With this simple feature, you’ll be able to zoom out on Instagram pictures in no time!
Who should use the zoom-out feature?
The zoom-out feature can be used by anyone who wants to view an image in its original size or aspect ratio. This is especially helpful when you need to get a better look at the details of an image, such as for editing purposes. Additionally, zooming out can also help you check for any crops or distortions that have been applied to the image. By using this feature, you can make sure that your images look perfect every time!
What are the best practices for managing photos on my iPhone?
The best way to manage your photos is by using iCloud Photo Library or Google Photos. This will help you free up space on your device and automatically back up your images in the cloud. Additionally, creating albums and labeling them accordingly can also help you easily find the photo you’re looking for. With these simple best practices, you’ll be able to manage and share your photos with ease!
Why is it important to zoom out?
Zooming out helps you get a better view of an image in its entirety. This is especially helpful when you need to check for crops, distortions, or other details that may not be visible when the image is viewed at its original size. Additionally, zooming out can also help you identify any mistakes that have been made in the editing process, allowing you to quickly fix them before sharing your images with the world. With this feature, you can make sure that your photos look perfect every time!
Useful Video: iPhone/iPad: How to Zoom In/Out in the Photos App
Conclusion Paragraph
To zoom out on a picture already taken on an iPhone, a user simply needs to place two fingers on the screen and spread them outward. Doing this will make the picture larger and allow the user to see how their image fits within its surrounding environment. By zooming out, users can expand their vision and connect with other elements they might have missed before. This simple gesture can help iPhone photographers create more meaningful photos that capture broader stories in one image.
References
- https://freeappsforme.com/best-photo-zoom-apps/
- https://mountas.com/how-to-zoom-out-on-a-picture-already-taken/
- https://istouchidhackedyet.com/how-to-zoom-out-a-picture-for-instagram/#r