Taking amazing photos with your iPhone is easier than ever before, but what format are these images stored in? Whether you’re a beginner or an experienced photographer, it’s important to get to grips with the different photo formats and how they are used in iPhone photography. This blog post will be exploring everything you need to know about iPhone photo formats, from JPEGs to HEIFs. So, if you’re looking for a comprehensive guide on iPhone photo formats, keep on reading!
What are the iPhone Photo Formats?
When it comes to iPhones, you have several photo format options available to choose from. To ensure that your photos look their best on all devices, the most popular formats are JPEG (Joint Photographic Experts Group), PNG (Portable Network Graphics), and HEIF (High-Efficiency Image File Format).
PNG was created in 1995 as a replacement for GIF (Graphics Interchange Format) images. It offers better color control and transparency options, making it a popular choice for web graphics. PNG also supports lossless compression, meaning that the image data isn’t lost when it is compressed.
The newest photo format available on iPhones is HEIF (High-Efficiency Image File Format). This file format was designed to provide higher quality images with smaller file sizes than other formats like JPEG or PNG. HEIF also supports features like animation and HDR for improved visuals.
No matter which photo format you use, make sure to save your photos at the highest possible resolution so that they look their best on all devices. With the wide range of options available, you can be sure to find the perfect format for your photos.
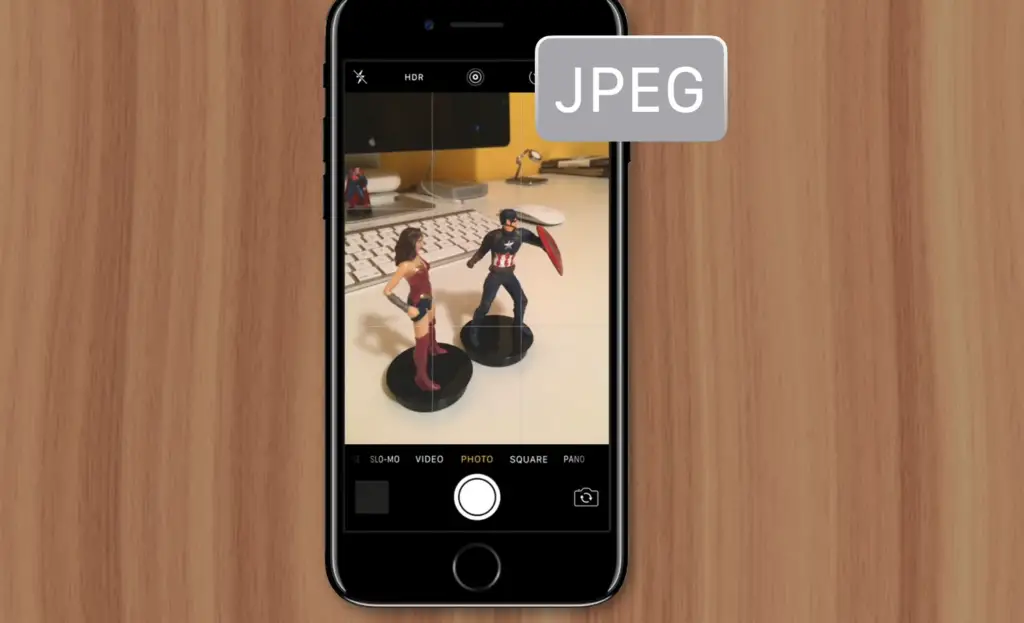
What exactly is HEIC?
HEIC vs. JPEG: Which is better?
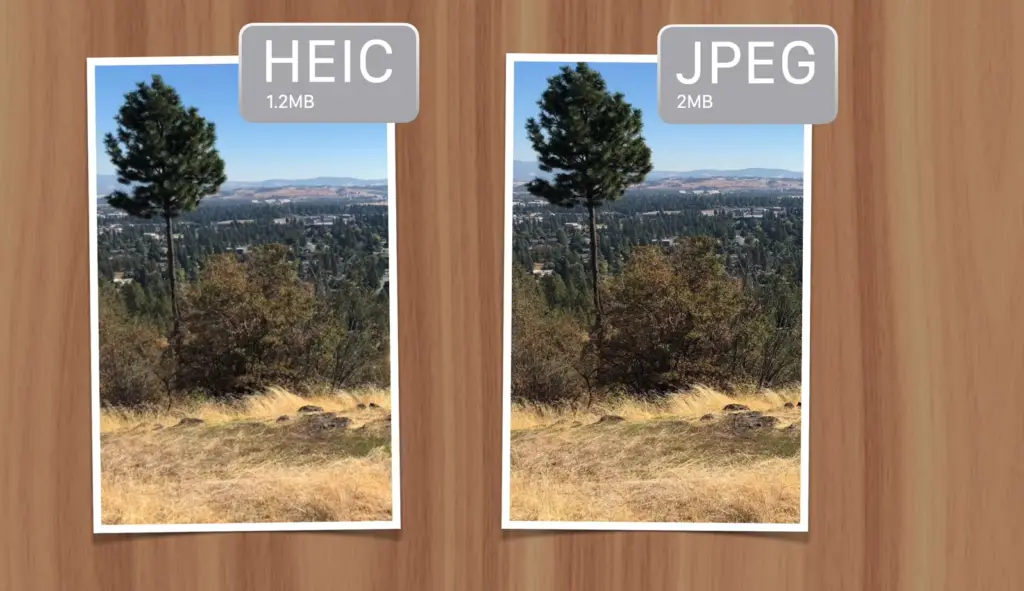
HEIC, or High-Efficiency Image File Format, is a new image format developed by the Moving Picture Experts Group (MPEG) and endorsed by Apple as the preferred file format for iOS 11 and later. HEIC is an improved version of the JPEG image file format popular in digital cameras. HEIC offers many advantages over traditional JPEGs, including 30-50% smaller file size with no reduction in quality as well as more efficient compression that allows for higher-resolution images without increasing storage requirements.
When it comes to which is better — HEIC vs. JPEG — it really depends on your needs and preferences. HEIC provides superior compression capabilities, allowing you to store more photos on your device without sacrificing quality, while still keeping file sizes small. However, it is not as widely supported as JPEG and cannot be used in many popular online platforms. On the other hand, JPEG provides compatibility and ease of use, but its larger file size can take up more space on your device. Ultimately, the decision between HEIC and JPEG comes down to what works best for you.
Ultimately, both HEIC and JPEG are good image formats that provide different benefits depending on your needs. By understanding the differences between them, you can choose which one works best for you when it comes to capturing and storing photos.
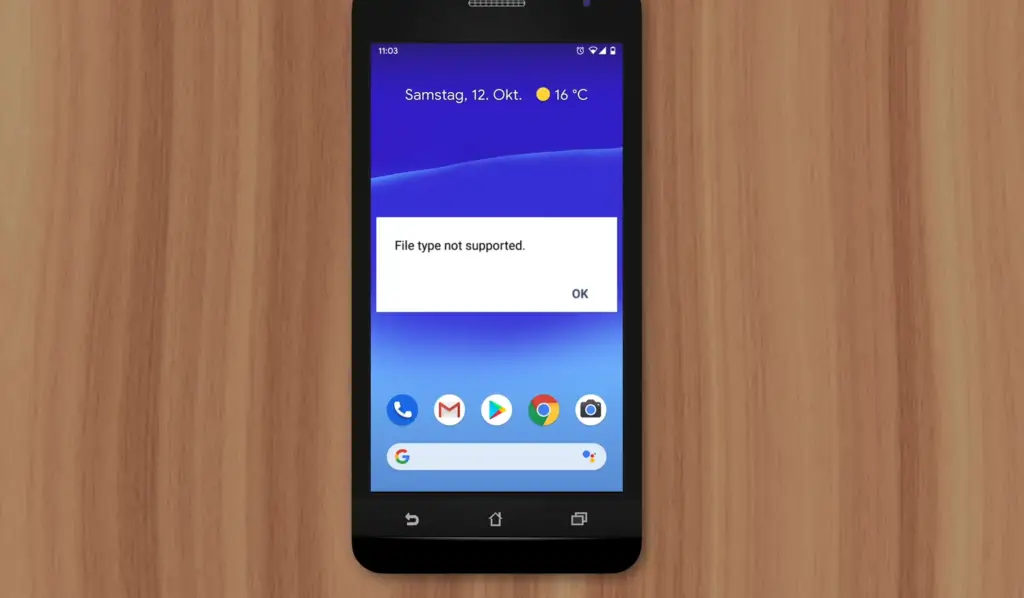
HEIC vs. JPEG file size and compatibility
When comparing the file size of HEIC and JPEG, there is a significant difference. HEIC images are usually around 30-50% smaller than their JPEG counterparts with no noticeable reduction in quality. This makes HEIC an ideal choice when it comes to saving space on your device, particularly if you have many photos or videos stored. Additionally, since HEIC compression is more efficient than JPEG, it can be used to capture higher-resolution images without increasing storage requirements.
However, one key disadvantage of using HEIC files over JPEGs is that they are not as widely supported across online platforms and devices (such as Windows). Therefore, if you plan to share your photos online or with other people who may not have access to HEIC files, it is best to use JPEGs.
Editing HEIC files
In addition to the advantages of HEIC over JPEG, it is also important to note that HEIC files are easier to edit. This is because they retain more of their original source information than JPEGs, meaning that you can make adjustments without compromising quality. Furthermore, editing HEIC images is simpler due to their use of Adaptive Compression. By analyzing the content and color data in an image, this compression algorithm compresses only the parts of an image that need it most. As a result, editing becomes faster and smoother when compared with JPEG images which are compressed as a whole [1].
How to convert HEIC to JPEG
One of the easiest and most popular ways to convert HEIC to JPEG is with an online converter. Online converters are easy to use, and they often offer batch conversion options.
To convert a HEIC file using an online converter, you’ll need to upload your photo or drag it into the browser window, then select the output format as JPG. If you want more control over how your photo will look, you can also adjust settings like image resolution and compression levels. Once everything is set up, just hit “Convert” and your HEIC file will be converted into a JPG in no time!
If you don’t want to use an online converter, there are other ways to do the conversion. For example, if you’re using a Mac, you can use Apple’s free Image Converter app to convert HEIC files into JPEGs. And if you’re on Windows, there are plenty of third-party programs that can help with the conversion as well.
No matter which method you choose to use for converting your HEIC files, it’s important to remember that these types of conversions should be done responsibly — not all photos will look great after they’ve been converted, so make sure you check the quality of the resulting image before making any permanent changes.
Once you’ve finished converting your HEIC file(s) into JPEG format and are happy with the results, you can easily upload them to any website or share them in an email. They’ll look just as good — if not better — than they did before [2]!
How to take JPEG photos on your iPhone instead of HEIC
The process of taking JPEG photos on your iPhone instead of the default HEIC format is quite straightforward. All you have to do is:
- Open the Settings app and scroll down to select Camera.
- Select Formats and toggle the switch for Most Compatible from Off to On.
- Your iPhone will now take all new photos in a JPEG format instead of the default HEIC format.
- You can verify this by going back into Settings > Camera > Formats and making sure that the Most Compatible option is still switched On and that High Efficiency has been switched Off or is grayed out (meaning it cannot be turned on).
- To turn back to HEIF, simply go back into Settings > Camera > Formats and toggle the switch for Most Compatible from On to Off.
- That’s it! Your iPhone will now take all new photos in the HEIC format again instead of JPEG.
- Enjoy taking photos on your iPhone [3]!
What other formats can iPhone Photos be?
The iPhone supports a variety of photo formats, including JPEG, PNG, HEIF, and GIF images. JPEG is the most common format used for digital photos on smartphones. It offers good image quality in a relatively small file size, making it ideal for sharing and storing online. PNG files are of higher resolution than JPEGs but have larger file sizes due to the lossless nature of their compression technique.
Additionally, the Photos app on iPhones can be used to edit photos and videos with a variety of tools like filters, lighting adjustments, cropping, and more. It also supports RAW images; files that contain unprocessed image data from digital cameras for editing with professional-grade software applications. When you’re done making your edits, you can save the final result in any one of the supported formats mentioned above.
The iPhone may have limited storage space compared to other devices but it certainly has a wide range of photo format options to choose from. Whether you want to share photos on social media or print them out for display at home, there’s sure to be an option that will suit your needs.
How to choose the right photo format?
Choosing the right photo format depends on your needs and goals. Generally, JPEGs are best for website images with minimal compression, while PNGs are better for print work or when high image quality is important. TIFFs are great for large prints but can take up a lot of space and require more processing power to open. RAW files are ideal if you want maximum flexibility to edit images as they contain all the data captured by your camera. Finally, SVG files should be used when working with vector graphics or logos that need to be scaled up or down without loss of quality. Ultimately, it’s important to weigh out the pros and cons of each file type before deciding so you can choose one that best suits your project’s needs.
In the end, it’s important to remember that different file formats are best for different uses and you should always choose the one that is best suited for your project. Additionally, take into consideration how much quality you need, what type of file size works best with your output method, and if there is any image editing needed before finalizing the photo format. With this knowledge in hand, you’ll be able to make an informed decision about which format is right for your project.
FAQ
How do I convert iPhone photos to JPEG?
The best way to convert iPhone photos to JPEG is to use a third-party photo editor or converter app. There are plenty of apps available on both the App Store and Google Play, so you can easily find one that will work for you. Most apps allow you to export your photos in different formats, including JPEG. Additionally, you may be able to save images directly from the Photos App as a JPEG file. To do this, simply select the image(s) you wish to save and tap on the Share button at the bottom left corner of your screen. Then select Save Image and choose JPEG as the desired output format. You can then access your newly saved images in your Camera Roll or Photo Library.
Another great option is to use iCloud’s Photos App. You can open images from your Camera Roll on your iPhone and then select the Share button at the bottom of the screen. From there, you can choose either Export as JPEG or Save the Image to Files, depending on the version of iOS that you are running. Once these options are selected, a copy of the image in JPEG format will be saved in a separate folder within iCloud’s Photos App. This allows you to easily access and share edited images directly from iCloud without having to export them each time.
Which is better, JPEG or HEIF?
The answer to this question depends on your needs and preferences. JPEG is the most widely-used image format, making it an excellent choice for sharing images online or printing photos. It offers better compression than other formats, which results in smaller file sizes that are easier to store and share quickly. However, HEIF (High-Efficiency Image Format) is a newer format that is becoming increasingly popular due to its ability to efficiently compress images without sacrificing quality. HEIF also supports multi-frame features like Live Photos and allows users to save multiple images or video clips within one file. If you’re looking for a more efficient way of storing photos without compromising quality, then HEIF may be the best option for you.
How do I resize an image?
Resizing an image is easy and can be done using a photo editor or converter app. Most apps allow you to select the desired output size before exporting the image. You can also find online tools that offer free resizing services, such as Picresize or Resizeimage.net. Additionally, some operating systems have built-in features for quickly resizing images from within the Photos App or File Explorer. On Windows 10, you can simply right-click on the selected image and click “Resize” to open up a window with several preset sizes to choose from. If you are using Mac OS X, then you can open your chosen image in Preview and select “Tools > Adjust Size” to resize the image.
Once you’ve selected your desired output size, simply export or save the image in its new form. Depending on the format and resolution of the original image, resizing it may result in some quality loss. However, this is usually only noticeable at very high resolutions. If you are planning to use your resized images for print or online purposes, then these losses should not be a problem.
Are iPhone photos PNG or JPEG?
By default, photos taken with the iPhone’s built-in camera are saved as JPEG files. However, you can also save images in other formats such as PNG or TIFF. To do this, simply open the image in the Photos App and tap on the “Share” button at the bottom left corner of your screen. From there, you can select Save Image and choose from a variety of formats to export your image in.
If you are using iCloud’s Photos App, then it may be possible to save images directly as either PNG or TIFF without having to export them each time. To do this, simply open the image and tap on the Share button at the bottom right corner of your screen.
Can I Change iPhone Screenshot Format?
Yes, you can change the format of your iPhone screenshots. To do this, simply open the screenshot in the Photos App and select the Share button at the bottom left corner of your screen. From there, you can select Save Image and choose from a variety of formats to export your image in. Additionally, some apps allow you to save screenshots directly as either PNG or TIFF without having to export them each time.
It is important to note that not all apps support saving screenshots in different formats. If you are using an app that does not offer this feature, then it may be best to use a third-party photo editor or converter app to convert your images into the desired format.
Should I Choose HEIC Instead of JPG?
The answer to this question depends on your needs and preferences. HEIC (High-Efficiency Image Format) is a newer file type that is becoming increasingly popular due to its ability to efficiently compress images without sacrificing quality. It also supports multi-frame features like Live Photos and allows users to save multiple images or video clips within one file.
However, JPEG is still the most widely used image format, making it an excellent choice for sharing images online or printing photos. It offers better compression than other formats, which results in smaller file sizes that are easier to store and share quickly. If you’re looking for a more efficient way of storing photos without compromising quality, then HEIF may be the best option for you.
How to Keep HEIC Form When Transferring iPhone Photos?
When transferring photos from your iPhone to your computer, it’s important to keep the HEIC (High-Efficiency Image Format) file format intact. To do this, simply select the images you wish to transfer and tap on the Share button at the bottom left corner of your screen. Then select Save Image and choose HEIF as the desired output format. You can then access your newly saved images in your Camera Roll or Photo Library.
If you are using iCloud’s Photos App, then you can open images from your Camera Roll on your iPhone and then select the Share button at the bottom of the screen. From there, you can choose either Export as HEIF or Save the Image to Files, depending on the version of iOS you are using. This will save the image in HEIC format and keep it saved in a separate folder within iCloud’s Photos App. This allows you to easily access and share edited images directly from iCloud without having to export them each time.
This is also useful if you want to send photos to someone else, as most messaging apps can only handle sending JPEG files at this time.
Why do you need to resize images?
Resizing images is important for a variety of reasons. The most common reason is to reduce the file size of an image without compromising its quality. This makes it easier to store, share, and upload photos quickly. Resizing an image can also be useful for creating visuals for print or online purposes. Many websites will require that images are resized and formatted in specific dimensions to look their best. Additionally, some applications may also have restrictions on the maximum file size of uploaded images, making it necessary to resize them before uploading them.
Useful Video: How To Pick The Correct iPhone Camera Settings – iPhone Photo Academy
Conclusion
The format for iPhone photos has changed over the years, and it can be difficult to keep up with all the different types. Fortunately, most of the new formats are compatible with older iPhones, but it is important to know which format your iPhone uses so that you can take advantage of all its features. By understanding the different photo formats for iPhones available today, you can make sure your photos look great no matter how old or new your device is. With a little bit of knowledge about iPhone photo formats, you can easily capture life’s special moments in crystal-clear clarity.
References
- https://www.inverse.com/input/guides/how-to-change-heic-to-jpeg-iphone-camera-photos
- https://www.adobe.com/acrobat/hub/how-to/how-to-convert-heic-to-jpg-on-a-mac.html
- https://www.imore.com/how-take-jpeg-pictures-ios-instead-heic


Leave a Reply