Are you yearning to learn the secret to taking breathtaking sunset photos with your iPhone? You can find solace in knowing that you don’t need an expensive DSLR camera or photography classes to capture magical sunset moments. All you need is a creative eye and some simple tricks and tips to make sure that each of your sunset photos is as beautiful and awe-inspiring as the real thing. So, explore how you can use your iPhone to master the art of taking magical sunset photos.
What are some difficulties of taking sunset pictures with an iPhone?
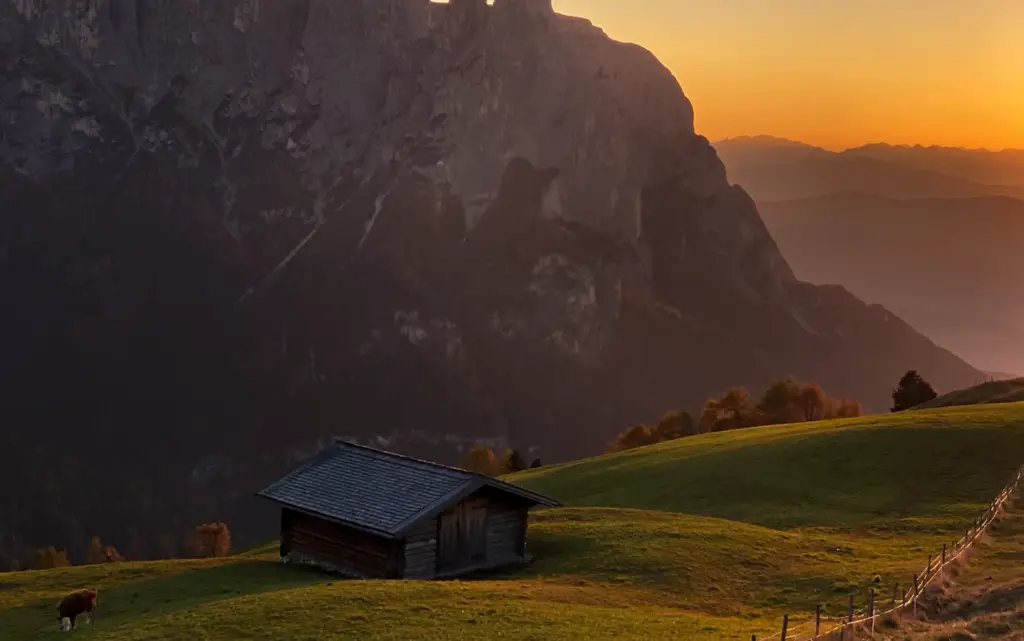
Another difficulty when taking sunset pictures with an iPhone is that the small size of the phone can make it difficult to capture expansive wide-angle shots. To counteract this, consider using a wide-angle lens adapter or editing techniques that can crop and stitch together multiple images to create a panoramic shot. Additionally, using a top-down perspective can be effective for capturing the full intensity of colors in a sunset image. Finally, it is important to have patience when taking sunset photos with an iPhone as you may need to wait until just the right moment to capture the best light and color values. Taking the time to find the perfect composition and lighting can help ensure a beautiful sunset image.
With patience, practice and some experimentation with camera settings and techniques, it is possible to take stunning sunset images with an iPhone. By taking advantage of the device’s features such as white balance settings, lens adapters, stabilization devices and post-processing techniques you can capture vibrant photos that will make your friends and family jealous. Capturing a beautiful sunset image with an iPhone is truly an art form that requires time, patience and experimentation – but the results can be stunning!
10 Tips For Extraordinary Sunset Photography On iPhone
Pay Attention To The Clouds To Predict Beautiful Sunsets
Clouds are not only a great way to predict when an extraordinary sunset will happen, but they also add depth and drama to sunset photography. By paying close attention to the sky and noticing the type and formation of clouds, you can make more informed decisions about capturing stunning sunset shots.
If you spot scattered cumulus clouds, with their fluffy and cotton-like appearance, it indicates a moderate chance of a beautiful sunset. These clouds can add texture and interest to the sky, creating a picturesque backdrop for your photographs.
On the other hand, if you notice towering cumulonimbus clouds, with their imposing vertical structure, you can expect a more dramatic sunset. These massive clouds have the potential to catch the warm hues of the setting sun, creating a breathtaking display of colors and patterns.
In contrast, if the sky is clear and devoid of clouds, the sunset might still be beautiful but without the added drama and vibrant colors that clouds bring. It’s not to say that clear skies won’t result in impressive sunset shots, but the presence of clouds often elevates the overall visual impact.
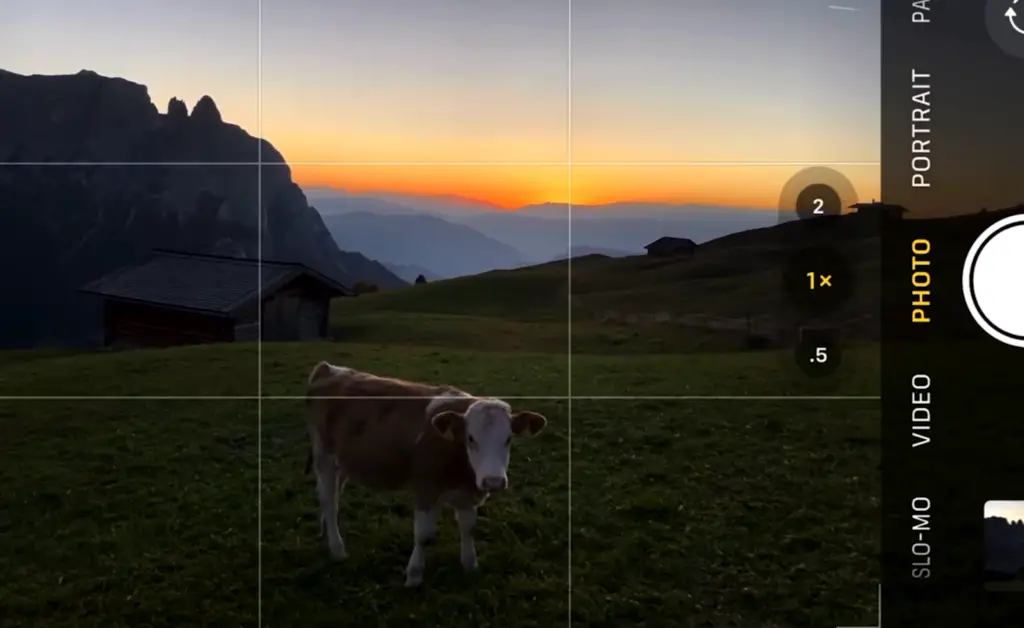
Add Foreground Interest For Compelling Sunset Photography
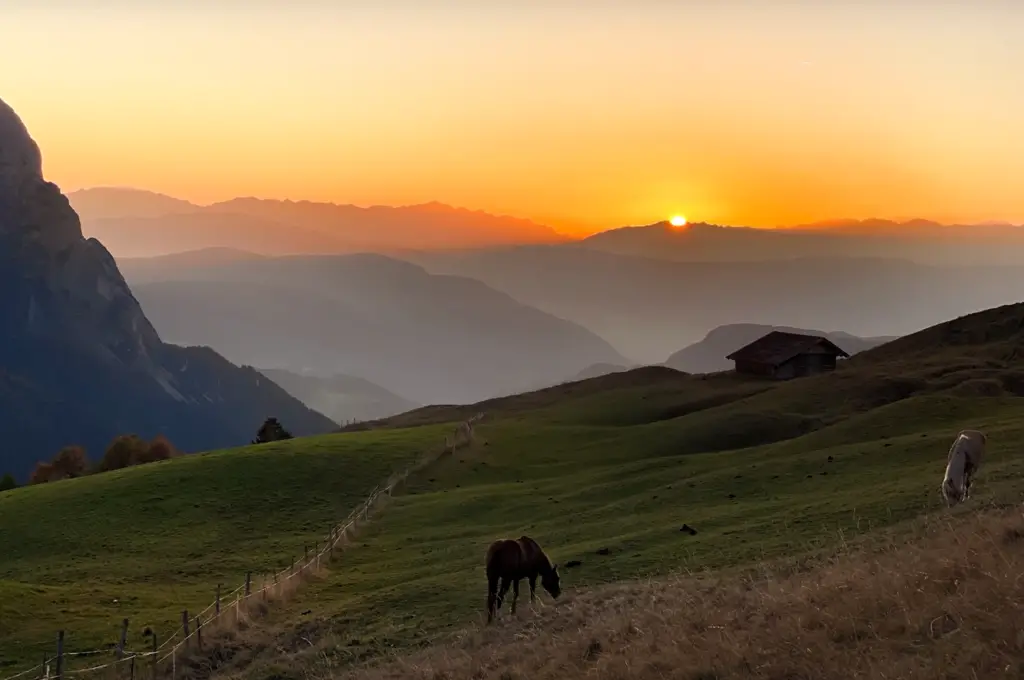
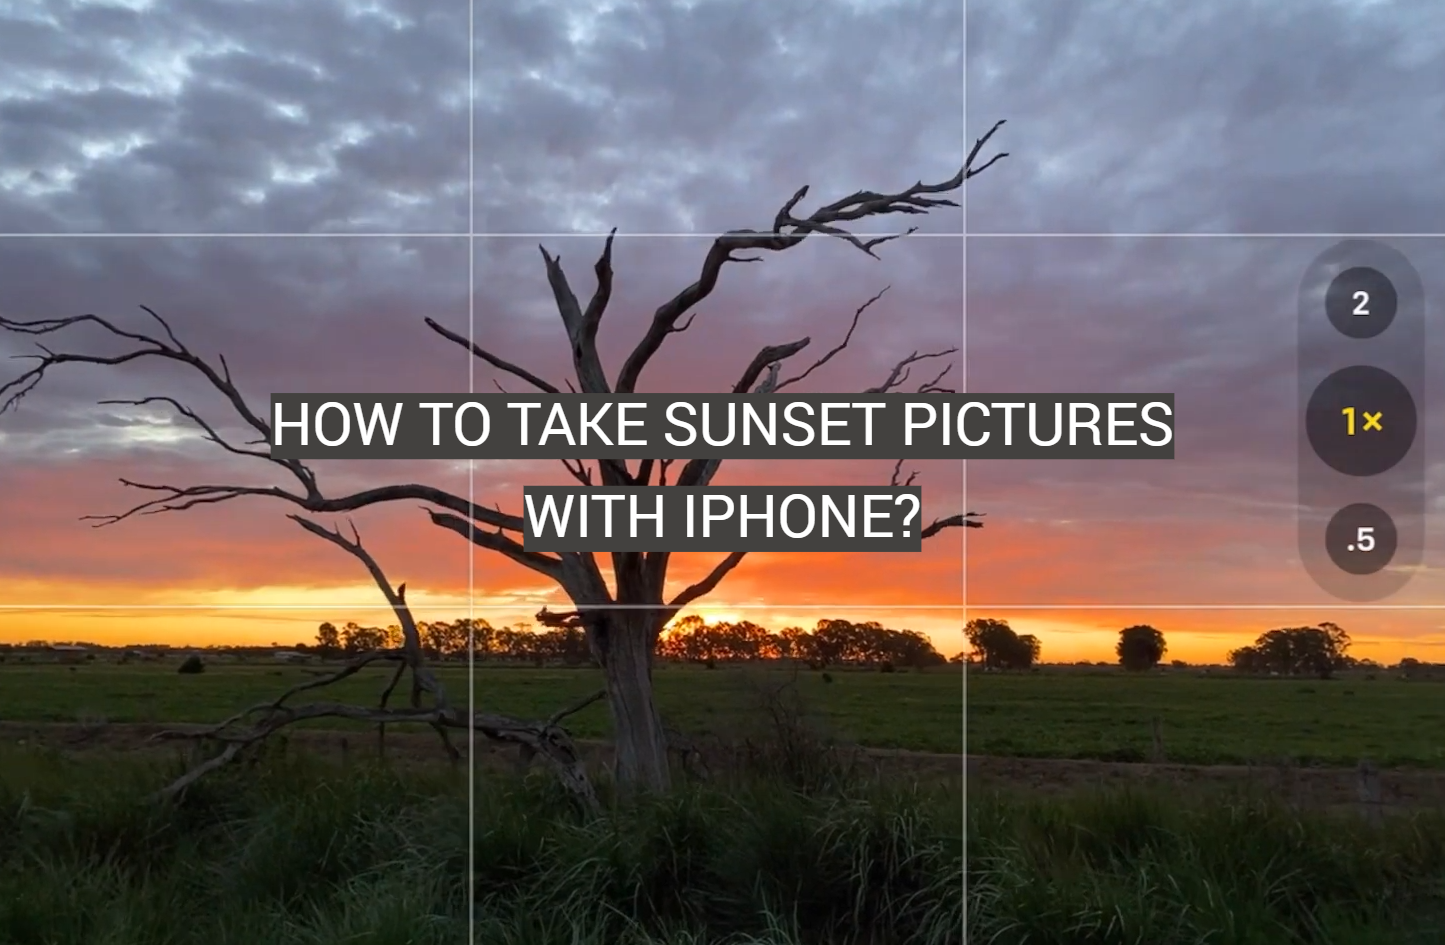
Including interesting elements in the foreground of your photograph can help to create an aesthetically pleasing composition. Whether it is a lone tree, a grassy knoll, or even an old fence post, adding something of interest in the foreground can enhance your sunset photography.
These elements provide context and scale to the shot, making it more engaging for viewers. Additionally, if you manage to capture the setting sun behind one of these elements, the effect can be even more dramatic.
Try experimenting with different objects in the foreground and see what kind of results you can produce. With a little bit of creative thinking and an eye for detail, you might just come up with some amazing sunset shots that will wow your friends and followers.
Keep Your iPhone Stable For Sharp Sunset Images
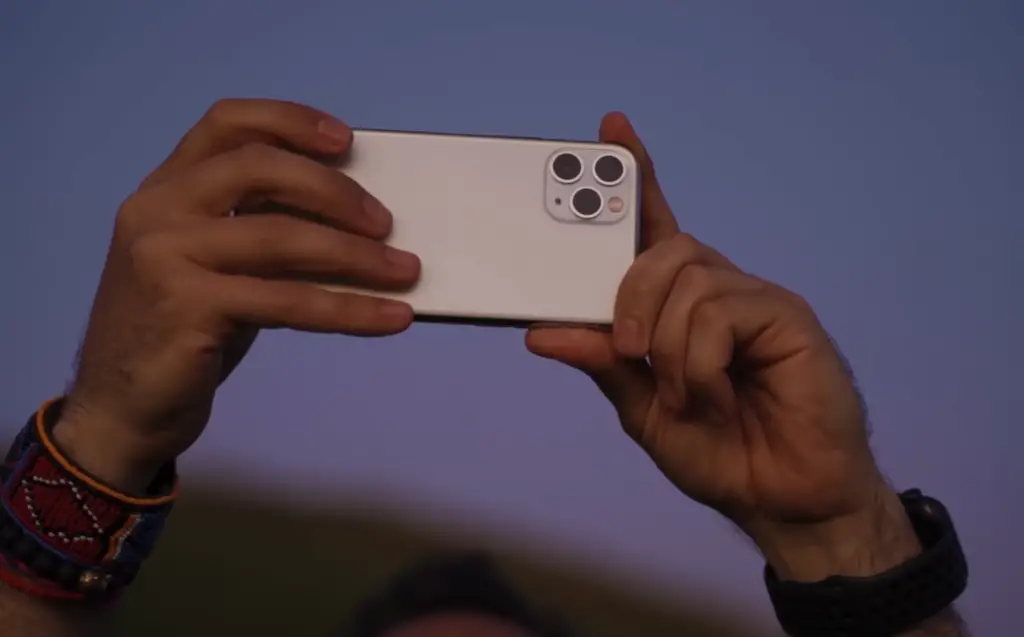
Getting sharp and detailed sunset images requires a steady hand – and this includes when you’re using your iPhone. To ensure that your shots are as crisp as possible, make sure to keep the phone as still as possible while shooting.
One good way of doing this is by bracing your arms against your body or by resting the camera on a solid surface. That way, you can shoot without worrying about camera shake blurring your images. Alternatively, if you have a tripod or mini-tripod on hand, it would make the job much easier and help to deliver sharp results every time.
Capture Reflections For Extraordinary Results
When looking for ways to take your sunset photography up a notch, don’t forget to consider reflections in the mix. If you are near a body of water such as a lake or river, capturing the sun’s reflection on its surface can produce some highly stunning results.
Reflective surfaces like glassy water can offer a beautiful and unique perspective on sunsets, adding depth to the scene. If you are lucky enough to find yourself in such a setting, take some time to explore different shooting angles and observe how the light plays across the surface of the body of water.
Try HDR Mode For Brighter Sunset Shots
HDR (High Dynamic Range) mode is a great tool to have in your arsenal when it comes to taking pictures of sunsets. If you are facing situations where the bright sky and dark foreground can’t be accurately captured by a single exposure, HDR mode allows you to capture both elements with ease.
By blending multiple exposures into one image, HDR mode helps to bring out all the details in the scene, from the shadows to the highlights. When used right, it can help to make your sunset shots look brighter and more vibrant than ever before.
Experiment With Long Exposures To Create Unique Effects
Long exposures are another great tool for capturing stunning sunsets. By keeping your shutter open for several seconds or even minutes, you can create interesting effects such as light trails and star trails.
These effects can add an extra layer of interest to your sunset photography, allowing you to capture the beauty and movement of the scene in an entirely different way. And best of all, it’s relatively straightforward to achieve – all you need is a tripod and a good understanding of how shutter speed works.
Use The Rule Of Thirds For Beautiful Sunset Compositions
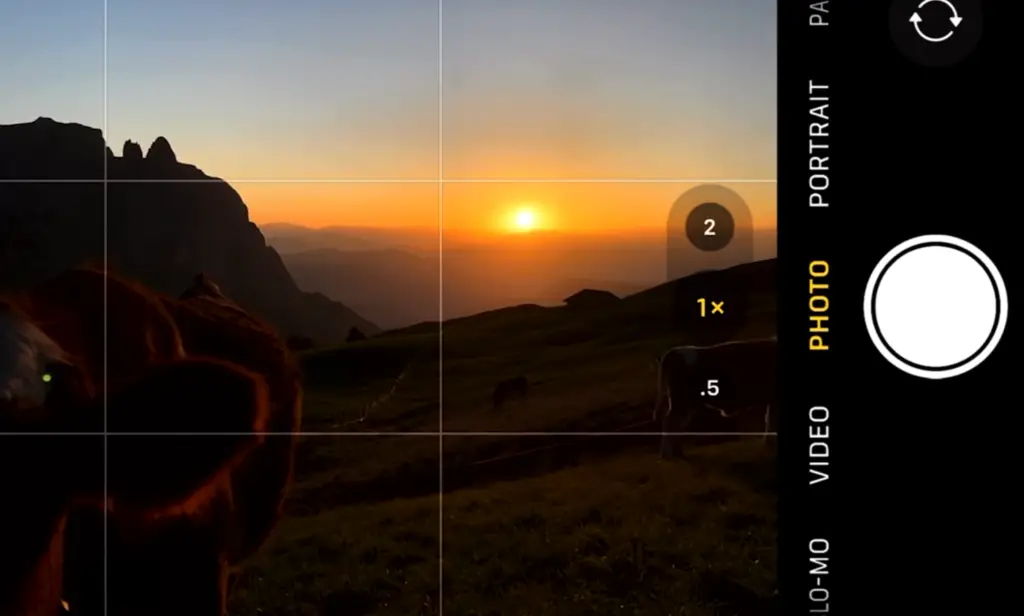
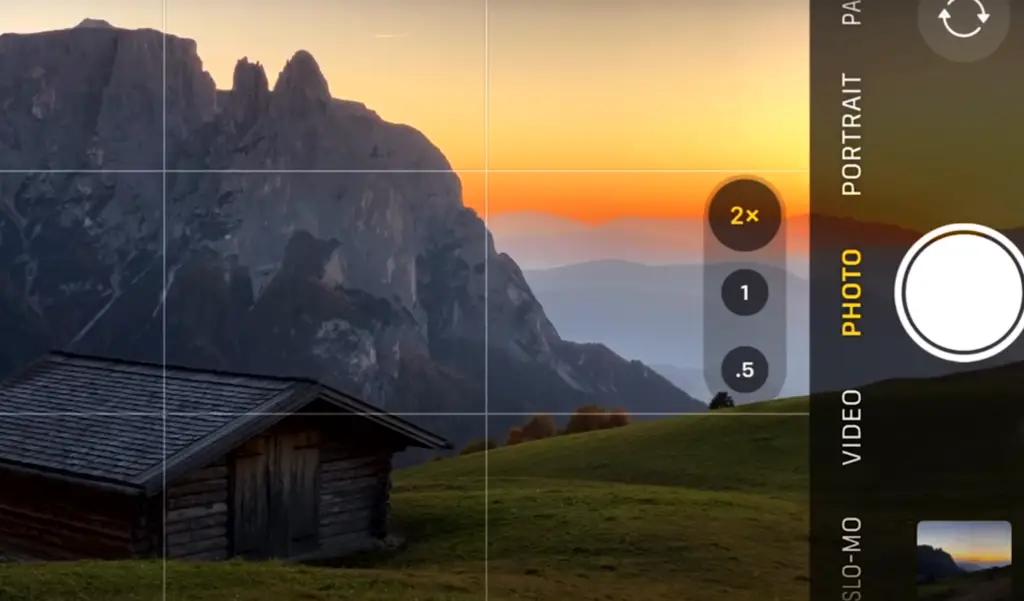
One of the most important things to keep in mind when taking sunset photographs is composition. To achieve aesthetically pleasing shots, it helps to use the Rule of Thirds – an age-old compositional technique still widely used by photographers today.
The idea behind this technique is to divide your frame into nine equal parts and position your subject along one of the grid lines. By doing this, you can create an image with a sense of balance and harmony, making it easier for viewers to appreciate the beauty of the scene.
This technique is especially useful when shooting sunsets as it helps to keep your main subject in focus while still allowing the sky and other elements in the frame to be appreciated at the same time.
Manually Expose For Beautiful Sunset Colors
When capturing sunsets, it is important to get the exposure right. Otherwise, you could end up with overly dark or washed-out images that don’t do justice to the vibrant colors of this special time of day.
To ensure that your shots are well exposed and accurately capture the beauty of the sunset, try manually exposing your shot instead of relying on your camera’s auto exposure settings. This means that you will have to adjust the shutter speed, aperture, and ISO yourself until you get the desired result.
Manual exposure may take some practice and patience, but it is worthwhile in achieving perfect sunset shots. Plus, once you master this technique, you’ll be able to capture sunsets with ease and confidence every time.
Use Flash To Make Your Subjects Stand Out
Using flash during sunset photography can help to bring your main subject into focus and make it stand out against the backdrop of a beautiful sky. This technique is especially useful when shooting portraits – by using a fill flash, you can add depth and dimension to your subjects while still capturing the vibrant colors of the sun setting in the background.
For best results, use your flash sparingly and adjust the power level until you get the desired effect. Just a hint of fill light can be enough to make all the difference in sunset portraits, making them look more evocative and impactful than ever before.
Emulate Other Sunset Photographers To Get High-Quality Sunset Photography
For some inspiration and guidance, take a look at the work of other sunset photographers. By studying their techniques and ways of working, you can quickly learn how to get the most out of your sunset photography sessions.
Whether it’s learning new camera settings or exploring creative angles and compositions, emulating other experienced sunset photographers is an excellent way to hone your skills and take your sunset shots to the next level [1].
How to Take Sunset Photos With an iPhone?
Step 1: Choose the Right Location
When capturing stunning sunset photos, the choice of location is crucial. Look for a spot that offers an unobstructed view of the vast sky and expansive horizon, allowing the vibrant colors and breathtaking beauty of the sunset to take center stage. For optimal results, aim to start your photography session approximately 30 minutes before the sun gracefully descends beyond the horizon. However, don’t be afraid to experiment with different times of the day as well, as each moment can yield unique and interesting outcomes. To ensure the utmost stability and clarity in your shots, consider bringing along a reliable tripod or any other stabilizing device to keep your camera perfectly still throughout the process. With these tips in mind, you’ll have the opportunity to capture mesmerizing sunset photos that truly showcase the awe-inspiring wonders of nature.
Step 2: Adjust Your Camera Settings
To get the best results, you’ll need to adjust some of your camera settings. Put your iPhone in “Night Mode” if available or use a third-party app like ProCamera to help reduce noise in the photo. Turn on HDR mode (if supported) to capture the subtle color variations that are often lost when photographing sunsets. Additionally, select a slow shutter speed to allow more light into the frame and avoid motion blur. Finally, use the manual focus mode to ensure your main subject is perfectly sharp and crisp.
Step 3: Make Final Adjustments
Once you have taken your desired shots, you can make some final adjustments. Use apps such as Snapseed or VSCO to tweak the brightness, contrast, and saturation levels in your sunset photos to give them a truly professional look. Additionally, make sure to crop out any distractions from the frame for more aesthetically pleasing results. With these steps complete, your stunning sunset photo will be ready to share with the world [2]!
The Best Apps for Capturing Stunning Sunset Photos
Sunset photography is a great way to not only memories but also beautiful moments in nature. To help you get the most out of your sunset photo session, here are our top picks for the best apps for capturing stunning sunset photos:
- VSCO Camera – This popular app offers a range of powerful editing tools and filters that allow you to enhance your sunset photos in a variety of ways. The app also offers an expansive library of preset filters, so you can quickly apply a professional look to your images with just one tap.
- Adobe Lightroom – Perfect for serious photographers, this comprehensive editing suite lets you tweak all aspects of exposure, contrast and color as well as selectively edit different parts of your sunset photos. The app also allows you to access and edit RAW files directly from your device’s camera roll, giving you greater control over the end result.
- Snapseed – With an intuitive touch interface and a range of powerful editing tools, this popular photo editor lets you quickly tweak color, exposure and contrast levels to get the perfect sunset shot. The app also includes a range of special effects, so you can add drama to your photos with just one tap.
- ProCamera – This all-in-one camera app offers everything from manual exposure controls and customizable filters to advanced noise reduction tools and a built-in horizon leveler for perfectly leveled shots. Whether you’re shooting landscapes or portraits, this app is sure to help you capture stunning sunset photos.
No matter which app you decide to use, be sure to take the time to experiment and get creative with your sunset shots. By taking advantage of all the powerful editing tools and features available in today’s photo apps, you can create stunning images that will last a lifetime [3].
FAQ
How do I set my camera to take sunset pictures?
Most digital cameras have an automatic setting for taking sunset pictures. When you’re ready to take the photo, simply switch your camera to its “sunset” mode and adjust any settings that may be necessary (such as exposure or white balance). Some cameras also offer more advanced settings such as slow shutter speeds, which can help capture the vibrant colors of a sunset. You can also use a tripod to help keep your camera steady when taking longer exposures. Finally, make sure you have plenty of lighting when shooting at sunset; it’s best to use an external flash or bring along some extra lighting equipment if possible. With the right setup and a bit of practice, you’ll be able to capture stunning sunset photos in no time!
How do you get long exposure on iPhone Sunset?
Unfortunately, long-exposure photography is not currently an option on the iPhone. However, several apps can help simulate the effect of long exposure shots. These apps use software algorithms to compile multiple photos together and create images that mimic longer exposures. While these apps don’t provide the same quality as a professional camera setup, they do allow you to experiment with creative sunset photography on your iPhone. Additionally, if you’re looking to take more professional-looking sunset photos with an iPhone, it’s possible to purchase an external lens and shutter release that will give you the ability to take longer exposures.
What settings should I use for night sky photos?
Night sky photography requires a combination of long exposure and low ISO settings to capture the stars. It’s best to set your camera to a high ISO (around 1600 or higher) and a low aperture (around f/2.8). You’ll also need to use a tripod to keep your camera steady during longer exposures, which can range from 10 seconds up to several minutes depending on how bright the night sky is. Additionally, you may want to use a noise reduction filter or a star tracker to help produce clearer images with less noise. With the right setup and a bit of practice, you’ll be able to take stunning photos of the night sky!
What iPhone setting is best for sunset photos?
The best settings to use when taking sunset photos with an iPhone will depend on the specific model you’re using. However, in general, it’s best to switch your phone to its “sunset” mode and adjust any necessary settings such as exposure and white balance. Additionally, adding a few extra touches such as filters or different lenses can help you capture more vibrant colors and create unique sunset photos. With the right setup and a bit of practice, you’ll be able to take stunning iPhone sunset photos in no time!
Useful Video: How to photograph EPIC sunsets with the iPhone
Conclusion Paragraph
If you want to take sunset pictures with an iPhone, it is important to remember that the best time of day to capture a perfect shot is during the golden hour when the light is especially soft and warm. When shooting, make sure to be aware of your surroundings – take into consideration any obstacles like trees or buildings that may block some of the natural light. Additionally, using features such as burst mode and live photos can help you capture more exciting and life-like photos. Finally, using post-processing or editing apps can help you to enhance your sunset images even further. With all of these tips in mind, you should be able to take incredible sunset photos with an iPhone!
References
- https://iphonephotographyschool.com/sunset-photography/
- https://www.thetechedvocate.org/how-to-take-better-sunset-photos-with-an-iphone/
- https://www.linkedin.com/pulse/how-take-better-sunset-photos-your-iphone-android-apps-devender-meena


Leave a Reply