Are you ready to capture unbeatable artwork shots with your iPhone? With the right techniques, you can easily take professional-quality photos of artwork with your mobile device. This blog post will explore the best tips and tricks to photograph artwork with your iPhone so that you can show off your favorite pieces in a stunning way. From setting up the right lighting to editing for a polished look, get ready to take art photography to the next level!
Preparing to Create Digital Photographs of Your Artwork
Tools
To properly capture the essence of your artwork through digital photography, there are a few essential tools that you should have. Firstly, it is recommended to use a modern digital camera with adjustable settings, allowing you to fine-tune the exposure, focus, and other important parameters. Secondly, a sturdy tripod is crucial to ensure stability and eliminate any unwanted camera shake. To enhance the lighting conditions and minimize harsh shadows, consider investing in diffusers and reflectors, which can help distribute the light evenly and create a more balanced and professional look.
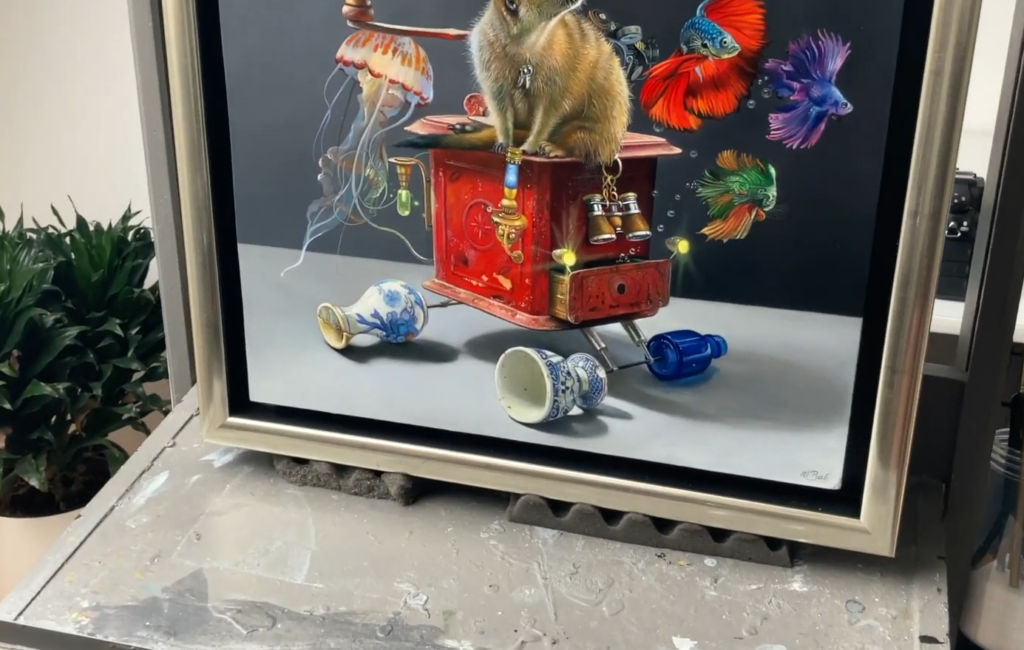
Additionally, using suitable backdrops can provide a clean and consistent background for your artwork, allowing it to stand out.
Angle and Positioning
In photography, the position of the camera is just as important as composition. How you decide to frame your artwork should be determined by what it is that you want to emphasize or draw attention to. When shooting flat artwork such as paintings, drawings, or prints, try experimenting with different angles and perspectives. This will allow you to capture any unique details or textures that may not be visible from a standard frontal view.
For objects with curves and other 3D forms, capturing them from multiple angles can help to show off their shape and dimensionality. Finding the ideal shooting spot is key in these scenarios; placing yourself at an angle that maximizes the visual impact of your artwork will ultimately produce much better results than simply standing in front of it and taking a straight-on shot.
Lighting
One of the most important considerations when photographing artwork is the lighting. Natural light can be a great option, as it often provides softer illumination and richer colors compared to artificial light sources. However, depending on the weather conditions, you may need to use diffusers or reflectors to soften and evenly distribute the sunlight streaming in from the outside. Alternatively, utilizing studio lights can also provide good results, although care should be taken to ensure that the light is not too strong or harsh.
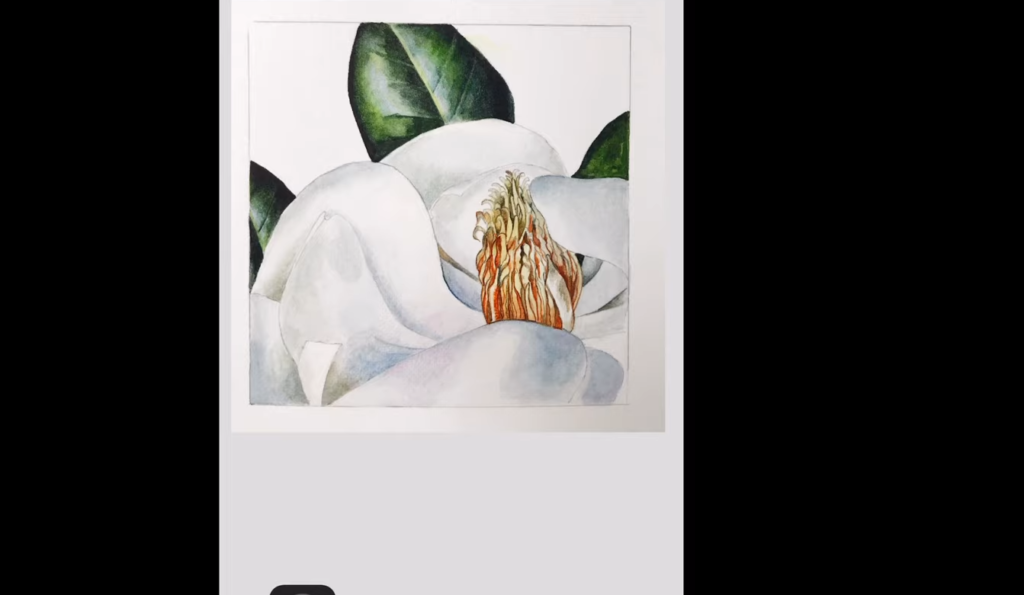
For those shooting in low-light environments, such as indoor galleries or museums, it may be necessary to use a flash for adequate illumination. When using flash, try to opt for bounce flash techniques rather than direct flash, as this will soften the light and prevent overexposure of your artwork. Ultimately, the goal is to evenly light your artwork without washing out any of its details or features.
Backgrounds
Selecting the right background can be an effective way to draw attention to your artwork and make it stand out. Depending on the scene, a solid backdrop in a neutral color may work best; for example, white or black backgrounds tend to create a clean and modern look that helps bring focus to the artwork itself. On the other hand, certain scenes may benefit from more creative backgrounds. If your artwork is to be shot at an outdoor location, for example, a natural backdrop such as a forest, lake, or mountain could provide an engaging and dynamic ambiance.
When photographing small objects, textured backdrops can also add an extra layer of visual interest. Textures such as cloth, paper, or wood can help create a more sophisticated look and give your photos an artistic flair. Ultimately, the background you choose should complement your artwork in both form and color; this will ensure that it does not detract from the main subject but rather serves to enhance it [1].
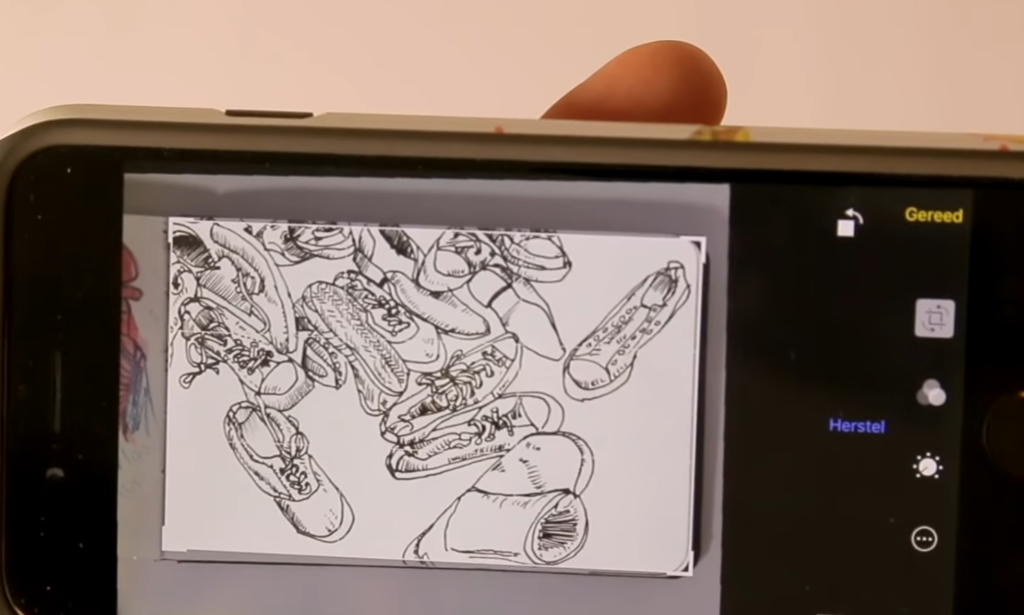
How to Take Photographs of Your Artwork with an iPhone? Step-by-step Guide
Photographing artwork with an iPhone can be a tricky task. To make sure your images are as clear and professional-looking as possible, here’s a step-by-step guide to ensure success.
Step 1: Choose the Right Lighting
For best results, choose a location with plenty of natural light. Avoid direct sunlight on your artwork, which can create harsh shadows and glare. If you don’t have access to natural light or need more control over lighting, use lamps or additional lighting sources to brighten up your work area.
Step 2: Set Up Your Artwork
Be sure to set up your artwork on a clear, flat surface. You should also make sure that the background behind your artwork is neutral and not too busy. If you want to create a more professional look, invest in a few backdrops such as paper or cloth.
Step 3: Prepare Your iPhone
Clean the lens of your iPhone with a microfiber cloth before you start shooting. To prevent shake or blur, use a tripod and remote shutter release to take photos. You can also use an improvised stand such as books or other objects to keep the phone stable.
Step 4: Take Photos!
Now that everything is set up, it’s time to start taking photos. Set up your iPhone so that the artwork is in focus and all the details of your work are visible. Experiment with different angles and distances to find the perfect shot. Use the zoom feature on your phone if you need to get closer to the artwork.
Step 5: Edit Your Photos
Once you’ve taken the photos, you can use various photo editing apps to touch up your images. These apps can help enhance colors and contrast, remove unwanted elements, and add special effects. Remember to save each version of your image as you go along in case you need to undo any changes. For example, you can use a vignette effect to add drama to your artwork with such apps as VSCO or Snapseed.
Photographing artwork with an iPhone is a great way to showcase your work on social media and other platforms. With a few simple steps, you can create beautiful images that stand out from the crowd. Experiment with different lighting, angles, and editing techniques to get the perfect shot every time [2]!
Preparing a Digital File of Your Artwork
Software for Digital Photographs
If you plan to submit digital images of your artwork, it’s important to ensure you use the right software. Many photographers prefer to use Adobe Photoshop or Lightroom for their work as these programs offer a wide range of features and options for editing, retouching, and enhancing photographs. However, there are other affordable options available such as Corel PaintShop Pro or GIMP.
Resolution / File Size
It is important to keep the resolution of your digital file at a reasonable level so that it can be displayed online without compromising on quality. Many competitions and exhibitions will require images of certain sizes or resolutions to be accepted, so double-check these requirements before submitting your artwork.
Additionally, it’s best to keep the file size as small as possible while still maintaining the quality of your artwork. The size of an image can vary depending on its resolution as well as the number of colors and pixels in it, so make sure to keep these factors in mind when selecting a file format for submission.
Digital File Types (JPGs / PNGs)
The most common file formats for digital images are JPGs and PNGs. Both of these types of files have their own advantages and disadvantages, so it’s important to consider what is best for your artwork before you submit it.
JPGs tend to be more popular as they compress the image into a smaller file size while still maintaining quality. However, they are not ideal for artwork with fine detail or subtle shading as the compression process can cause small details to be lost. PNGs, on the other hand, are great for artwork with lots of colors and details as they retain more information when compressed and therefore don’t lose any quality.
Colour Profiles (RGB / CMYK)
When submitting digital artwork, it’s also important to consider the color profile of your images. Two of the most common color profiles are RGB (Red, Green, Blue) and CMYK (Cyan, Magenta, Yellow, Black). While photos taken on digital cameras usually use RGB as their color profile, artwork intended for print may require a different format such as CMYK.
It’s important to make sure you are using the right color profile for your artwork when submitting digital files as some competitions and exhibitions may specify which one is required to be accepted. Additionally, it’s best to keep the file size and resolution at an appropriate level to ensure a good quality image without making it too large or slow-loading when viewed online.
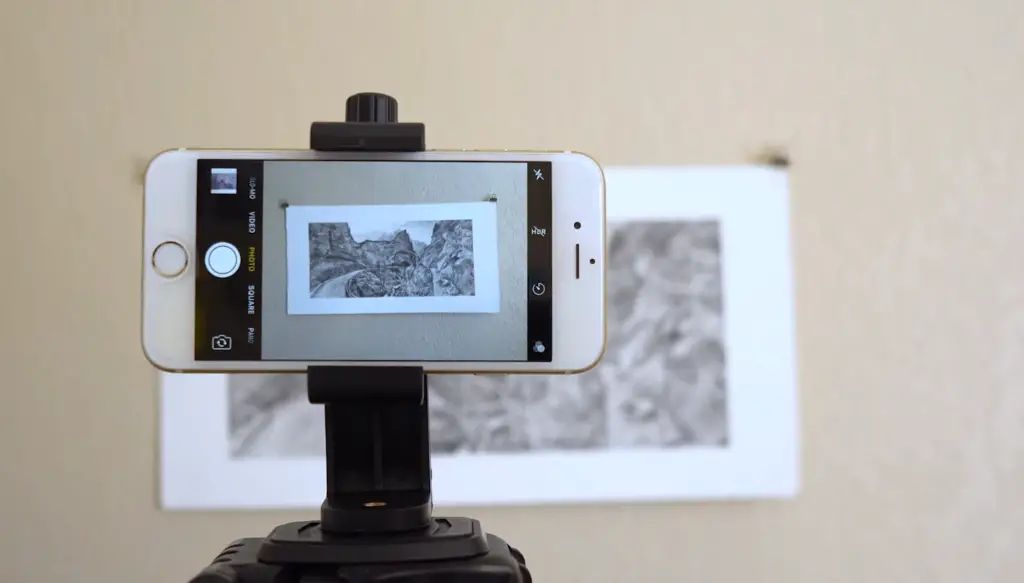
5 Tips on Photographing Art with a Smartphone
- Make sure you have enough light: Good lighting is essential for taking great photos of art using a smartphone. Natural light is usually the best option, but you can also use lamps or other artificial lights. If the painting or sculpture is too dark, try to adjust your camera’s exposure settings before taking the shot.
- Get close to the artwork: To capture the details of an artwork, make sure to get as close as possible to it. This will also help you fill up the frame and avoid background distractions.
- Use a tripod or other support: Using a tripod can be very helpful for taking sharp photos with your smartphone. It is especially important if you are shooting in lower light conditions and need longer shutter speeds.
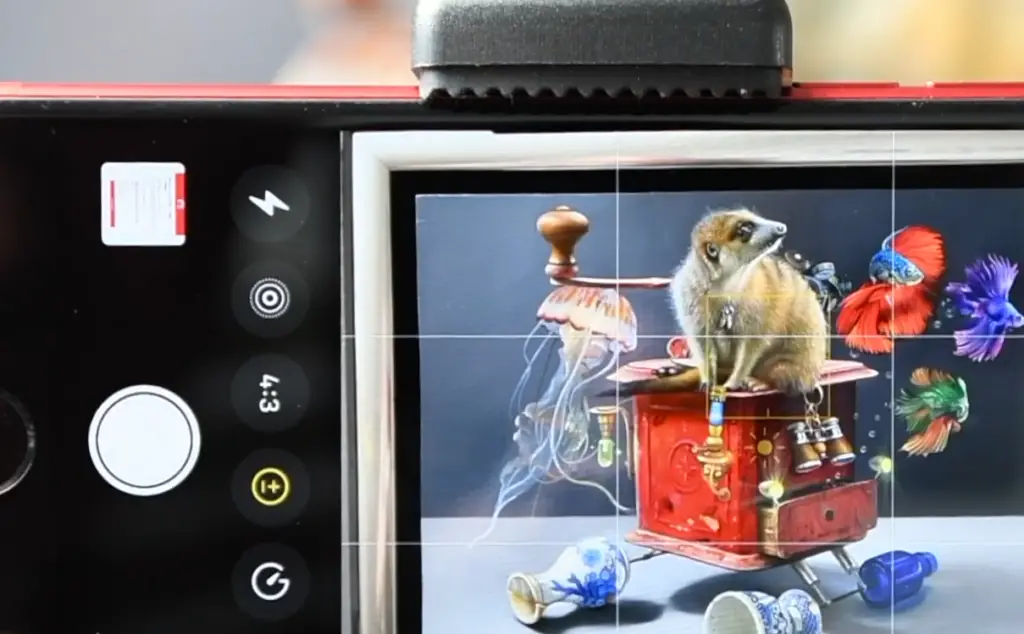
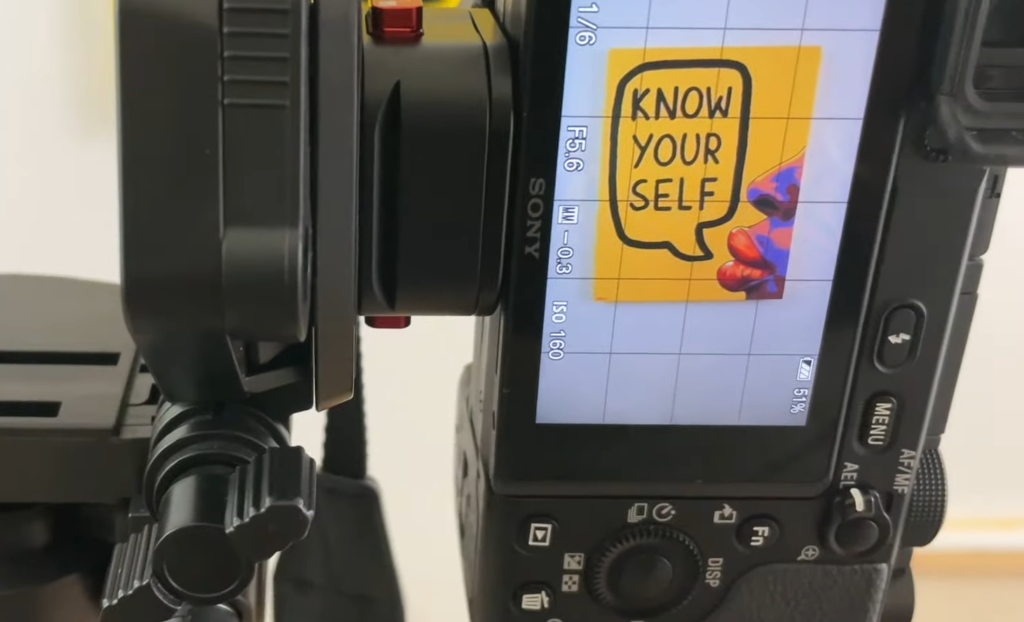
- Use the rule of thirds: One of the most fundamental composition techniques for photography is the rule of thirds. This technique helps you create balanced images and draw attention to your main subject – in this case, the artwork. To use it, simply divide your frame into nine equal parts with two equally spaced horizontal and two equally spaced vertical lines. Then place the artwork at one of the four points where the lines intersect.
- Avoid digital zoom: Digital zoom is a feature on most smartphones that enlarges an image by cropping and then interpolating (adding pixels). This can result in blurry, low-quality photos, so it’s best to stick with optical zoom or use your feet to get closer to the artwork instead.
Bonus Tip: Edit the photos on your computer or with an app: After taking your photos, you can use a powerful photo editing software like Adobe Photoshop to touch them up. Or if you prefer to edit on mobile devices, there are plenty of apps available that allow you to do just that. With these tools, you can adjust brightness and contrast, crop and rotate images and apply special filters. This can help you create stunning photos that capture the beauty of art on your smartphone [3]!
FAQ
How do you take good pictures of drawings on an iPhone?
The key to taking good pictures with an iPhone is using the right lighting and settings. You will want to choose a well-lit location, preferably with natural light from a window or another source.
When you are ready to take the picture, make sure your phone’s camera setting is on “photo” instead of “video.” You can also adjust the exposure and focus of your phone to ensure that the image is sharp and clear.
You may also want to consider using a tripod or other stabilizing device when taking pictures with an iPhone, as this will help make sure they are not blurry. Additionally, you may want to use an editing app on your phone to further enhance the quality of the images.
What is the best way to scan drawings?
The best way to scan a drawing is with a scanner or flatbed scanner. You can purchase scanners online or at many office supply stores. When scanning, make sure you are using a high-resolution setting; this will ensure that your scanned image is sharp and clear.
You should also make sure that there is no glare on the drawing and that your scanner glass is clean. Once you have scanned the image, you can use editing software to crop and adjust the colors or contrast as needed.
Finally, if you are scanning a large piece of artwork, it may be best to take multiple scans of sections and stitch them together in an editing program. This will ensure that no details are lost when you enlarge the image.
How do I take high-quality photos of my artwork?
Taking high-quality photos of your artwork can be a bit tricky, as you need to pay attention to several important factors to ensure optimal results.
First and foremost, it is crucial to choose the right location for your photo shoot. Look for a well-lit area with ample natural light, such as near a window or in a bright room. This will help illuminate your artwork evenly and showcase its true colors and texture.
When preparing to take the picture, make sure your camera settings are properly adjusted. Switch your camera to the “photo” mode to capture still images instead of videos. Take your time to set the exposure and focus correctly, ensuring that the image turns out sharp, clear, and accurately represents your artwork.
To avoid any blurriness or shaky shots, consider using a tripod or other stabilizing device, especially when using an iPhone or other handheld devices. This will help maintain stability and eliminate any unwanted camera movements.
Once you have captured the photos, take advantage of editing software on your computer to further enhance the quality of the images. You can adjust the brightness, contrast, and saturation levels to bring out the finer details and make your artwork truly shine.
By paying attention to these details and taking the necessary steps, you can ensure that your photos accurately showcase the beauty and intricacy of your artwork, allowing others to appreciate it in all its glory.
What camera settings are needed for photographing artwork?
When photographing artwork, it is important to choose the right camera settings for optimal results. Start by setting your camera to “photo” mode and adjust the exposure and focus properly. This will ensure that the image turns out clean and sharp.
You may also want to consider using a tripod or other stabilizing device when taking pictures of artwork, as this will help produce clear and steady images. You can also play with the ISO settings to adjust for a brighter or darker image.
Finally, take advantage of any special features your camera may have. For example, many cameras offer a “macro” option that allows you to capture intricate details in your artwork more easily. This setting is especially useful when photographing small objects.
By taking the time to adjust the right settings, you can ensure that your photos of artwork turn out sharp and clear, allowing others to appreciate it in its full glory.
What editing software should I use for enhancing my artwork photography?
When it comes to editing software for enhancing artwork photography, there are many options available. Some of the most popular programs include Adobe Photoshop, GIMP, Pixelmator, and Affinity Photo.
Each of these programs offers a wide range of tools and features to help you get the most out of your photos. They allow you to adjust brightness, contrast, and saturation levels, tweak colors and contrasts, crop images, add filters and more.
In addition to editing software, several mobile apps can be used to edit artwork photos. These can range from simple image-filtering apps to more advanced tools that offer a variety of features for fine-tuning the images.
Why is it important to use a tripod when taking pictures of artwork?
Using a tripod or stabilizing device when taking pictures of artwork is essential for producing clear and sharp images. This will help eliminate any camera blurriness or shaky shots that can be caused by hand movements.
A tripod also allows you to take photos from different angles, which can help highlight the intricate details of your artwork. This is especially useful for capturing images of large or three-dimensional pieces.
Using a tripod also allows you to be more creative with your photos, as you can experiment with various angles and positions that may not have been possible without one. This will help give each piece a unique look and feel, allowing viewers to appreciate it in all its glory.
Overall, using a tripod is a great way to ensure that your artwork photos turn out clear and professional, allowing you to showcase it in its best light.
When is it best to use direct light when photographing artwork?
Direct light can be used when photographing artwork, but it should be used with care. Direct sunlight can create harsh shadows and cause the colors of your artwork to appear washed out.
It is best to use direct light when taking pictures of a single piece of artwork in an open space where you can adjust the lighting as needed. This will help eliminate any harsh shadows and ensure that your artwork’s colors remain vibrant and true to life.
Alternatively, you may also want to consider using a ring light or other artificial source of light when photographing artwork indoors. This will allow you to get a consistent and evenly lit image without any harsh shadows or washed-out colors.
In the end, it is important to pay attention to the lighting when taking pictures of artwork, as this will help ensure that your photos turn out clear and true to life.
Useful Video: Photographing ART with your IPHONE
Conclusion Paragraph
To take great photos of artwork wth an iPhone camera, it is important to position the iPhone at the correct angle and distance away from the artwork. Additionally, using a tripod for stabilization can provide extra support and decrease blurriness in images. With the right lighting, background, and editing materials like filters and apps, you can make sure that your photos are professional-looking. Ultimately, with these tips in mind, anyone can use their iPhone camera to take great photos of artwork. There is still much to be explored and experimented with, but these tips are a great place to start!
References
- https://www.jacksonsart.com/blog/2023/01/23/how-to-create-the-best-digital-photographs-of-your-artwork/
- https://photovideolounge.com/718/photograph-artwork-with-iphone/
- https://megapencil.co/5-tips-on-photographing-art-with-a-smartphone/




Leave a Reply