
Capturing a perfect picture can be difficult, especially when you don’t have the right tools. With flash photography becoming increasingly popular and iPhones becoming ubiquitous, it makes sense to learn how to take pictures with flash on your iPhone. Taking photos with the flash on your iPhone gives you more options when it comes to capturing stunning images without losing any quality – perfect for aspiring photographers looking to show off their skills! This blog post will help you master the art of taking perfect photos with Flash on your iPhone.
What Do the iPhone’s Camera Flash Icons Mean?
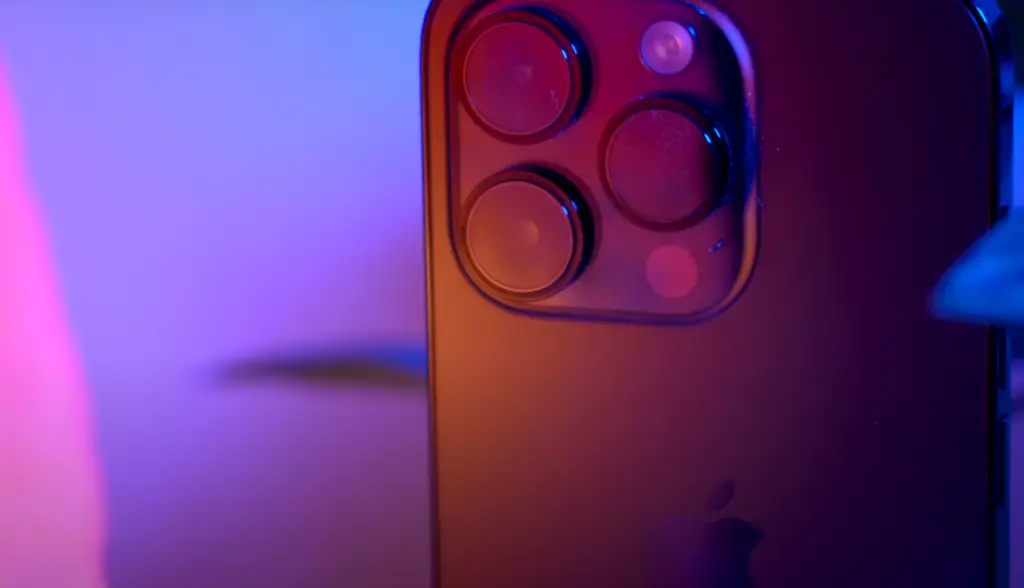
How to Turn On Camera Flash on iPhone
The iPhone’s Camera Flash icons can be confusing for some users. To turn the flash on, you will need to open up the Camera app. When at the Camera app, there should be an icon of a lightning bolt in the top corner, next to the shutter button. Tap this lightning bolt icon and it will bring up several different options for your camera’s flash settings.

The most common flash option is Auto, which turns on the flash automatically depending on lighting conditions. If you want to have direct control over when your camera uses its flash, select “On” from that menu and then it will stay lit regardless of how bright or dark it is in the room. You also have options such as “Off” and “Auto-Off” which will turn off the flash completely.
Once you select an option, the lightning bolt icon should be filled in and glow blue, indicating that the flash is currently active or enabled. You can now take pictures with it turned on all the time or depending on your chosen settings. As long as this icon is filled in, then you know your camera will use its flash when taking photos [1].
How to Enable Flash on iPhones With Face ID
For users who have an iPhone with Face ID, the flash icon will be slightly different. Instead of a lightning bolt, it will be a circle with a lightning bolt in the middle. To enable the flash on your device, open up the Camera app and tap that circular lightning bolton your screen and you should see several options for Flash settings. The same options as above will appear; Auto, On, Off, etc.
Select whichever setting works best for you and then take pictures knowing that your camera is using its flash whenever needed. The circular lightning bolt icon should now be filled in and glow blue to indicate when the flash is enabled or active.
How to Enable Flash on iPhones With Touch ID
For users who have an iPhone with Touch ID, the process is similar to the one for Face ID devices. Open up the Camera app and look for a lightning bolt icon in the top corner next to the shutter button. Tap on it and you will see several options for your camera’s Flash settings.
You can select Auto, On, Off, or other settings depending on what you need. Once you have chosen your setting of choice, you should now see that lightning bolt icon filled in and glowing blue when the flash is enabled or active. Now you can take pictures knowing that your camera is using its flash as needed based on your chosen setting.

Shooting flash photography at night with an iPhone
Steer clear of reflective surfaces
When shooting flash photography at nighttime with an iPhone, it’s important to be aware of reflective surfaces. The camera’s flash may reflect off of a nearby window or mirror and ruin your shot. Any shiny surface in the frame can cause a reflection that will affect the photo’s quality. Try to keep significant sources of light out of the scene so that you get consistent exposure.
Manage settings for better photos
The next step is to adjust your iPhone’s settings for optimal results when shooting at night. Start by increasing the exposure time to allow more light in. You can do this by going into your iPhone’s camera settings and adjusting the shutter speed to a longer duration. Additionally, turn off the flash or use a diffuser to soften the light if you don’t want harsh shadows. If you’re shooting in RAW format, try adjusting the ISO setting for better results in low-light conditions. A higher ISO will make images brighter but could also introduce noise into your photos.
Shooting indoors? Turn the lights on so the flash won’t have to work as hard
When shooting indoors, it’s best to use a flash or adjust the lighting conditions in the room. If you turn on all available lights in the room, your flash will not have to work as hard, meaning that your pictures will look better and more natural. Additionally, try using a tripod if you’re going to be taking multiple shots of the same scene. With a steady base, you won’t have to worry about any camera shake ruining your photos.
Use artificial lighting sparingly
When shooting with an iPhone at night, artificial light sources can be used to enhance scenes but should be used sparingly so as not to wash out colors or create harsh shadows. Experiment by using different types of lights such as strobes or LED lights to create interesting effects. You can also use colored gels to adjust the hue and saturation of your photos.
Experiment with creative techniques
Finally, don’t be afraid to experiment with creative techniques when shooting at night with an iPhone. Try playing around with long exposures and different angles for unique shots that capture your scene in a completely new way. Use a slow shutter and panning technique to capture motion, or try adding a burst of light from a flashlight for an intriguing contrast. With the right techniques, you can create amazing photos with your iPhone at night.
Tips for outdoor flash photography
Keep the sun behind you for subtle drama
When shooting outdoors, try to position yourself so that the sun is behind you. This will give your subject a nice rim light and can provide subtle drama to your images. If the sun is in front of you, it can cause harsh shadows on your subject’s face which can be unflattering.
Use a bounce flash to soften the lighting
If possible, use a bounce flash to soften the lighting on your subject. Bounce flashes are more effective than direct flashes because they spread out the light, creating softer shadows and highlights. You can also use reflectors or diffusers to help spread out the light for an even softer effect.
Fill in with flash when necessary
If there isn’t enough natural light to get the shot you want, try adding in a flash. This can help fill in shadows and give your images more depth. Just be sure to use the flash judiciously so that it doesn’t overpower the natural light.
Use your flash when shooting against bright backgrounds
When shooting against a bright background, try using your flash to create separation between your subject and the background. This can help draw attention to your main subject, making it stand out from the rest of the image.
Adjust your settings for different conditions
Be sure to adjust your settings according to the conditions. If it’s a sunny day, try shooting at a lower ISO and faster shutter speed. If it’s cloudy or overcast, you may need to increase the ISO and slow down the shutter speed. Experiment with different settings until you get the desired results. With practice, you’ll be able to confidently shoot great images outdoors with flash!
Fix your lighting in post-processing
If you’re not happy with the lighting or exposure in your photos, don’t worry – you can always fix it in post-processing. With just a few clicks, you can adjust the contrast, brightness, shadows, and highlights to make your images look exactly how you want them to [2].

How to shoot flash portrait photography
Use a reflector to minimize shadows
When shooting a portrait with flash, you’ll likely want to minimize the number of shadows cast on your subject. A reflector is an effective tool for this purpose. Position the reflector in a way that light bounces off of it and onto your subject’s face, filling in any shadows that may exist. This will create a more balanced look and ensure your picture looks natural and professional.
Choose the right lighting setup
The type of lighting setup you use can have a big impact on the final look of your images. For example, if you’re looking to create soft, flattering portraits, then using larger, diffused lights might be best. On the other hand, if you’re aiming for a more dramatic look, then you could opt for a tighter setup with smaller lights. Experimenting with different lighting setups will help you find the look that best suits your style.
Adjust the flash intensity
When shooting a portrait with flash, it’s important to adjust the intensity of your flash correctly. Too much light can cause harsh shadows and blown-out highlights, while too little light can result in dark or underexposed images. Experimenting with different intensities will help you find the right balance between shadow and highlight detail in your photos.
Experiment with white balance settings
Your camera’s white balance setting has a big impact on how colors appear in an image, so it’s important to set this properly when shooting portraits with flash. Try experimenting with different white balance settings to find the one that gives you the look you’re after.
Aim for consistency
When shooting a series of portraits, it’s important to aim for consistency in your images. This means using the same lighting setup, positioning, and camera settings for each shot. This will ensure that all of your images have a similar look and feel that ties them together as part of a single portrait session.
Find as much natural or artificial light as possible
If you’re shooting portraits outdoors, try to find as much natural light as possible. This will help reduce the need for powerful flash units and create a more natural-looking image.
Do not shoot portraits head-on with a flash
When shooting with flash, try to avoid shooting your subject head-on. This can create harsh shadows on their face and make them look unflattering. Instead, try to angle your camera slightly to the side or above the subject for a more flattering lighting effect.
Take advantage of the bounce flash technique
Bounce flash is a great way to soften the light from your strobe and create a natural-looking portrait. To do this, you’ll need to position the flash head so that it points towards a nearby wall or ceiling. The light will then reflect off of these surfaces and onto your subject’s face in a softer, more even manner. This is an effective technique for creating flattering portraits without relying too heavily on the flash.
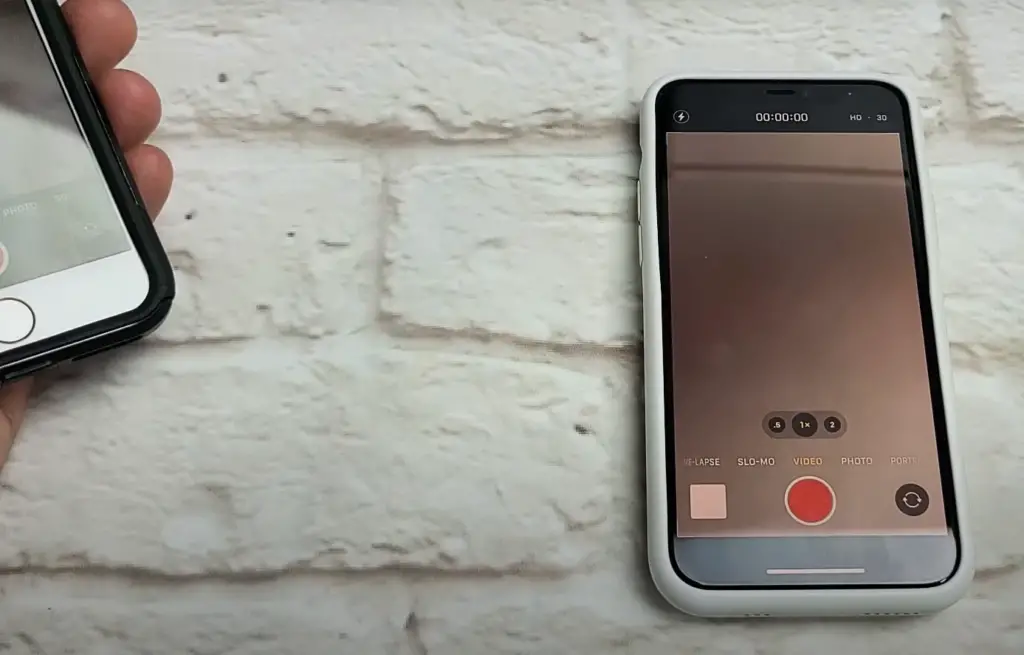
How to turn on and turn off the flash on iPhone
The flash on your iPhone can be turned on and off for a variety of uses including taking photos, recording videos, and using the LED flashlight. Turning the flash on is quick and easy to do. To turn your iPhone flash On or Off:
- Unlock your iPhone
- Tap the Camera icon on your Home screen
- Tap the Flash button in the upper left corner of your screen
- The Flash will now be set to On or Off depending on what you selected
If you are using iOS 13 or newer you may also find a new shortcut option located directly above the shutter button in Camera mode that looks like a lightning bolt inside of a circle. If tapped this will toggle the flash setting on and off with one tap. When using the LED flashlight, you can turn your iPhone’s flashlight On or Off by swiping up from the bottom of your screen to reveal the Control Center. Then tap and hold on the Flashlight icon until it turns either On or Off. This feature is only available for iPhones running iOS 11 or newer. That’s all there is to turn your iPhone’s flash On and Off! Now you can take better photos, record clearer videos, and use the LED flashlight whenever you need it.
Why is my iPhone Flash not working?
There are several possible reasons why your iPhone’s flash may not be working. Some of the most common causes include:
- Low battery: This is perhaps the most common issue when it comes to iPhone flashes not working. Make sure that your device has enough battery life before attempting to use the flash.
- Dust and debris: If you have been using your phone for a while, dust, and debris can build up on the lens and cause interference with the light emitted from the flash. Cleaning out any dirt or obstructions should help get things back in order.
- Software issues: If none of the above fixes work, then it could be a software issue with either iOS or an app. If you are still having trouble with the flash, try resetting your iPhone or restoring it from a backup.
- Malfunctioning hardware: In rare cases, the actual hardware parts of the flash may malfunction and need to be repaired or replaced. If this is the case, you will likely need to take your phone in for service [3].
FAQ
How do I turn the flash on when I take a picture?
To turn the flash on when taking a picture, press the “Flash” button located on the top or side of your camera. Depending on your camera model, you can choose between Flash On, Auto Flash, and Red Eye Reduction Flash modes.
Why can’t I take pictures with Flash on my iPhone?
Unlike traditional cameras, Apple’s iPhones do not have a built-in flash. Instead, they use the True Tone LED flash located on the back of the phone to take photos in low light conditions. If you are still having trouble taking pictures with Flash, your True Tone LED flash may have been disabled in Settings. To enable it again, go to Settings > Camera > Flash and toggle the switch to “On”.
What type of batteries do I need for my digital camera?
The type of battery you will need for your digital camera depends on the make and model of your camera. The most common types include AA or AAA alkaline batteries as well as lithium-ion or NiMH rechargeable batteries. To ensure the best performance, check your camera’s manual for the recommended battery type. Additionally, you can find information on the manufacturer’s website or contact customer service.
What is a memory card?
A memory card is a removable storage device used to store digital photos and other data. Memory cards come in various sizes and formats including SD, microSD, CompactFlash, and XQD cards. To use a memory card with your camera or smartphone, make sure that it is compatible with your device before purchasing one. Additionally, be sure to read the manual for instructions on how to install and configure the card correctly.
Can I transfer my photos from my camera to my computer without using a memory card?
Yes, you can transfer photos from your camera to your computer without using a memory card. Many cameras have a USB port or an HDMI port for connecting the device directly to your computer. To do this, connect the camera to your computer with a USB cable or an HDMI cable and follow the instructions in the user manual for transferring files. Additionally, you can also use Wi-Fi-enabled cameras and smartphones to wirelessly transfer photos between devices.
What is RAW format?
RAW format is an image file type that stores unprocessed data from digital cameras’ sensors. Compared to JPEG images, which are compressed and processed upon capture, RAW images contain more information in their original form and allow for more post-processing options when editing them later on. If you want to make the most out of your photos, it is recommended that you shoot in RAW format.
How do you take a picture with a flash on iPhone 12?
To take a picture with a flash on the iPhone 12, make sure that the True Tone LED flash is enabled in Settings. Then, open the Camera app and select “Photo” from the menu at the top of the screen. From there, tap on the Flash icon located in the upper-right corner of your screen and choose either “Auto” or “On” to turn on Flash. When you’re ready to take a photo, press the shutter button at the bottom of your screen to capture your picture.
How do I view my photos after I have taken them?
Once you have taken photos with your camera or smartphone, you can easily view them by connecting them to a computer or transferring them onto an external storage device. Additionally, most cameras and phones also have their own photo-viewing software or apps that allow you to view the photos on the device itself. Finally, if your camera has a memory card slot, you can insert a compatible memory card to access the pictures stored on it.
Does the iPhone 13 have a camera flash?
Yes, the iPhone 13 has a True Tone LED flash located on the back of the device. The True Tone LED flash is designed to provide natural-looking lighting for photos taken in low-light conditions. To turn on the flash when taking a picture, open the Camera app and tap on the Flash icon in the upper-right corner of your screen. From there, you can choose between Auto and On to enable or disable the flash as needed.
How do I get my iPhone to flash?
To get your iPhone to flash, open the Camera app and tap on the Flash icon in the upper-right corner of your screen. From there, you can choose between Auto and On to enable or disable the flash as needed. Additionally, if your iPhone is running iOS 14 or later, you also have the option to turn on Night mode for brighter photos in low-light conditions.
What are some tips for taking better photos?
Some tips for taking better photos include using natural light whenever possible, setting up your shot before pressing the shutter button, choosing manual settings instead of automatic ones, cleaning your lens before each shoot, getting close to your subject for more detailed shots, and experimenting with different angles and perspectives. Additionally, studying photography basics and taking practice shots can help improve your skills over time.
Why is my camera not taking clear pictures?
If your camera is not taking clear pictures, it may be due to a few reasons. First, check the settings on your camera to make sure that all of them are set correctly. Additionally, if you are using a zoom lens, try backing away from your subject or switching to a different lens for better clarity. Finally, if there is dirt or dust on the lens or sensor, clean them off carefully and try again.
What are some tips for taking sharp photos?
Some tips for taking sharp photos include setting up manual focus instead of relying on auto-focus, using a tripod or monopod when needed, avoiding digital zoom as much as possible, keeping shutter speed above 1/60th of a second, and using flash when necessary to freeze motion. Additionally, you can also try taking multiple shots of the same subject from various angles to ensure that you capture the best one.
What to avoid when taking pictures?
When taking pictures, it’s important to avoid shooting in direct sunlight as this can cause overexposure or harsh shadows.
Useful Video: Direct flash is a game changer // INSTAGRAM PICTURES
Conclusion
Taking pictures with Flash on an iPhone can be a bit tricky. With the right tips and tricks, anyone can take great photos with the Flash setting. First, it’s important to understand how to use the different settings for your iPhone camera app. It also helps to know which apps offer additional flash features such as a separate flash mode. Understanding what lighting works best for each situation is key to getting the best possible photos. Finally, taking photos with Flash on an iPhone requires practice. With enough trial and error, you’ll be able to capture stunning images with the help of your phone’s built-in flash feature!
References
- https://www.makeuseof.com/how-to-turn-on-camera-flash-iphone/
- https://www.slrlounge.com/flash-outdoors-ambient-balancing-natural/
- https://www.makeuseof.com/how-to-fix-iphone-flashlight/