
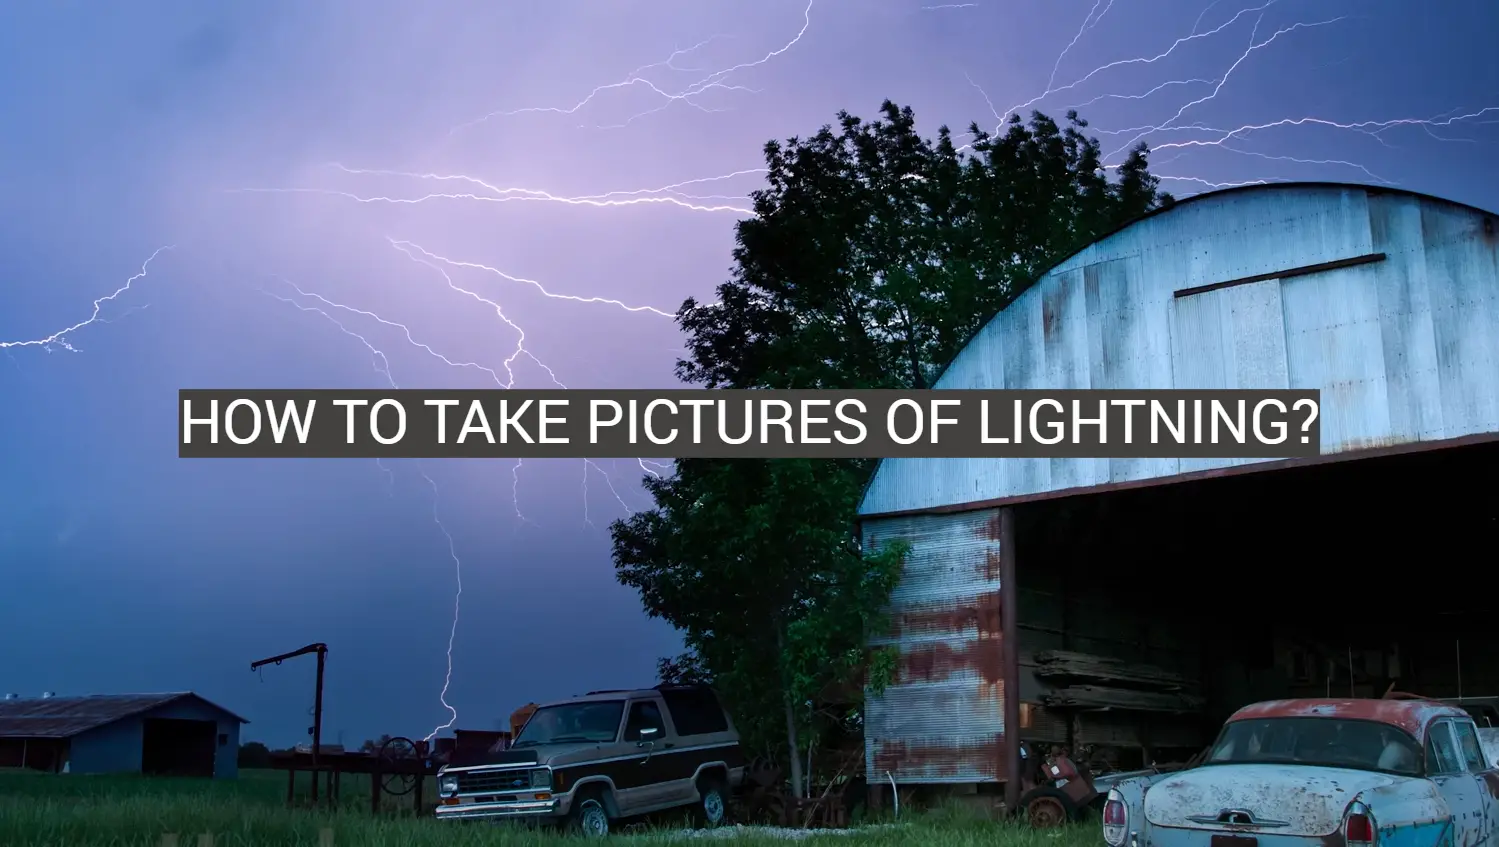
Are you looking for a unique way to capture the awesome power of Mother Nature? There’s nothing quite like taking stunning pictures of lightning! If you’re ready to experience the thrill of taking photos of these dramatic electrical discharges, then look no further. With some simple tips and tricks, you’ll soon be able to take beautiful photographs that showcase the wonder and fury of lightning in all its glory. So, buckle up and get ready – you’re about to explore how to Capture Nature’s Fury through photography!
Equipment needed for lightning photography
Lightning photography is a challenging but rewarding type of photography. To get the best results, you need some specific equipment. Here are the items you’ll need:
- A camera with manual exposure settings
- A sturdy tripod to stabilize your camera
- A wide-angle lens
- A cable release or shutter remote to reduce camera shake
- An intervalometer to set long exposures
- Appropriate protective gear such as rain cover and lightning detector
With these tools in hand, you can take stunning shots of lightning in no time! Just remember to practice safety at all times when shooting outdoors during thunderstorms. Be sure to follow local weather advisories and stay out of harm’s way.
What You Need To Photograph Lightning
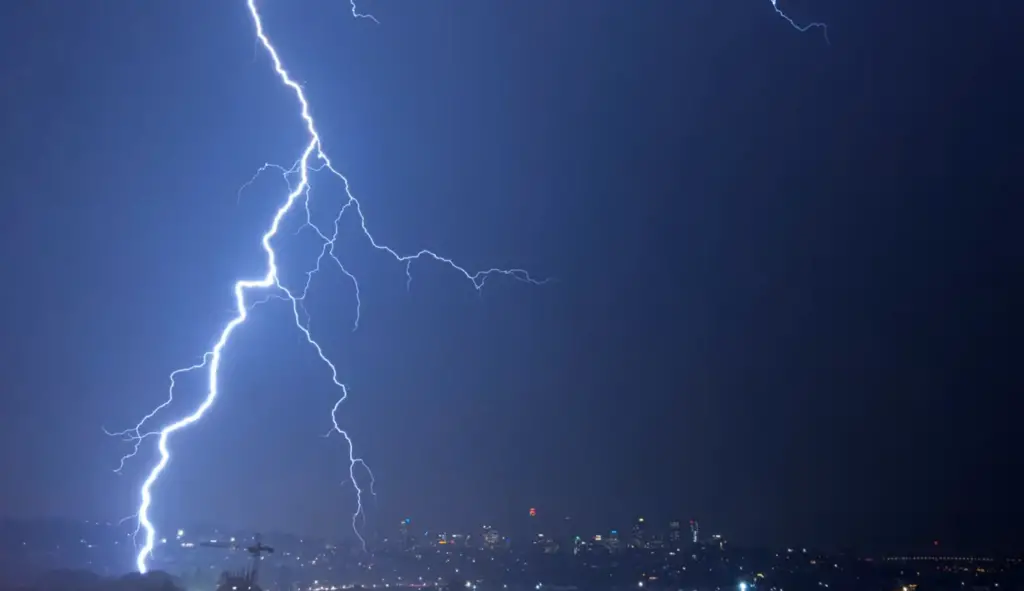
Nocturnal LightningPhotography
Nocturnal lightning photography can be an exciting and rewarding activity. To do it effectively, however, you need to take a few steps first. Here is what you need to get started:
- A sturdy tripod: A tripod is essential for night photography as the shutter speeds used are much longer than daytime shots. This will help keep your images from being blurry or distorted.
- An appropriate lens: Wide angle lenses are often the most effective when taking shots of lightning at night. You also want to make sure that your lens has a fast aperture so that more light can reach your sensor and provide better results.
- A remote shutter release: Using a remote shutter release allows you to trigger the camera without having to touch it. This can help reduce camera shake and keep your photos sharper.
- Patience: Nocturnal lightning photography is not a quick process, and you may have to wait a while for the perfect shot to appear. Make sure that you are patient as this will help improve the chances of getting the shot you want.
- A rain jacket: Depending on where you live, thunderstorms can bring with them heavy rains. Having a rain jacket or poncho handy will ensure that your gear stays dry and protected during your shooting session.
- Safety equipment: Lightning can be extremely dangerous, so make sure that you take all necessary safety precautions before taking any photos at night. Be aware of your surroundings and be sure to keep a safe distance from any potential sources of danger.
Daytime Lightning
Photographing lightning during the day can also be a rewarding experience, and it requires similar equipment. Here is what you need:
- A tripod: Just like at night, a sturdy tripod is essential to keep your camera steady and prevent blurry images.
- A telephoto lens: Telephoto lenses are best for capturing distant lightning strikes and ensuring that all details are in focus.
- A filter or hood: When photographing lightning during the day, it’s essential to use either a neutral density filter or a lens hood to reduce glare and help ensure better exposure. This will help make sure that all parts of the image are exposed properly.
- Safety equipment: Just like at night, make sure that you practice proper safety precautions when taking photos of lightning during the day. Be aware of your surroundings and keep a safe distance from any potential sources of danger.
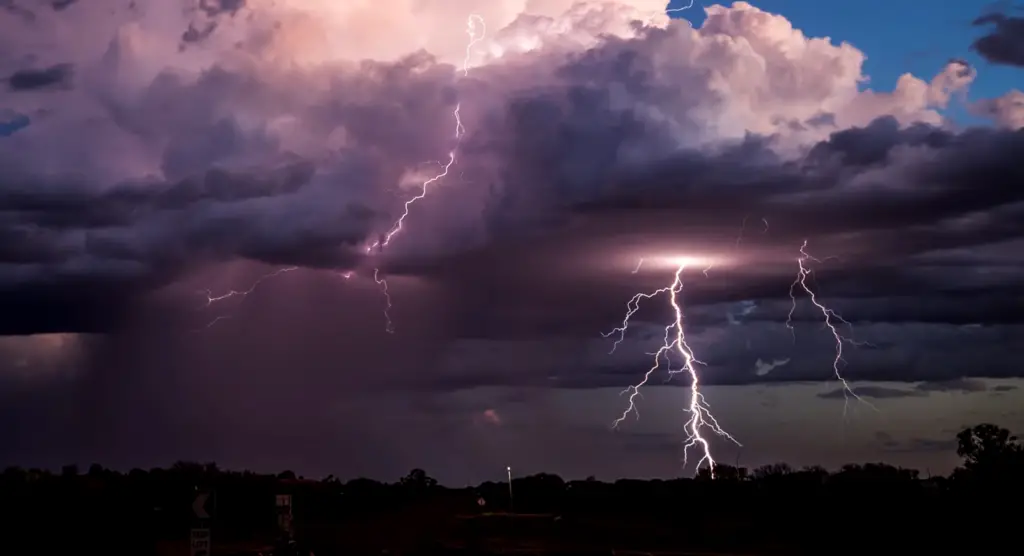
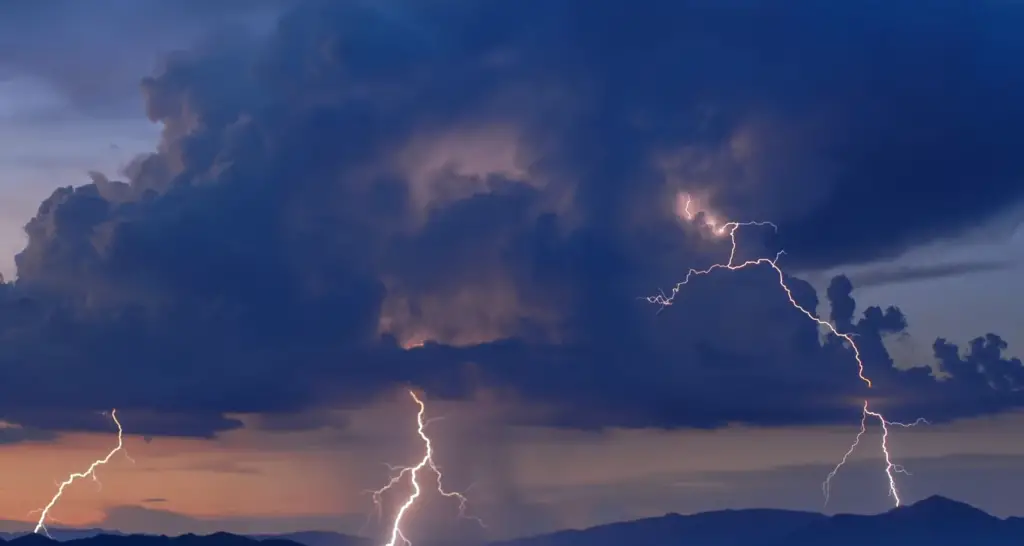
Sunrise/Sunset Lightning
Photographing lightning at sunrise or sunset can be a stunning experience. Here is what you need to get started:
- A tripod: As with all forms of photography, a sturdy tripod is essential for taking photos at sunrise or sunset.
- A wide-angle lens: Wide-angle lenses are the best choice for capturing an entire sky full of lightning. This will help ensure that the entire scene is in focus and properly exposed.
- A neutral density filter: Using a neutral density filter will help reduce glare and ensure proper exposure when taking shots during these times of the day.
- Safety equipment: Be sure to keep yourself safe while photographing at sunrise or sunset by practicing proper safety procedures and staying away from any potential sources of danger [1].
How to Photograph Lightning and Get Amazing Results
Safety First!
Equipment Setup
In order to capture stunning lightning photographs, there are certain equipment requirements. First, a steady tripod will ensure your camera doesn’t move during long exposures so that you can have sharp images with no motion blur. A wide-angle lens will also help you get great shots as it allows you to capture more of the sky. Depending on your location and how far away the lightning is, you may need a telephoto lens with a focal length of up to 500mm. If you’re shooting during the day, use filters to cut down on glare and enhance contrast. Finally, make sure you have plenty of memory cards and batteries so that you don’t run out while shooting.
Composition
Lightning photography is all about capturing dramatic scenes that showcase the beauty of nature. When composing your shots, look for interesting elements such as mountains or buildings in the background to add depth to your photos. Also, consider foreground elements such as trees or rocks to anchor your image and give it context. It can be helpful to experiment with different angles and positions until you find the composition that fits your vision.
Camera Settings
To photograph lightning, you’ll need to adjust your camera settings accordingly. Start by setting your ISO as low as possible (usually around 100-200). This will allow for a longer exposure time so that you can capture more of the lightning flash. To get creative shots, you may want to set your shutter speed at 1/15th of a second or slower, but make sure it isn’t too long or else the lightning will be overexposed in your shot. Finally, use a fast aperture such as f/8 or f/11 to ensure the whole image is sharp from front to back.
To Bulb or Not To Bulb?
When photographing lightning, you have the option of either using a “bulb” setting or a regular shutter speed. The bulb setting will keep your shutter open for as long as you press down on the shutter button, allowing you to capture extended frames of lightning. This can be great for creative shots, but make sure to use a remote trigger or cable release so that there isn’t any motion blur from pressing the shutter button manually. On the other hand, if you want shorter exposures with less noise in your shot, then using regular shutter speeds is probably best.
Post-Processing
Once you’ve captured your photos of lightning, it’s time to start working on post-processing them. Try playing around with the exposure, contrast, and saturation to get the look you want. You can also use Photoshop or other editing programs to remove any dust spots or blemishes in your images. With a bit of practice, you can create stunning photographs of lightning that will wow your viewers [2].
7 Lightning Photography Tips
Use a Slow Shutter Speed
When capturing lightning, it’s important to use a slow shutter speed, typically between 1/4 and 5 seconds. This will allow your camera to capture the entire bolt in one single frame. If you use a faster shutter speed, you may only get part of the bolt and miss out on some of its beauty.
Choose Your Location Carefully
Lightning is unpredictable and can come from anywhere in the sky, so be sure to choose a spot with an unobstructed view of the sky. Look for areas with fewer trees or buildings that could block your view of lightning strikes. Keep an eye on the weather forecast too – if rain or storms are predicted, head outdoors and start shooting!
Underexpose Your Shot
To keep your image from becoming too bright, try underexposing it by 1-2 stops. This will help ensure that the lightning stands out against a darker sky and looks more natural.
Adjust Your White Balance
Lightning can cast an eerie blue light on the landscape, so be sure to adjust your white balance accordingly. You may want to experiment with different settings to get the right look for your photos.
Use an Intervalometer
An intervalometer is a device that allows you to set a specific exposure time and interval between shots. This is especially useful for lightning photography, as it allows you to take multiple photos in rapid succession without having to manually press the shutter button.
Stay Away From the Tripod Legs
Lightning can generate a lot of static electricity, and if you’re using a tripod, it’s important to keep your hands away from the legs. Static electricity can cause damage to electronic components, so try to stay at least 2-3 feet away from the tripod when setting up your shot.
Enjoy the Show
Finally, don’t forget to enjoy the show! Lightning photography can be an exciting and rewarding experience. Be prepared for some trial-and-error as you learn how to best capture a lightning strike, but in the end, you’ll have some beautiful images to share [3].
Best Lightning Photography Ideas
- Capture lightning during storms: The most obvious way to take a beautiful lightning photo is to wait for thunderstorms and capture the bright flashes of lightning as they strike through the night sky. Setting up a tripod and using manual settings can help you craft dynamic images full of detail and energy.
- Capturing Lightning After Dark: If you have access to dark areas where there isn’t much light pollution, then capturing the beauty of lightning after dark is possible. Use long shutter speeds to capture multiple strikes in one frame, or manually adjust your camera settings until you get an image that truly takes your breath away!
- Take advantage of city lights: Cloud-to-ground lighting tends to be more visible in areas with bright city lights. The contrast between the lightning and the night sky makes for beautiful photos that are truly unique.
- Use different angles: Try to capture different angles of lighting, such as from the side or from above. This can give you a more dynamic shot and make your images stand out from the rest.
- Experiment with light painting: Light painting is an interesting technique that involves using a flashlight or other light source to “paint” an image while keeping your shutter open and exposing the photo to light over time. By experimenting with this technique you can create stunning images of streaks of lightning!
- Give yourself plenty of time: Don’t rush yourself when taking lightning photos – take your time and experiment with different settings to find the perfect image. This will help you capture the best lightning shots possible!
- Have fun: Above all else, don’t forget to have fun when capturing lightning photography! It’s easy to get frustrated if things don’t go quite as planned, but remember that it isn’t a race – enjoy the challenge and make sure to appreciate your unique results.
FAQ
How do I take pictures of lightning with my phone?
Taking pictures of lightning with your phone can be a tricky thing to master, but some tips can help you get the perfect shot. Firstly, make sure that your camera settings are appropriate for nighttime photography, and then turn off the flash. You will also want to protect your phone from any moisture by using a waterproof case or covering it with plastic.
Next, find a safe place to take the photo away from any metal objects as these can attract lightning strikes. Keep an eye on the sky and look for potential storms to give yourself plenty of time to set up your shot before the storm arrives.
When setting up your shot, use a tripod or other similar object so that you don’t have to worry about your phone shaking due to wind or other conditions.
When the lightning appears, press the shutter button as soon as you can and keep it pressed until after the lightning has disappeared. This will help you get a clearer image of the flash of light. Finally, don’t forget to take multiple pictures to capture different angles and sizes of lightning strikes.
What is the best shutter speed for lightning photography?
The best shutter speed for capturing lightning is usually 1/200th of a second or faster. This will help you to capture the intense light from the lightning strike without overexposing the image. You may also need to experiment with different shutter speeds depending on the conditions to get the perfect shot.
It’s important to remember that taking pictures of lightning can be dangerous, so make sure that you take all necessary safety precautions and don’t put yourself at risk when trying to capture these stunning images. With some practice, patience, and luck you can get amazing shots of lightning with your phone!
How hard is it to take a picture of lightning?
Lightning photography can be quite difficult, as you need to have the right camera settings and equipment to capture a good image. You will also need to have a lot of patience since it can take some time for lightning strikes to appear. Additionally, you must make sure that you are in a safe location and not putting yourself at risk while taking these photos.
What are some safety precautions to take when taking pictures of lightning?
When taking pictures of lightning you should always make sure that you are in a safe location away from metal objects as these can attract lightning strikes. Additionally, you should protect your phone from any moisture by using a waterproof case or covering it with plastic. It’s also important to be mindful of the weather and give yourself plenty of time to set up your shot before the storm arrives so that you don’t put yourself in harm’s way. Finally, never try to take pictures of lightning during a thunderstorm as this can be extremely dangerous.
Where is the best place to take pictures of lightning?
The best place to take photos of lightning is in an open area with few or no obstructions, such as a field or beach. You also want to make sure that there are no metal objects around as these can attract lightning strikes. Additionally, you should keep an eye on the sky and give yourself plenty of time to set up your shot before the storm arrives. When taking pictures of lightning it’s important to stay safe and never put yourself at risk!
What to avoid when taking pictures of lightning?
When taking pictures of lightning, it’s important to avoid metal objects as these can attract lightning strikes. You also want to make sure that you are in a safe location away from any trees or power lines. Finally, never try to take pictures of lightning during a thunderstorm as this can be extremely dangerous and has the potential to cause serious injury or even death. Keep all these things in mind and you should have no problem capturing stunning images of lighting!
How to choose the best camera settings for lightning photography?
Choosing the best camera settings for lightning photography can be a bit tricky. Firstly, make sure that you set your camera to nighttime photography mode and turn off the flash so as not to overexpose the image.
Useful Video: How to Photograph Lightning – Tutorial & Pro Tips
Conclusion
Taking pictures of lightning can be quite a rewarding experience. Not only does it allow you to capture an awe-inspiring moment of nature, but also allows you to practice your photography skills and learn more about lightning in the process. Remember to always use caution when shooting photos outdoors during a storm, and make sure to have fun! With the right equipment and knowledge, anyone can take stunning pictures of lightning with ease.
References
- https://www.jasonrweingart.com/blog/2014/12/20/how-to-photograph-lightning
- https://expertphotography.com/how-to-photograph-lightning/
- https://www.picturecorrect.com/5-lightning-photography-tips/