
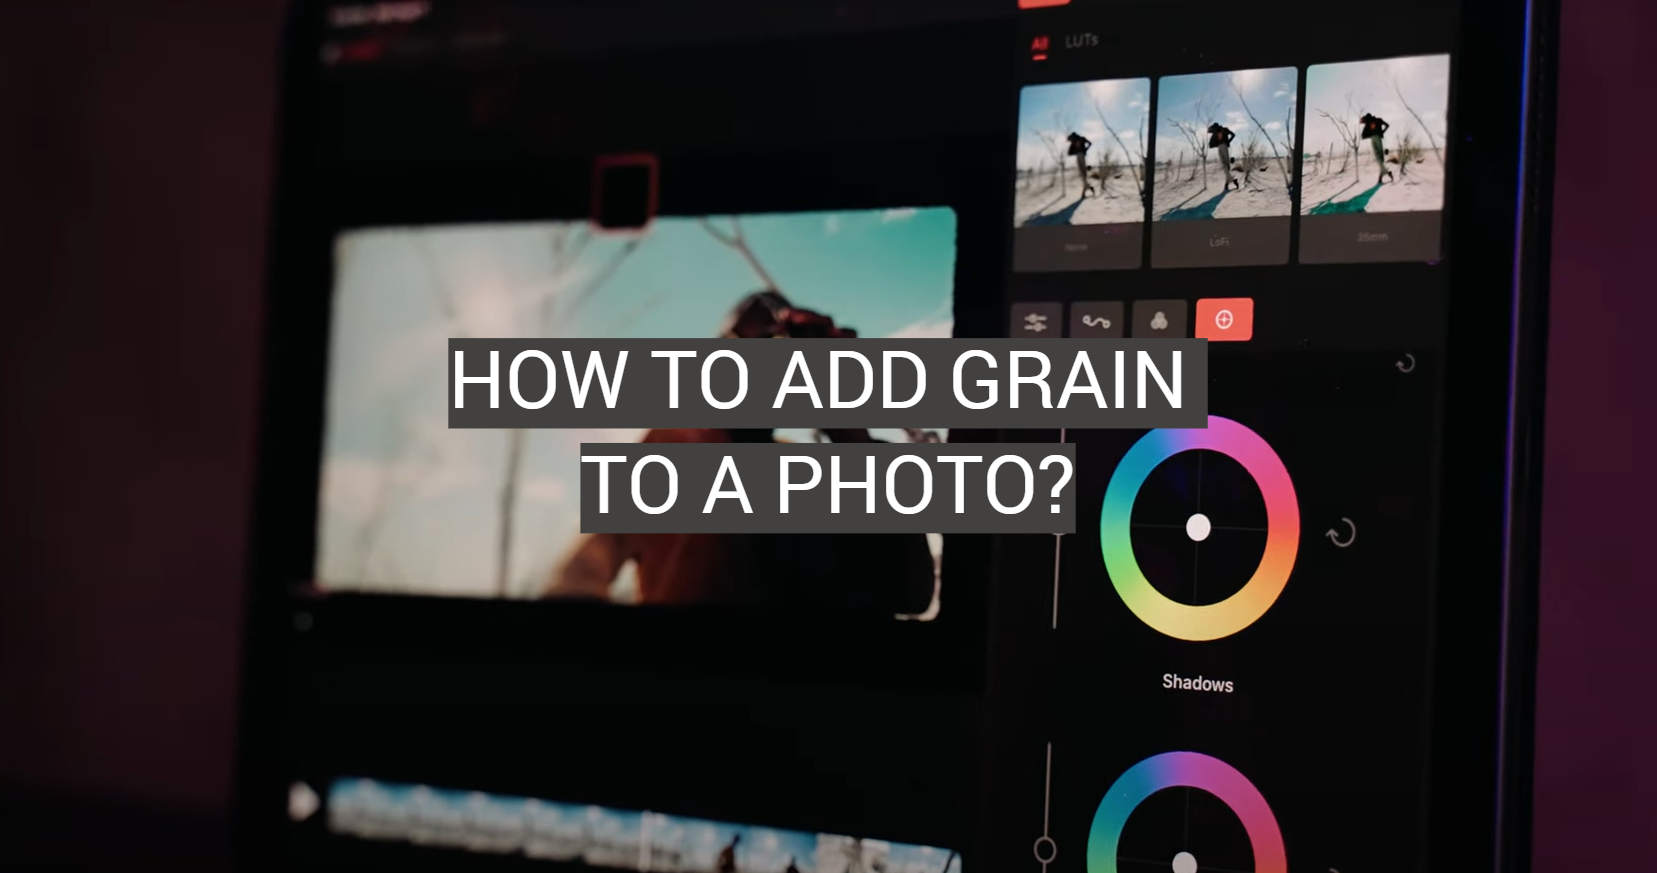
Do you want to give your photos a more film-like look? One way to do this is by adding grain. Grain can make photos look more natural and atmospheric, and it’s a great way to add interest to an image. In this article, we will discuss how to add grain to your photos using Photoshop. We’ll also provide some tips on how to get the best results. So let’s get started!
Why Add Film Grain Texture to Your Digital Photos?
Plus, it can add character to any photo. Film grain also helps reduce the artificial sharpness of digital images, creating a warm, cinematic effect. By adding subtle noise, you can make your photos stand out from the crowd! So why not give your images an old-school touch with some film grain texture? Your friends will be impressed! And you’ll never have to worry about looking too “digital” again. Give it a try today and see the difference it can make in your photography!
How to Make Photos Grainy
If you’re looking to add a vintage or rustic feel to your photos, adding grain can be a great way to do it. Grainy images are popular across many genres of photography and is easy to accomplish with just a few steps!
First, pick the photo you want to edit and open it up in an image editor like Photoshop. Once your image is loaded, click on the “Filter” menu and then select “Noise” from the list of options. You should see a window appear with several different settings for controlling noise levels. Choose the amount of grain that looks best for your photo by adjusting each setting as desired. For example, if you want more visible grain in your picture, increase the “Amount” and “Strength” settings.
Once you have your noise levels set, click on the “OK” button to apply the changes. You should now see a grainy effect applied to your image! If you want to further customize it, try adjusting the contrast or brightness levels of the photo as well. When you’re happy with the results, save your edited photo and enjoy!
Adding grain is an easy way to add a unique look to any photo. With just a few simple steps, you can quickly create vintage-inspired images that will stand out from the crowd. Give it a try next time you edit photos and see what amazing effects you can come up with!
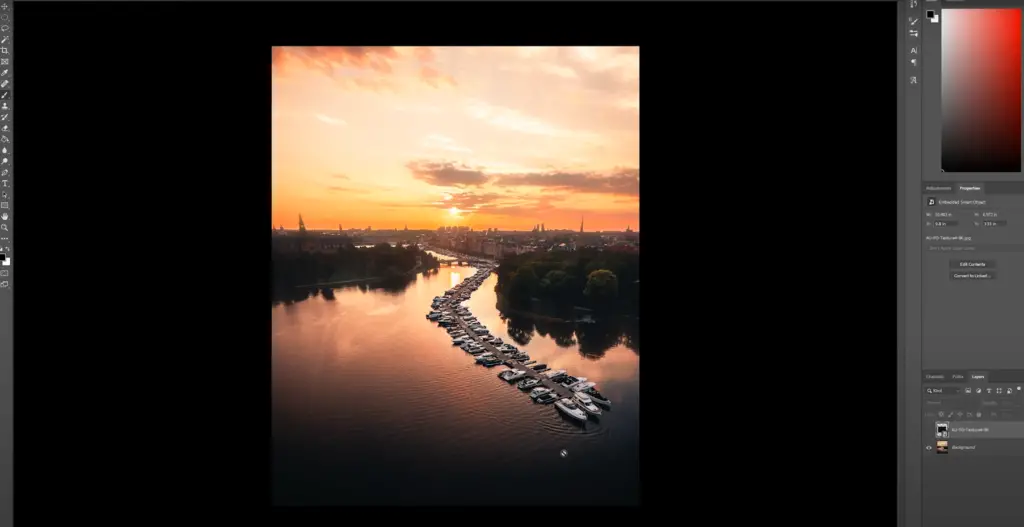
Choose and Crop Your Photo
Once you’ve selected the photo that you want to edit, it’s time to crop and resize your image.
It can also be used to change the overall look of a photo. To do this, open up your image editor and select the “Crop” tool from the menu bar. Drag the corners of the selection box to adjust where you would like to crop and then click “OK” when finished.
You may also want to make adjustments to its size depending on what you plan on using it for. The best way to do this is by selecting “Image Size” in your editor and choosing either pixels or percentage to resize the photo. Make sure to click “OK” when you’re done and you should now have a cropped and resized image ready for editing!
Play Around with Sliders and Filters
Now that your photo is ready, it’s time to add some effects. Most image editing software comes with a range of sliders and filters that let you change the look of your photo in just a few clicks. Experiment with different sliders until you find one that suits the style you’re going for. When you’re happy with your edits, click “OK” or “Apply” to save them.
You can also try playing around with various color filters like sepia or black and white. These can be used to give your photos an aged feel and really bring out certain elements in the image. To use these filters, select “Filter > Color” from the menu bar and then choose whichever filter you want to apply. Adjust the intensity of the filter as desired and click “OK” when you’re finished.
Playing around with different sliders and filters can be an easy way to add a unique touch to your photos. With just a few clicks, you can create amazing effects that will make your images stand out from the crowd! So don’t be afraid to experiment and have fun!
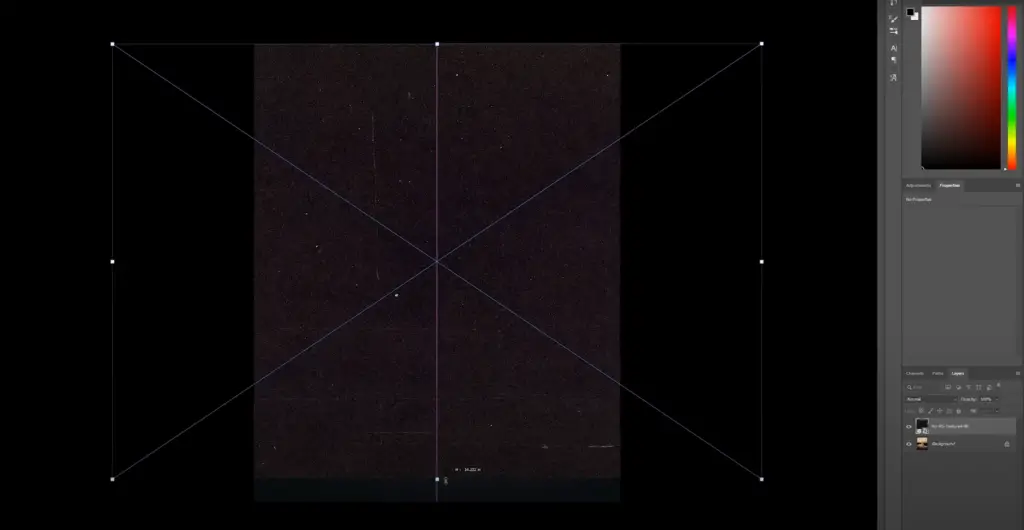
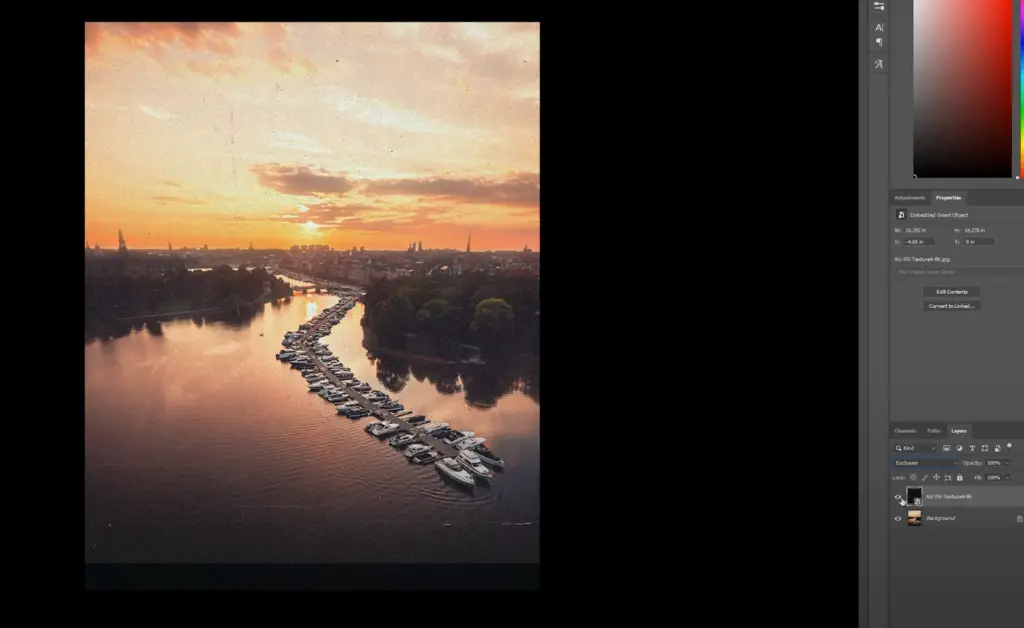
Add the Grain Texture
Once you’ve finished editing your image, it’s time to add the grain texture. As mentioned earlier, this is a great way to give your photos a vintage or rustic look. To do this, select “Filter > Noise” from the menu bar and then adjust each setting as desired. Increase the “Amount” and “Strength” settings if you want more visible grain in your picture.
When you’re happy with your settings, click “OK” to apply them to the photo. You should now see a grainy effect added to your image! If you want to customize it even further, try adjusting the contrast or brightness levels of the photo as well. When you’re done, save the edited photo and enjoy your brand new creation! [1]
Adding grain to a photo is a great way to give it an aged look. With just a few simple steps, you can quickly create vintage-inspired images that will stand out from the crowd. So why not give it a try next time you edit photos and see what amazing effects you can come up with?
Method 1. Using Filters
Filters are great for removing contaminants from water, such as dirt and bacteria. Common types of filters include reverse osmosis systems and activated carbon filtration systems. Both of these systems can be used to create safe, drinkable water in a relatively short amount of time. Reverse osmosis is one of the more popular methods because it removes larger particles such as heavy metals, while activated carbon filters remove odors and tastes that may make the water unfit to drink. To use a filter system, you’ll need to purchase the correct type of filter for your particular needs and install it according to the manufacturer’s instructions. Once installed, all you have to do is pour water through it periodically and discard any sediment or impurities that get caught in the filter.
Method 2. Editing the Image Manually
If you’re more of a hands-on person, then you can edit the image manually to make it brighter. Here’s how to do it:
- Open up your photo/image in an editing program like Photoshop or GIMP.
- Adjust the levels and curves of your image by selecting the “Levels” or “Curves” options from the menu bar at the top.
- Move the sliders until you achieve a brighter look that is still true to life and looks natural on-screen.
- Save the changes you made and export your new and improved image!
- Enjoy your newly brightened photo!
FAQ
How do I add grain to photos on iPhone?
Adding grain to photos on your iPhone is super easy! Just download an app like VSCO or DSPLAY, and you’ll have access to all kinds of fun filters and effects. Once you open the app, select a photo from your library, choose the filter that best suits your style, and then find the option to add grain. You can adjust the intensity of the grain until it’s just right! Have fun playing around with different looks! [2]
How can I add grain to my photos for free?
Adding grain to your photos doesn’t have to be expensive – there are plenty of free tools you can use! One popular option is GIMP. It’s a free, open-source image manipulation tool that includes a noise generator for adding natural grain to your photos. You’ll just need to adjust the settings to get the look you want! There are also apps like Grain Shift and FreeGrain that can help you add subtle or heavy grain effects with ease. And if you’re looking for something even more budget-friendly, many online photo editors provide some type of noise effect that allows you to add texture and grain. It’s never been easier or more affordable to give your images a vintage feel! [3]
How do you add a grain effect?
Adding a grain effect to your photos can be an easy way to add an extra bit of texture and give it more character. To do this, you’ll need an image editing program such as Photoshop or GIMP.
First, open up the photo that you want to add the grain effect to in the editor of your choice. Select the layer with the image in it and click on Filters > Noise > Add Noise. Adjust the settings for Amount, Distribution, and Monochromatic depending on how subtle or intense you want the grain effect to be. Once you’ve adjusted these settings to your liking, hit OK and you’re all set! Your photo should now have a nice textured grainy look. [4]
How do you add grain to Instagram photos?
Adding grain to Instagram photos is a great way to give them an old-school film look. To do this, you’ll need to download an image editing app such as VSCO, Snapseed, or even Adobe Lightroom. Once you’ve chosen the photo you want to add grain to, open it up in the editing app and select the Grain filter. From there, you can adjust the amount of grain and intensity until you get your desired effect. When you’re done adding the grain, save your changes and upload it back onto Instagram! Now all your followers can appreciate your stylishly vintage-looking photos!
Useful Video: How to add Film Grain to Photos in Photoshop
Conclusion
At the end of the day, it’s up to you to decide if attending college is worth your time and money. There are many factors to consider when making this decision, including your academic goals, financial situation, career aspirations, and personal preferences. College can offer students a lot of great opportunities for learning and growth, but it’s not for everyone. If you’re still unsure whether or not college is right for you, take some time to evaluate your options carefully and make an informed decision that best fits your needs. Good luck!
References
- https://instasize.com/learn/how-to-add-film-grain-texture-to-photos-with-instasize
- https://www.fotor.com/features/add-noise-to-image/
- https://www.facetuneapp.com/blog/how-to-add-grain-to-photos
- https://expertphotography.com/film-grain-photoshop/