Tis the season to capture magical moments of Christmas lights with your phone! Are you looking for tips and tricks on how to take stunning photos of light displays? The holiday season is fast approaching, and nothing brings back those joyful memories quite like capturing precious images with your phone. So get ready to find out the best ways to take pictures of Christmas lights with your phone – from adjusting your camera settings to framing for the perfect shot.
What you’ll need to take pictures of Christmas lights
A camera and lens
A tripod and remote shutter release
Using a tripod and remote shutter release will greatly assist in keeping your camera steady and reducing camera shake during photography sessions. This is particularly crucial when shooting in low-light conditions or at night, as even the slightest movement can result in blurry images. By utilizing a remote shutter release, you can take pictures without physically touching the camera, eliminating any potential for camera shake and guaranteeing the capture of sharp, crystal-clear images with exceptional clarity and detail.
Cold weather gear
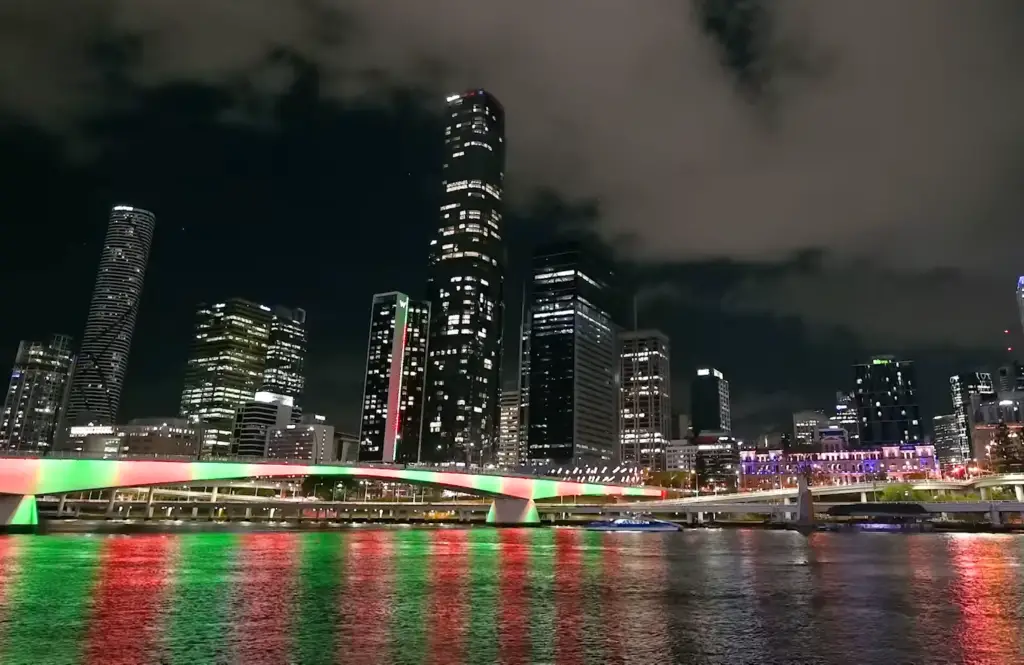
If you’re planning on capturing the mesmerizing beauty of Christmas lights outdoors, it’s essential to ensure that you have the right cold-weather gear to fully enjoy the experience. Imagine yourself standing in awe of the twinkling lights, with a cozy hat snugly covering your head, keeping you warm while you meticulously adjust your camera settings to capture the perfect shot. Don’t forget to slip on a pair of comfortable gloves, not only to shield your hands from the biting cold but also to provide you with the dexterity needed to handle your camera with precision and ease.
Lighting accessories and filters
Using lighting accessories such as reflectors or diffusers can help you bring out the best in your photos by bouncing light off the Christmas lights to create a softer, more even illumination. Additionally, using different colored filters, such as a yellow or red filter in front of your lens, can help create more interesting images by altering the color palette and giving them an ethereal feel. Experimenting with these techniques is sure to bring you one step closer to achieving stunning pictures that will stand the test of time!
How to take pictures of Christmas lights
Find the scene
When it comes to capturing unforgettable images of lights, the first step is to meticulously select the perfect scene. Look for a breathtaking backdrop that beautifully complements the Christmas lights in your photograph, such as majestic snow-capped mountains or enchanting wintery city skylines adorned with a sprinkle of holiday cheer. Seek out an area that boasts an abundance of contrast between the shimmering lights and the captivating darkness, as this will undoubtedly make your photos truly remarkable and distinct from the rest. If you find yourself indoors, be sure to choose a room that is brimming with festive decorations, creating a magical ambiance that will add an extra touch of charm to your photographs.
Choose the best time of day
When it comes to capturing beautiful pictures of Christmas lights, timing is crucial. To get the best results, you’ll want to shoot when there isn’t too much natural light present. One ideal time is during dusk when the sky starts to darken and the lights begin to shine brightly against the fading daylight. Another perfect moment is early in the morning, just before sunrise, when the soft glow of the approaching dawn adds a magical touch to the scene.
If you prefer shooting in the evening, patience is key. Wait until it’s dark enough for the lights to truly come alive and create a mesmerizing display of colors. This is especially important when photographing outdoor Christmas lights, as the surrounding darkness serves as the perfect backdrop to make the lights pop and shine.
In addition to timing, it’s also essential to keep an eye on the weather conditions. Cloudy days can actually be a blessing in disguise for photography, as they provide diffused and softer lighting that minimizes harsh shadows. This allows you to capture the intricate details of the Christmas lights without any distracting or challenging lighting conditions to work around.
Select Your Aperture & ISO
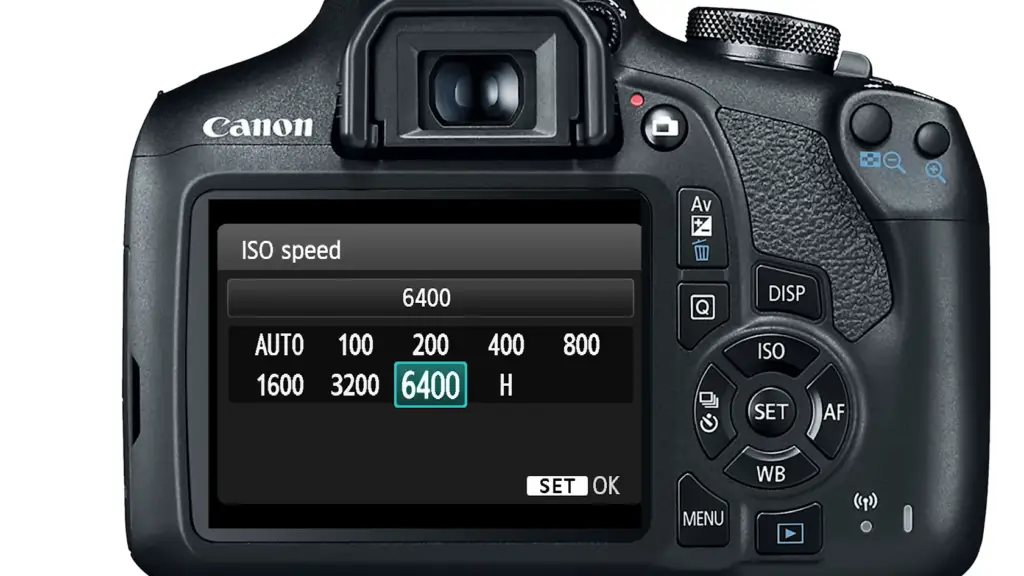
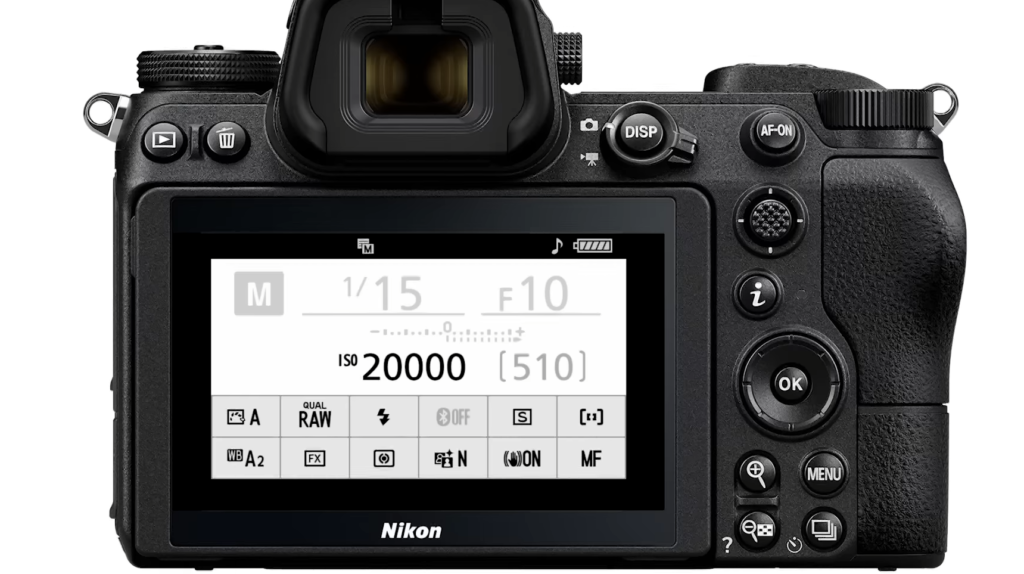
When it comes to capturing the beauty of Christmas lights in photographs, understanding the concepts of aperture and ISO is crucial. Aperture, which refers to the size of the camera’s lens opening, directly affects the amount of light that enters the camera. Meanwhile, ISO, or the sensitivity of the camera’s image sensor, determines how well it can capture light.
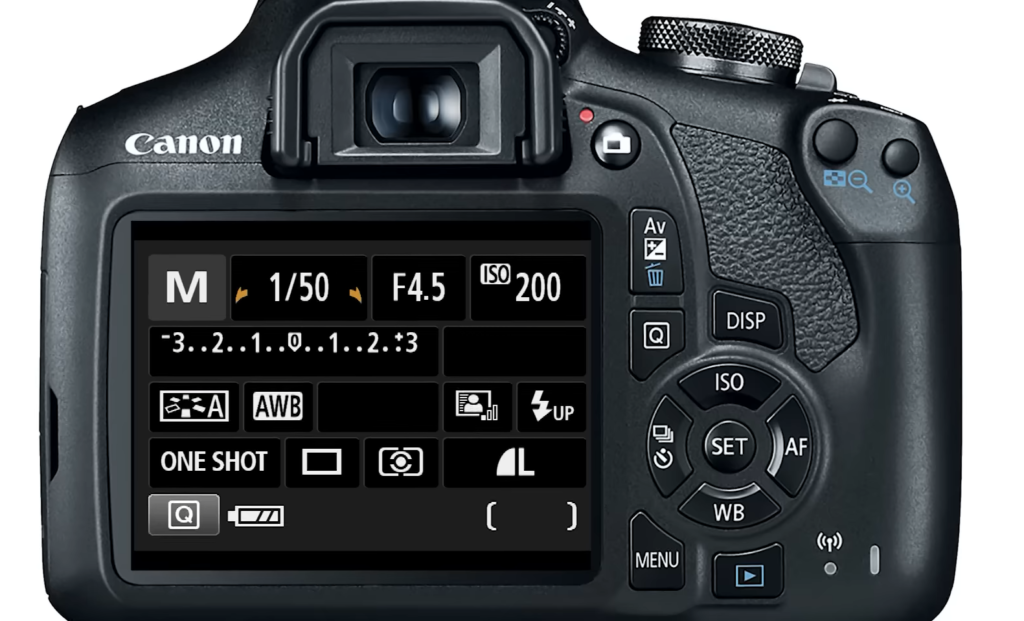
For optimal nighttime images of Christmas lights, it is recommended to keep both the aperture and ISO settings as low as possible. Setting the aperture between f/8 to f/11 allows for a balance between sharpness and depth of field, ensuring that the lights are well-defined and the surrounding elements are in focus. Keeping the ISO around 400 strikes a balance between capturing enough light and avoiding excessive noise or grain in the image [1].
Light Painting
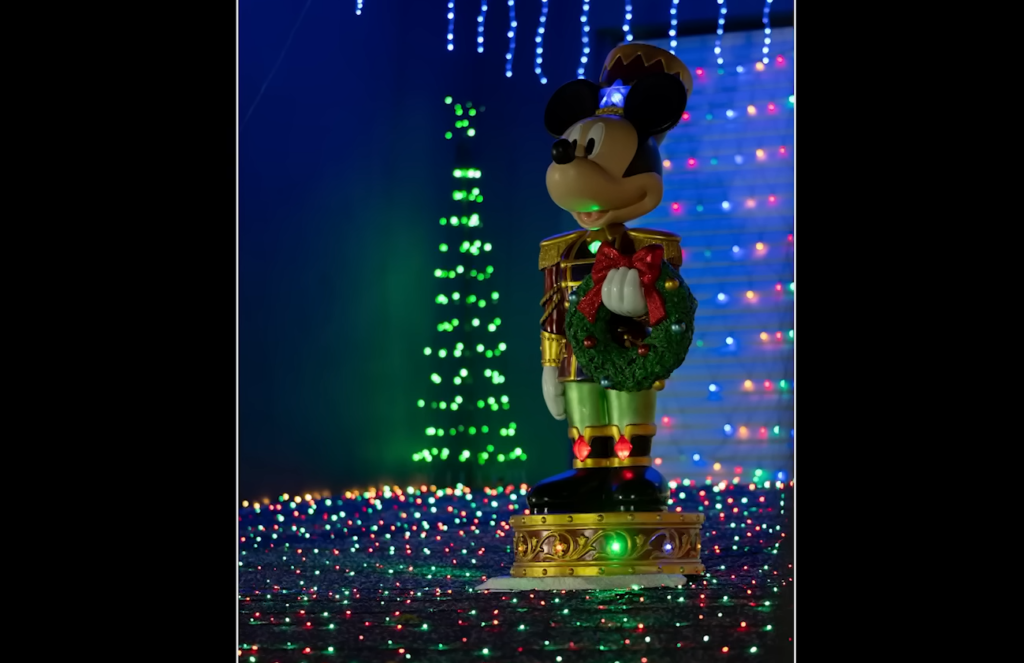
If you’re feeling especially creative, experiment with light painting! This technique involves using a flashlight to draw designs and illuminate parts of the background while capturing a long exposure shot. To get started, set up your tripod and compose your shot in manual mode, then switch to bulb mode and open the shutter for a few seconds. Now use your flashlight to paint light onto different sections of the image, such as trees, bushes, walkways, or rooftops. As you trace shapes in the darkness, they will start to appear in the photograph! When you’re finished painting with light, close the shutter and check out your masterpiece.
Adjust camera settings
Once you’ve found the perfect composition, it’s time to make sure your camera settings are in order. For crisp and clear pictures of Christmas lights, set your white balance to tungsten or fluorescent if possible. This will help maintain accurate colors and prevent any color casts from appearing in your photos. Additionally, enable the auto exposure bracketing function on your camera to capture multiple exposures of the same scene. This will allow you to select the best image with ease in post-processing, without having to worry about missing that perfect shot due to incorrect exposure settings.
Focus and Experiment
Manual focus is the best option when shooting Christmas lights, as it allows you to precisely point your camera at the desired area without any auto-focus errors clouding your shot. If you’re feeling adventurous, try experimenting with creative focusing techniques like zooming in or out while the shutter is open for a unique look that will surely impress! Finally, don’t be afraid to adjust the amount of light in your scene. If the Christmas lights are too dark or too bright, you can always adjust their intensity until you get the desired effect.
Trigger the shot hands-free
When photographing Christmas lights, it is always best to trigger the camera’s shutter with a remote release or cable release. This will prevent any unwanted camera movement and allow you to capture sharp images without any shake or blur. If you don’t have a remote release, use your camera’s self-timer to take pictures hands-free! This ensures that there won’t be the slightest bit of camera movement when taking your shots.
Review the photo and troubleshoot
Edit and Share
Finally, don’t forget about post-processing! Once you’ve captured your perfect shot of Christmas lights, it’s time to give it the finishing touches by editing your photos. Adjusting the exposure, contrast, color saturation, and sharpness settings can really bring out the beauty of your photograph. Additionally, adding creative effects such as vignettes or light streaks will add a unique touch to your shot. When you’re done, don’t forget to share the final product with friends and family! Christmas lights are truly a sight to behold, so why not show off your work?
Tips for taking pictures of Christmas lights
Cover part of your lens with fairy lights to create a dreamy foreground
This is a fantastic technique that can truly elevate your photos and make them truly remarkable. One way to achieve this is by using Christmas lights of various colors, which will add an extra touch of uniqueness to your shots. To experiment with this effect, you can simply drape some fairy lights across a portion of your lens or utilize a specialized filter specifically designed for this purpose. Additionally, you may also want to consider incorporating other elements like tinsel or garland into the background, which can introduce an interesting texture and enhance the overall visual appeal of your photos even further. Give it a try and watch your images come to life with a magical festive touch!
Play around with zoom and exposure settings
When taking photos of Christmas lights, it’s important to experiment with different zoom levels and exposure times. Start by zooming out so you can see the full effect of the lights in your shot, then try zooming in for more detail. As for exposure time, longer exposures will create a soft and dreamy look, while shorter exposure times can give your photos an edgy and vibrant feel. Experimenting with different settings is key to capturing the perfect moment, so don’t be afraid to try something new!
Use a long exposure to capture moving light trails
One of the coolest effects you can achieve with Christmas lights is capturing light trails. To do this, simply set your camera to a long exposure and have someone run around with a handful of fairy lights or sparklers for an amazing glowing effect. This works best during dusk or in dark spaces since there won’t be as much natural light interfering with the shot. Give it some practice and you’ll soon be able to create stunning pictures of light Trails that look like they came straight out of a dream!
Reduce sources of movement when capturing candlelight
When taking photos of candlelight, it’s important to minimize any sources of movement that may cause the flame to flicker. To do this, simply turn off any fans or air conditioners in the area and make sure your camera is on a stable surface (like a tripod). Additionally, you may also want to consider using an adjustable light reflector to balance out the light in your shot and prevent any unwanted shadows. With these tips, you’ll be able to capture beautiful images of candlelight that will make your photos really stand out!
Reduce other sources of light in the background.
Christmas lights can be easily overwhelmed by other sources of light, like streetlights or car headlights. To prevent this, try to find a spot that has minimal sources of light and position your camera so these lights won’t affect the shot. Additionally, you may also want to consider using an adjustable shutter speed to properly capture the bright colors of the Christmas lights without causing any overexposure. With some practice and patience, you’ll be able to capture amazing shots of Christmas lights that appear like a twinkling winter wonderland!
Make low light work for you
When it comes to capturing photos of Christmas lights, low light can be a fantastic asset. To maximize its potential, you can experiment with combining multiple sources of light to create captivating effects. For instance, consider having one light source shine brightly while another offers a more subtle glow. Furthermore, don’t hesitate to explore different ISO settings, as they can greatly enhance your ability to capture stunning shots in low-light conditions. So go ahead and get creative with your photography, and let the magic of Christmas lights shine through in your pictures!
Avoid camera shake
To capture sharp and clear shots, it’s crucial to prevent camera shake and blurry images. One effective way to achieve this is by using a tripod or any other reliable stabilizing device. By providing a stable foundation for your camera, these tools minimize the risk of unintentional movement during the exposure.
Another helpful tip is to utilize a shutter release. This accessory allows you to trigger the camera without physically touching it, reducing the chances of introducing any vibrations or disturbances that could impact image quality. It’s a small but valuable tool that can make a noticeable difference in the sharpness of your photographs.
Furthermore, mastering proper camera-holding techniques is essential. Ensuring a firm grip and maintaining a steady posture will help prevent any accidental movements that could result in distorted shots. And remember, it’s always beneficial to be mindful of your surroundings and avoid sudden actions that may compromise the clarity and overall quality of your images. Taking these precautions will greatly enhance the outcome of your photography endeavors.
Avoid flash
Flash photography can be tricky to master and oftentimes results in washed-out images. When taking photos of Christmas lights, it’s best to turn off the flash unless necessary. Instead, take advantage of the existing light sources around you and experiment with different exposures until you find an optimal setting that captures the desired effect. Additionally, consider using a reflective surface such as a wall or reflective fabric to bounce light back onto your subject and provide additional contrast. With these tips, you’ll be able to take beautiful images that truly capture the essence of the holiday season!
Be mindful of composition
Christmas lights look best when they are positioned in an aesthetically pleasing way. When choosing a composition for your shot, consider framing the lights in a way that creates balance and draws attention to your subject. Additionally, you may also want to consider adding elements such as reflections, shadows, or bokeh effects for an even more captivating image.
Play around with bokeh
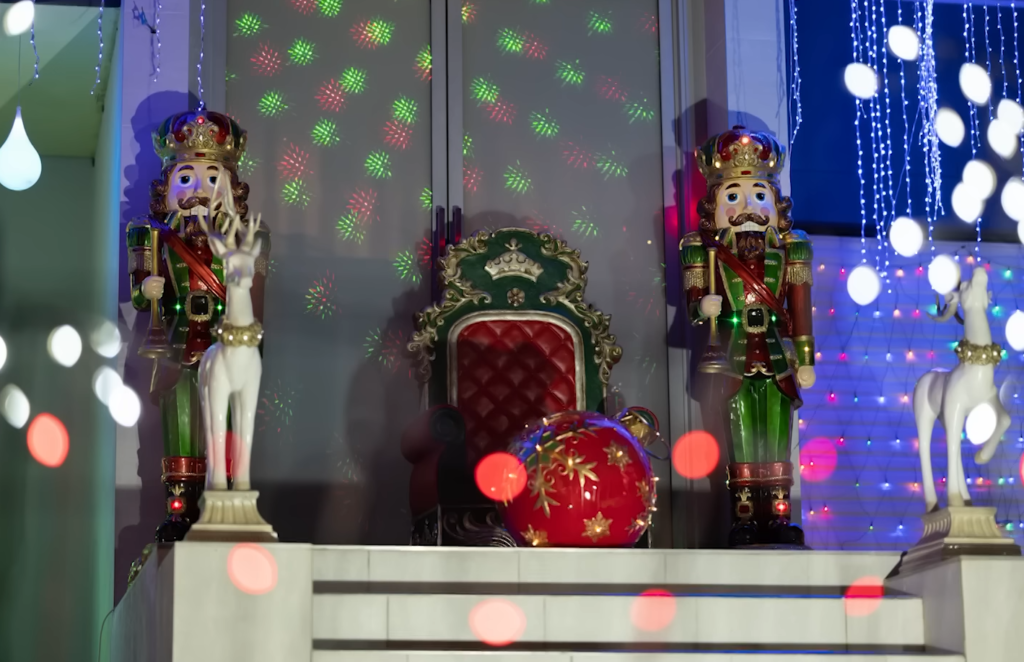
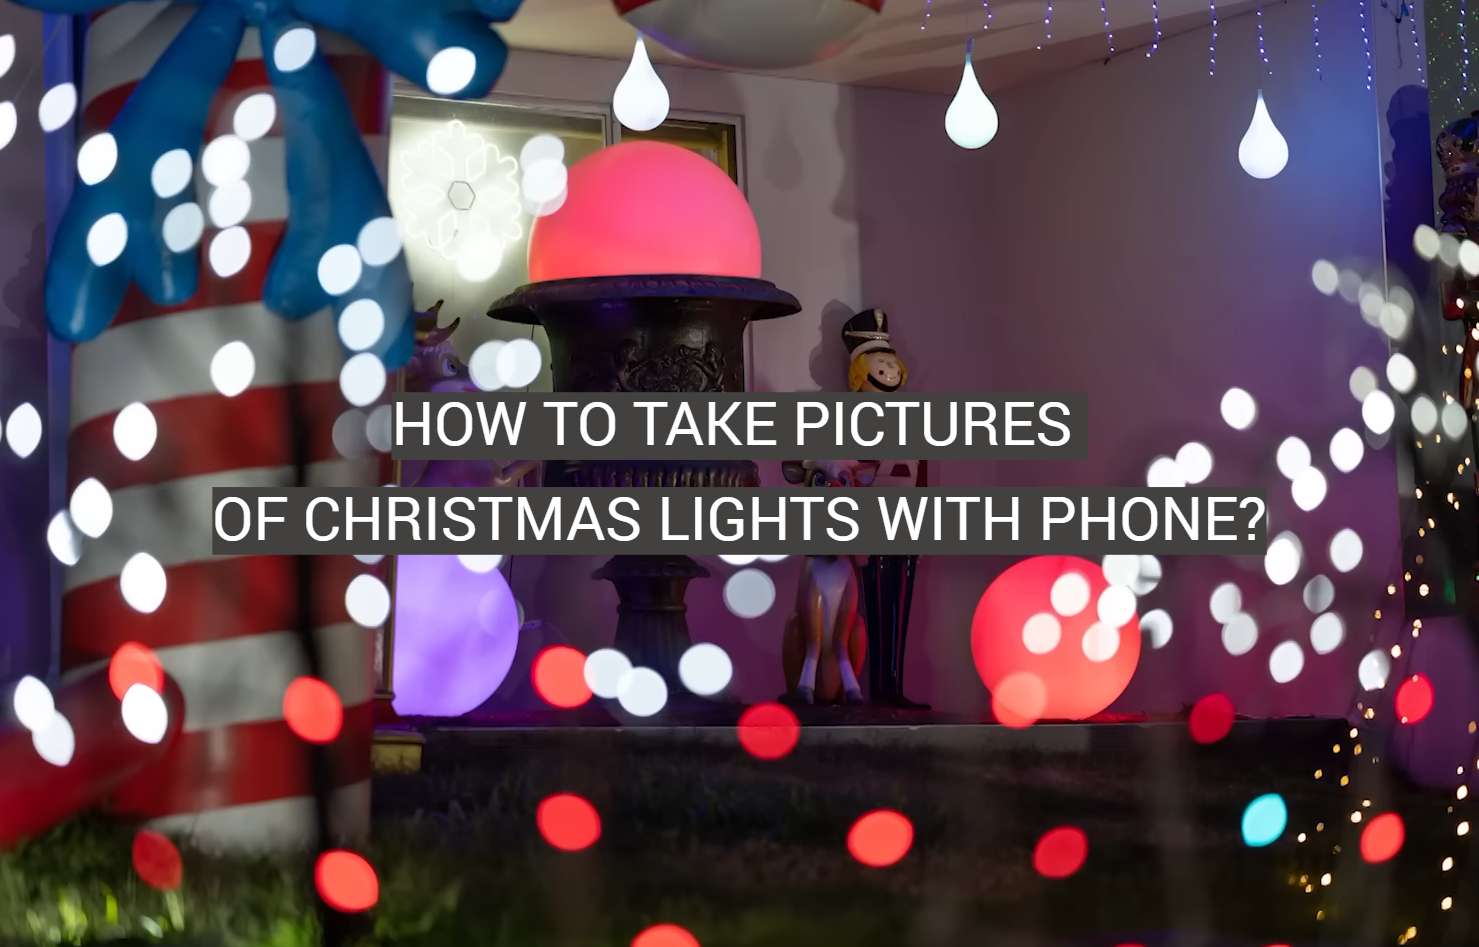
Adding a bokeh effect to your Christmas lights photos can create a truly magical image. To achieve this, you’ll need to set your aperture to its lowest setting and increase the distance between your camera and the subject. Additionally, make sure you are using a fast lens that is capable of producing quality images in low-light conditions. With some patience and practice, you’ll soon be able to master this technique and create mesmerizing shots that will take your Christmas photography to the next level [2]!
FAQ
How do you take good pictures of Christmas lights?
Taking good pictures of Christmas lights is all about finding the right angle and lighting. If possible, try to take your photos in natural light just after sunset or before sunrise — this will provide a softer, more flattering light. If you’re inside, look for a window that lets in enough daylight to help illuminate the subject. Experiment with angles and distances — getting close can create interesting patterns and shapes. Also, don’t forget to set the white balance on your camera according to the type of light you use, such as daylight or fluorescent light.
When using a flash, try bouncing it off walls or ceilings if possible for more even lighting. If you’re using an external flash, experiment with different settings so that the light doesn’t overwhelm your subject. Taking multiple shots at different exposures can also help you get the best results. And finally, make sure to check your camera’s manual for its specific settings and techniques for taking photos of Christmas lights. With a few simple tips, you can take beautiful pictures that will capture the festive spirit for years to come!
How do you take pictures of Christmas lights on Android?
Taking pictures of Christmas lights with your Android smartphone is surprisingly easy, and you don’t need any fancy equipment or settings to get great results. First, make sure to turn off the flash on your camera to avoid washing out the colors in your photos. You may also want to adjust the white balance according to what type of light you’re using — such as daylight or fluorescent — to ensure accurate colors.
Next, you’ll want to experiment with different angles and distances from your subject. Getting close can help create interesting shapes and patterns in the lights, while a bit of distance can give them a more dreamy look. When you find the perfect angle, make sure to tap or hold down on the screen until it locks focus and exposure. You can also take multiple photos at different exposures to get the best possible results.
Finally, check your Android phone’s manual for specific settings or techniques that it recommends for taking pictures of Christmas lights. With a few simple steps, you’ll be able to capture beautiful holiday scenes that you’ll treasure forever!
What types of Christmas lights are best for decoration?
When it comes to decorating your home for the holidays, there’s a wide variety of Christmas lights to choose from. LED lights are becoming increasingly popular due to their energy efficiency and bright colors, while traditional incandescent bulbs still remain a classic choice. To create an elegant and festive atmosphere, string lights with white or clear bulbs are a great option. For a more whimsical look, colored rope lights or fairy lights can add a touch of magic to any setting.
How do you take pictures of Christmas tree lights?
Taking pictures of Christmas tree lights can be a tricky but rewarding task. For the best results, try to take your photos in natural light just after sunset or before sunrise — this will provide a softer, more flattering light. If you’re inside, look for a window that lets in enough daylight to help illuminate your subject. Experiment with angles and distances — getting close can create interesting patterns and shapes.
Useful Video: NIGHT PHOTOGRAPHY – Capturing Christmas Lights – Tips, camera settings and more for beginners.
Conclusion Paragraph
Taking pictures of Christmas lights with an iPhone is a great way to capture the festive season. Taking pictures of Christmas lights can help create memories that will last forever and make beautiful decorations for your home or office. With some practice and patience, you can take amazing photos using just your iPhone! There are many creative ways to use your images from adding them to cards or turning them into printable artwork. No matter what you do, Christmas light photography is an enjoyable and easy way to create beautiful art.
References
- https://expertphotography.com/how-to-photograph-christmas-lights/
- https://www.bhphotovideo.com/explora/photography/tips-and-solutions/10-tips-and-tricks-for-photographing-holiday-lights-and-candles




Leave a Reply